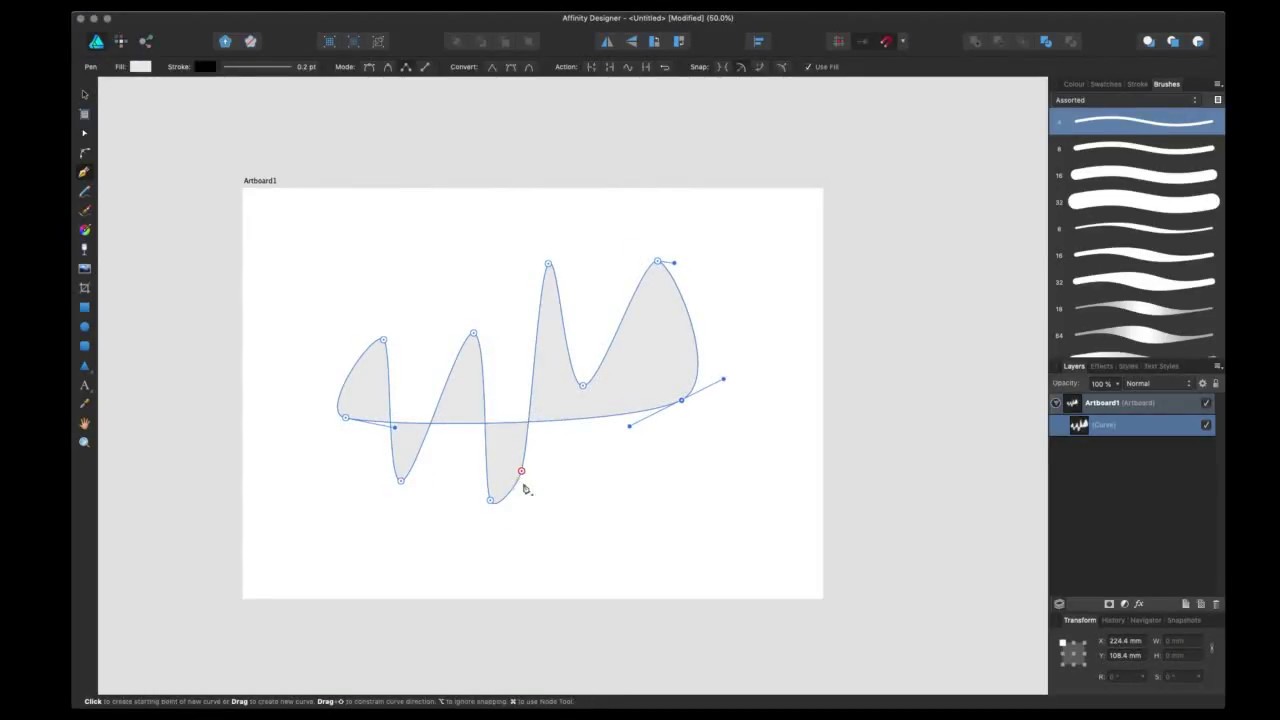
Affinity Designer: How to use the Pen tool
Sign up to Creative Bloq's daily newsletter, which brings you the latest news and inspiration from the worlds of art, design and technology.
You are now subscribed
Your newsletter sign-up was successful
Want to add more newsletters?
It needs little introduction, but Affinity Designer is a suite of vector art editing tools available for mac/windows and now also on the iPad. This graphic design tool is a great middle ground between the more basic free graphic design software and the pricey but feature-rich Creative Cloud suite, and it offers incredible quality for the cost.
Here is a quick overview of how Affinity Designer's Pen tool works. Watch the video below or scroll down for a short explanation of each of the features to explore.
01. Launch the Pen tool
Bring up the Pen tool using the icon on the left-hand toolbar, or use the shortcut P. The Pen tool on Affinity Designer is incredibly similar to other Pen tools you may have used elsewhere. You should be able to start using it fairly easily – although there are some added features that set it apart.
Article continues below02. Pen tool modes
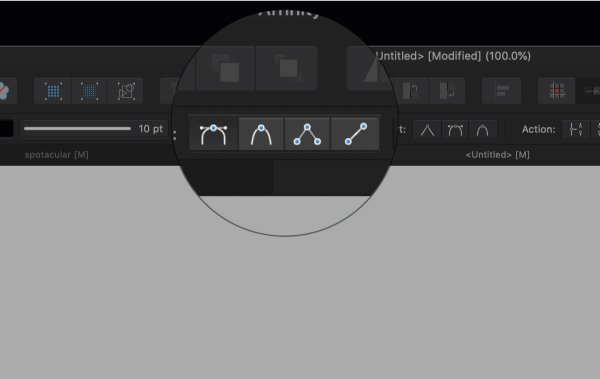
Affinity’s Pen tool has four different modes. First, there's the basic Pen mode. Smart mode will assist you in creating flowing curves that naturally arc. Polygon mode can be used to draw straight, connecting lines. Finally, Line mode is used to create lines that do not connect.
All have their own benefits and uses, and you can select the one you want using the icons shown in the image above.
03. Converting your path
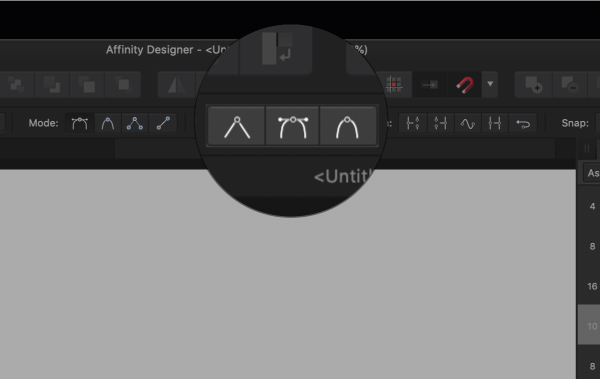
You've created a path using your Pen tool, you can adjust it using the conversion tools shown in the image above. These will enable you to do things like smooth a zig zag or make it jagged again.
04. Line actions
There are also a number of actions to choose from. With your path or node selected, you can select from the following: Break Curve (opens the path at the selected node), Close Curve (closes the path at the selected node), Smooth Curve (adjusts the path and smooths or simplifies it) and Reverse Curve (toggle to draw from the opposite end of the path).
Sign up to Creative Bloq's daily newsletter, which brings you the latest news and inspiration from the worlds of art, design and technology.
05. Snapping in Affinity Designer
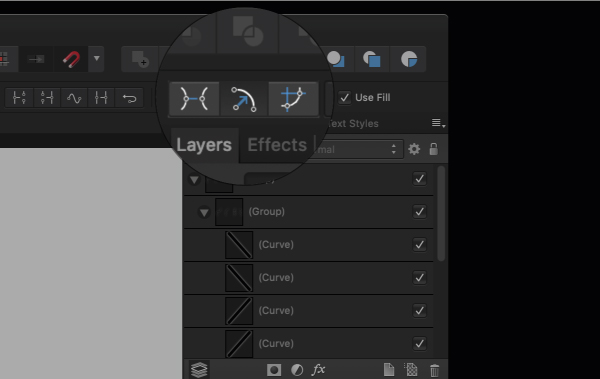
Snapping is used in a variety of ways in Affinity Designer. For the Pen tool I recommend you play about with the different settings to figure out your preference. Your options are as follows: Align to node of selected curves; snap to geometry of selected curves; snap all selected nodes when dragging; snap off curve handles.
06. Use Fill
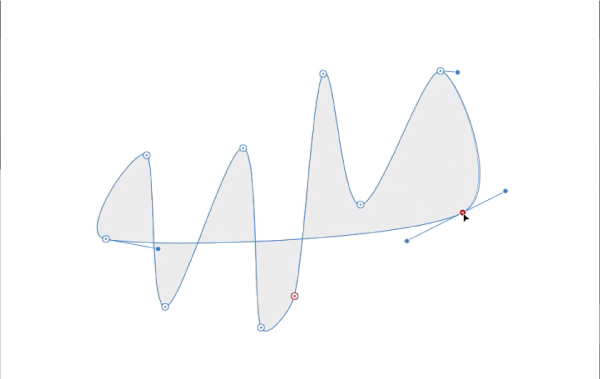
The last feature to be aware of is the Fill feature. When checked, this will fill the inside of your path with your chosen colour as you draw.
Read more:

Tom Ludd is a Product Designer at Softr, and the founder of creativity.wtf. He previously founded The Designers' League, a community of more than 80,000 creatives, and has written for Creative Bloq on digital design tools. Tom also runs the brand and product design studio Prelude, which is currently working on Showcase, "a place to discover what's next at the intersection of tech and creativity."
