In this Illustrator tutorial, I’ll show you how to create a calculator app icon in Adobe Illustrator CC. We’ll use different shape tools, pen tool, along with the 3D features of Illustrator. Hopefully you will learn few handy tips along the way.
You will also need to download a couple of free fonts for this tutorial: DS-Digital and Bebas Neue. If you don't already have it, you can get Adobe Creative Cloud here.
But first, let’s have a look at the final result:

01. Open a document
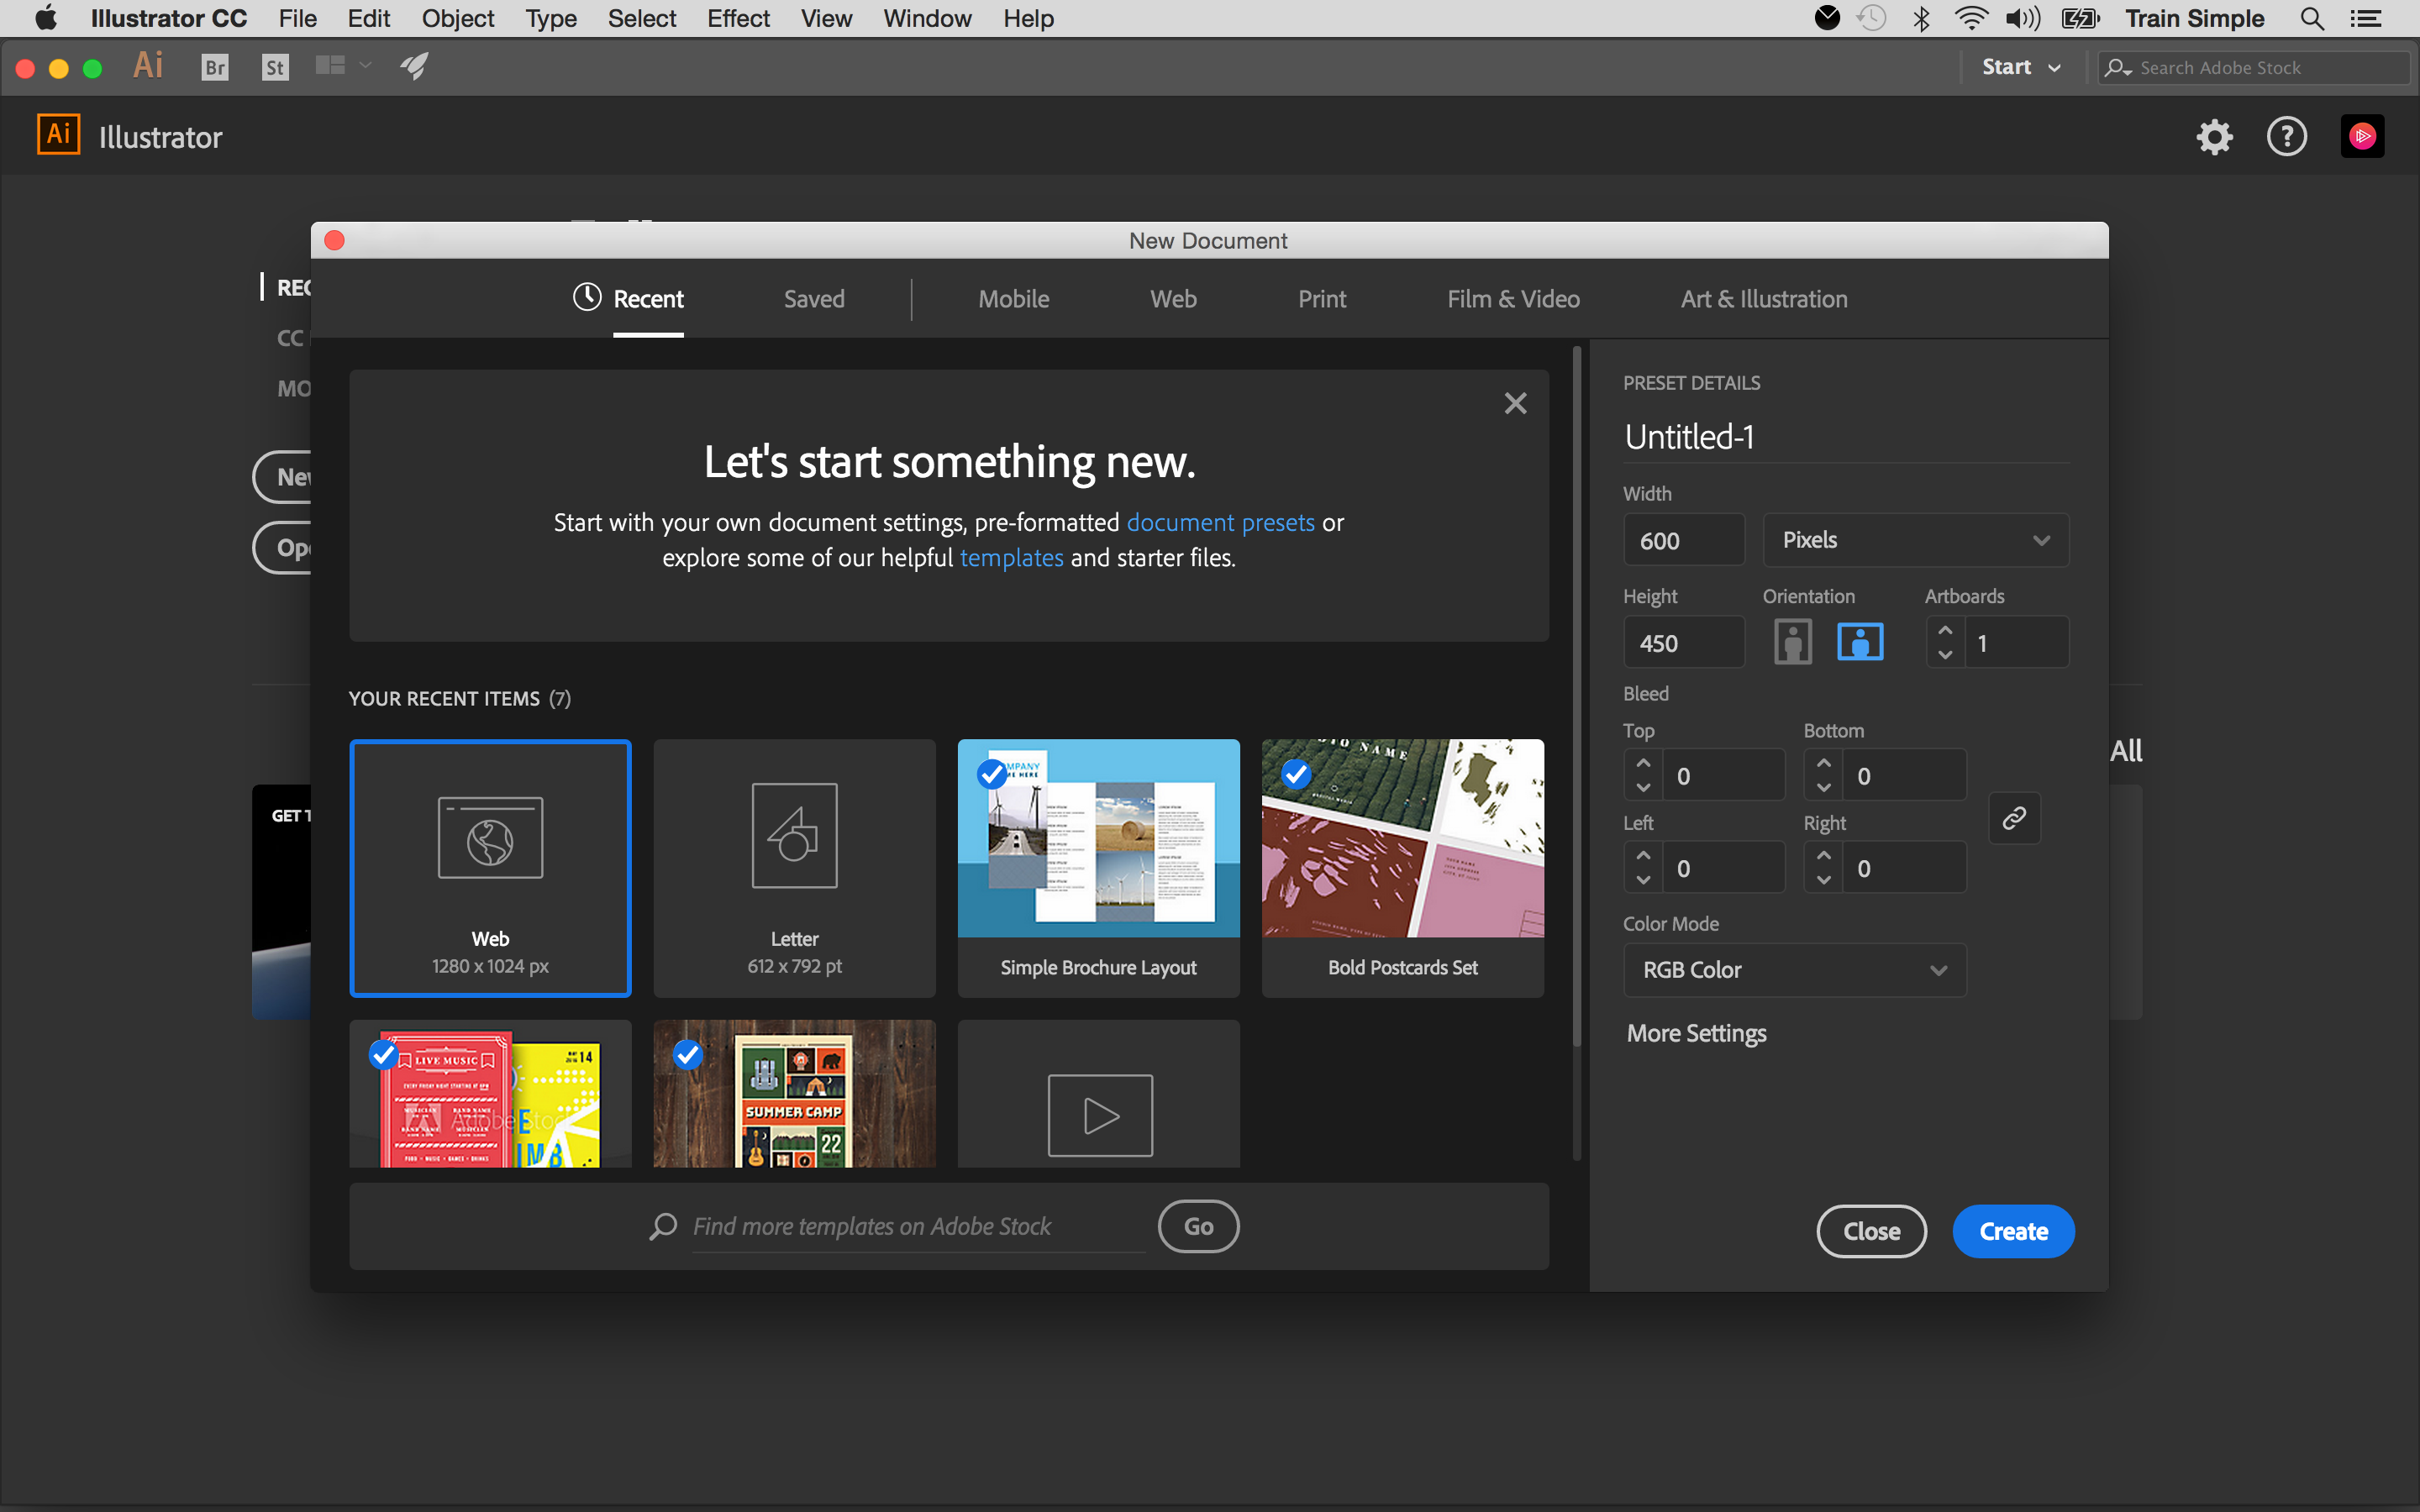
Create a new document in Illustrator with 600px width and 450px height.
02. Create the background
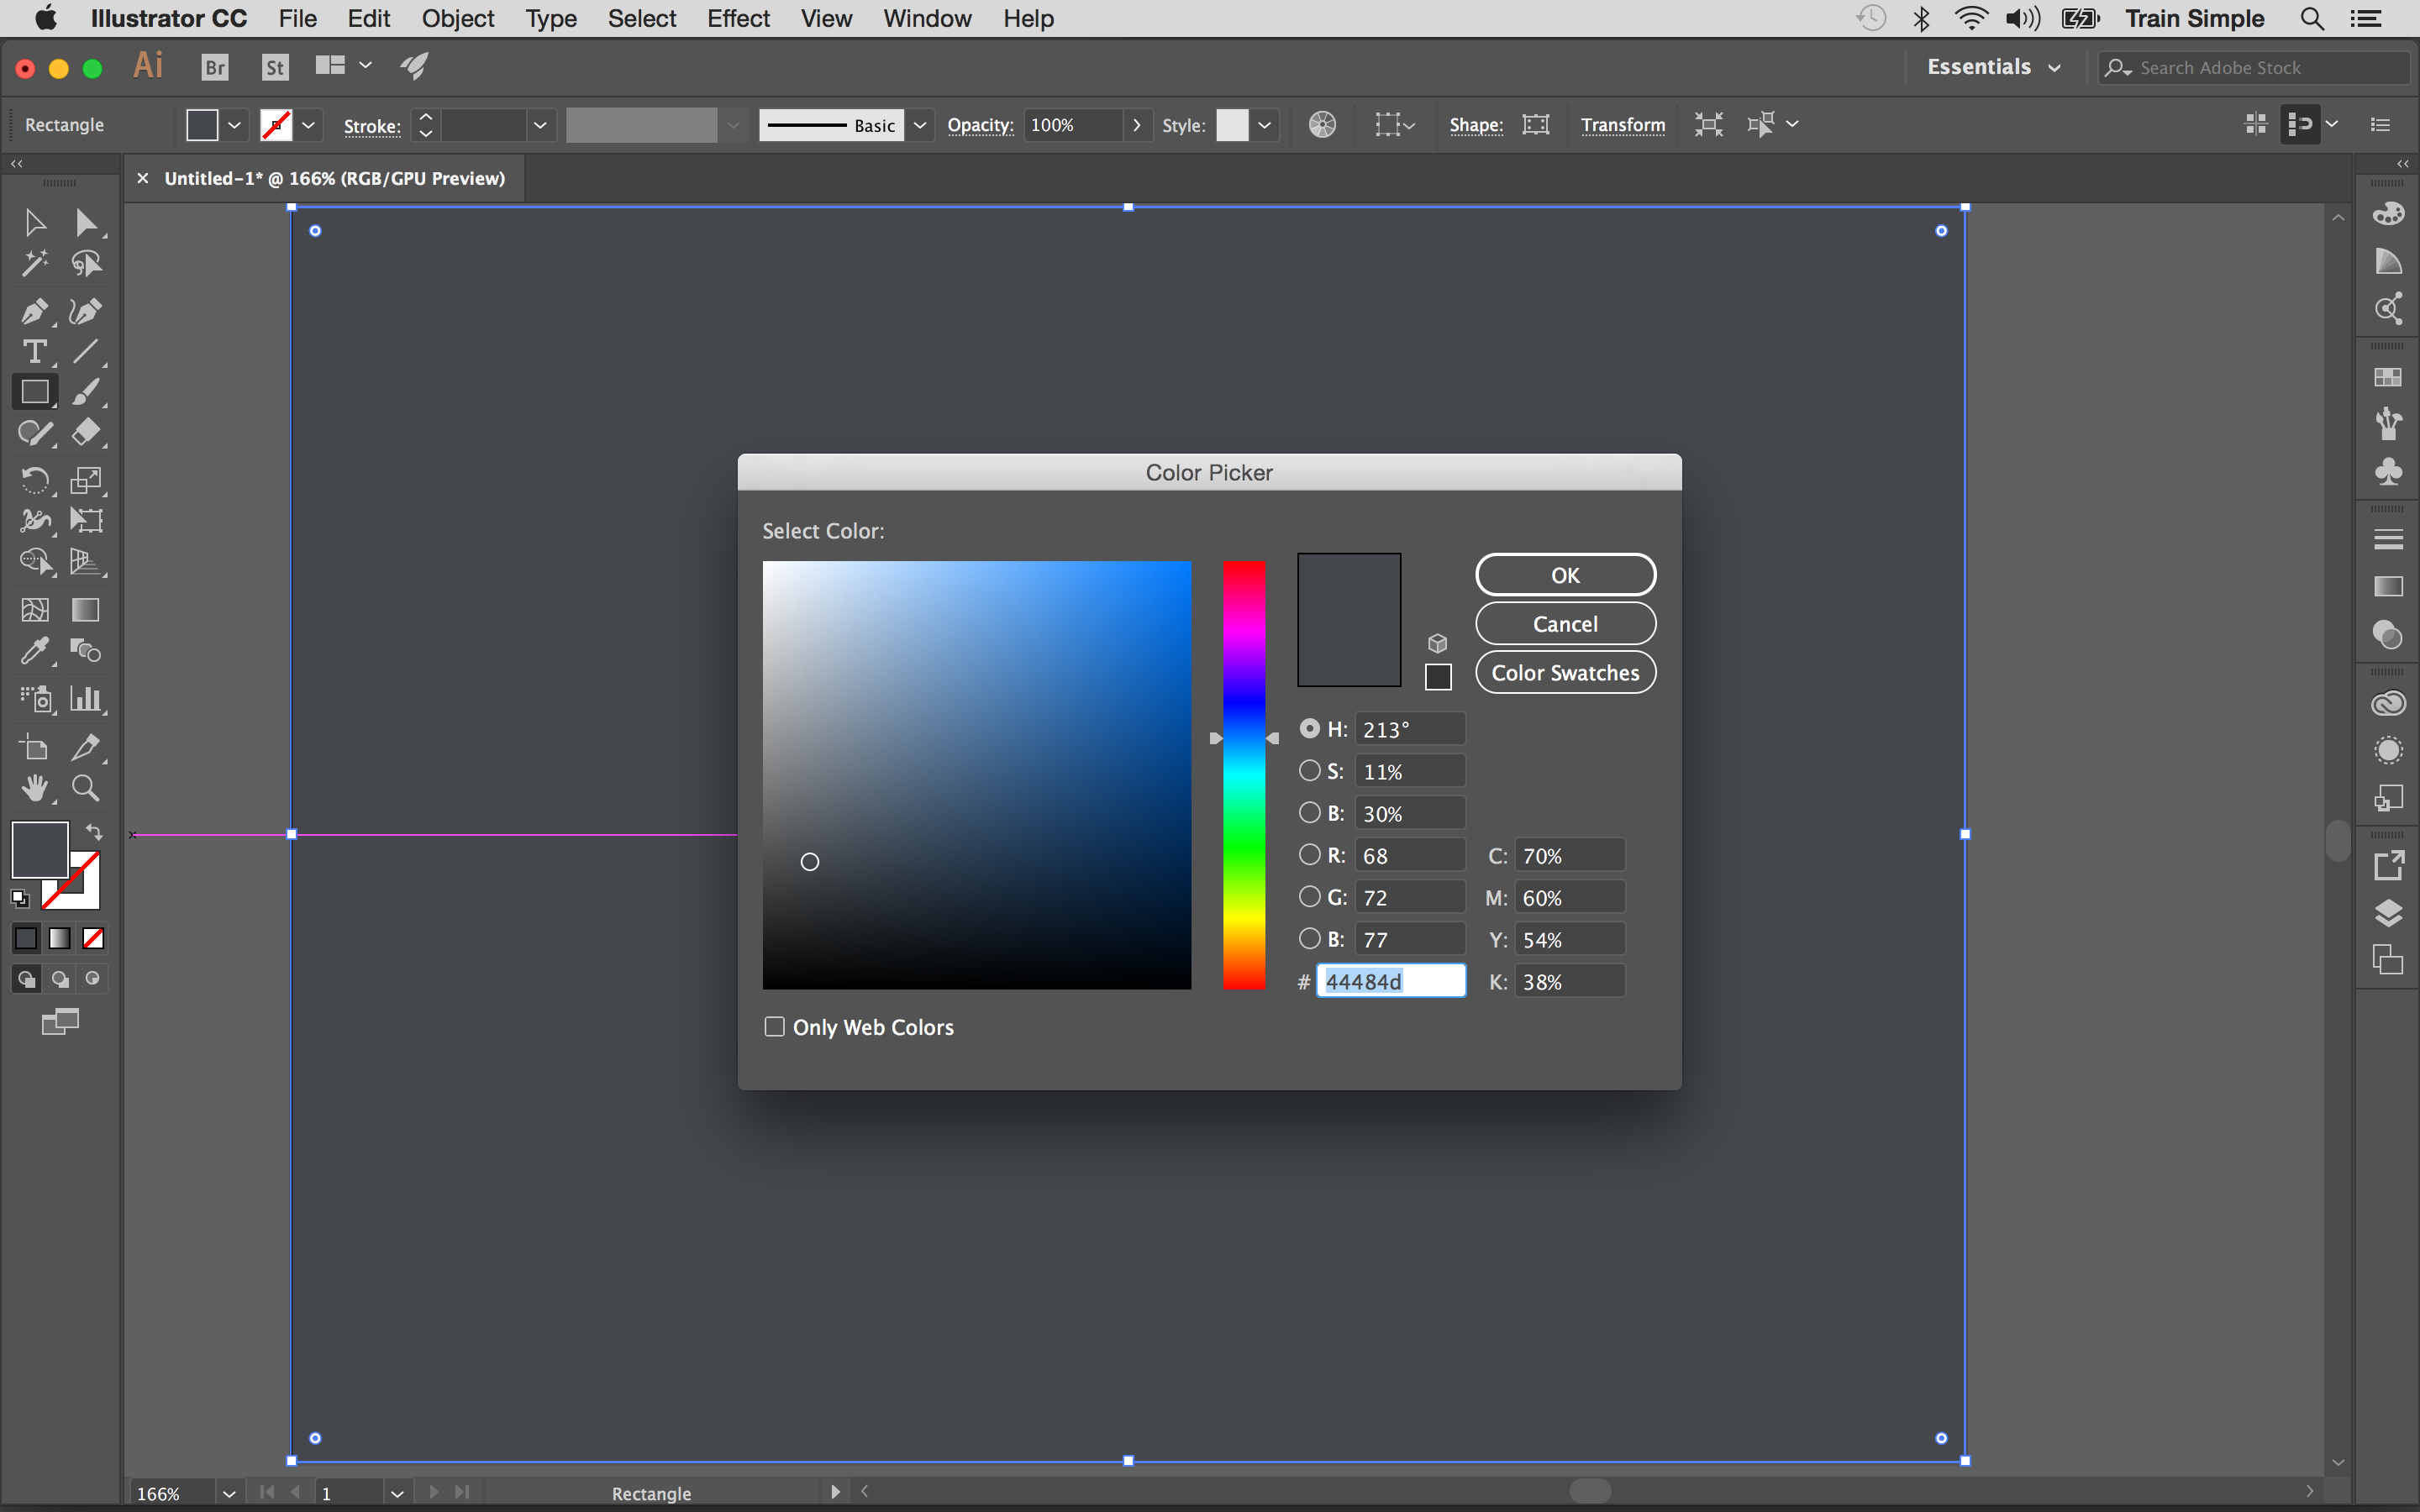
Select the Rectangle Tool (M) and pick #44484D fill color to draw a rectangle covering the canvas as the background.
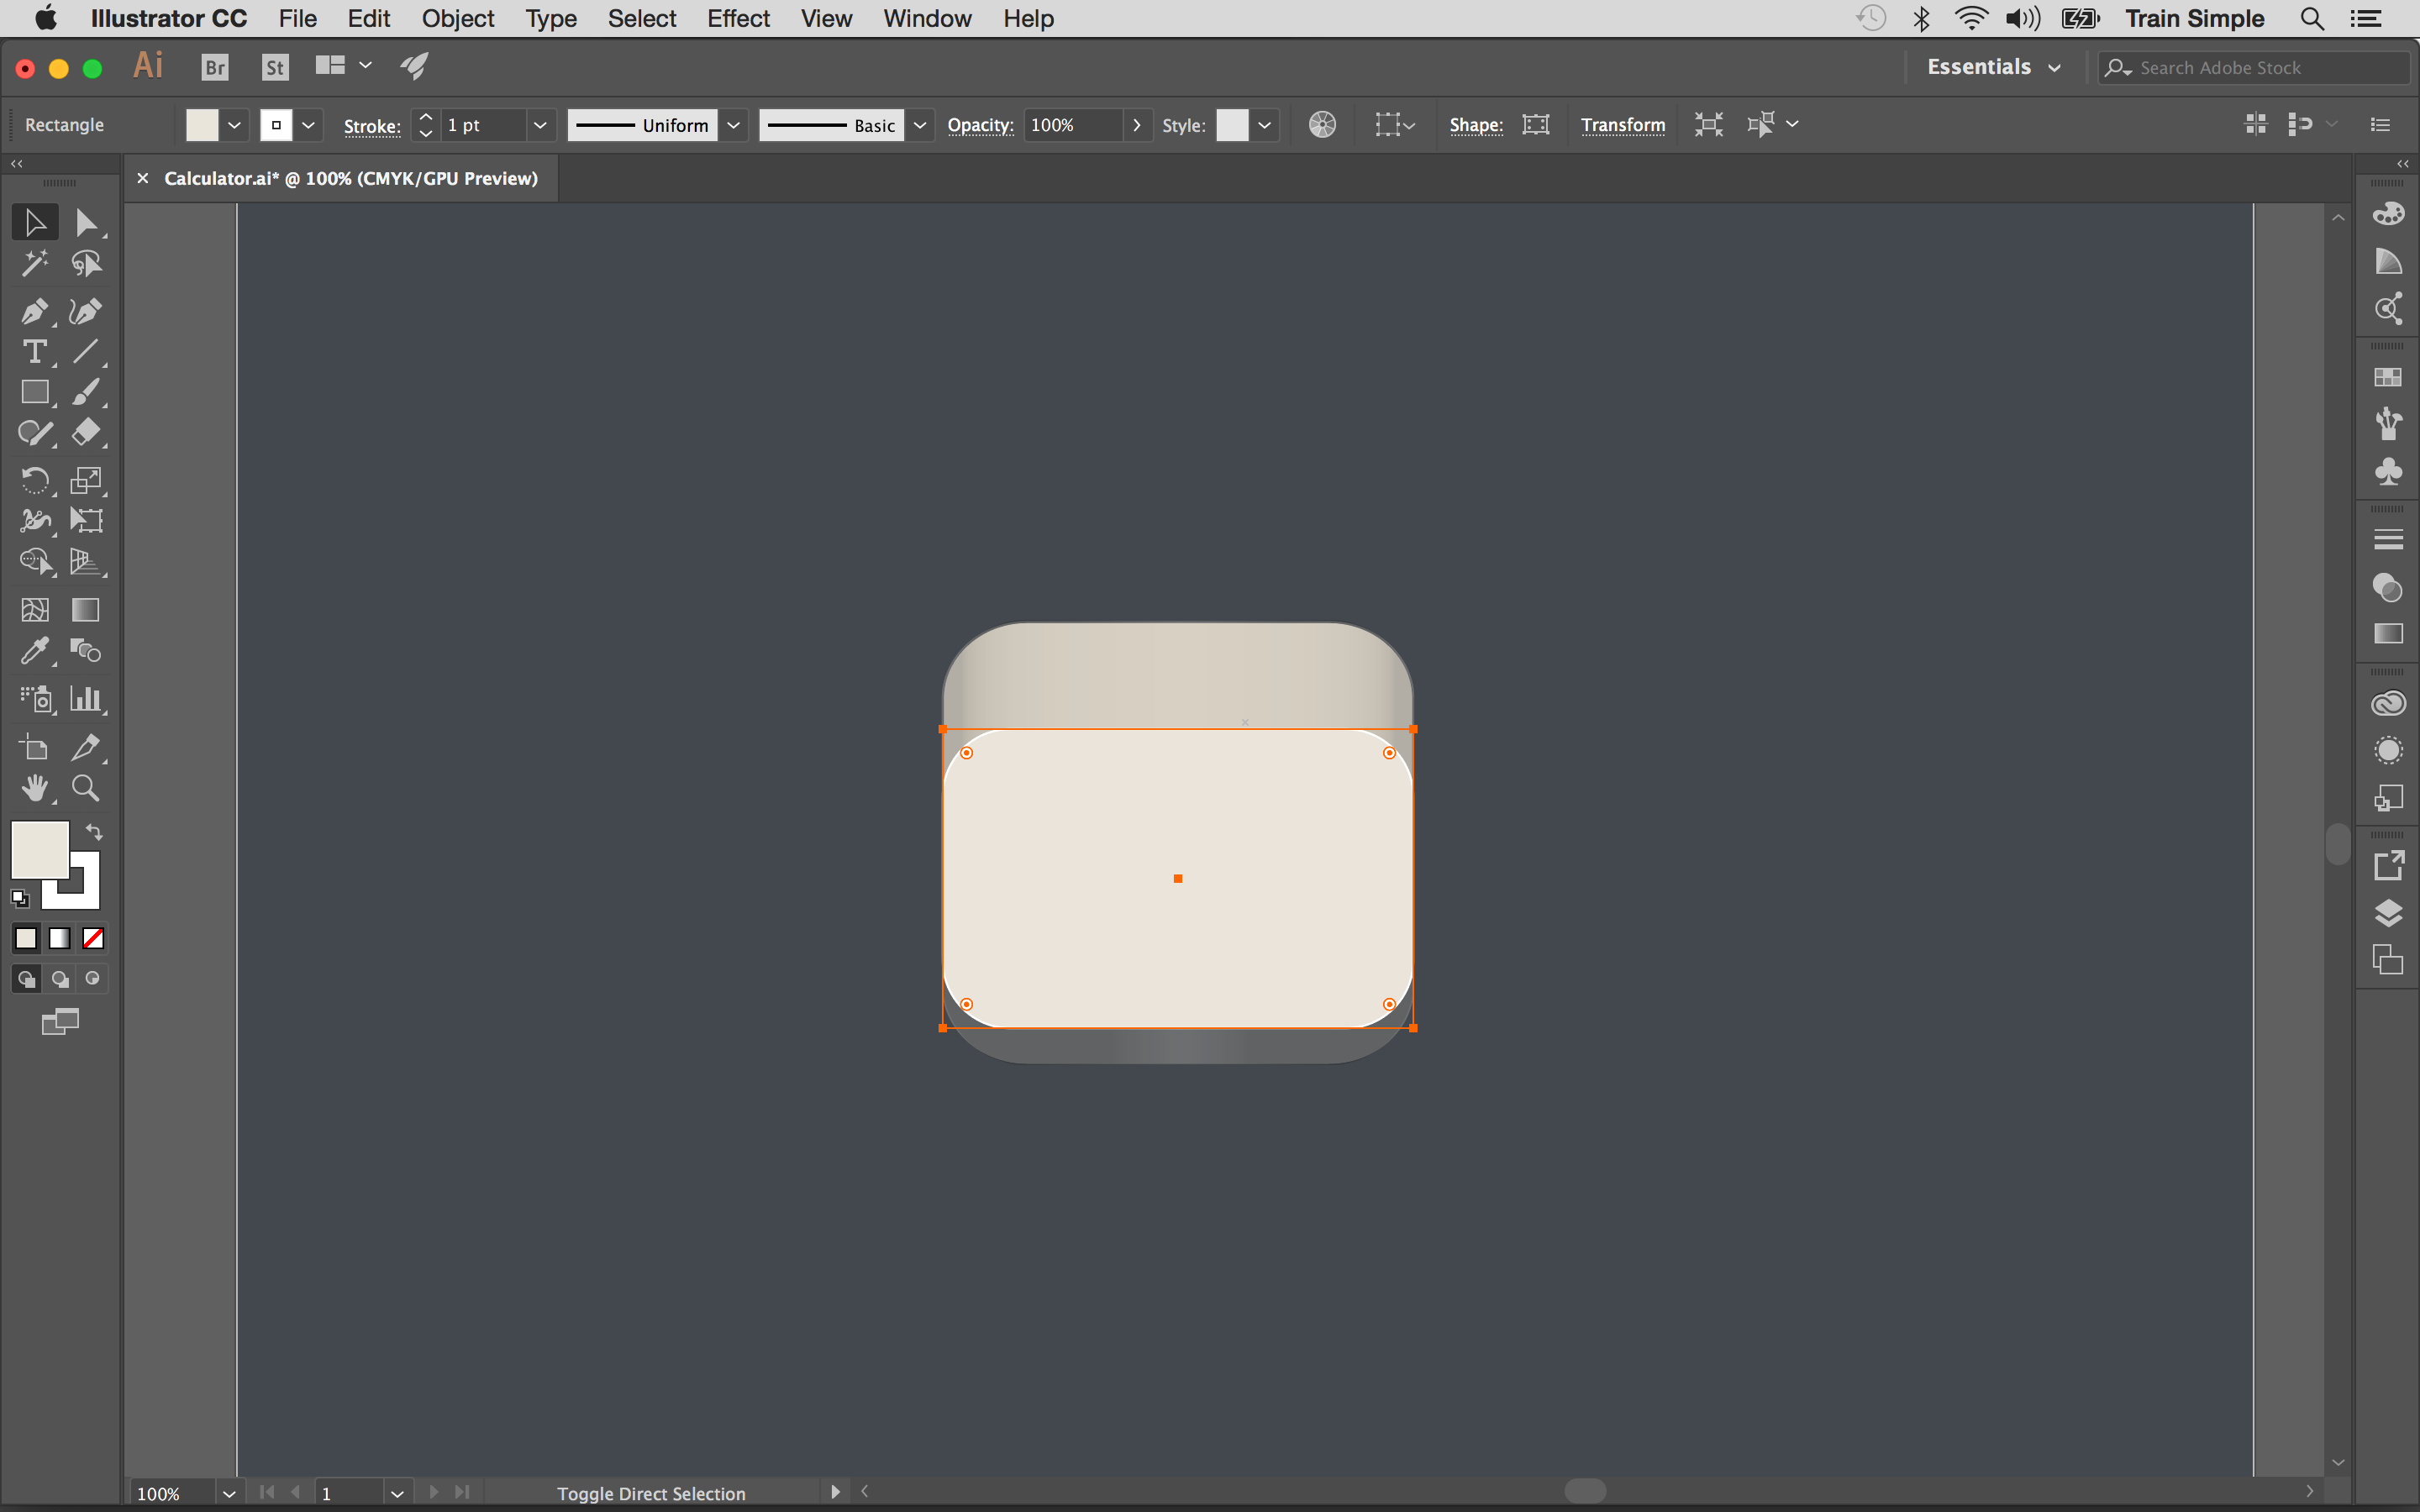
03. Make the base
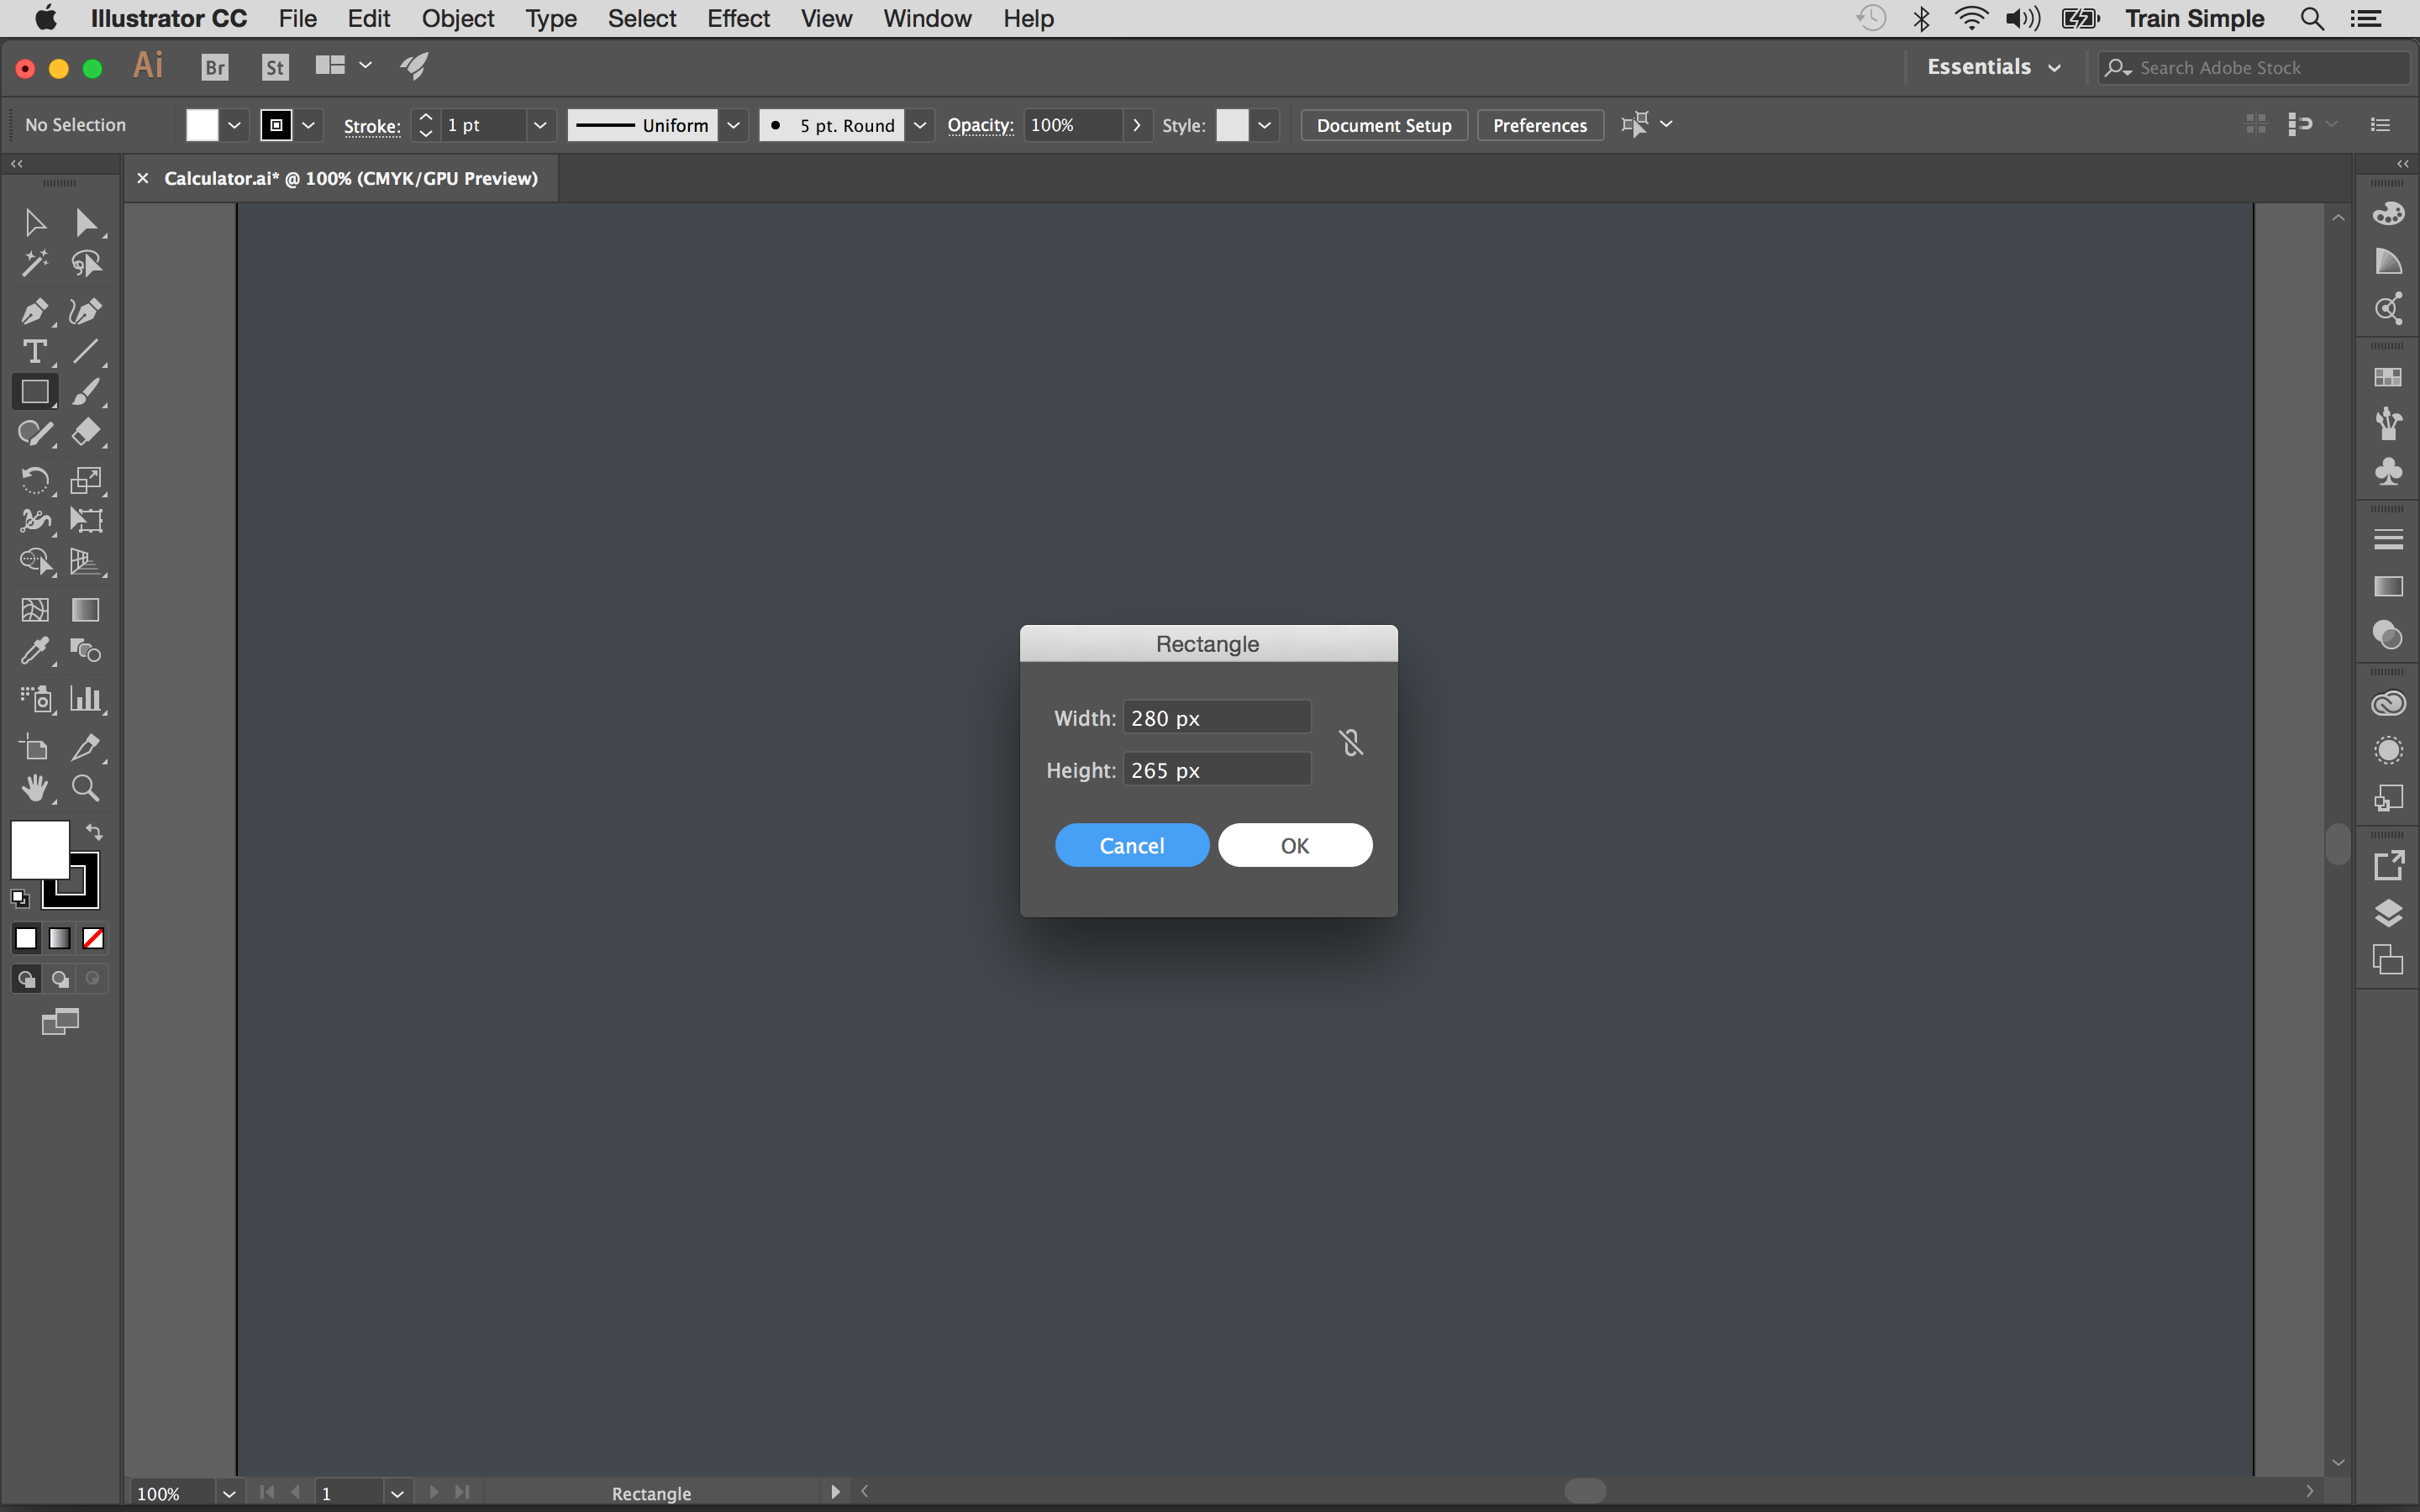
We’ll start by creating the icon’s base. So select the Rectangle Tool (M) and click the canvas to view options window. Enter 280px width, 265px height and hit OK to draw a rectangle as shown below. Pick #E7DED0 as the fill color.
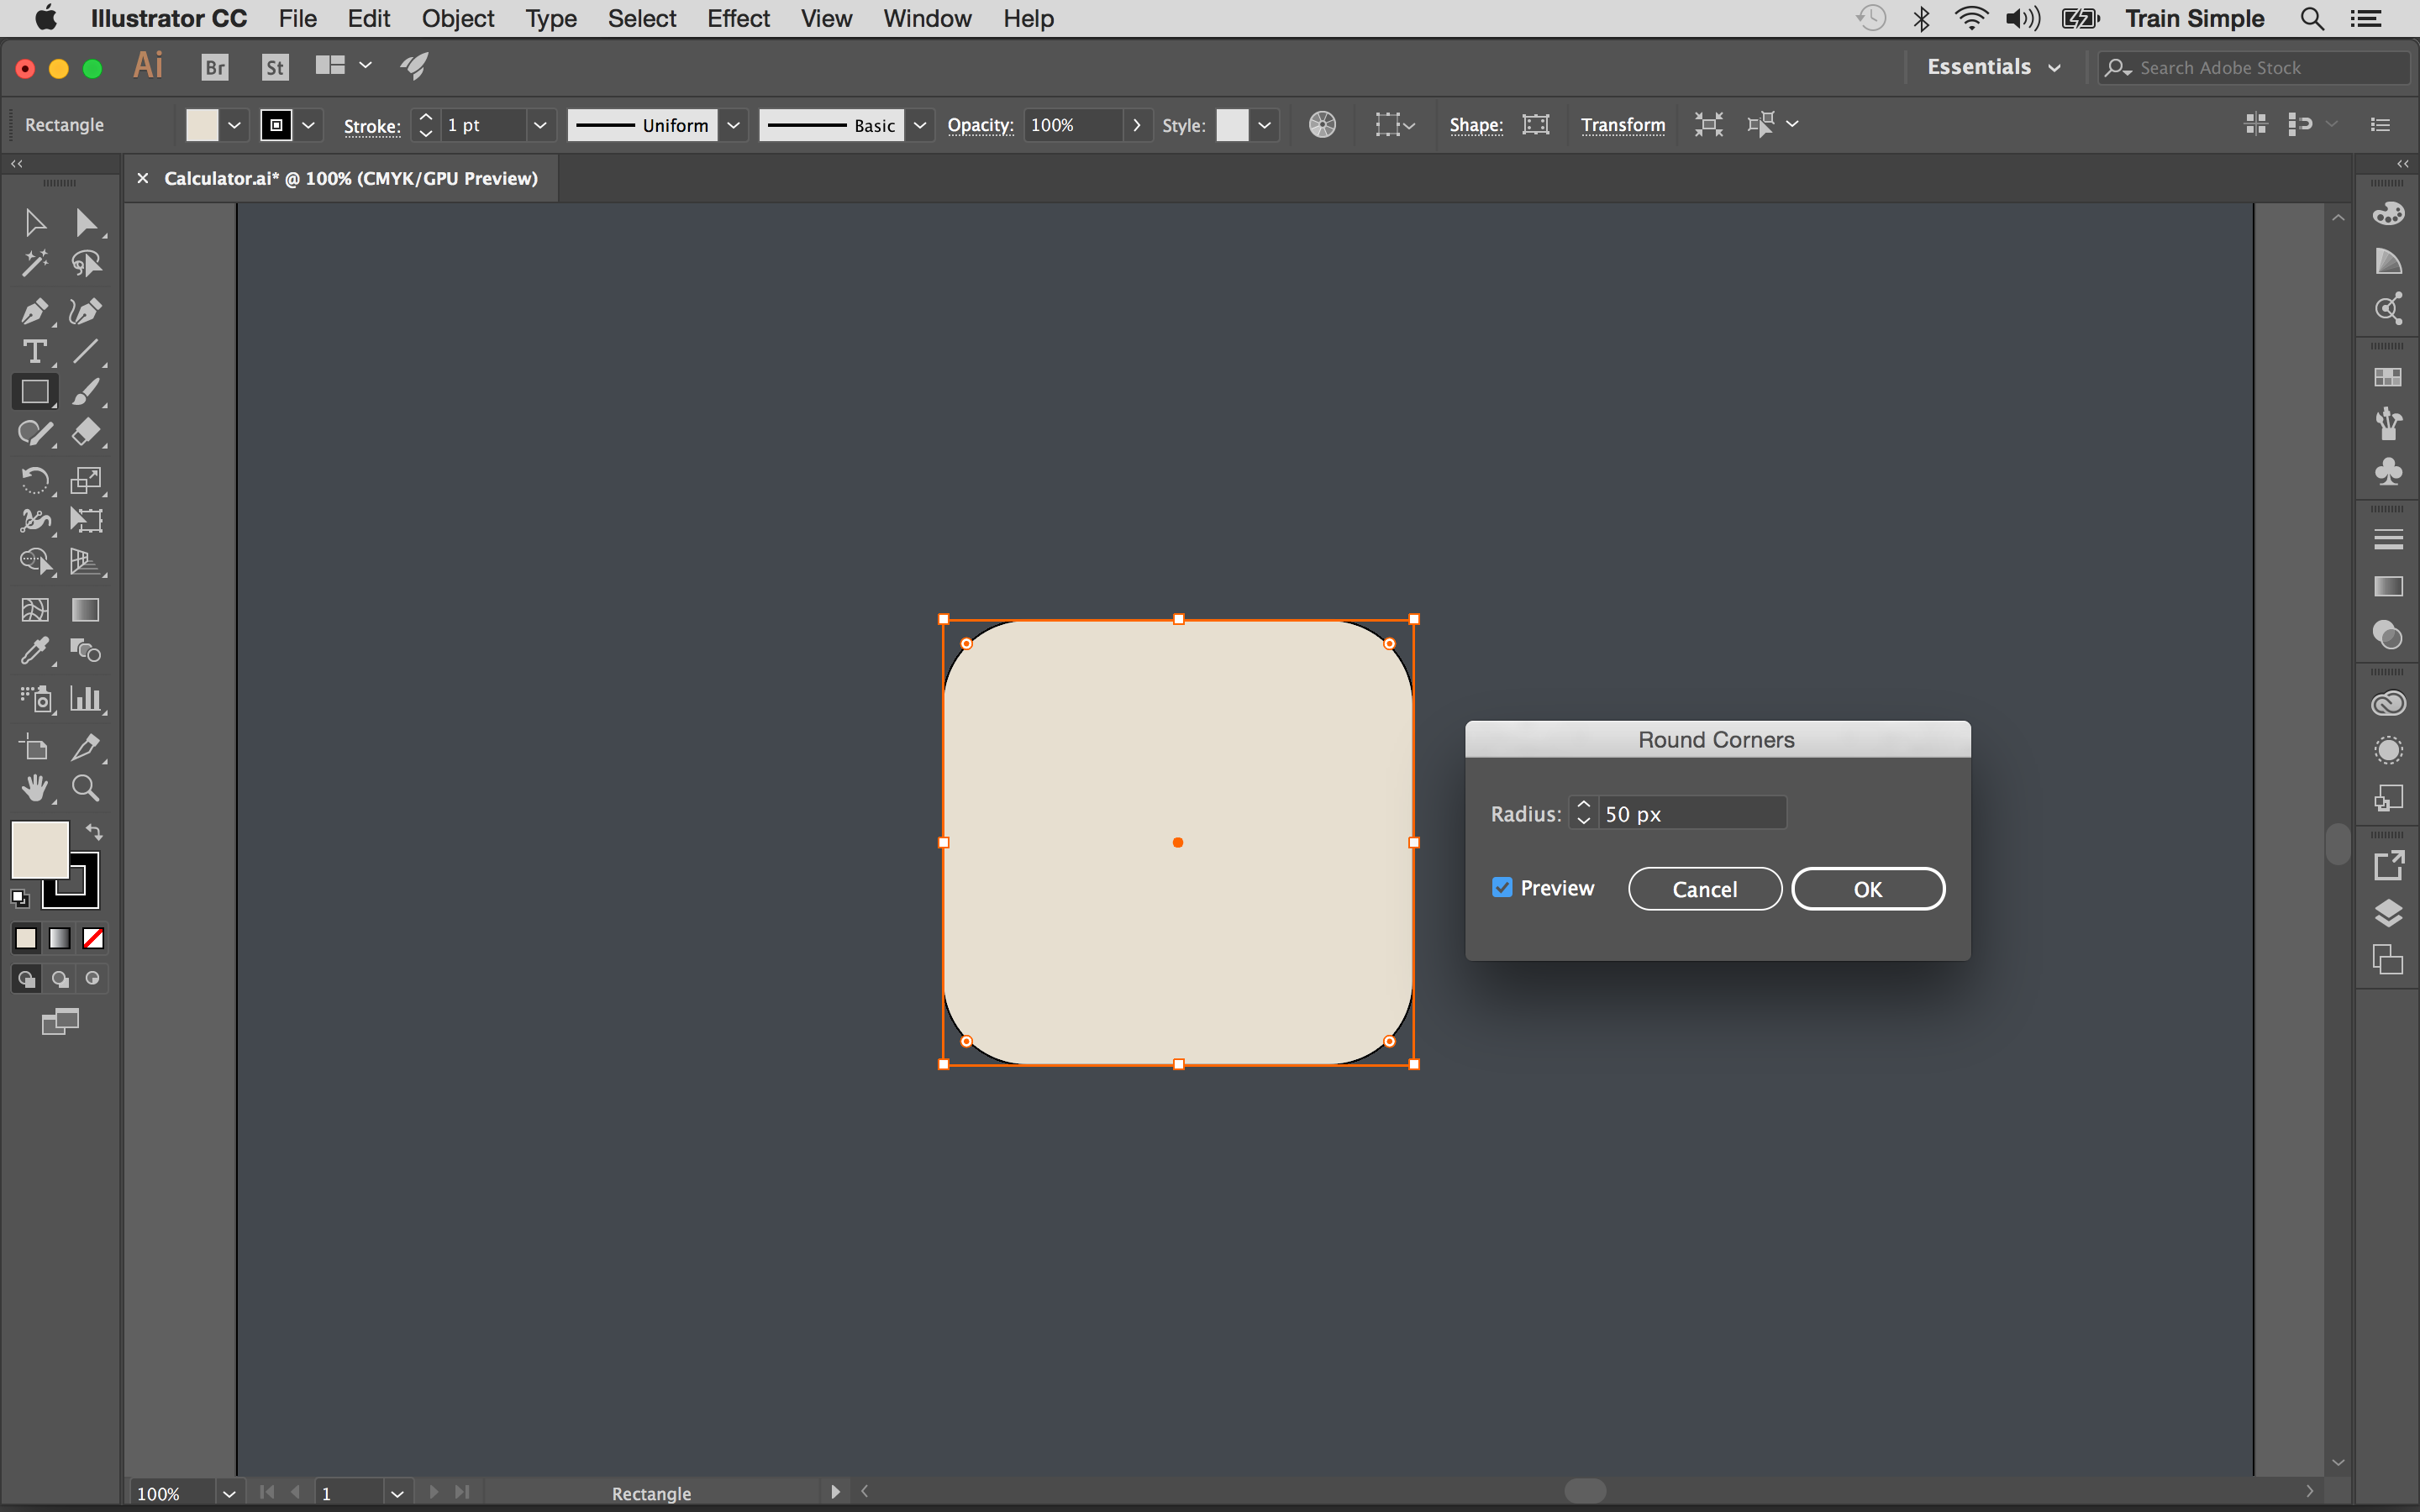
Next, we’ll convert it into a rounded rectangle. Select this rectangle with the help of Selection Tool (V) orby clicking the ring-shaped target present at right side of respective layer. And go to Effect > Stylize > Round Corners. Enter 50px for the radius and hit OK.
04. Set effect
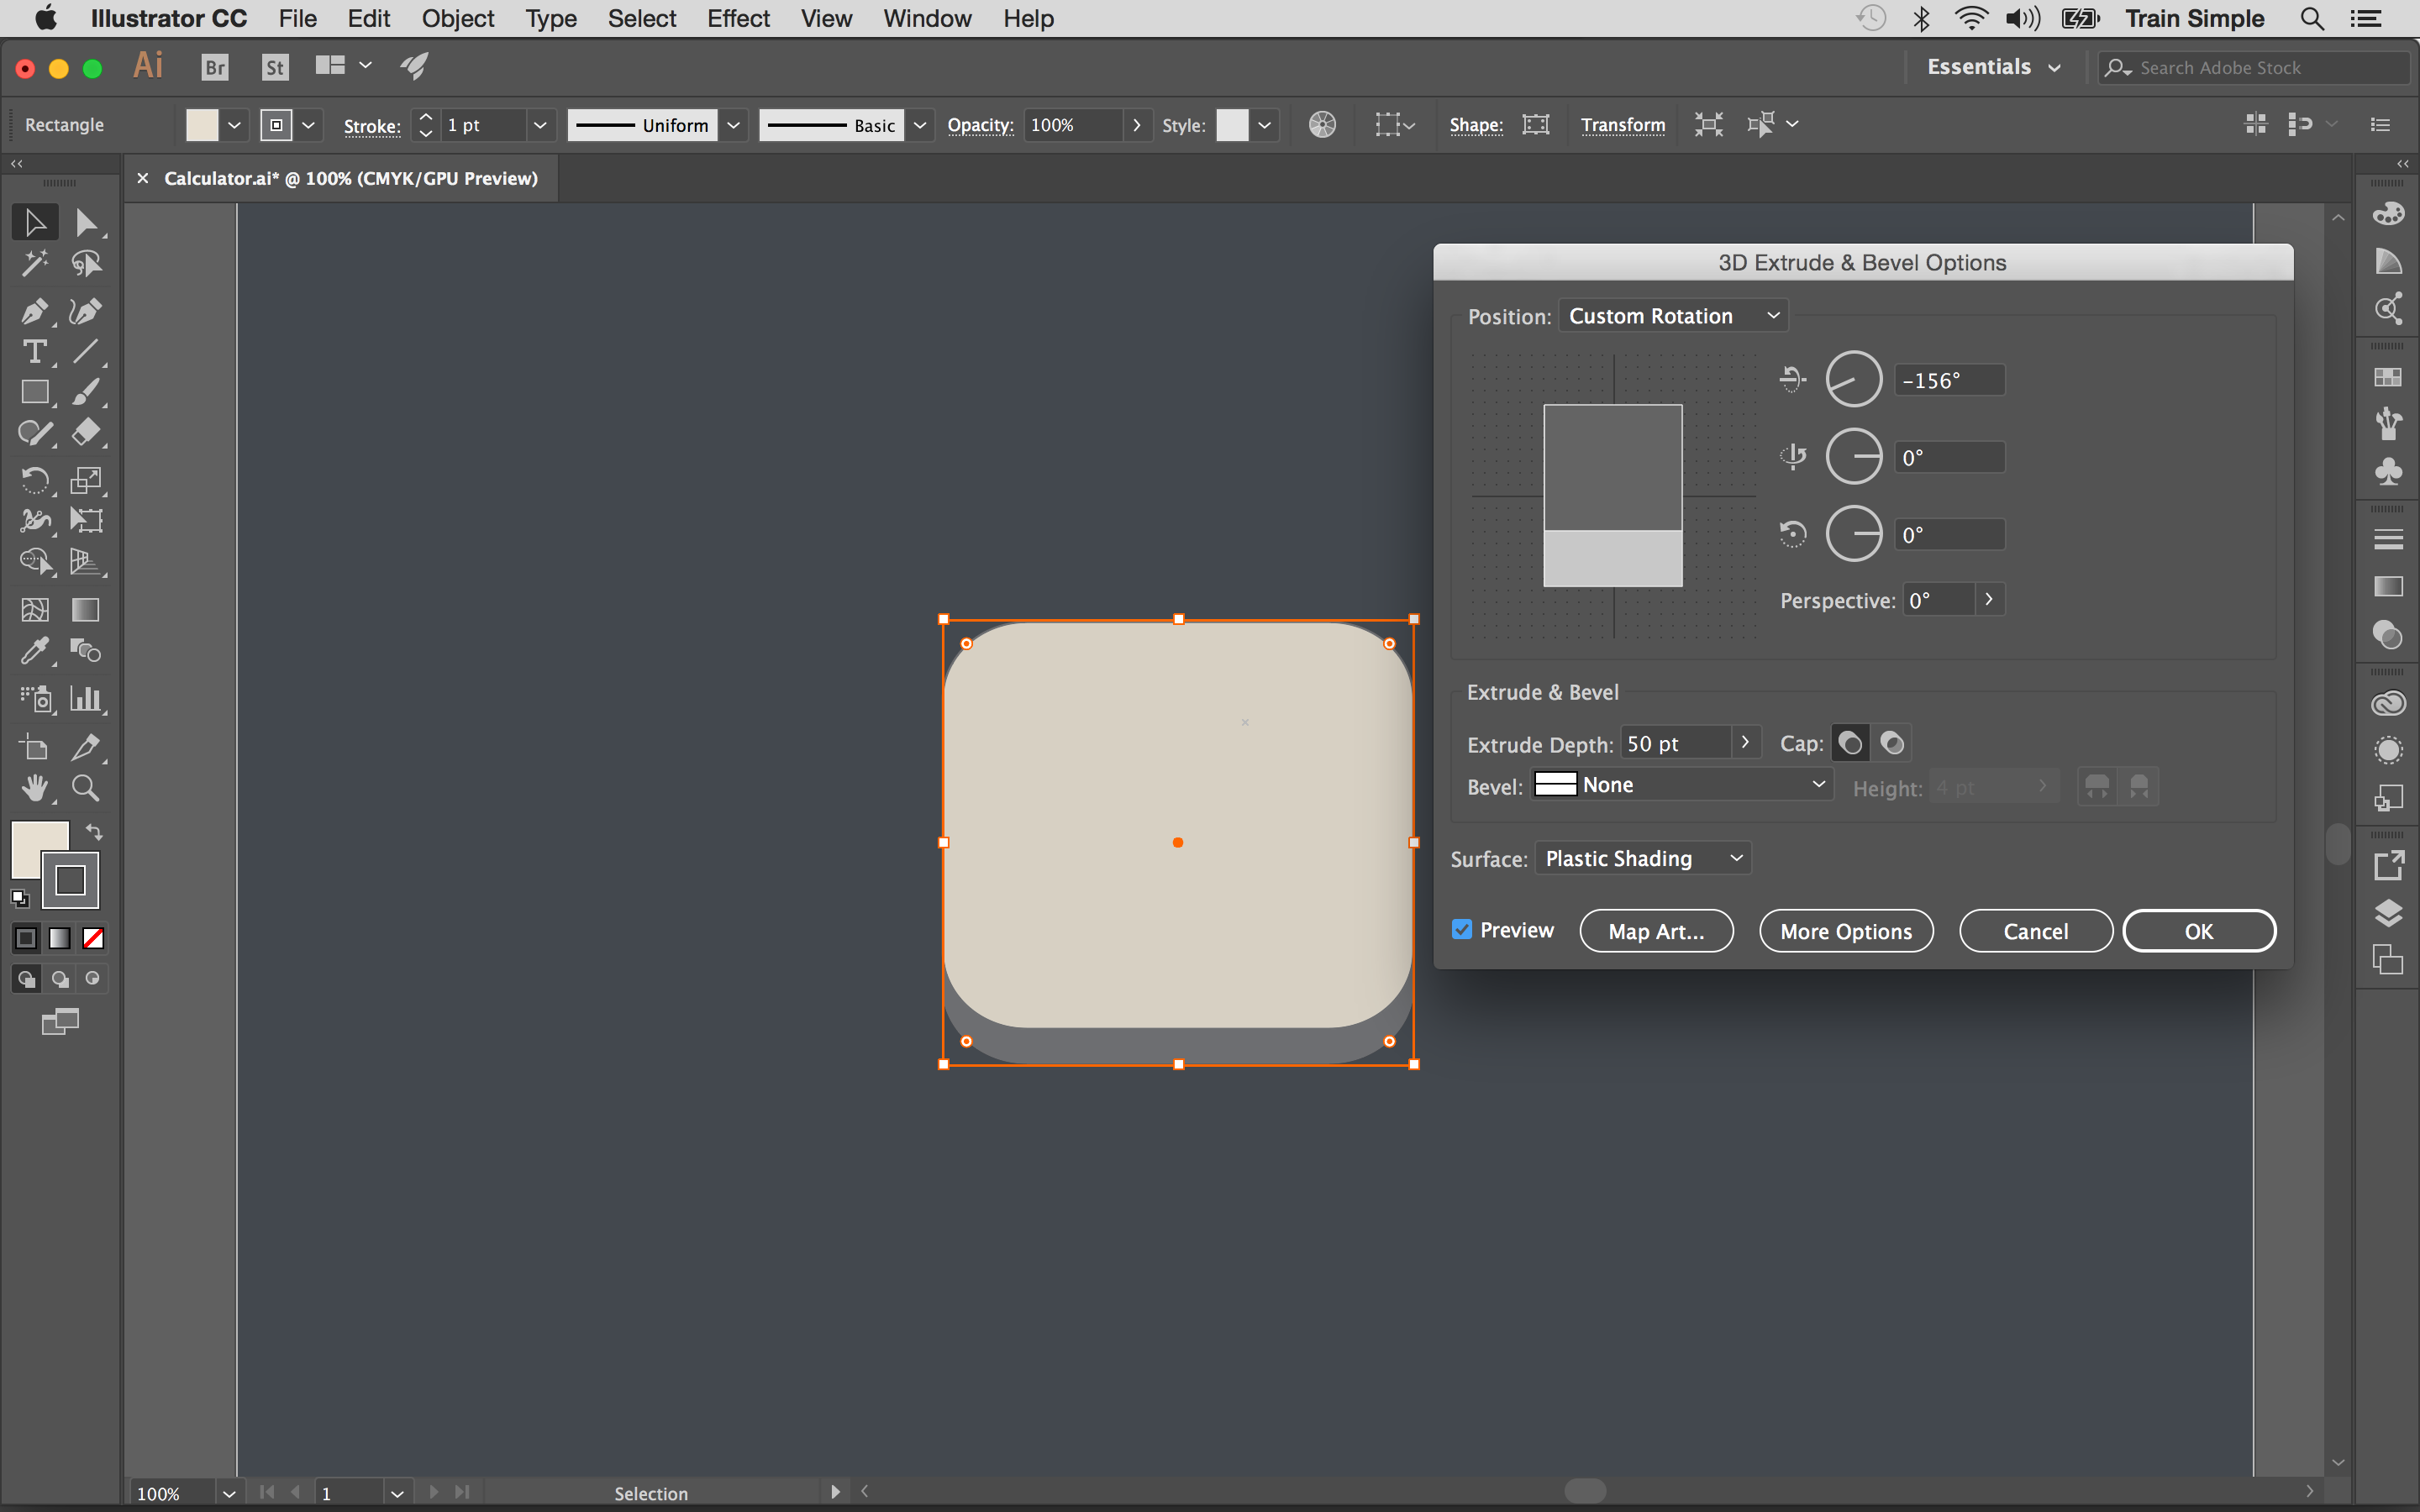
Select this rectangle and go to Effect > 3D > Extrude & Bevel. Apply given settings here.
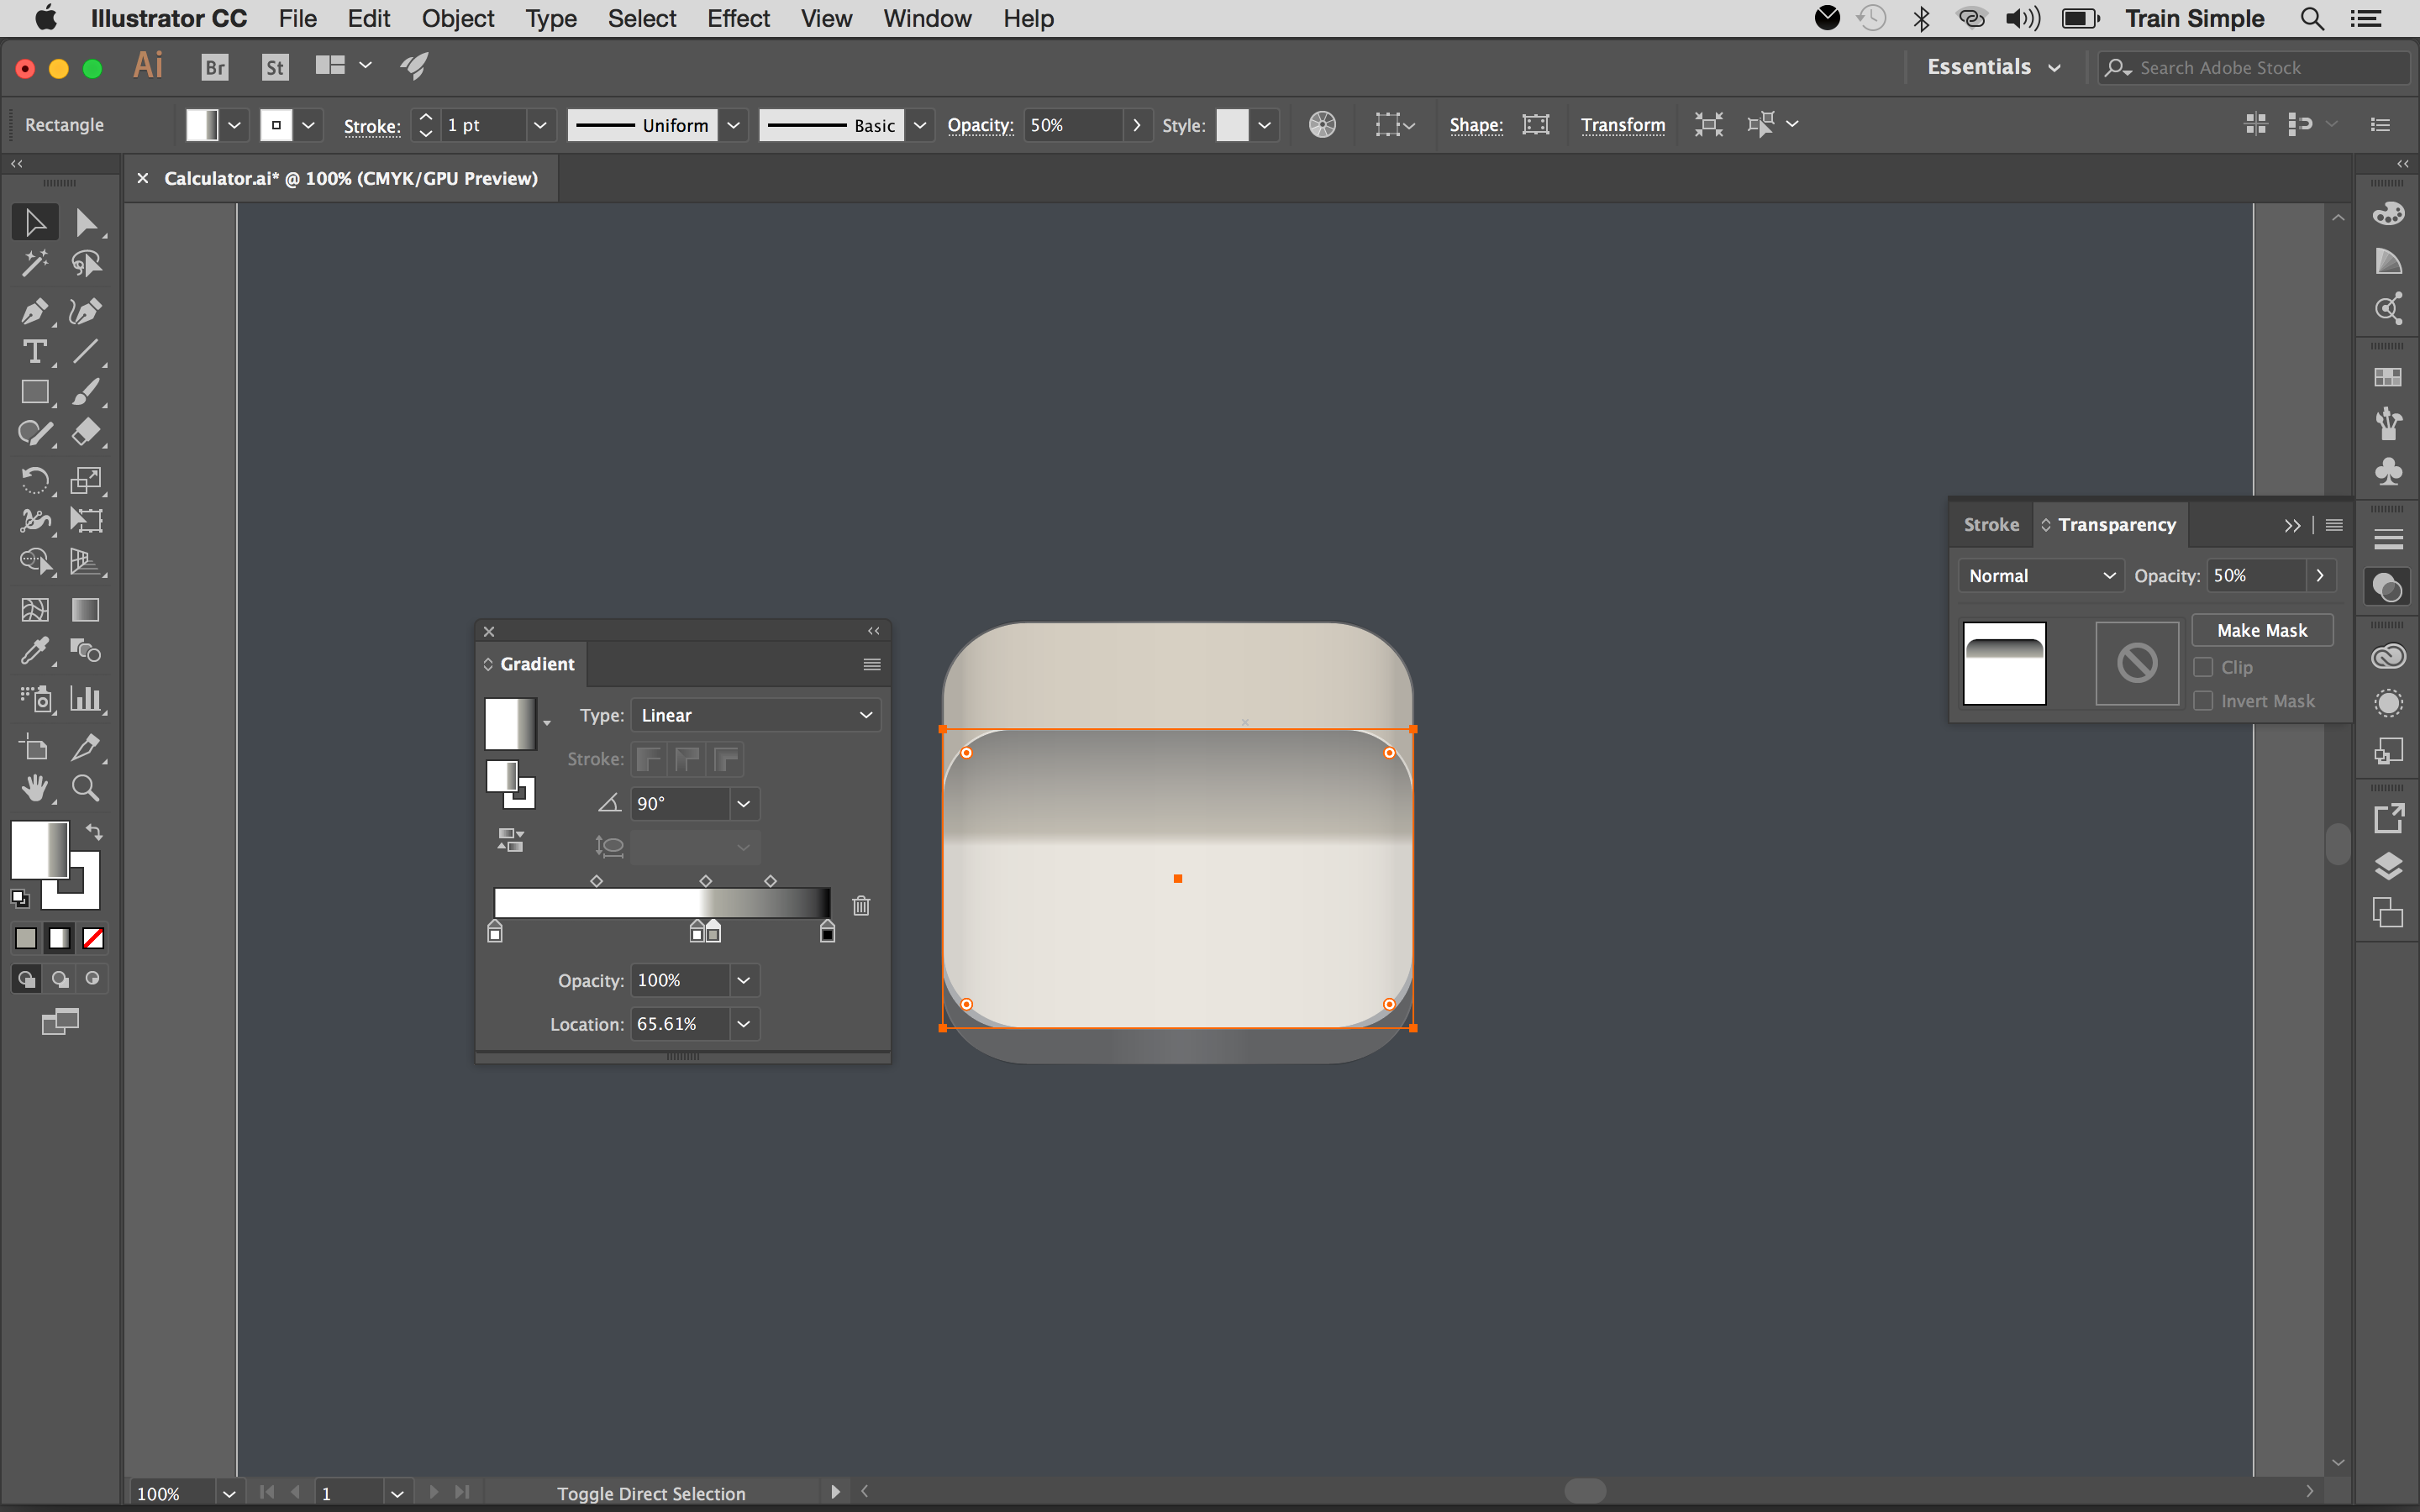
05. Apply a gradient
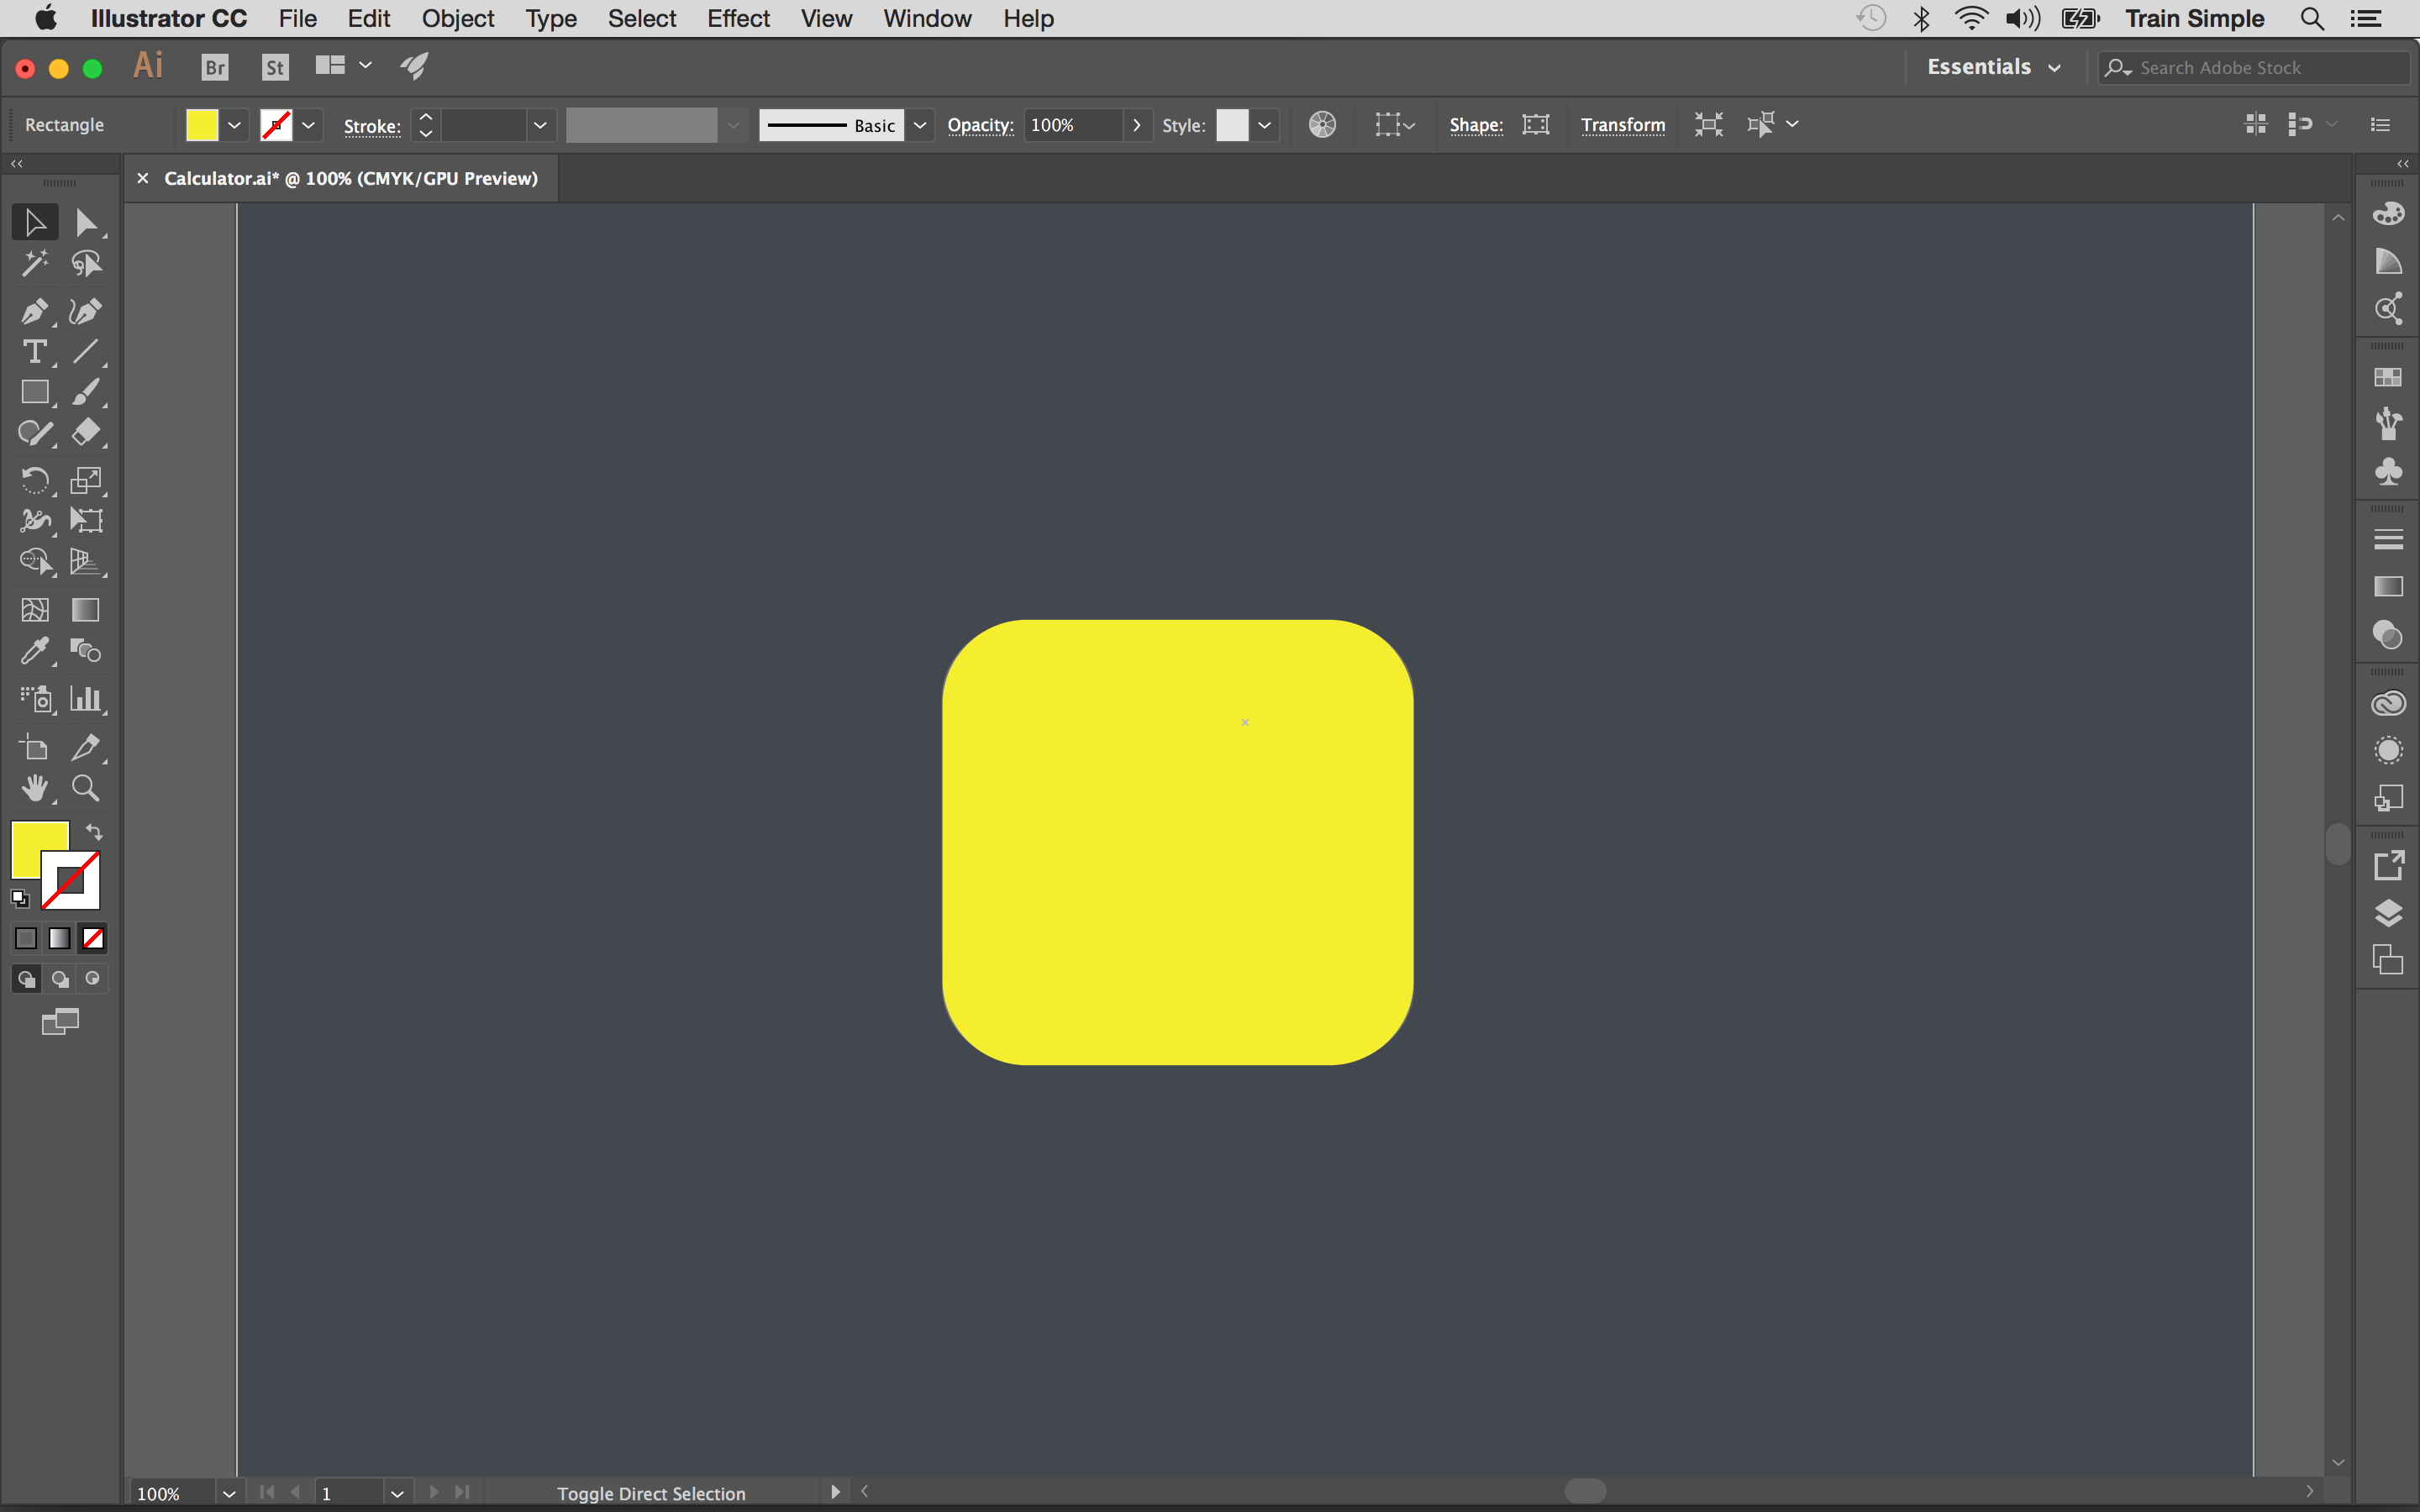
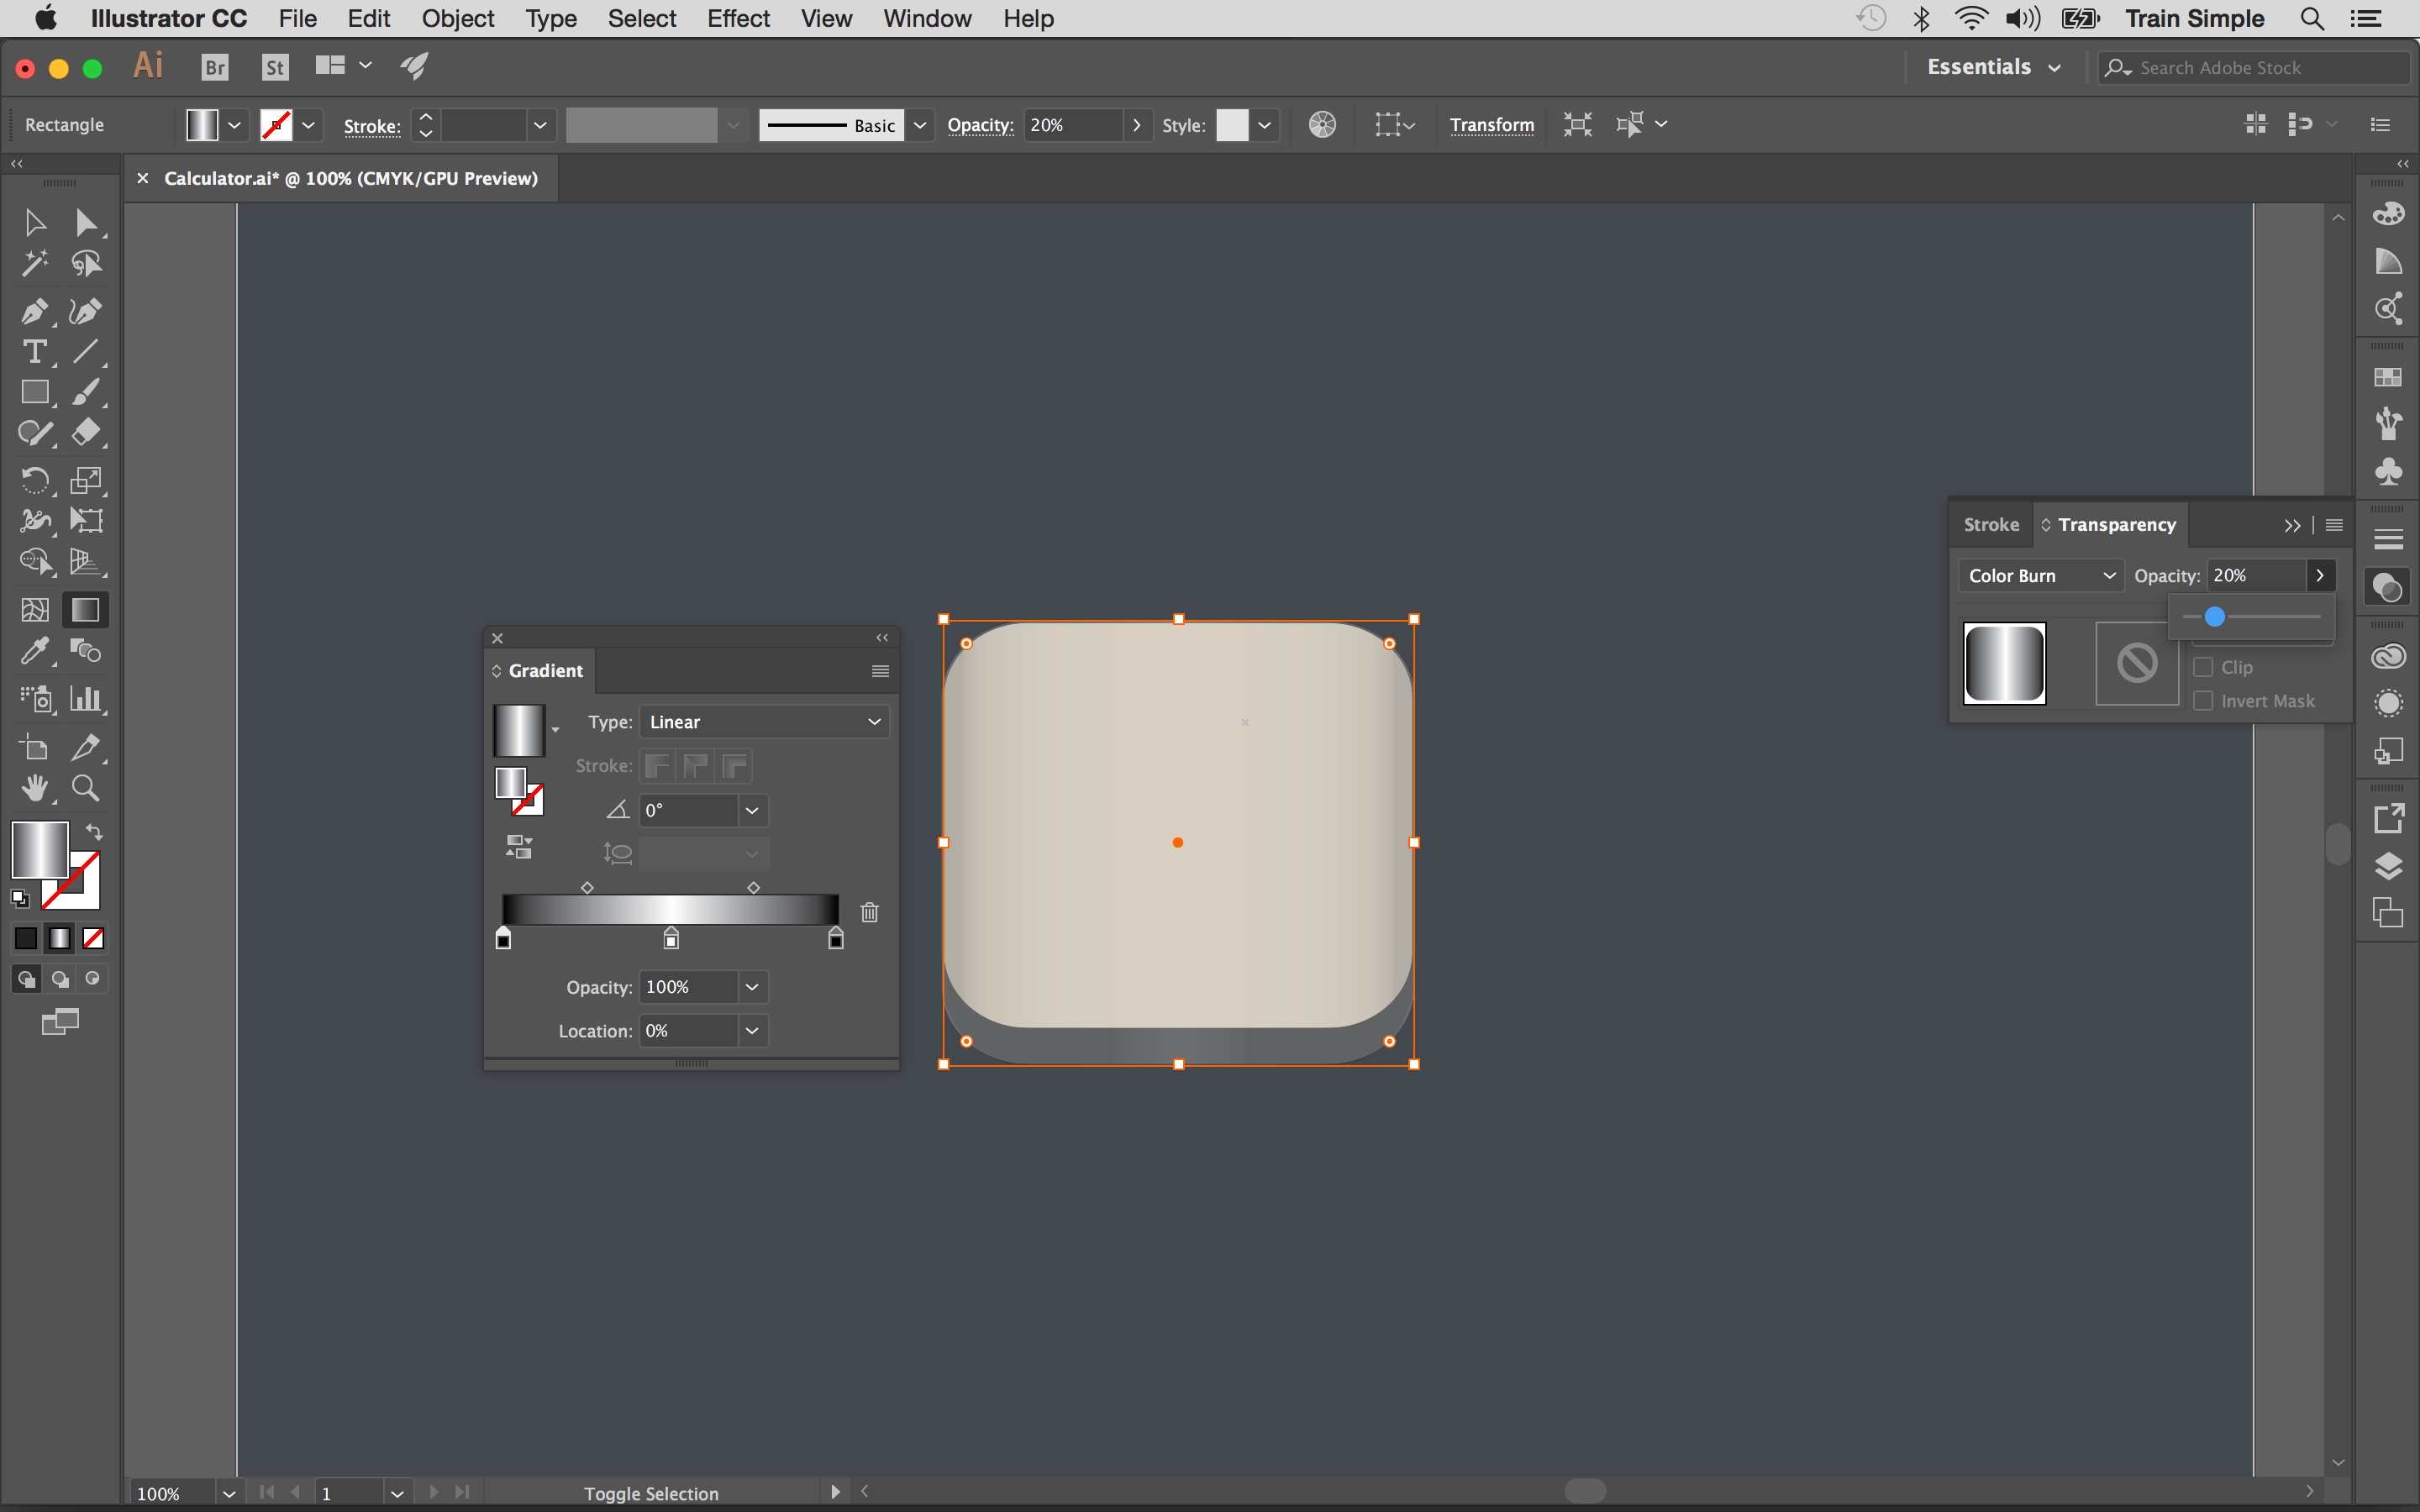
To apply subtle gradient over the base, draw a rectangle covering the entire 3d shape using any fill color. Now convert it into a rounded rectangle with 50px corner radius.
Now replace its fill with a Black-White-Black gradient using Gradient Tool (G). Change its blending mode to Color Burn with 20% opacity in the Transparency Panel (Shift + Ctrl+F10).
06. Create another rectangle
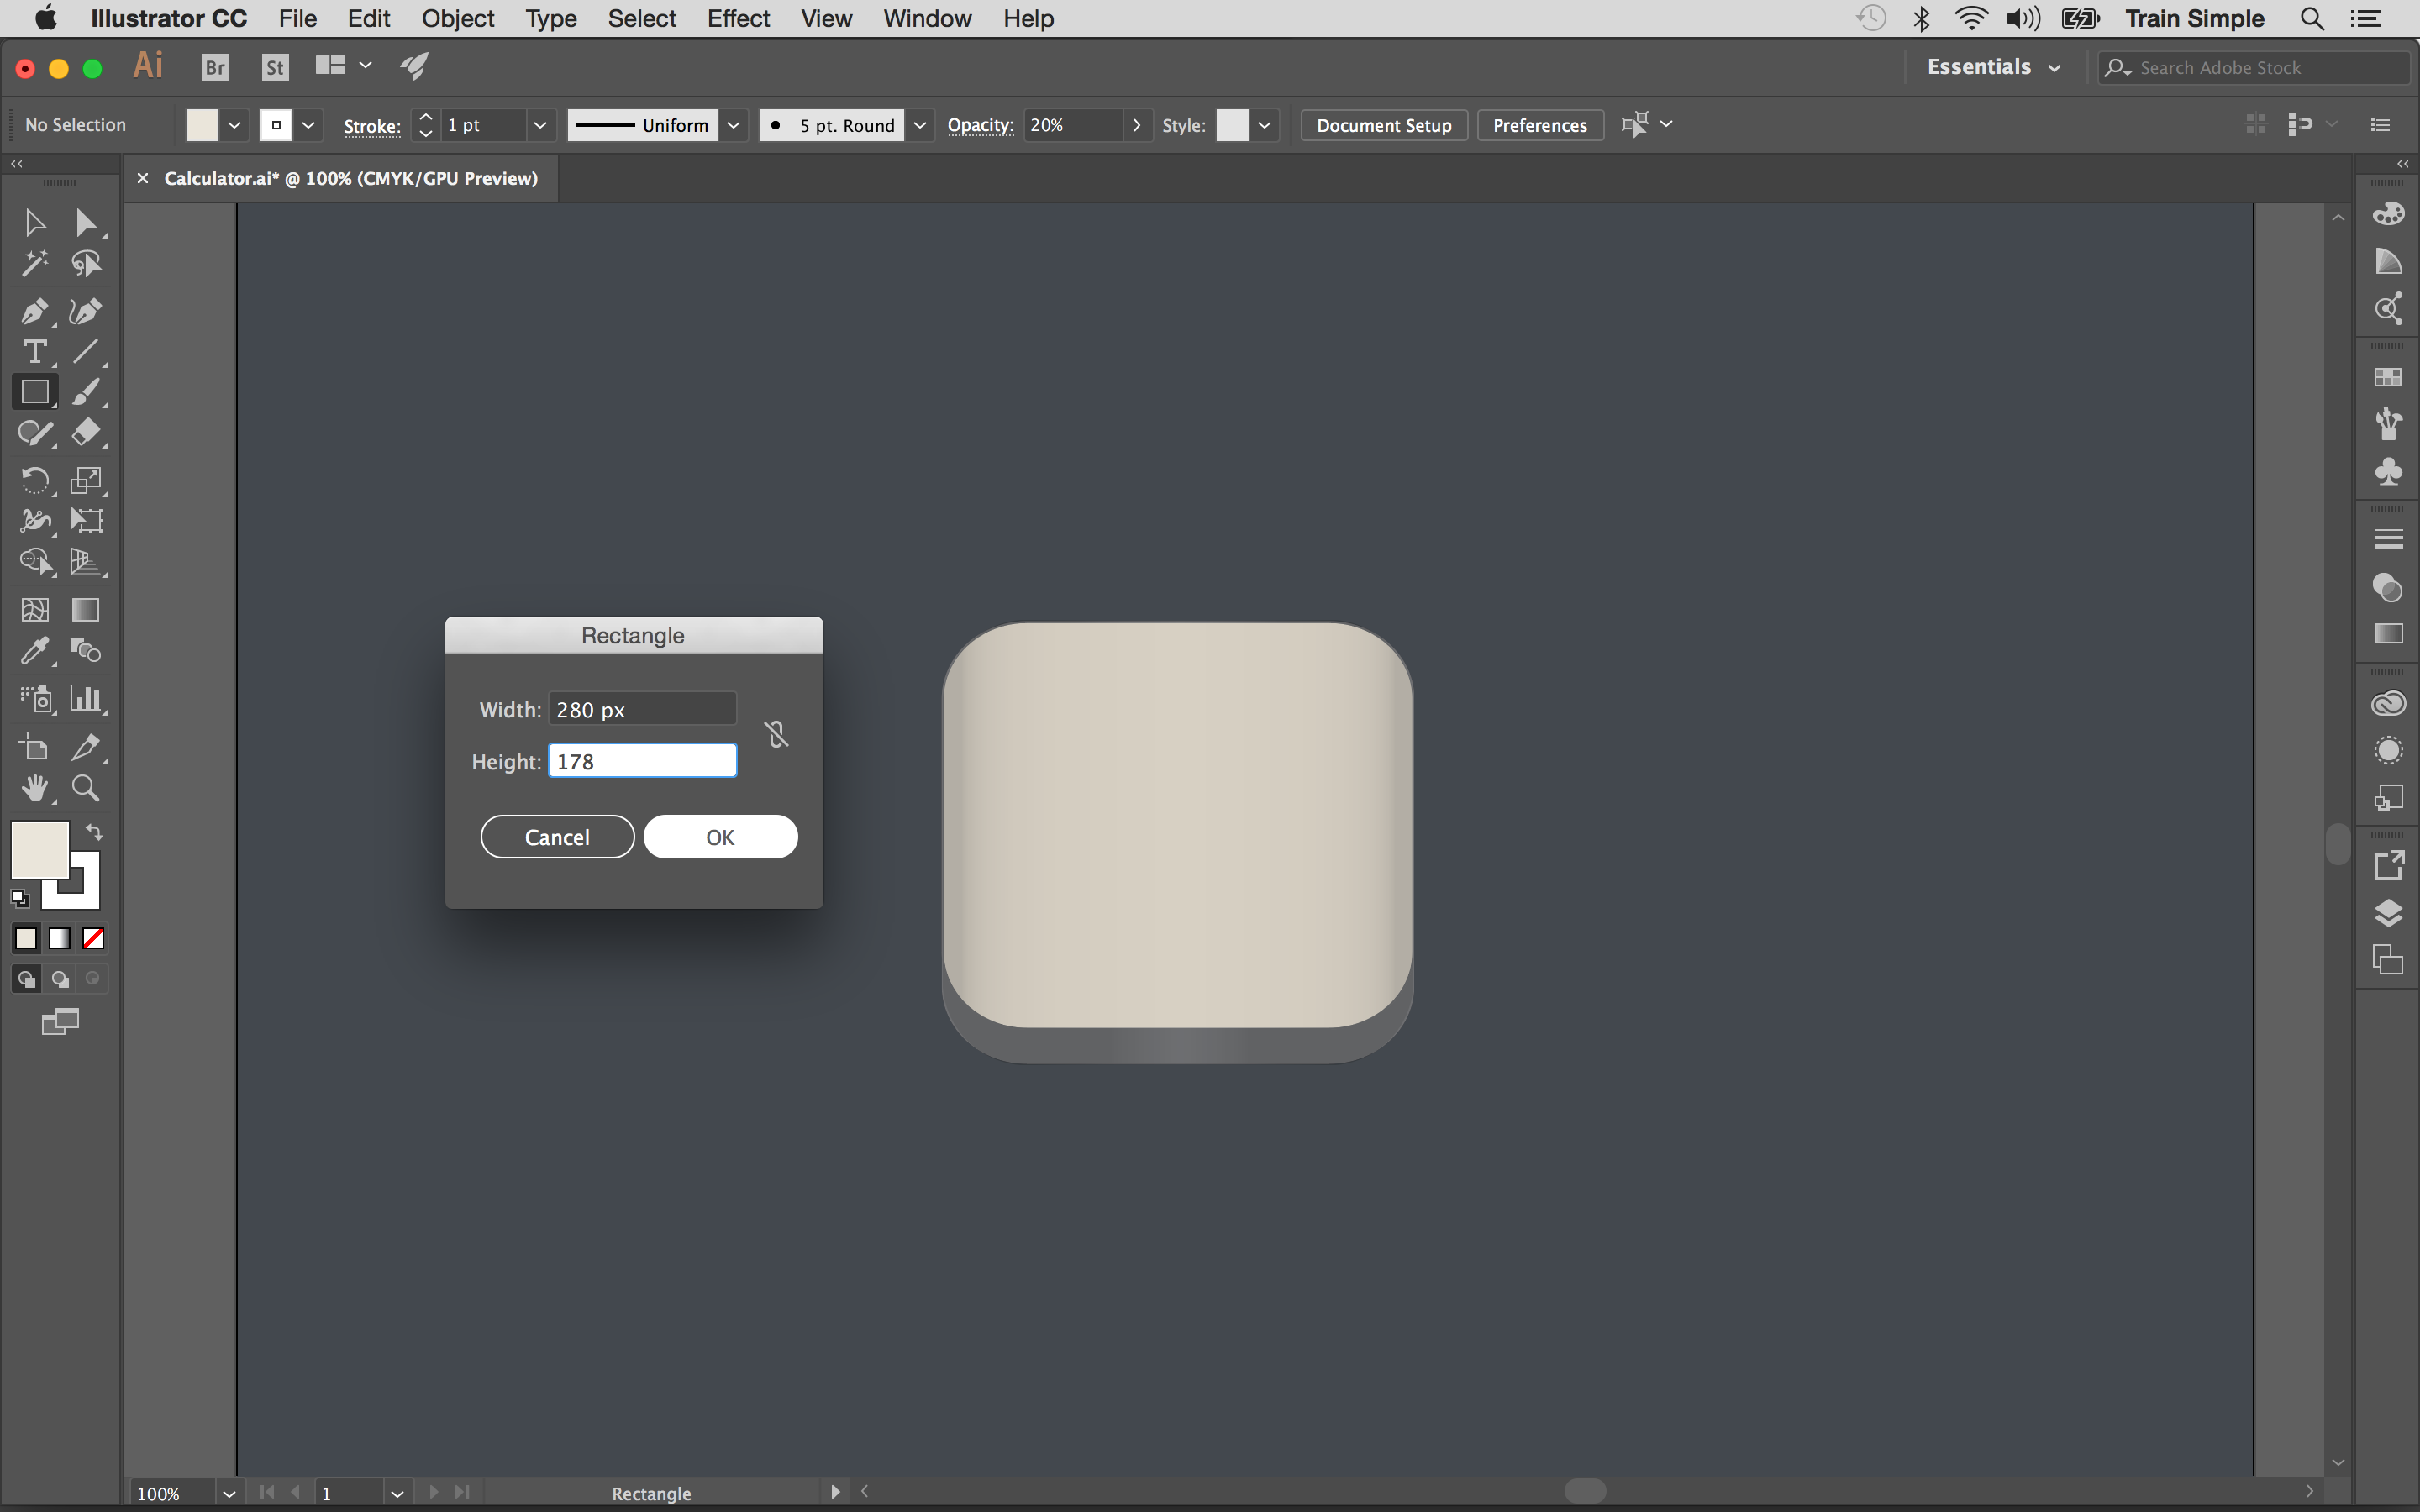
Next, draw another rectangle with 280px width and 178px height using #E9E3D9 fill color and white color stroke. Choose 1pt stroke weight from top control bar.
Now convert it into a rounded rectangle by 40px radius.
After that, apply following gradient on it and change its blending mode to Multiply with 50% opacity in the Transparency Panel (Shift + Ctrl+F10).
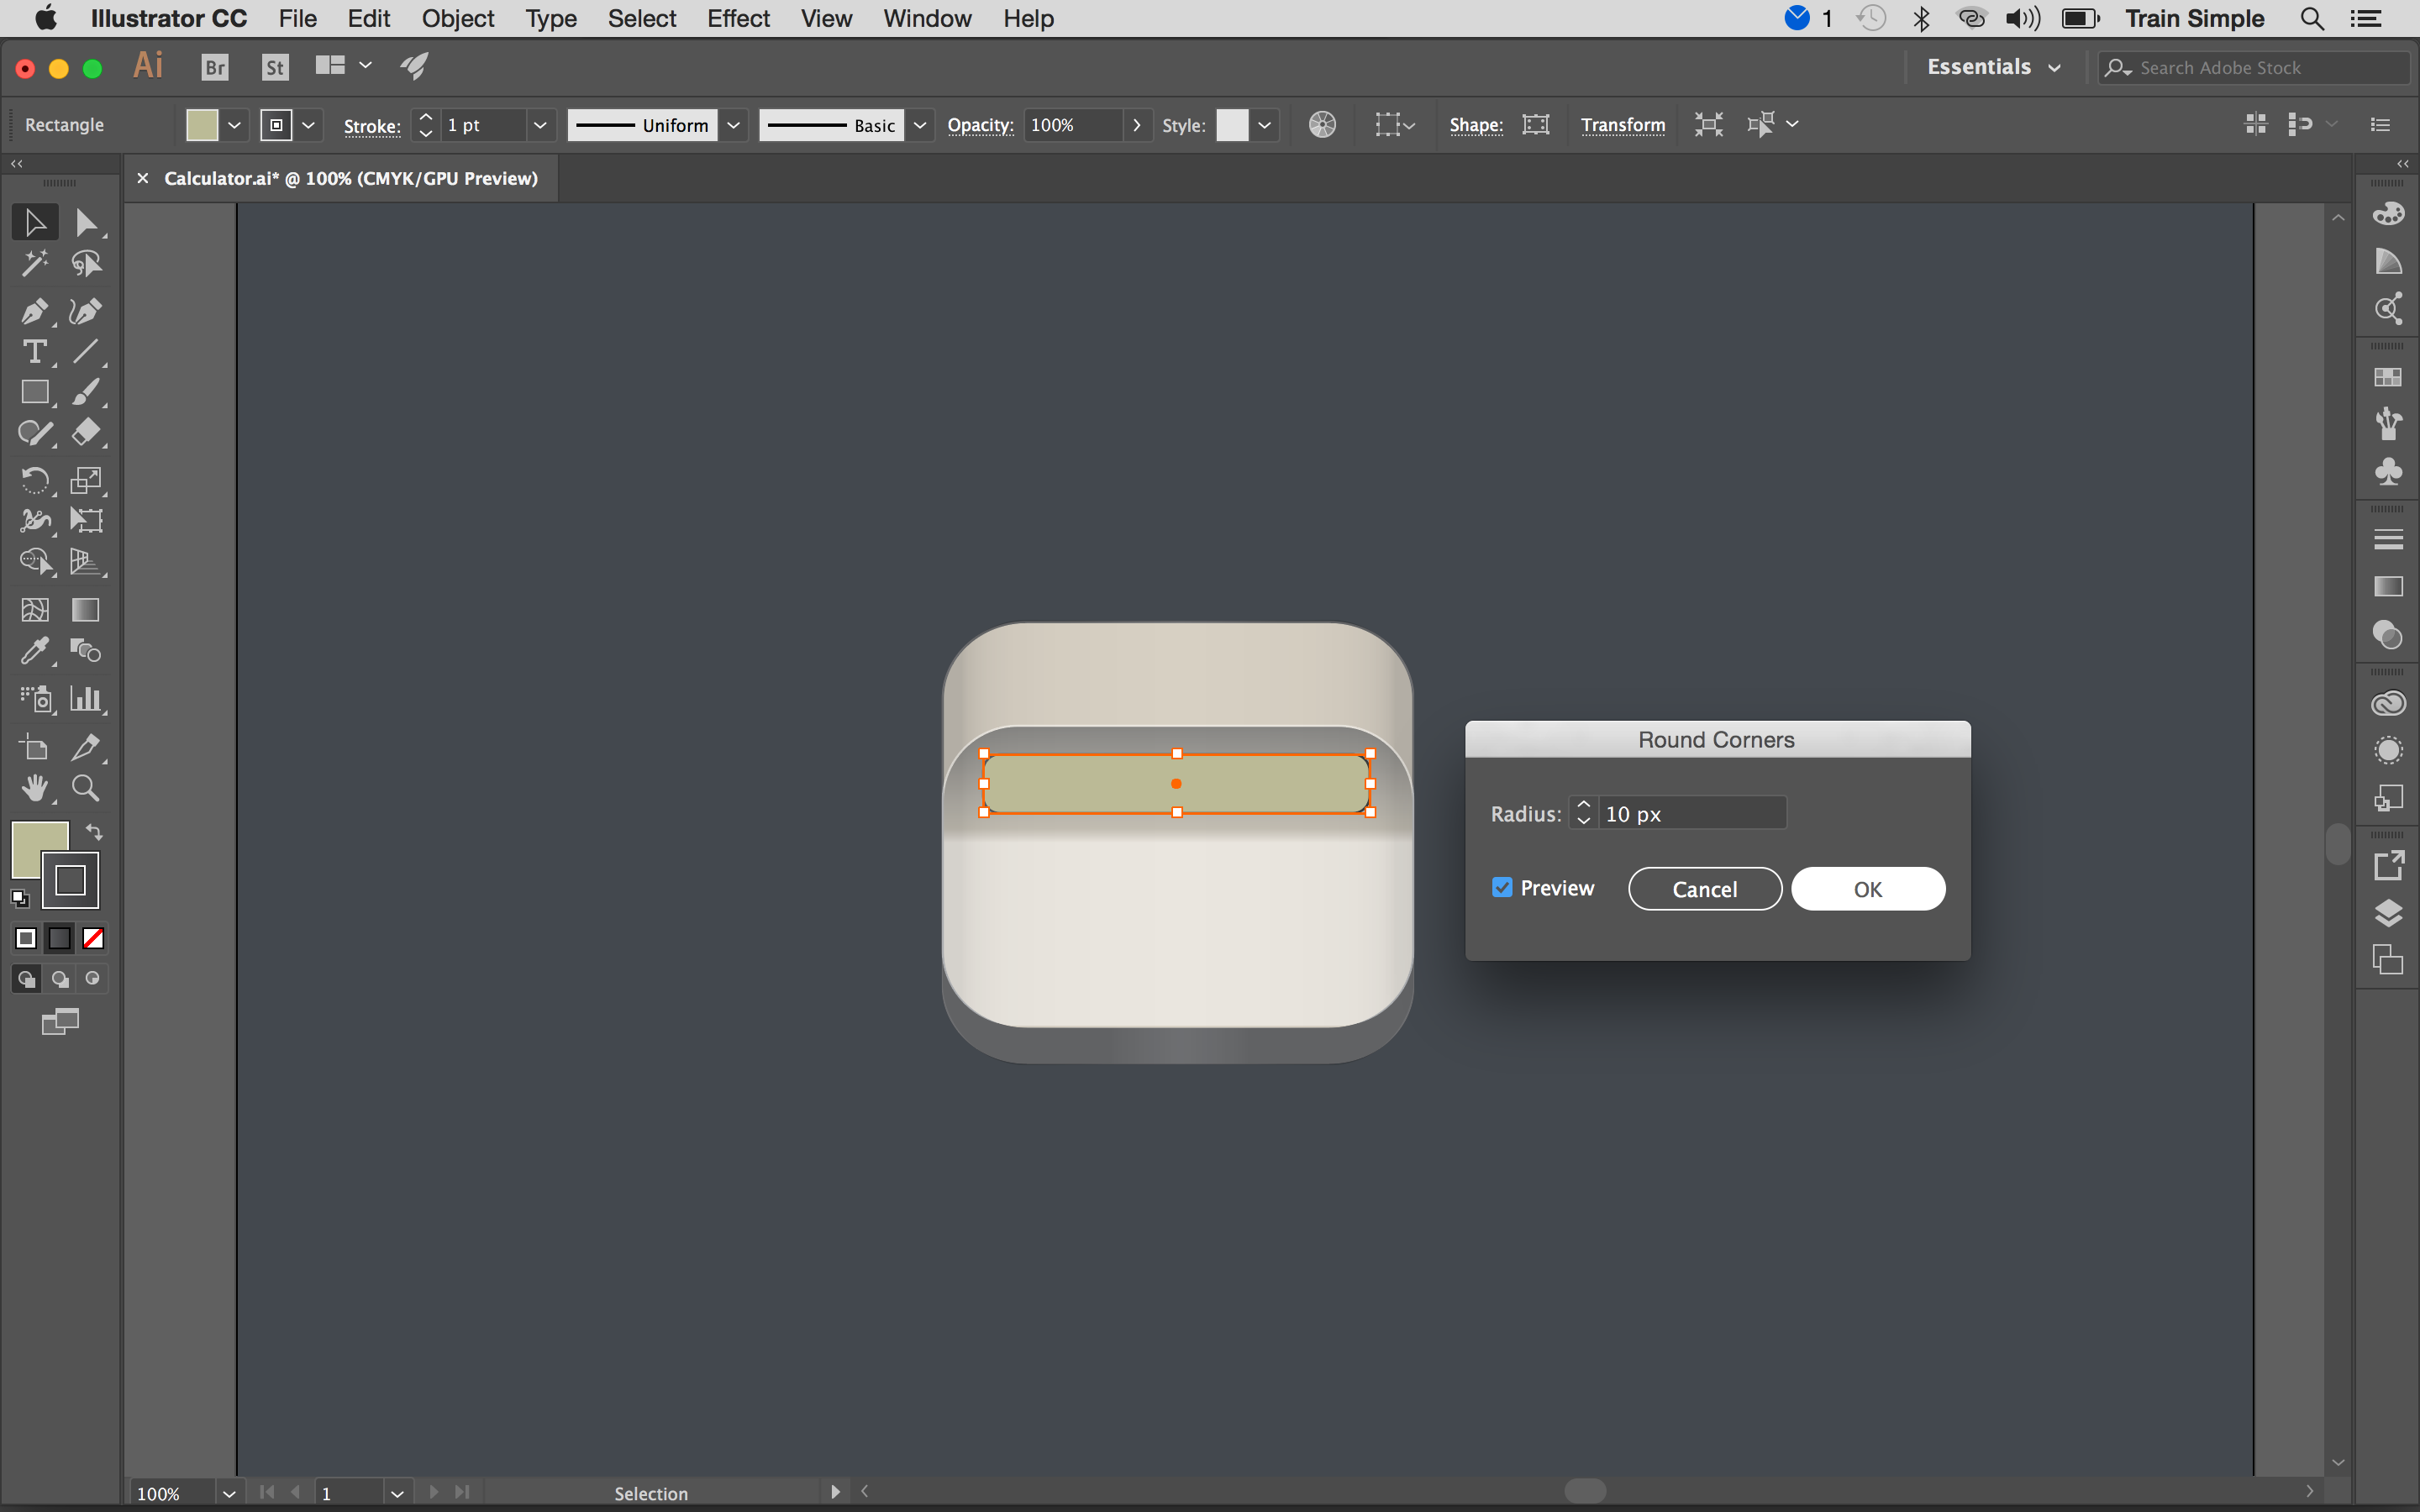
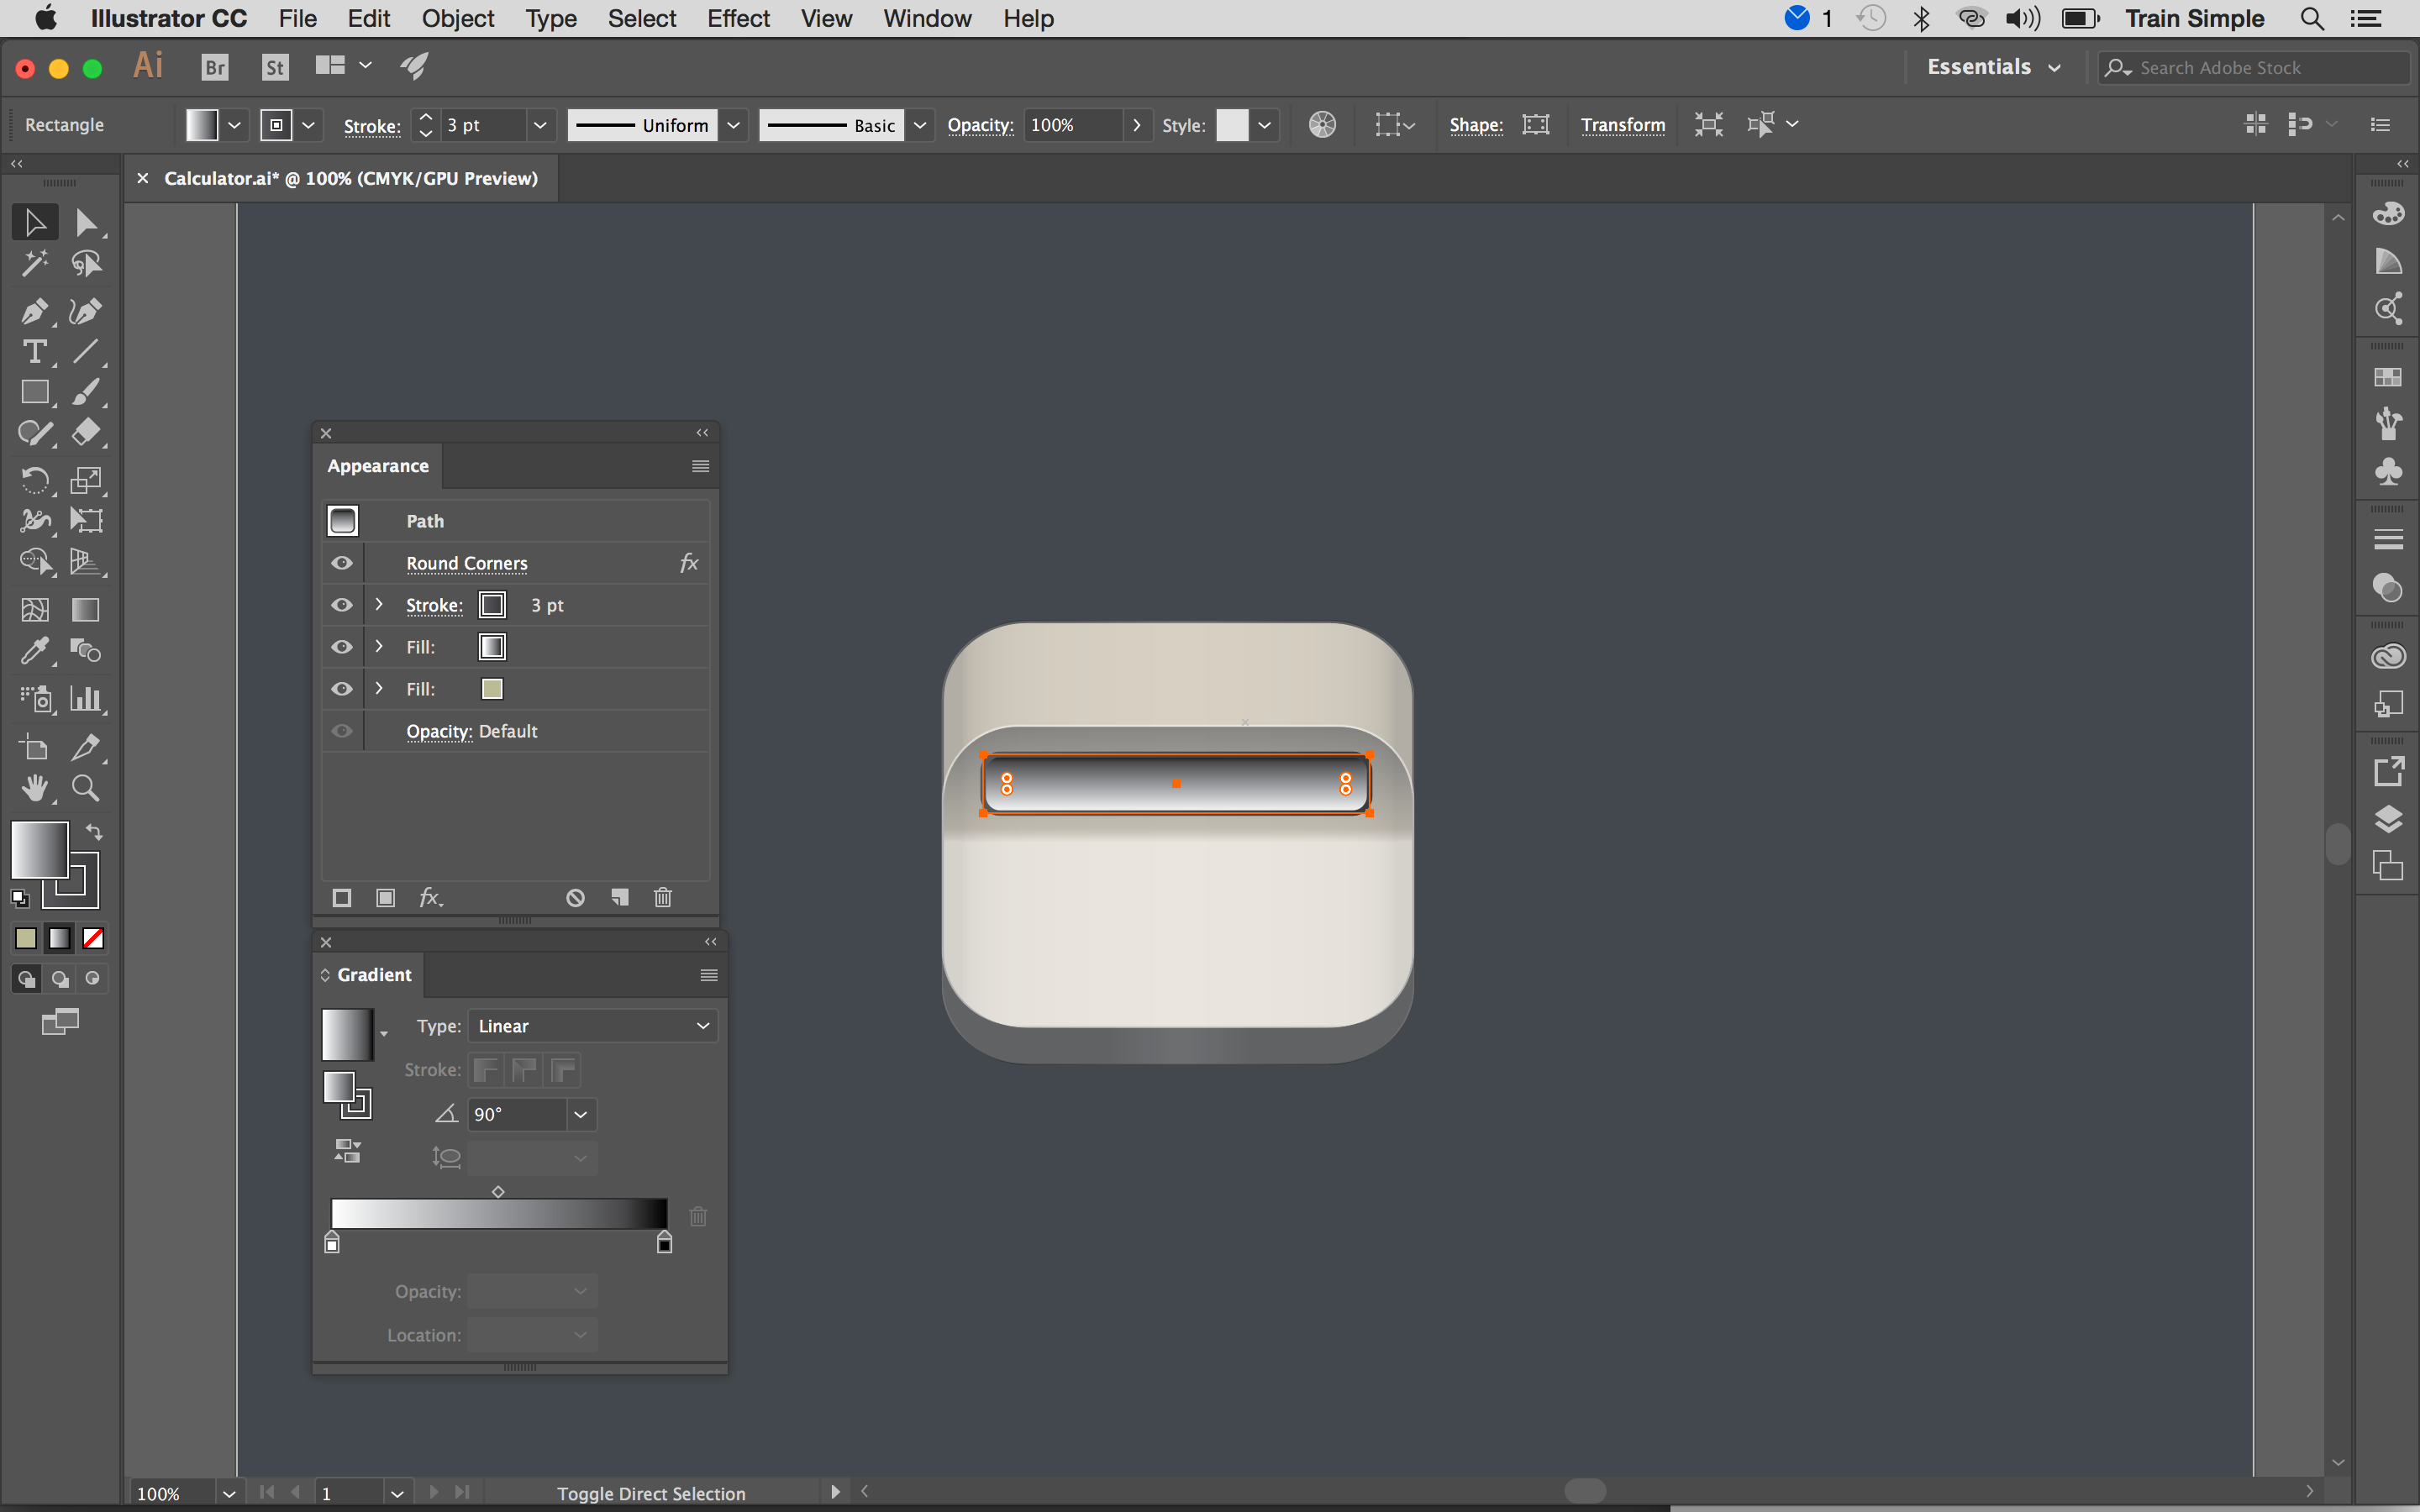
07. Make rounded rectangle
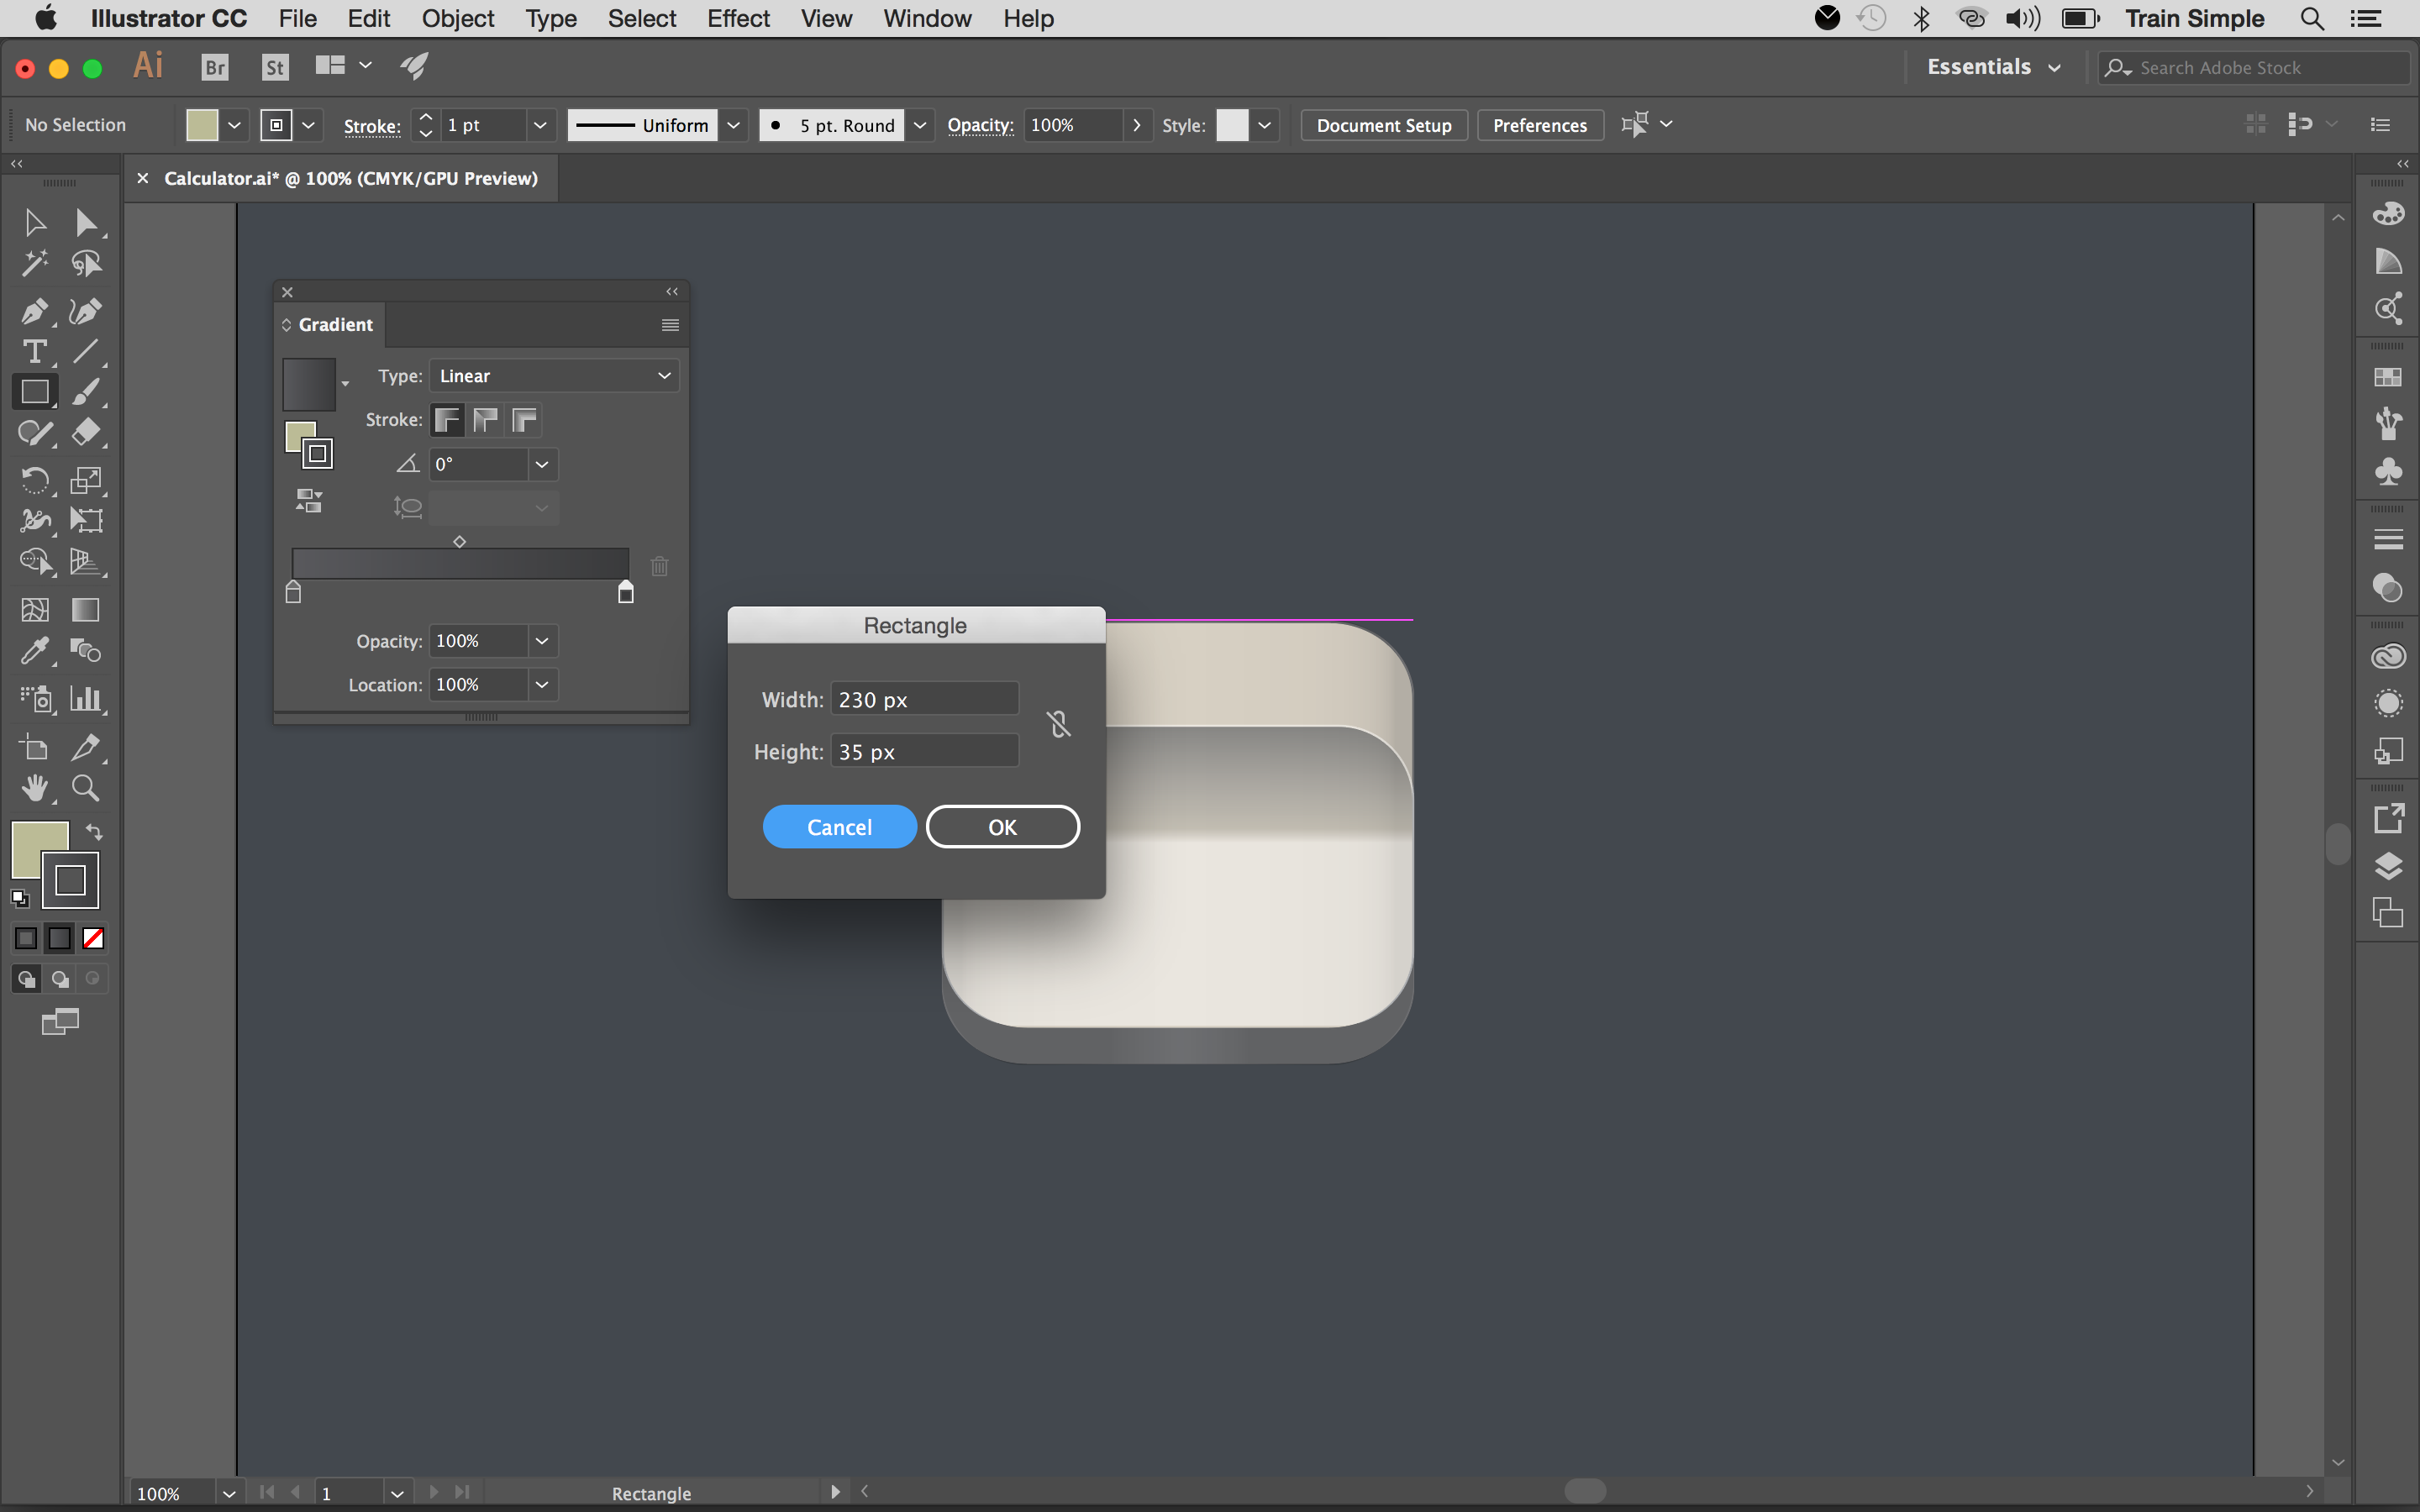
Draw another rectangle of 230px with and 35px height using #BCBA95 fill color and for stroke apply light to dark grey gradient as shown below. Select 3pt stroke weight from top control bar.
Convert this rectangle into a rounded rectangle by 10px corner radius.
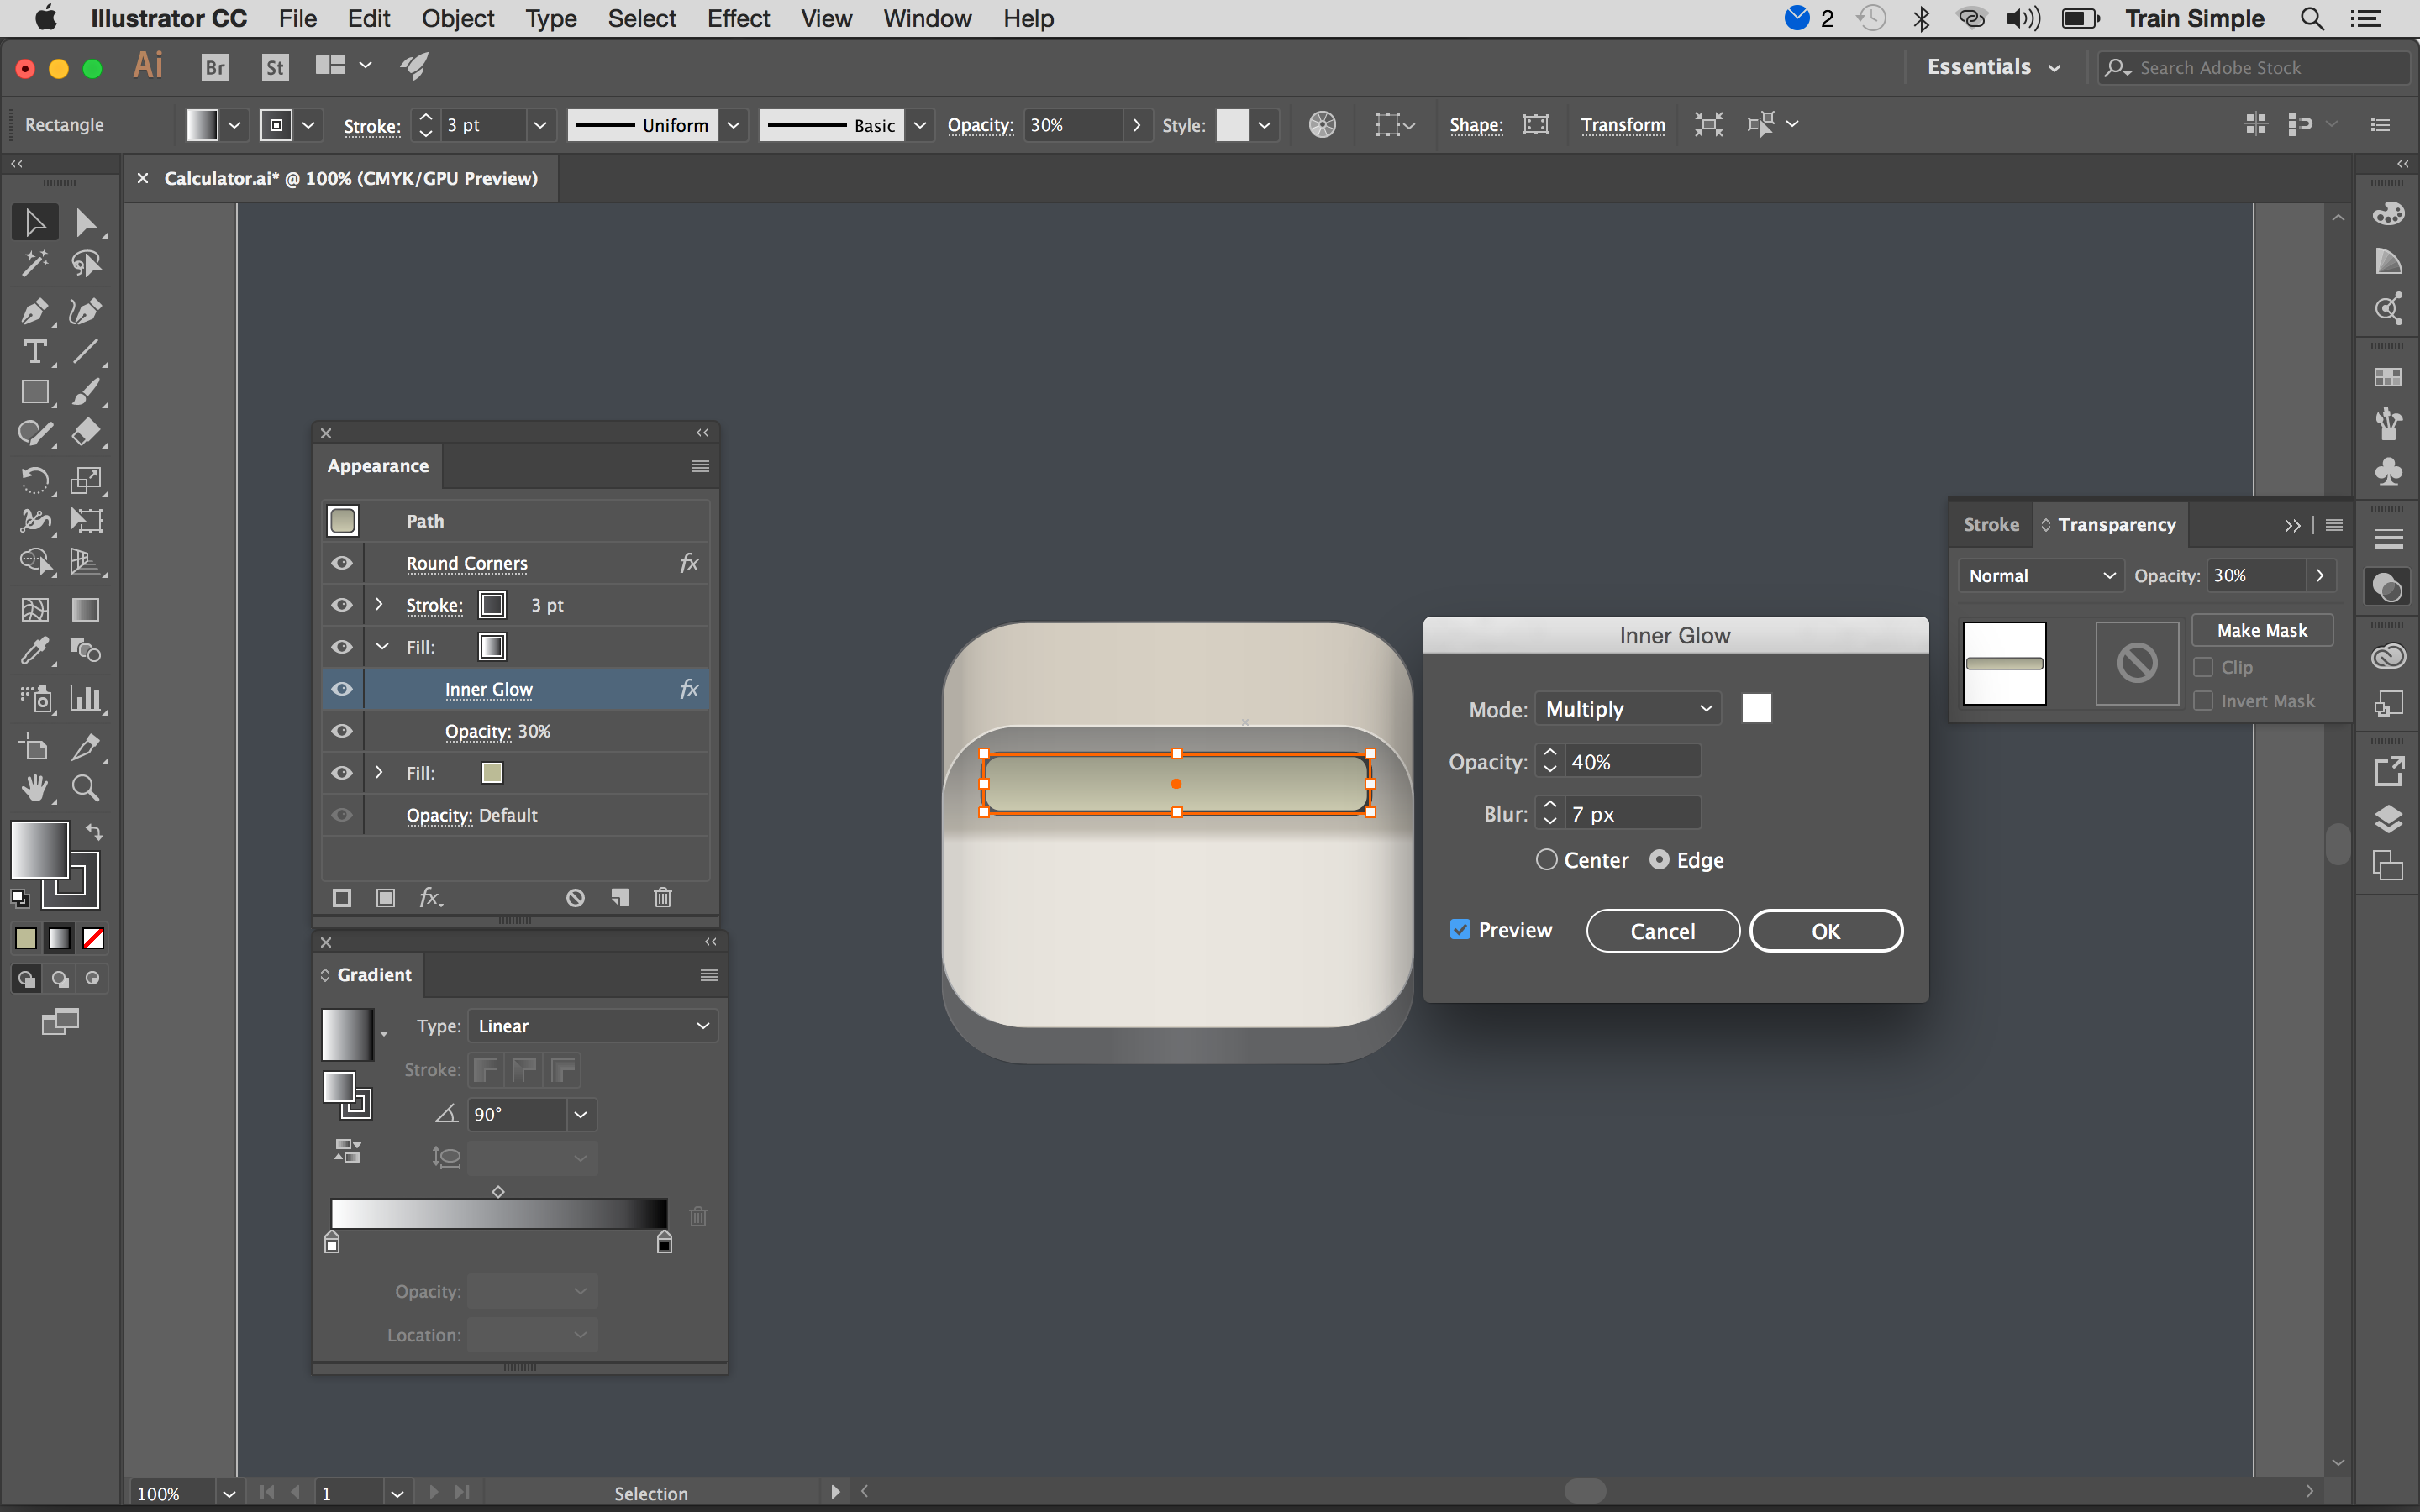
08. Make a glow effect
Next, select this new rectangle and go to Window > Appearance to view the Appearance Panel or press Shift + F6. Now select the fill attribute and click the icon of Duplicate Selected Item at the bottom of Appearance Panel to duplicate the fill. And replace this new fill with Black & White gradient at 90 degrees as shown above.
Keep this rectangle selected and go to Effect > Stylize > Inner Glow. Apply given settings here. Once you are done, change gradient fill blending mode to Multiply with 30% opacity.
09. Copy rectangle
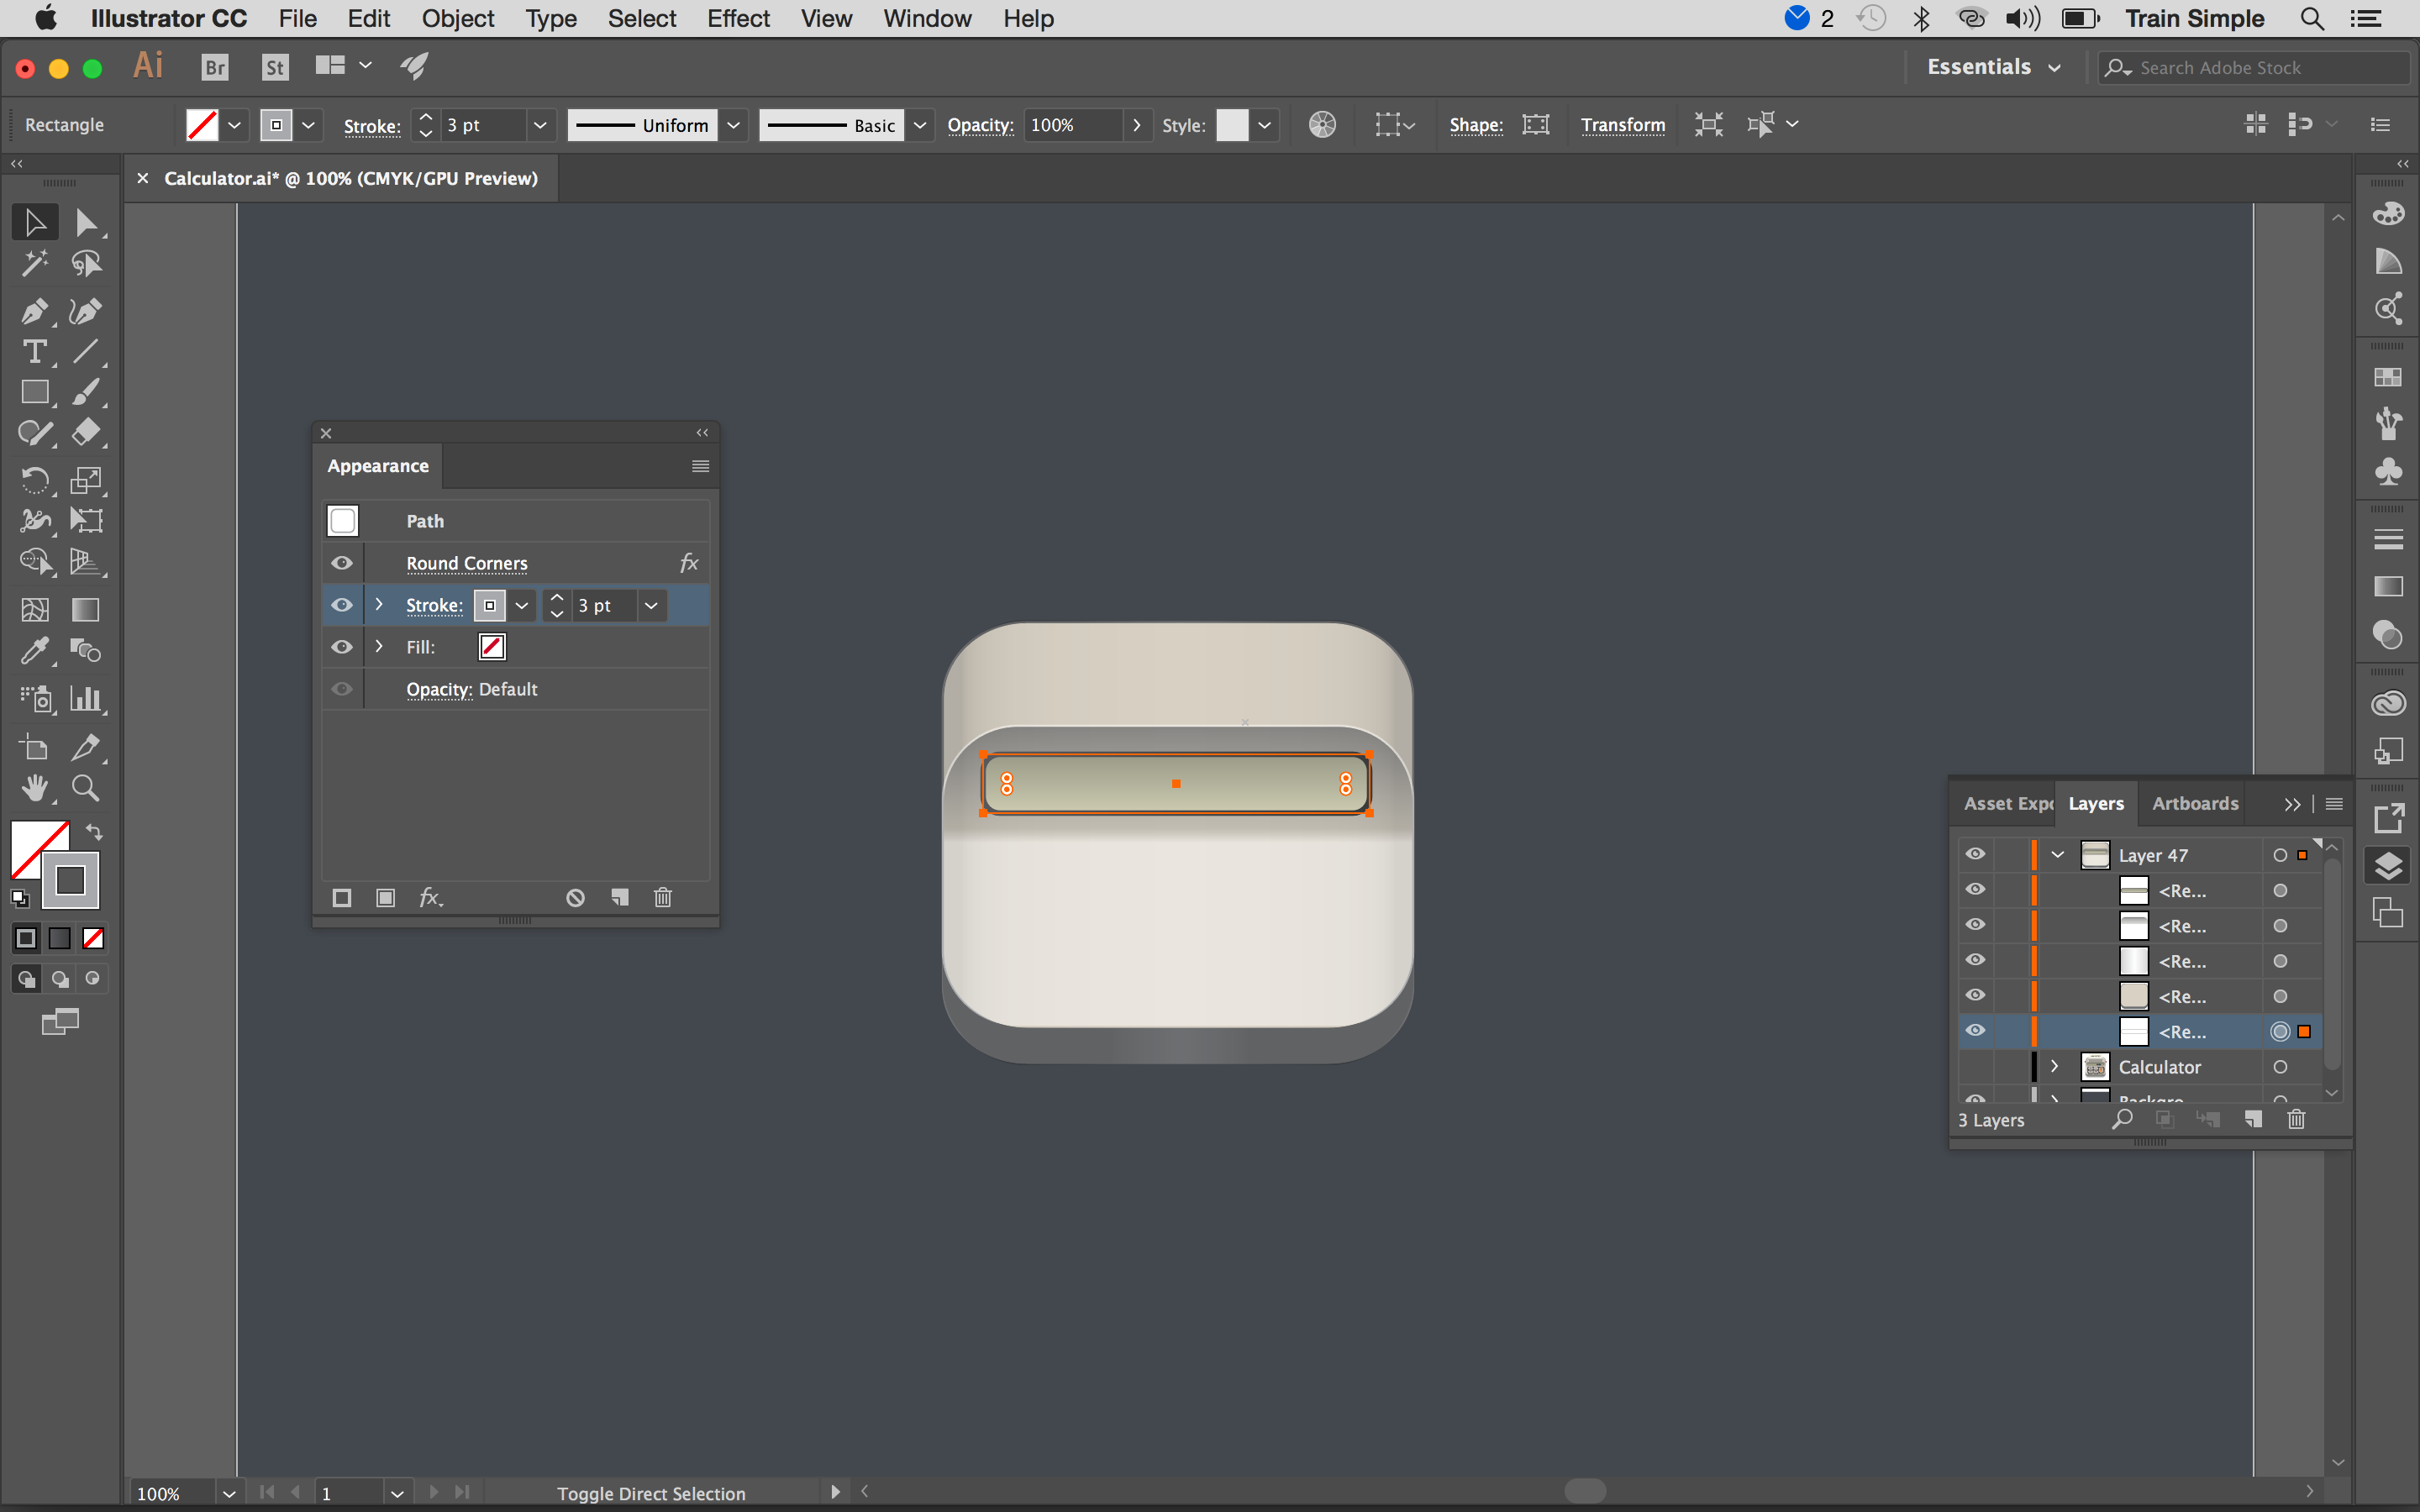
Select this new rectangle and press Ctrl+ C to copy and press Ctrl+ B to paste in back. Drag this copy 1-2 steps downwards. Now remove its fill attributes by dragging them to Delete icon at the bottom of Appearance Panel and give it 3pt stroke of #D1D2D4 colour.
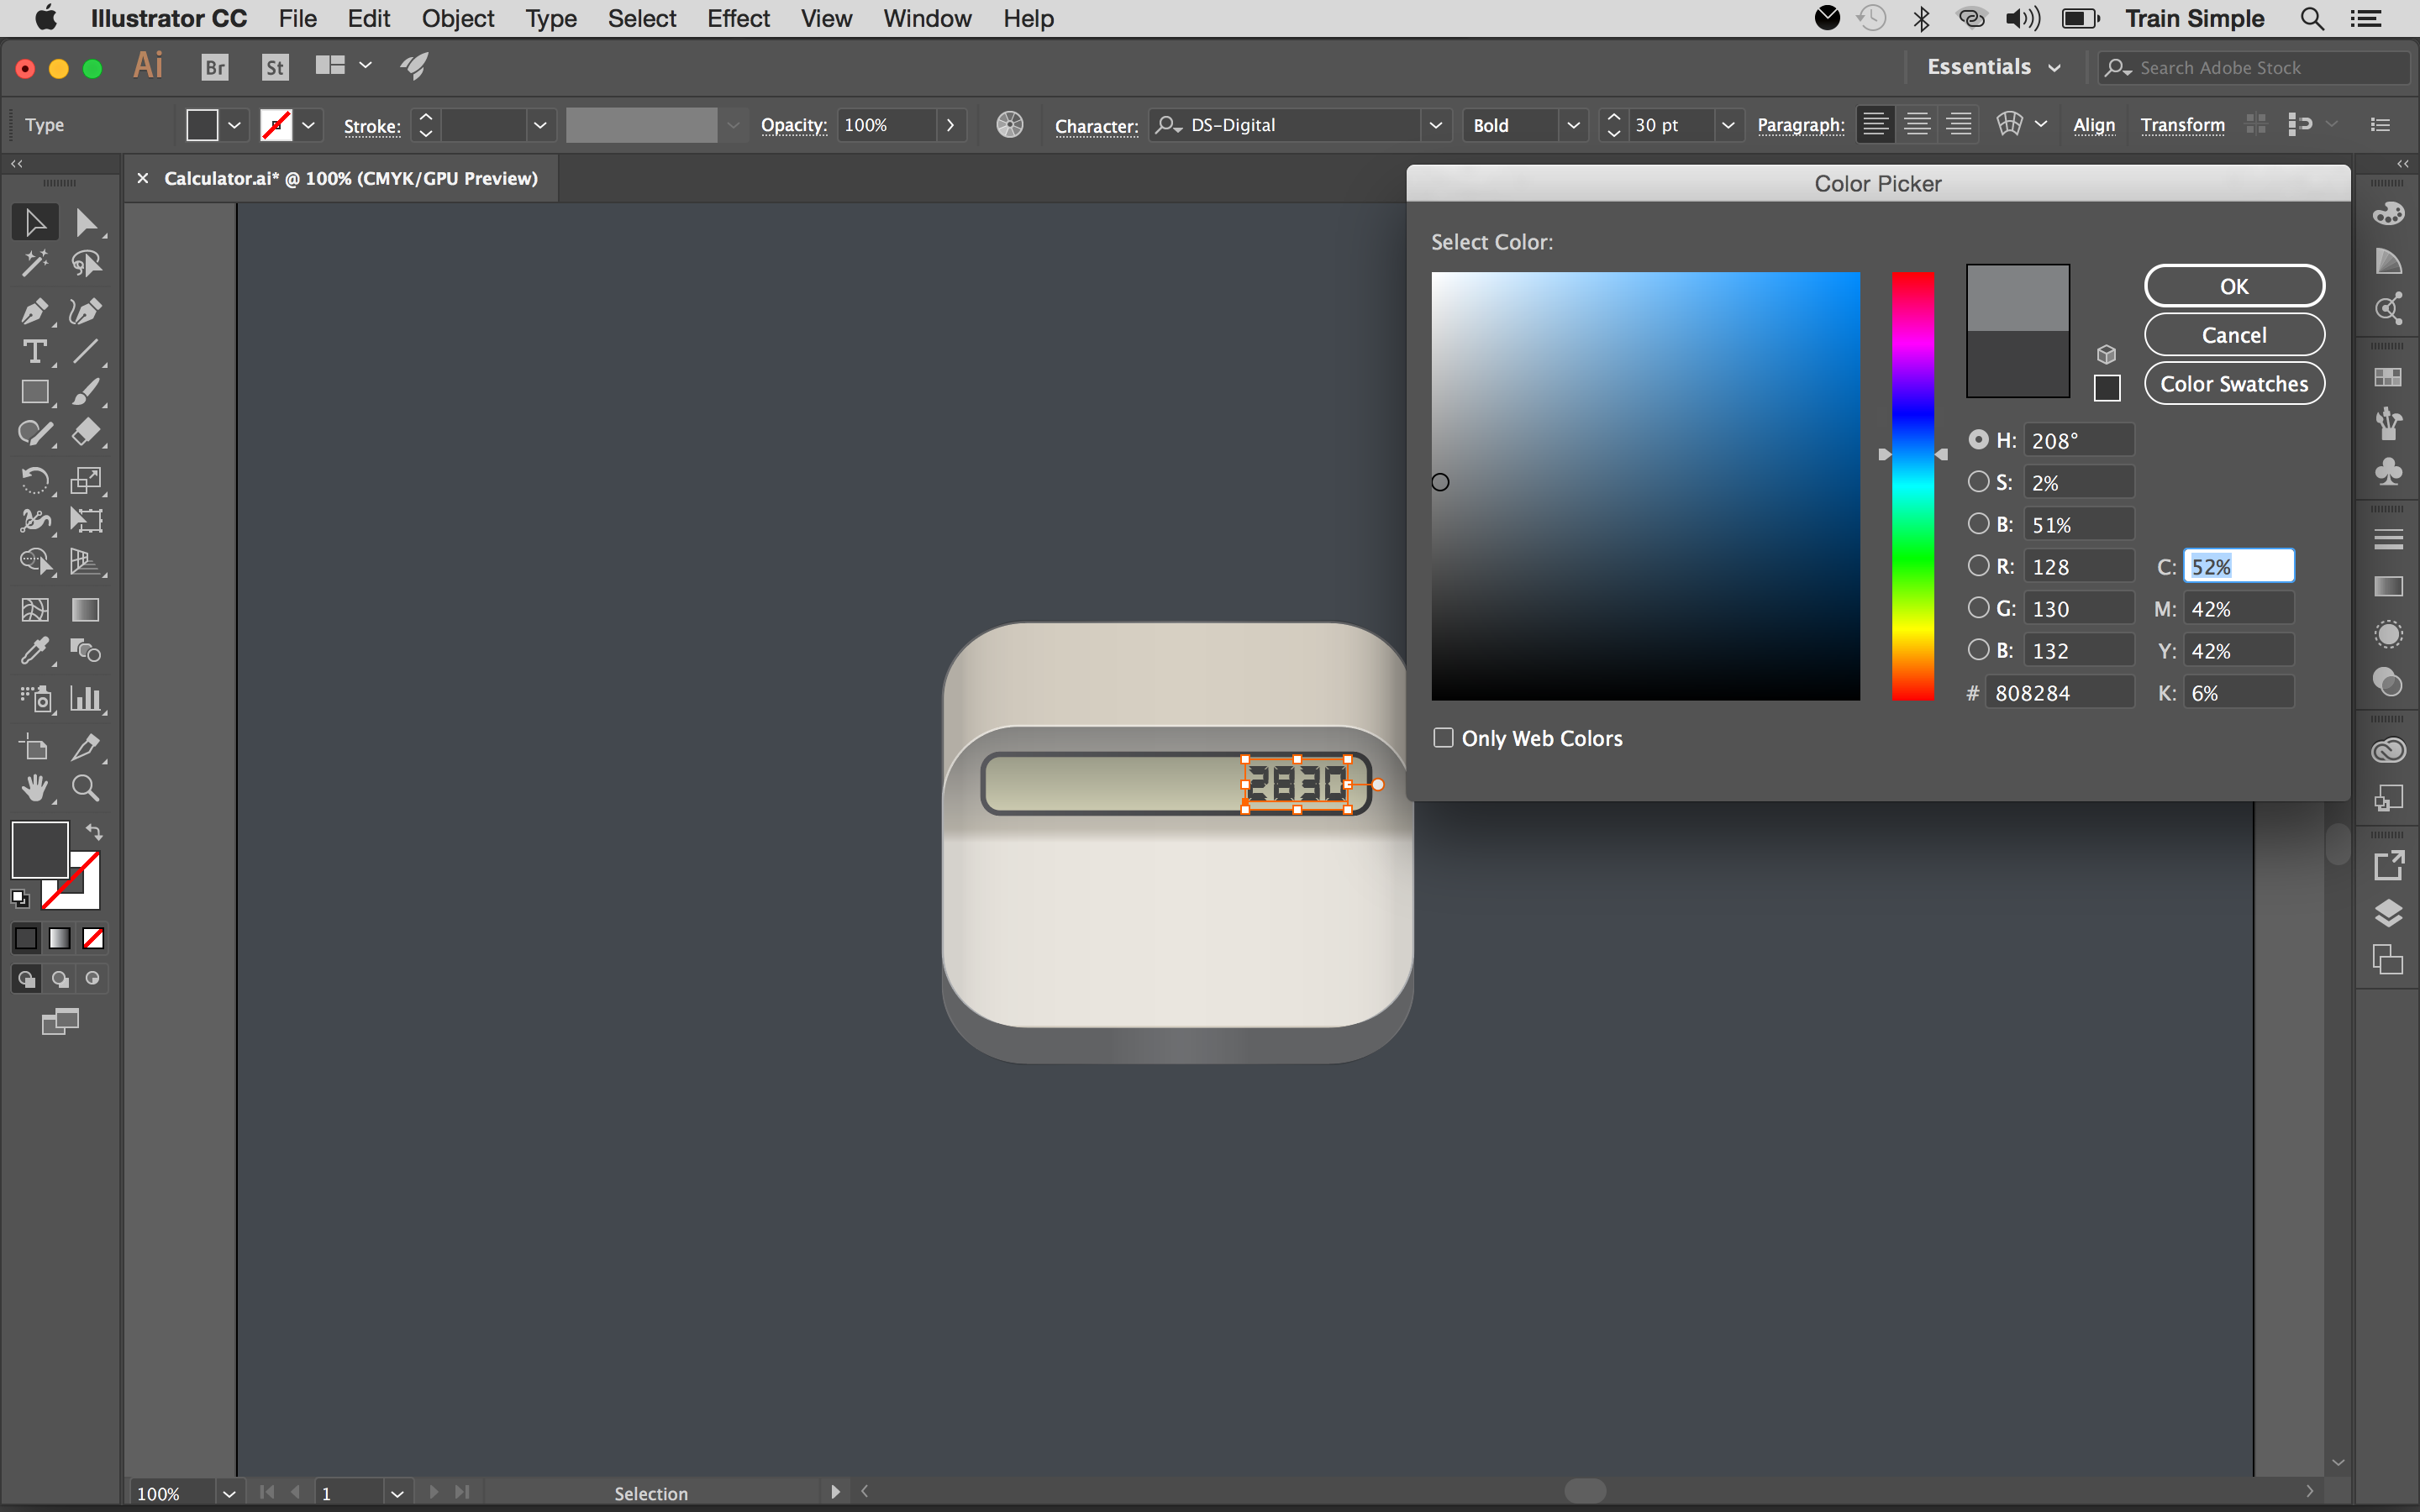
10. Add text
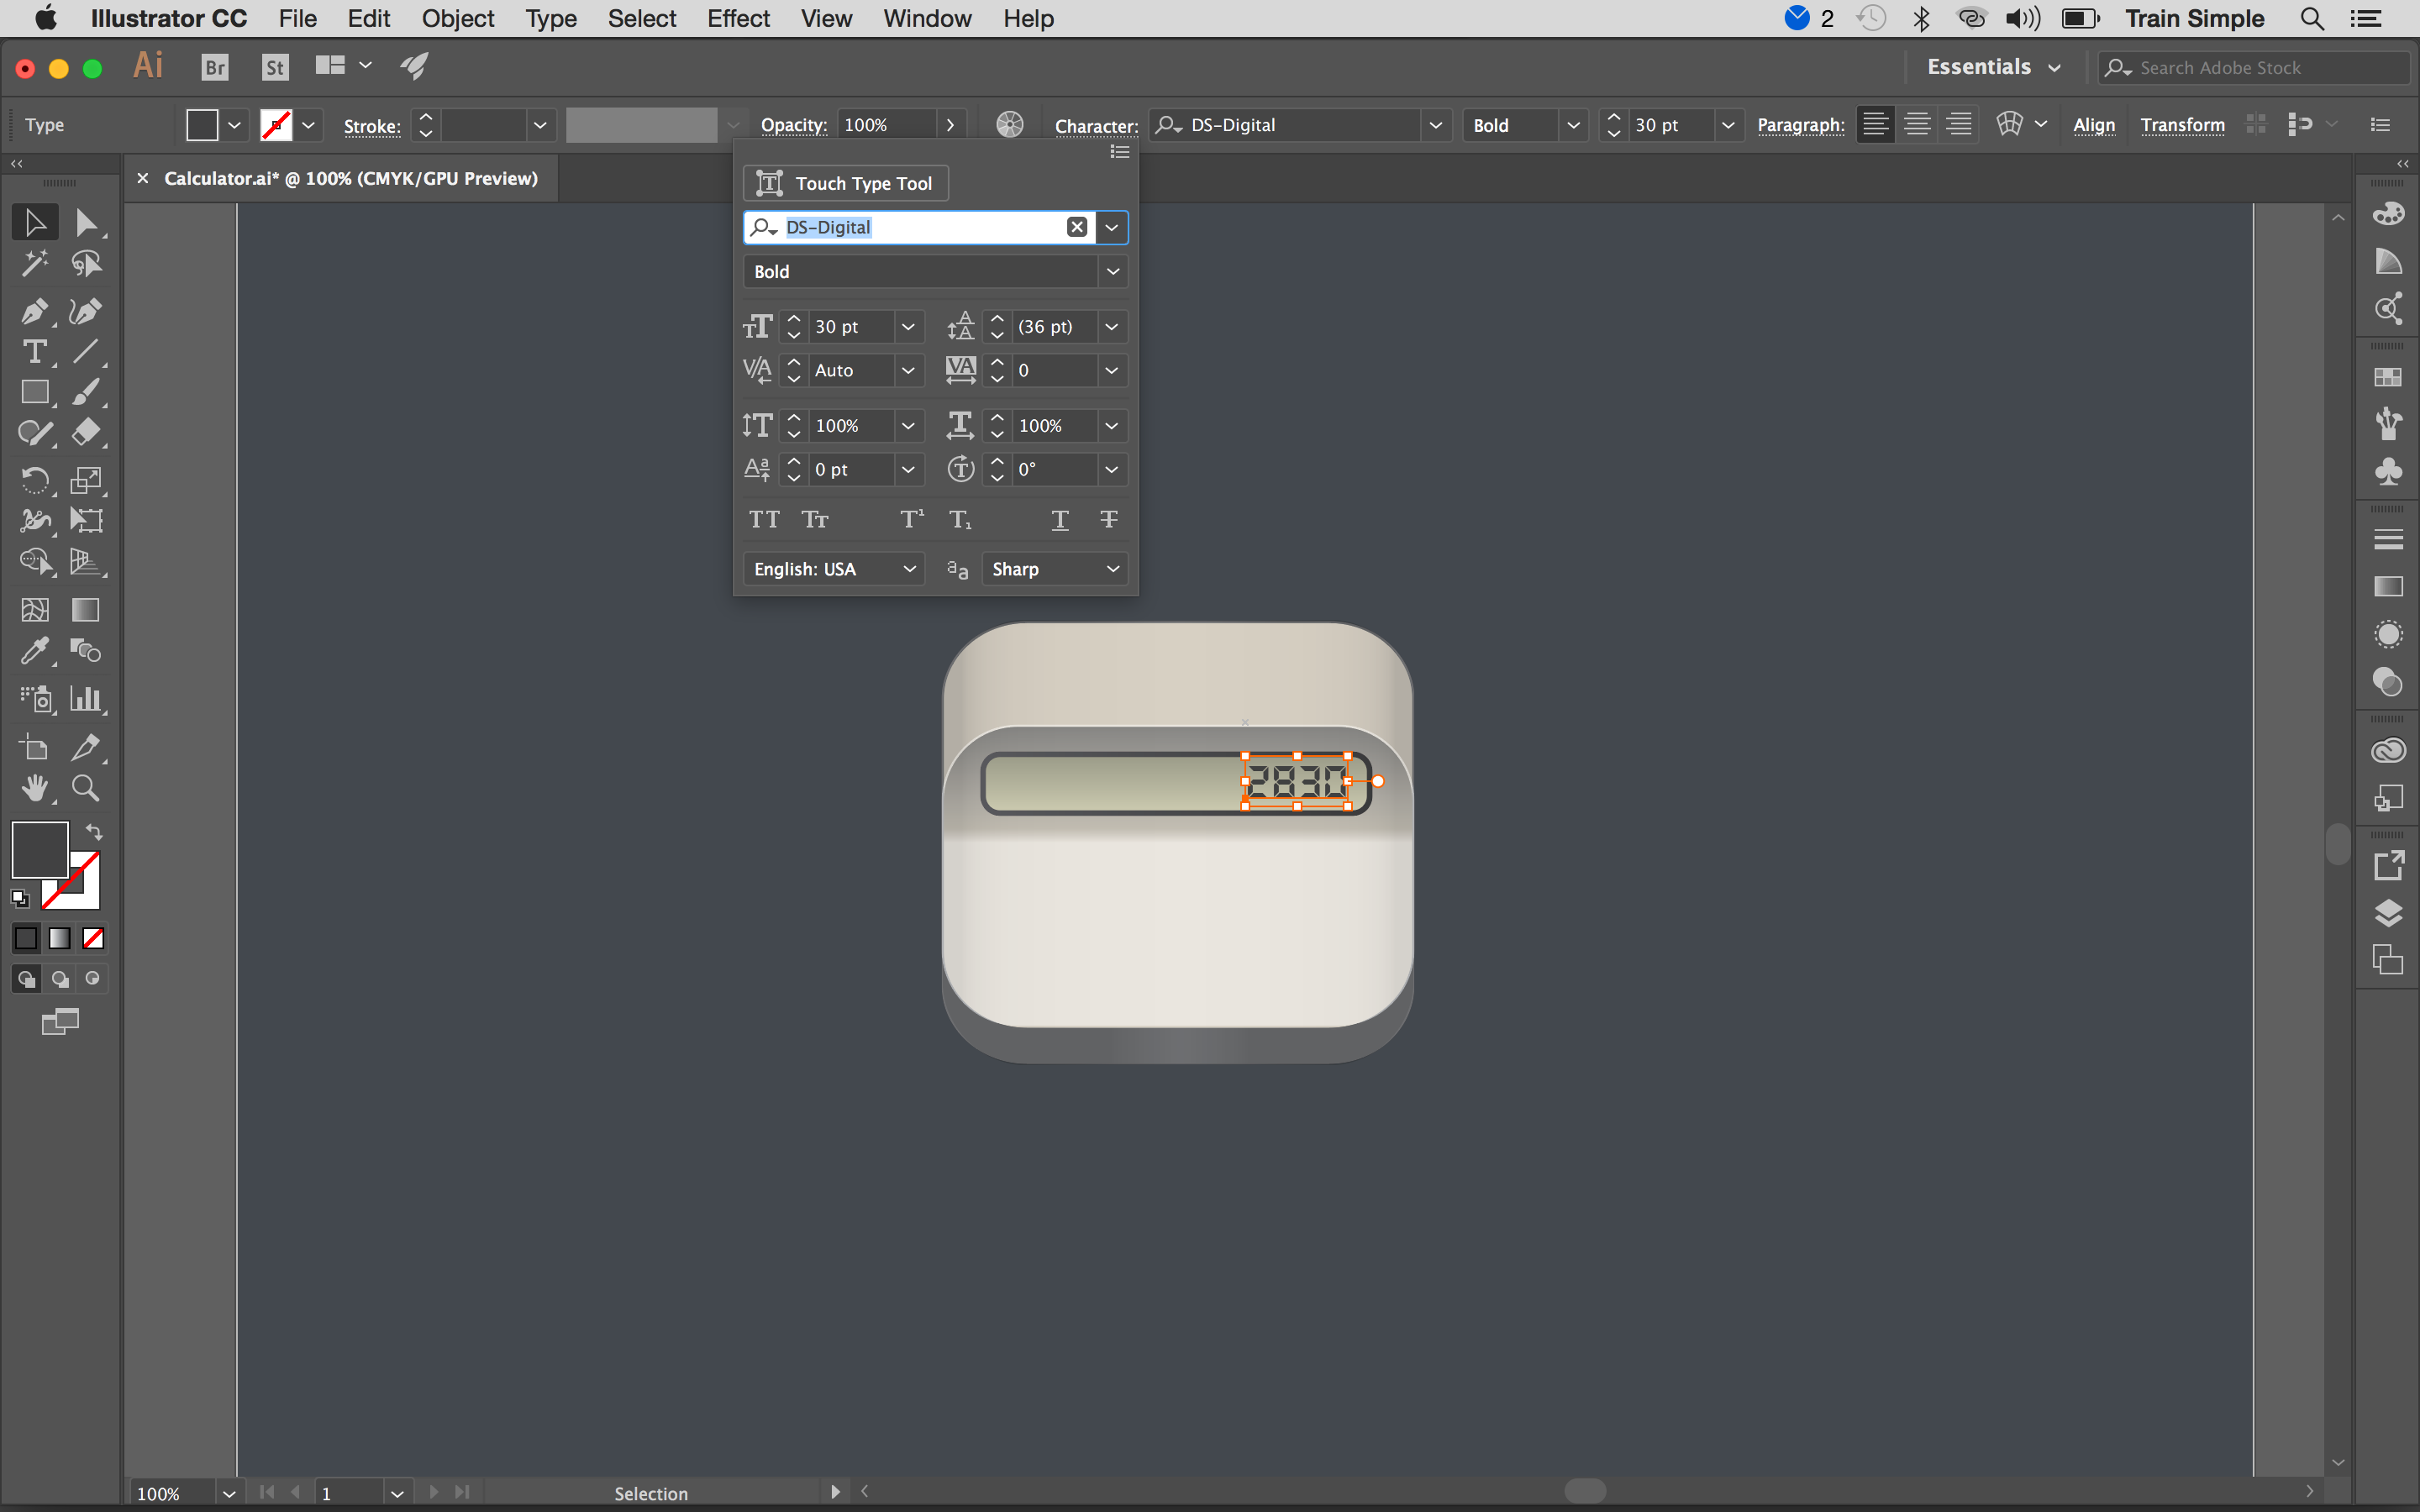
Next, we’ll add some text over the screen. Pick the Type Tool (T) to type the text using #404041 fill colour. I have used DS-Digital font here.
Now press Ctrl+ C to copy and press Ctrl+ B to paste in back. Drag the copied text 1-2 steps downwards and change its fill colour to #808284.
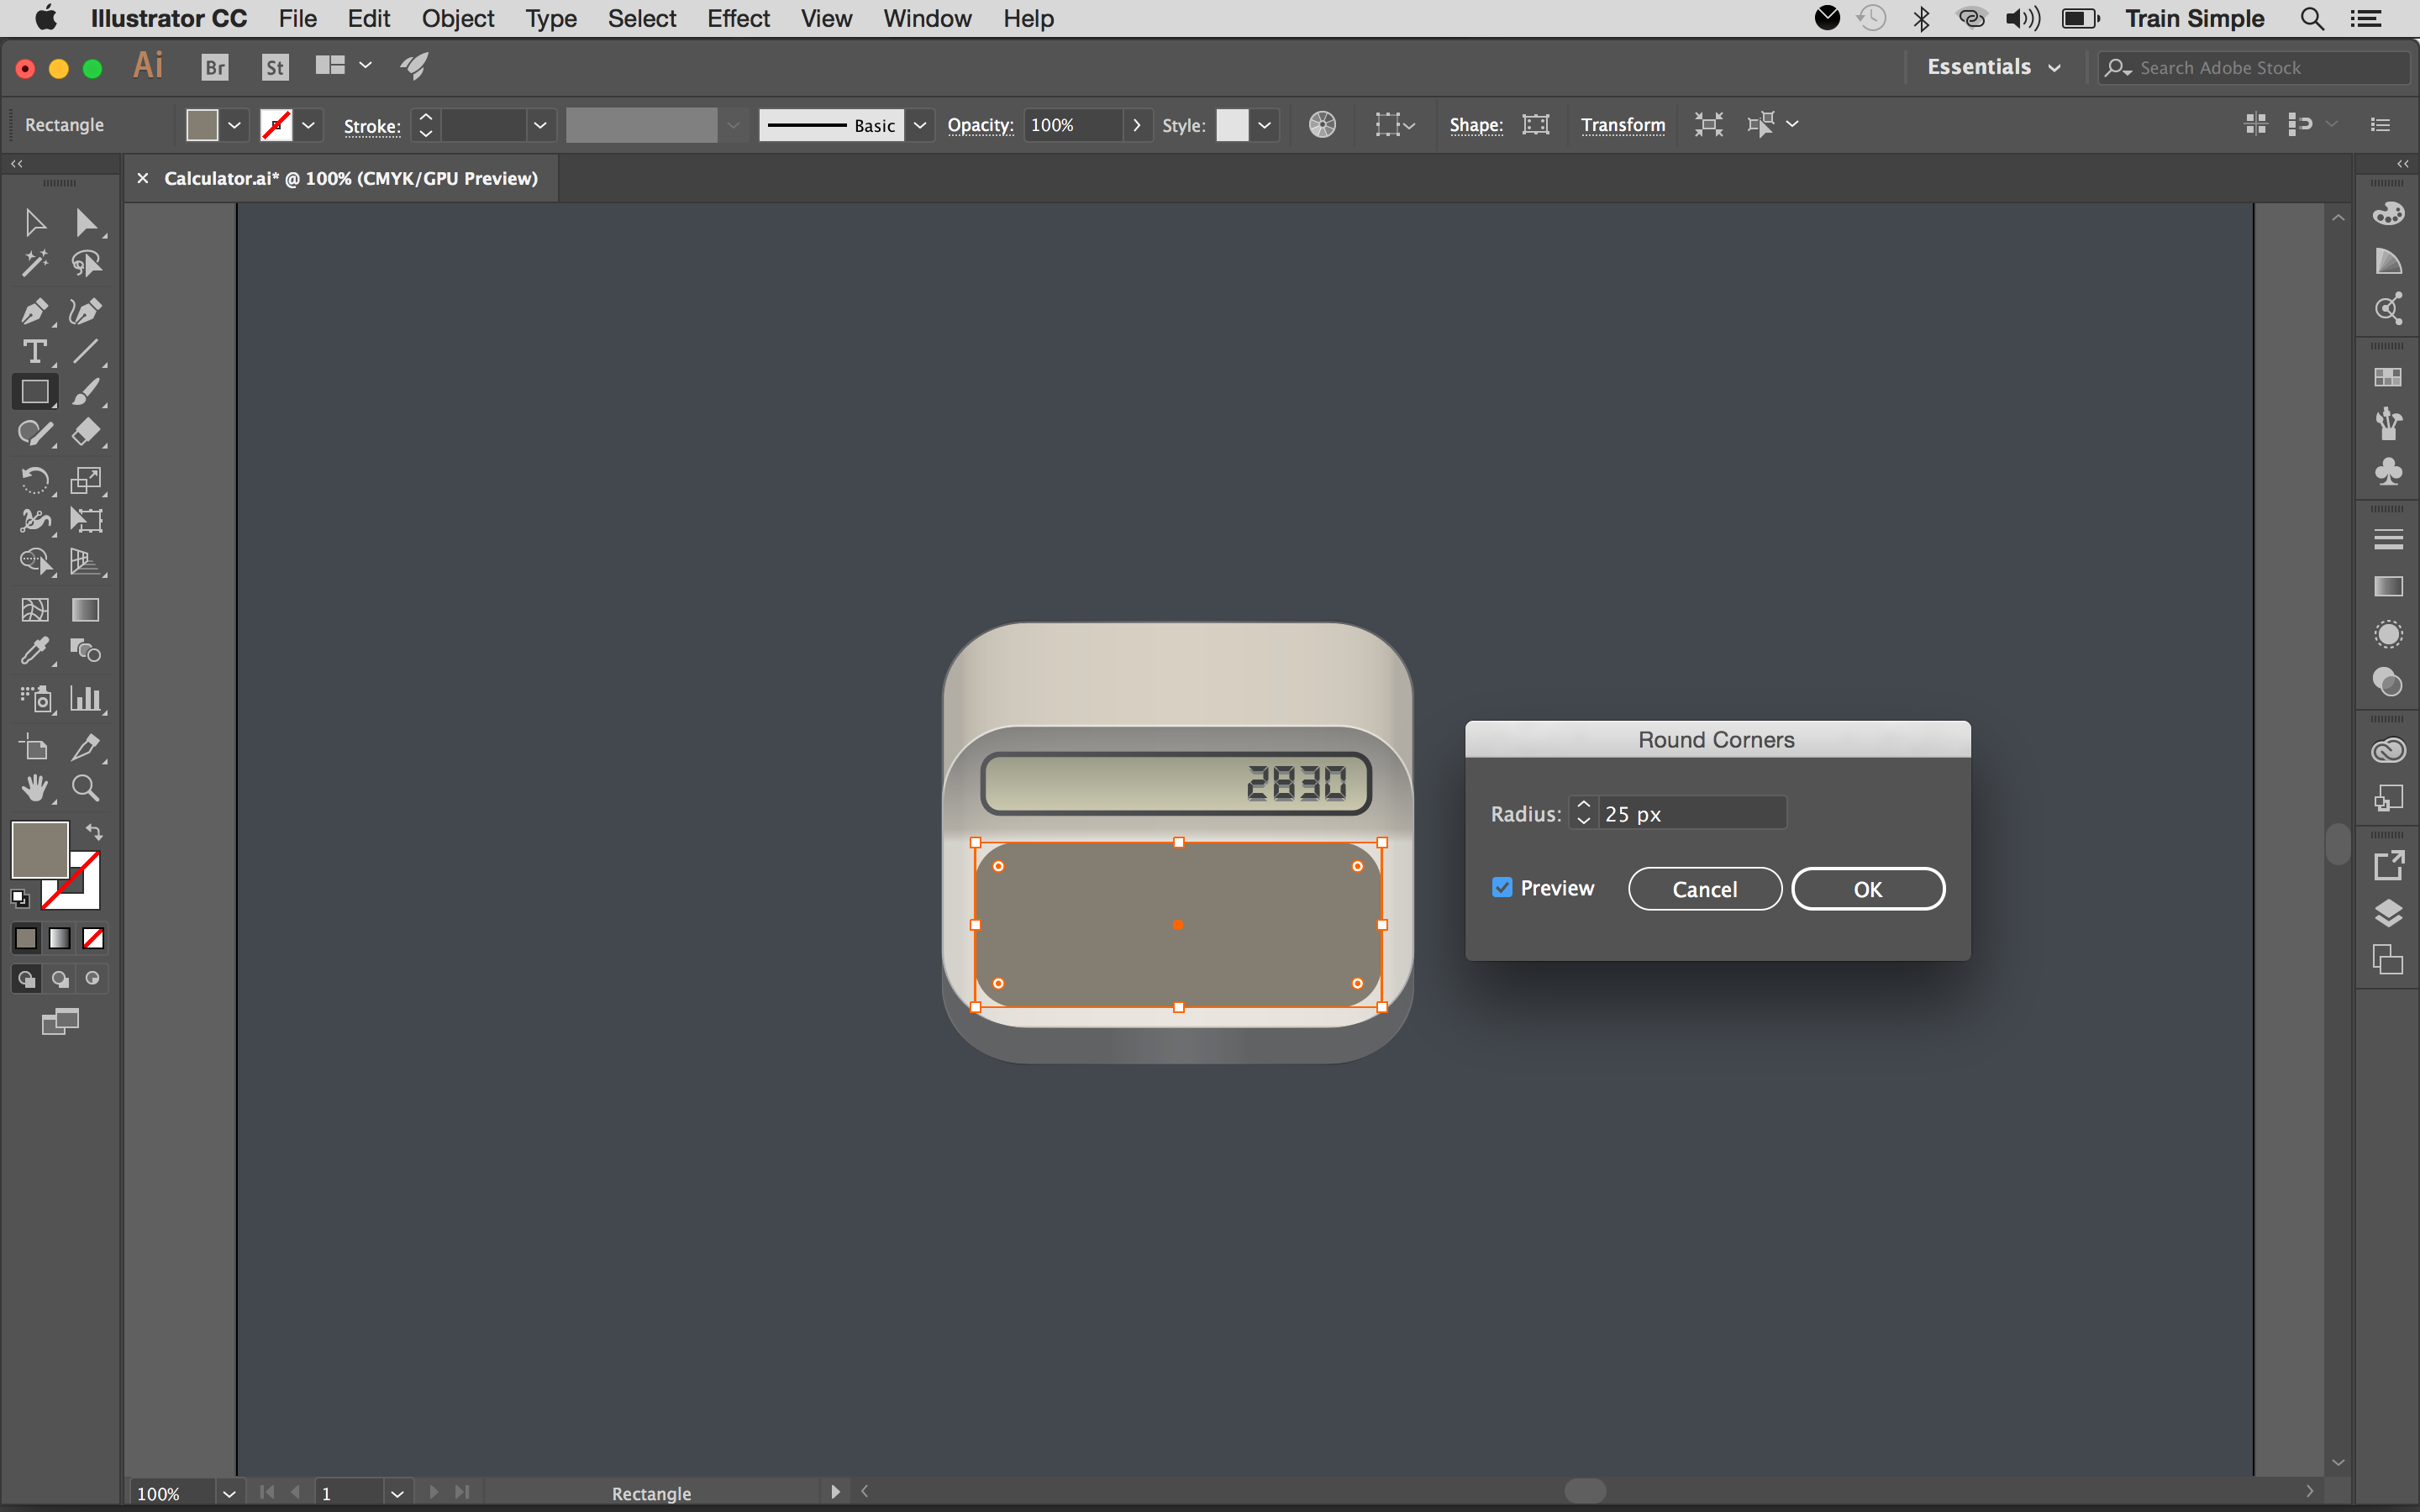
11. Make the base
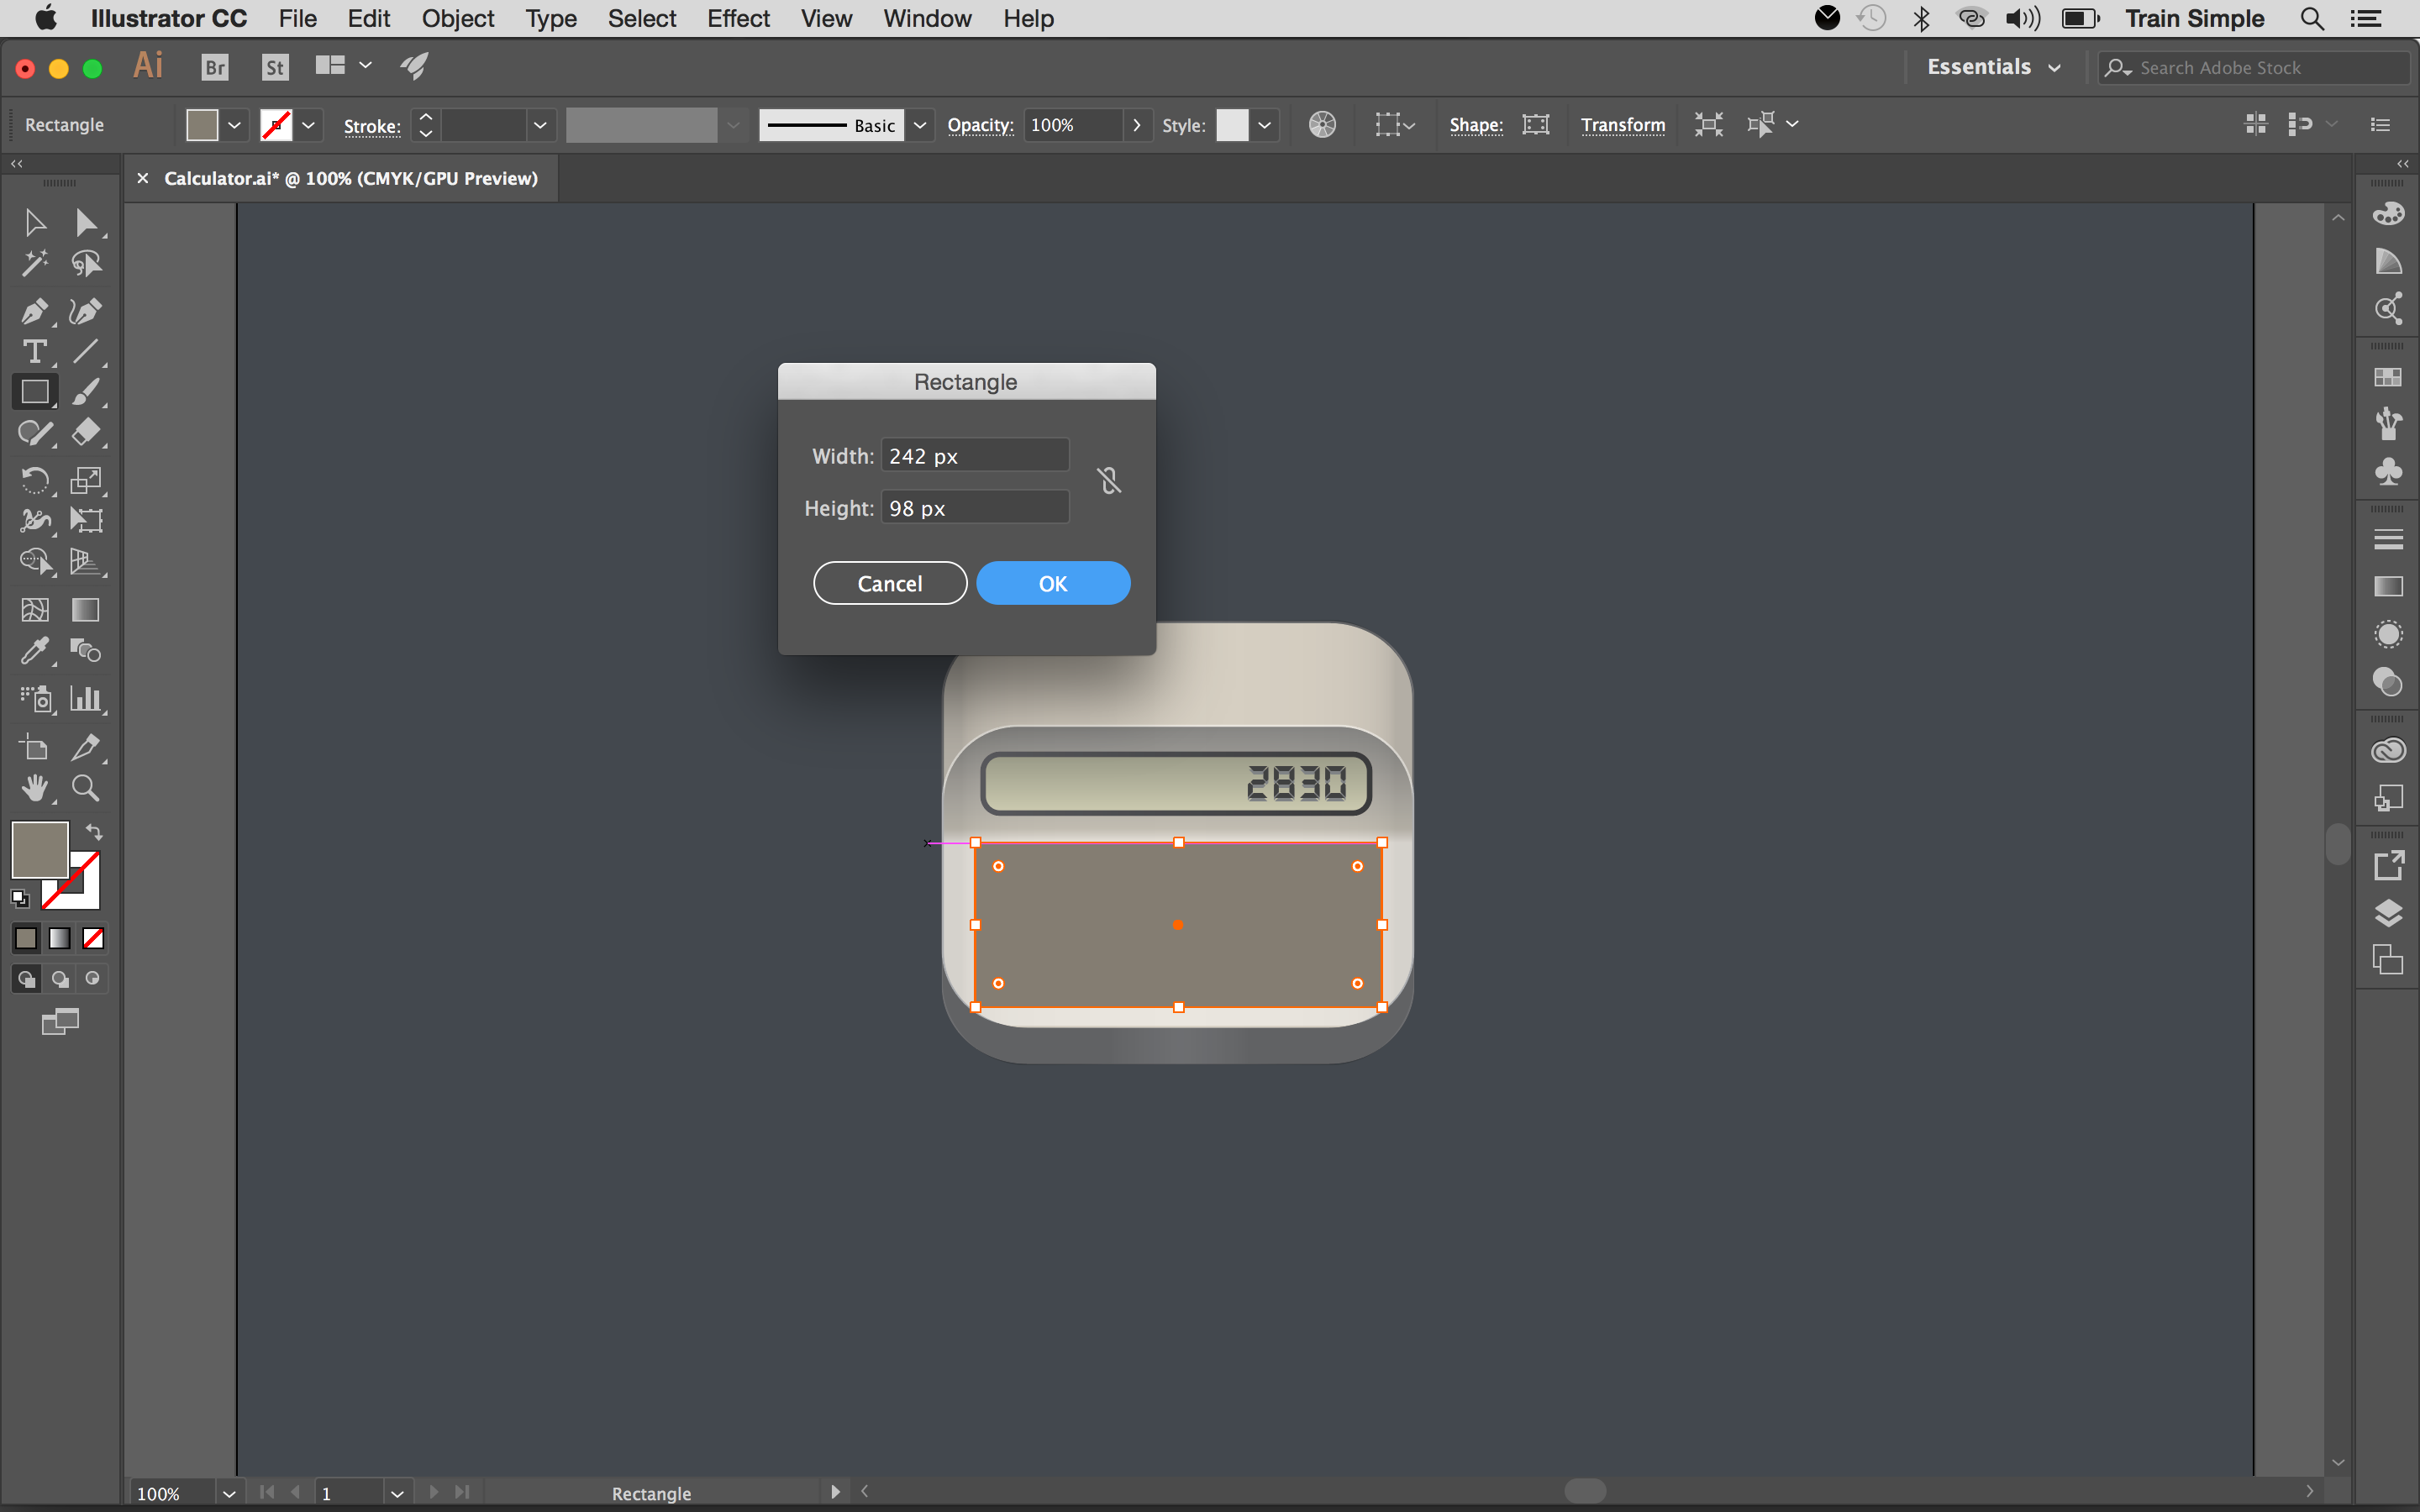
Next, we’ll create button’s base. Select the rectangle tool to draw a rectangle with following dimensions using #847D72 fill color and same light to dark grey gradient on the stroke as used in step 7. However, choose 1pt stroke weight here.
And convert it into a rounded rectangle by 25px radius.
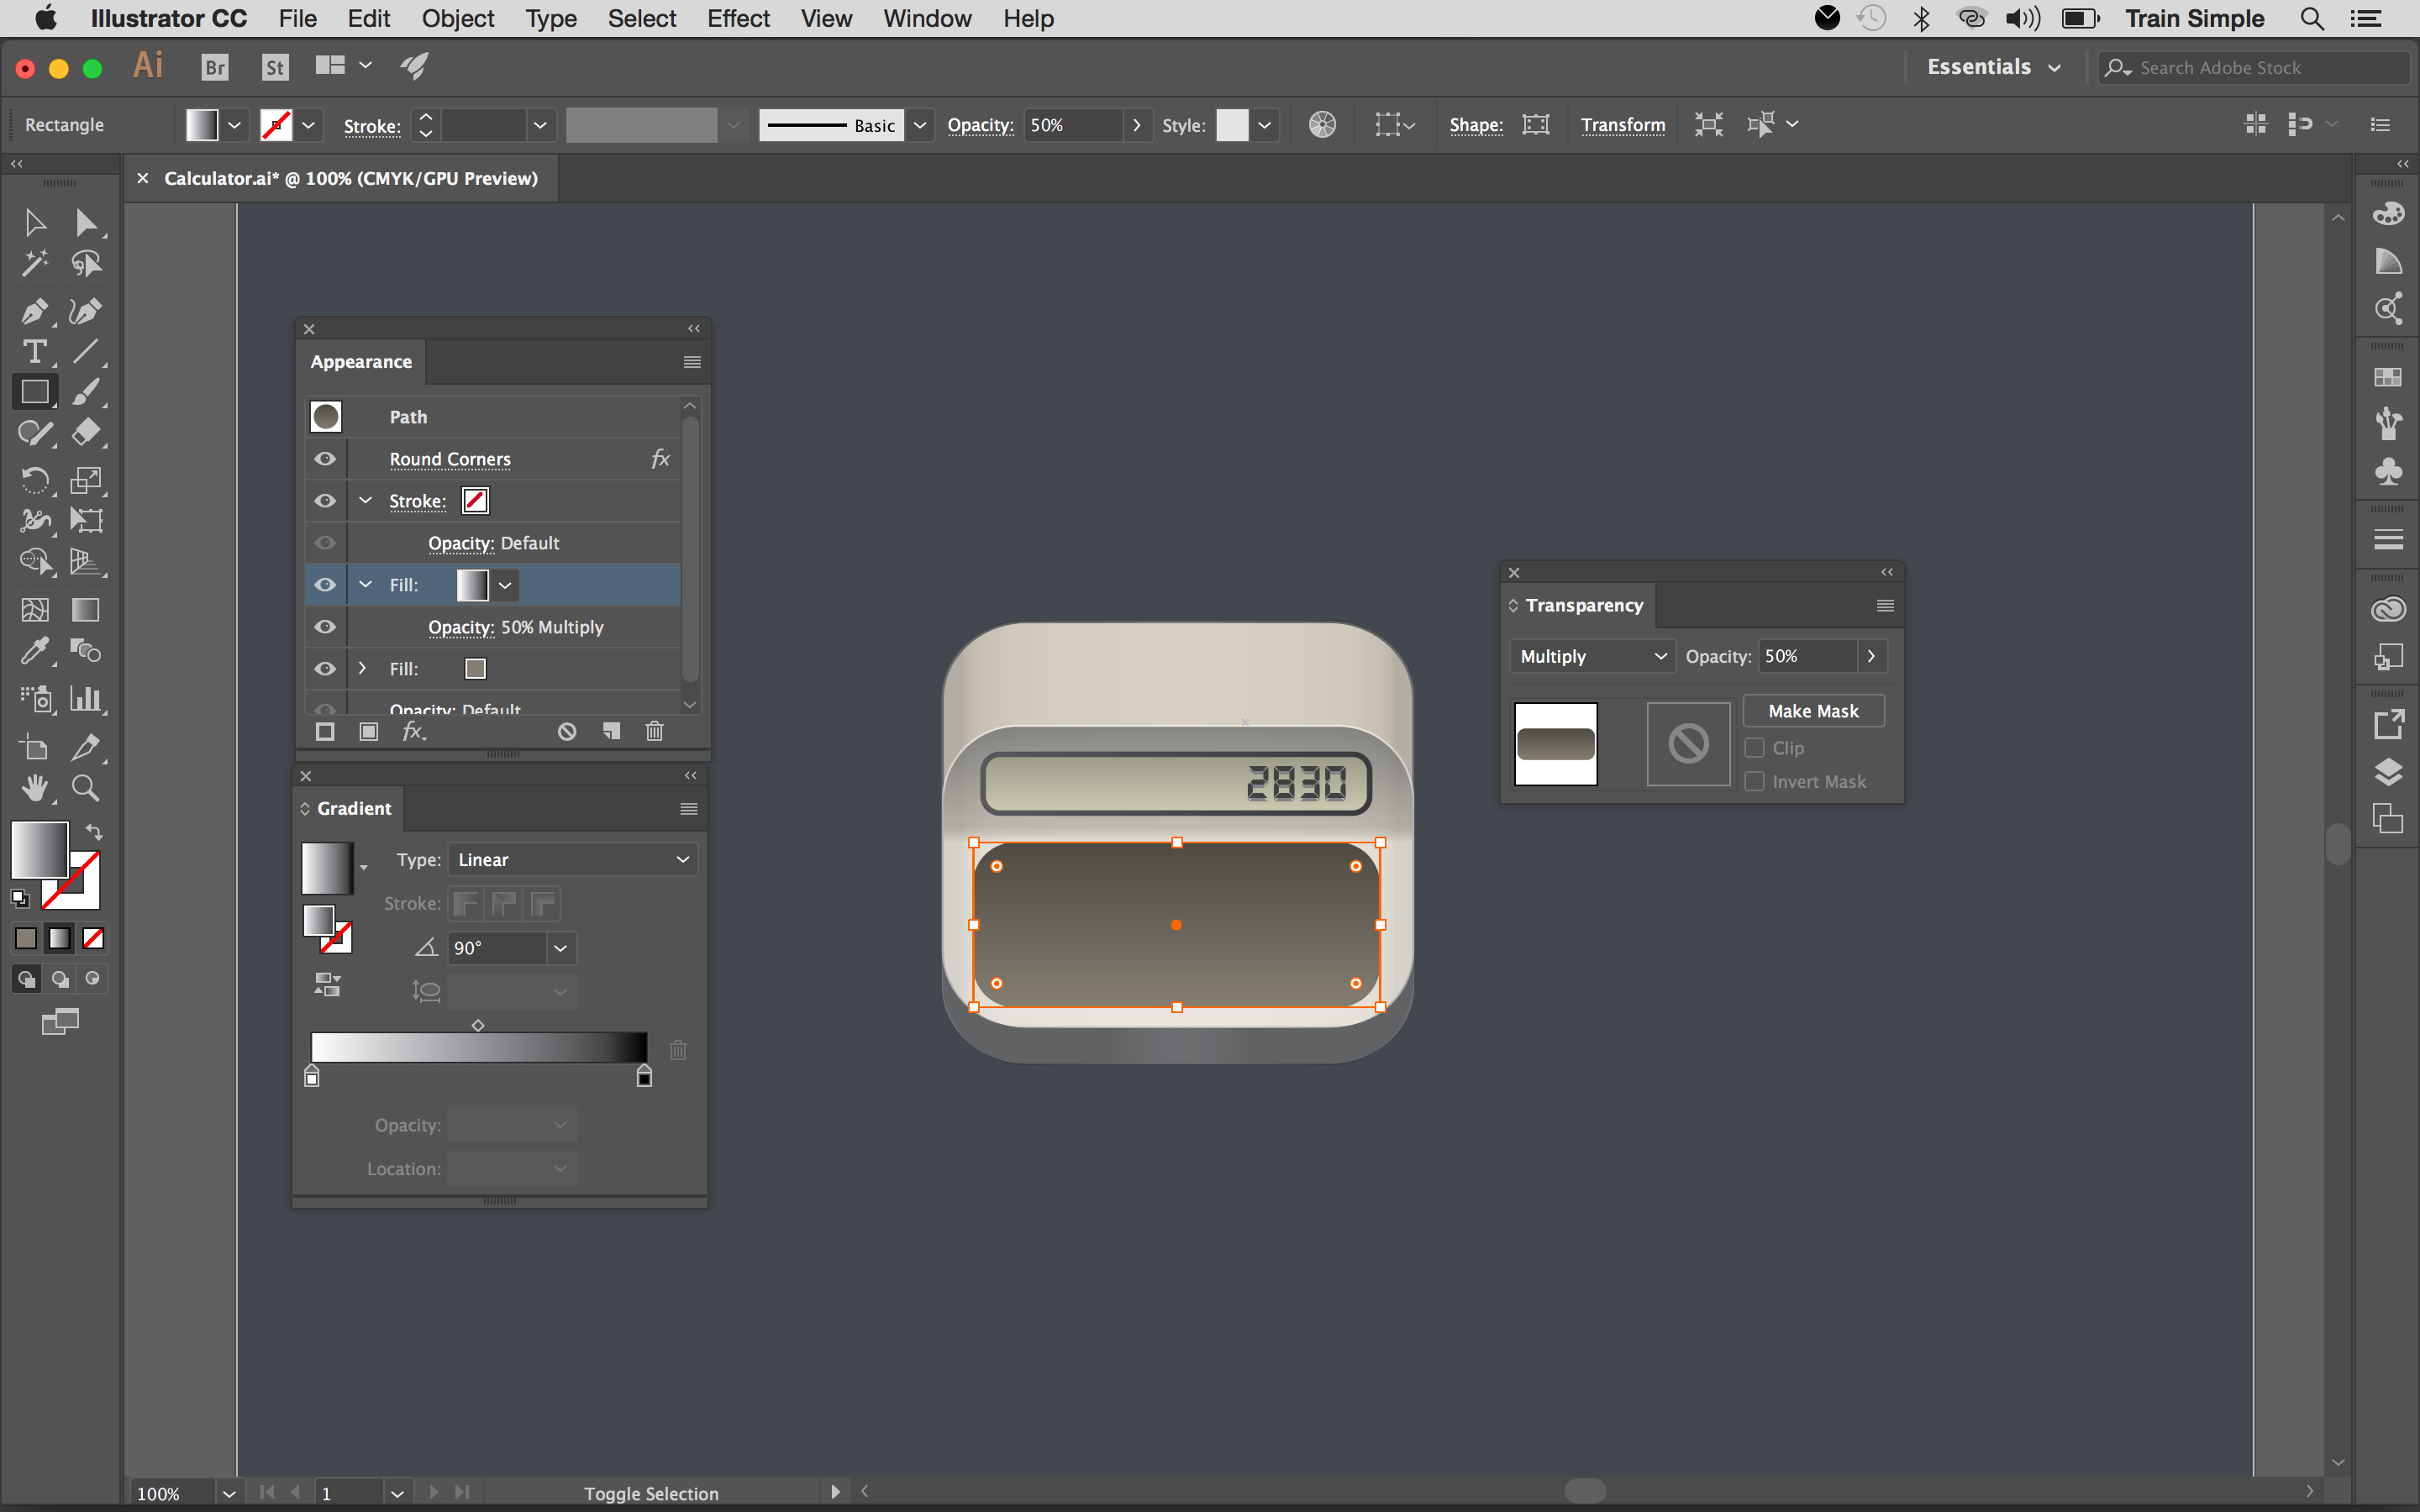
After that, duplicate its fill attribute in the Appearance Panel and apply Black & White gradient at 90 degrees. Change its blending mode to Multiply with 50% opacity.
Next page: The final steps to creating an icon app in Illustrator...
