12. Add depth
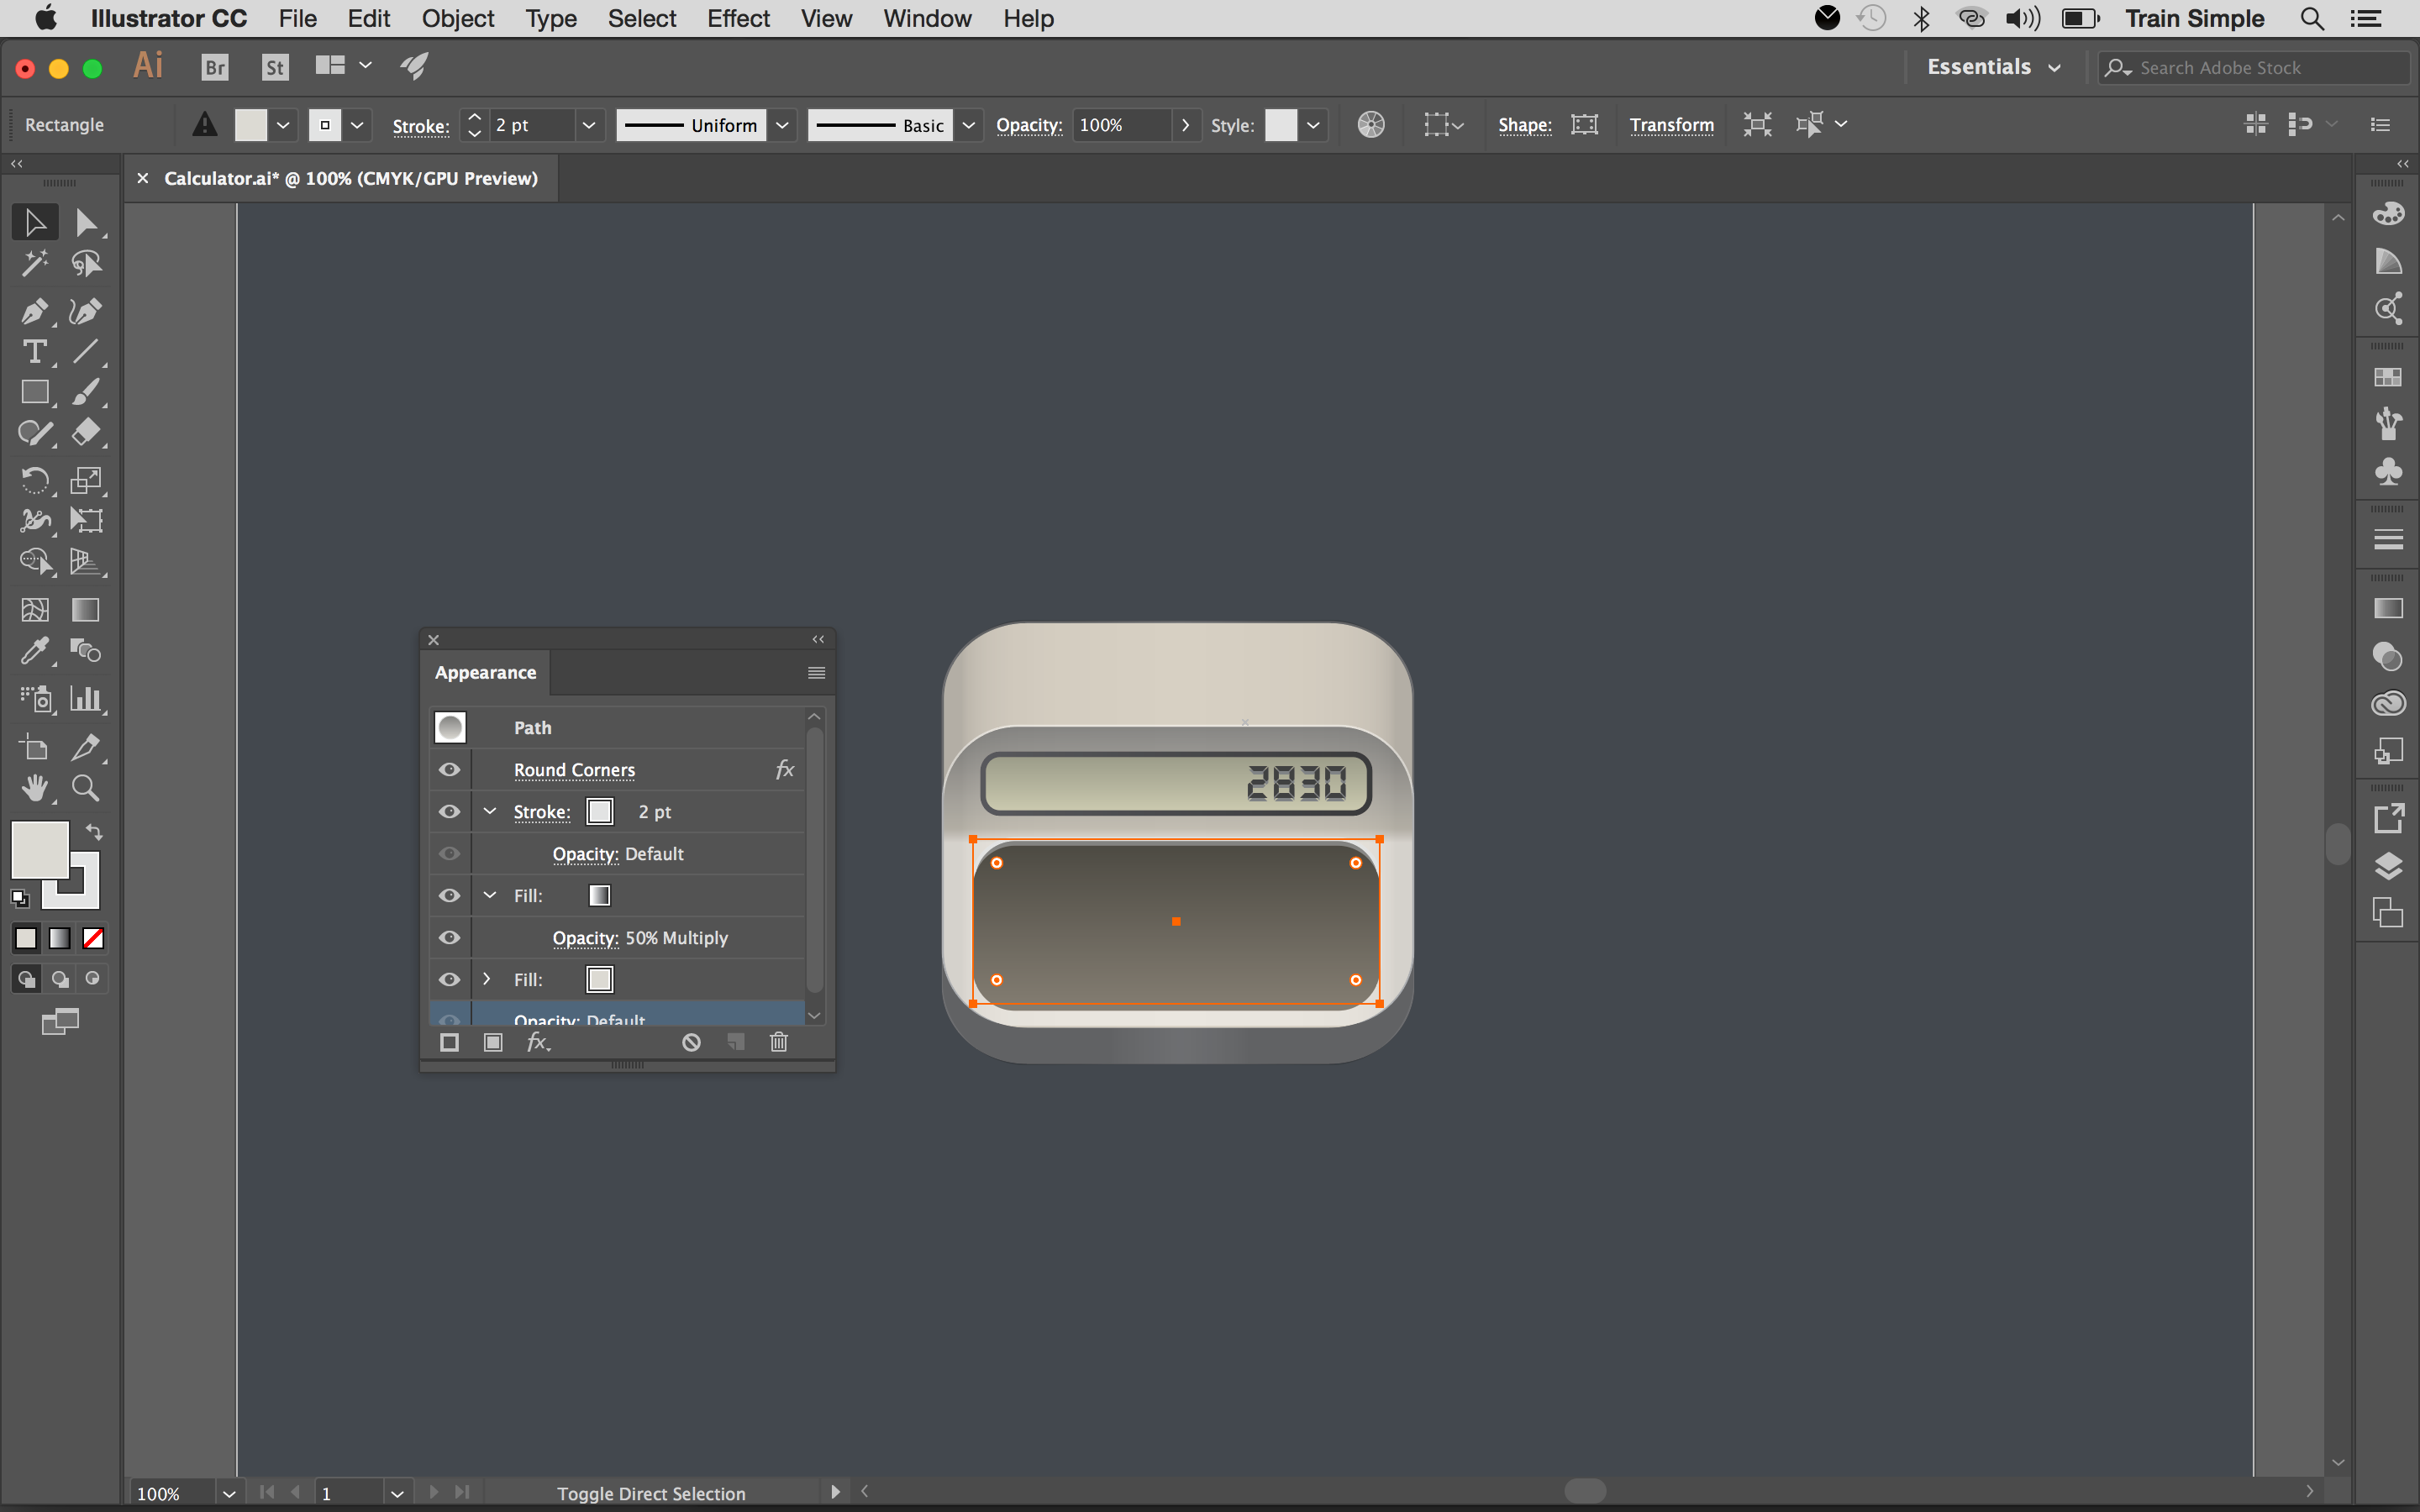
Now we’ll give some depth to the button’s base. So, select the shape, press Ctrl+ C to copy and press Ctrl+ B to paste in back. Drag the copy 2-3 steps upwards. Keep the copy selected and change its stroke color to #E2E2E1 with 2pt stroke weight and fill color to #DDD9D3 in the Appearance Panel as shown above.
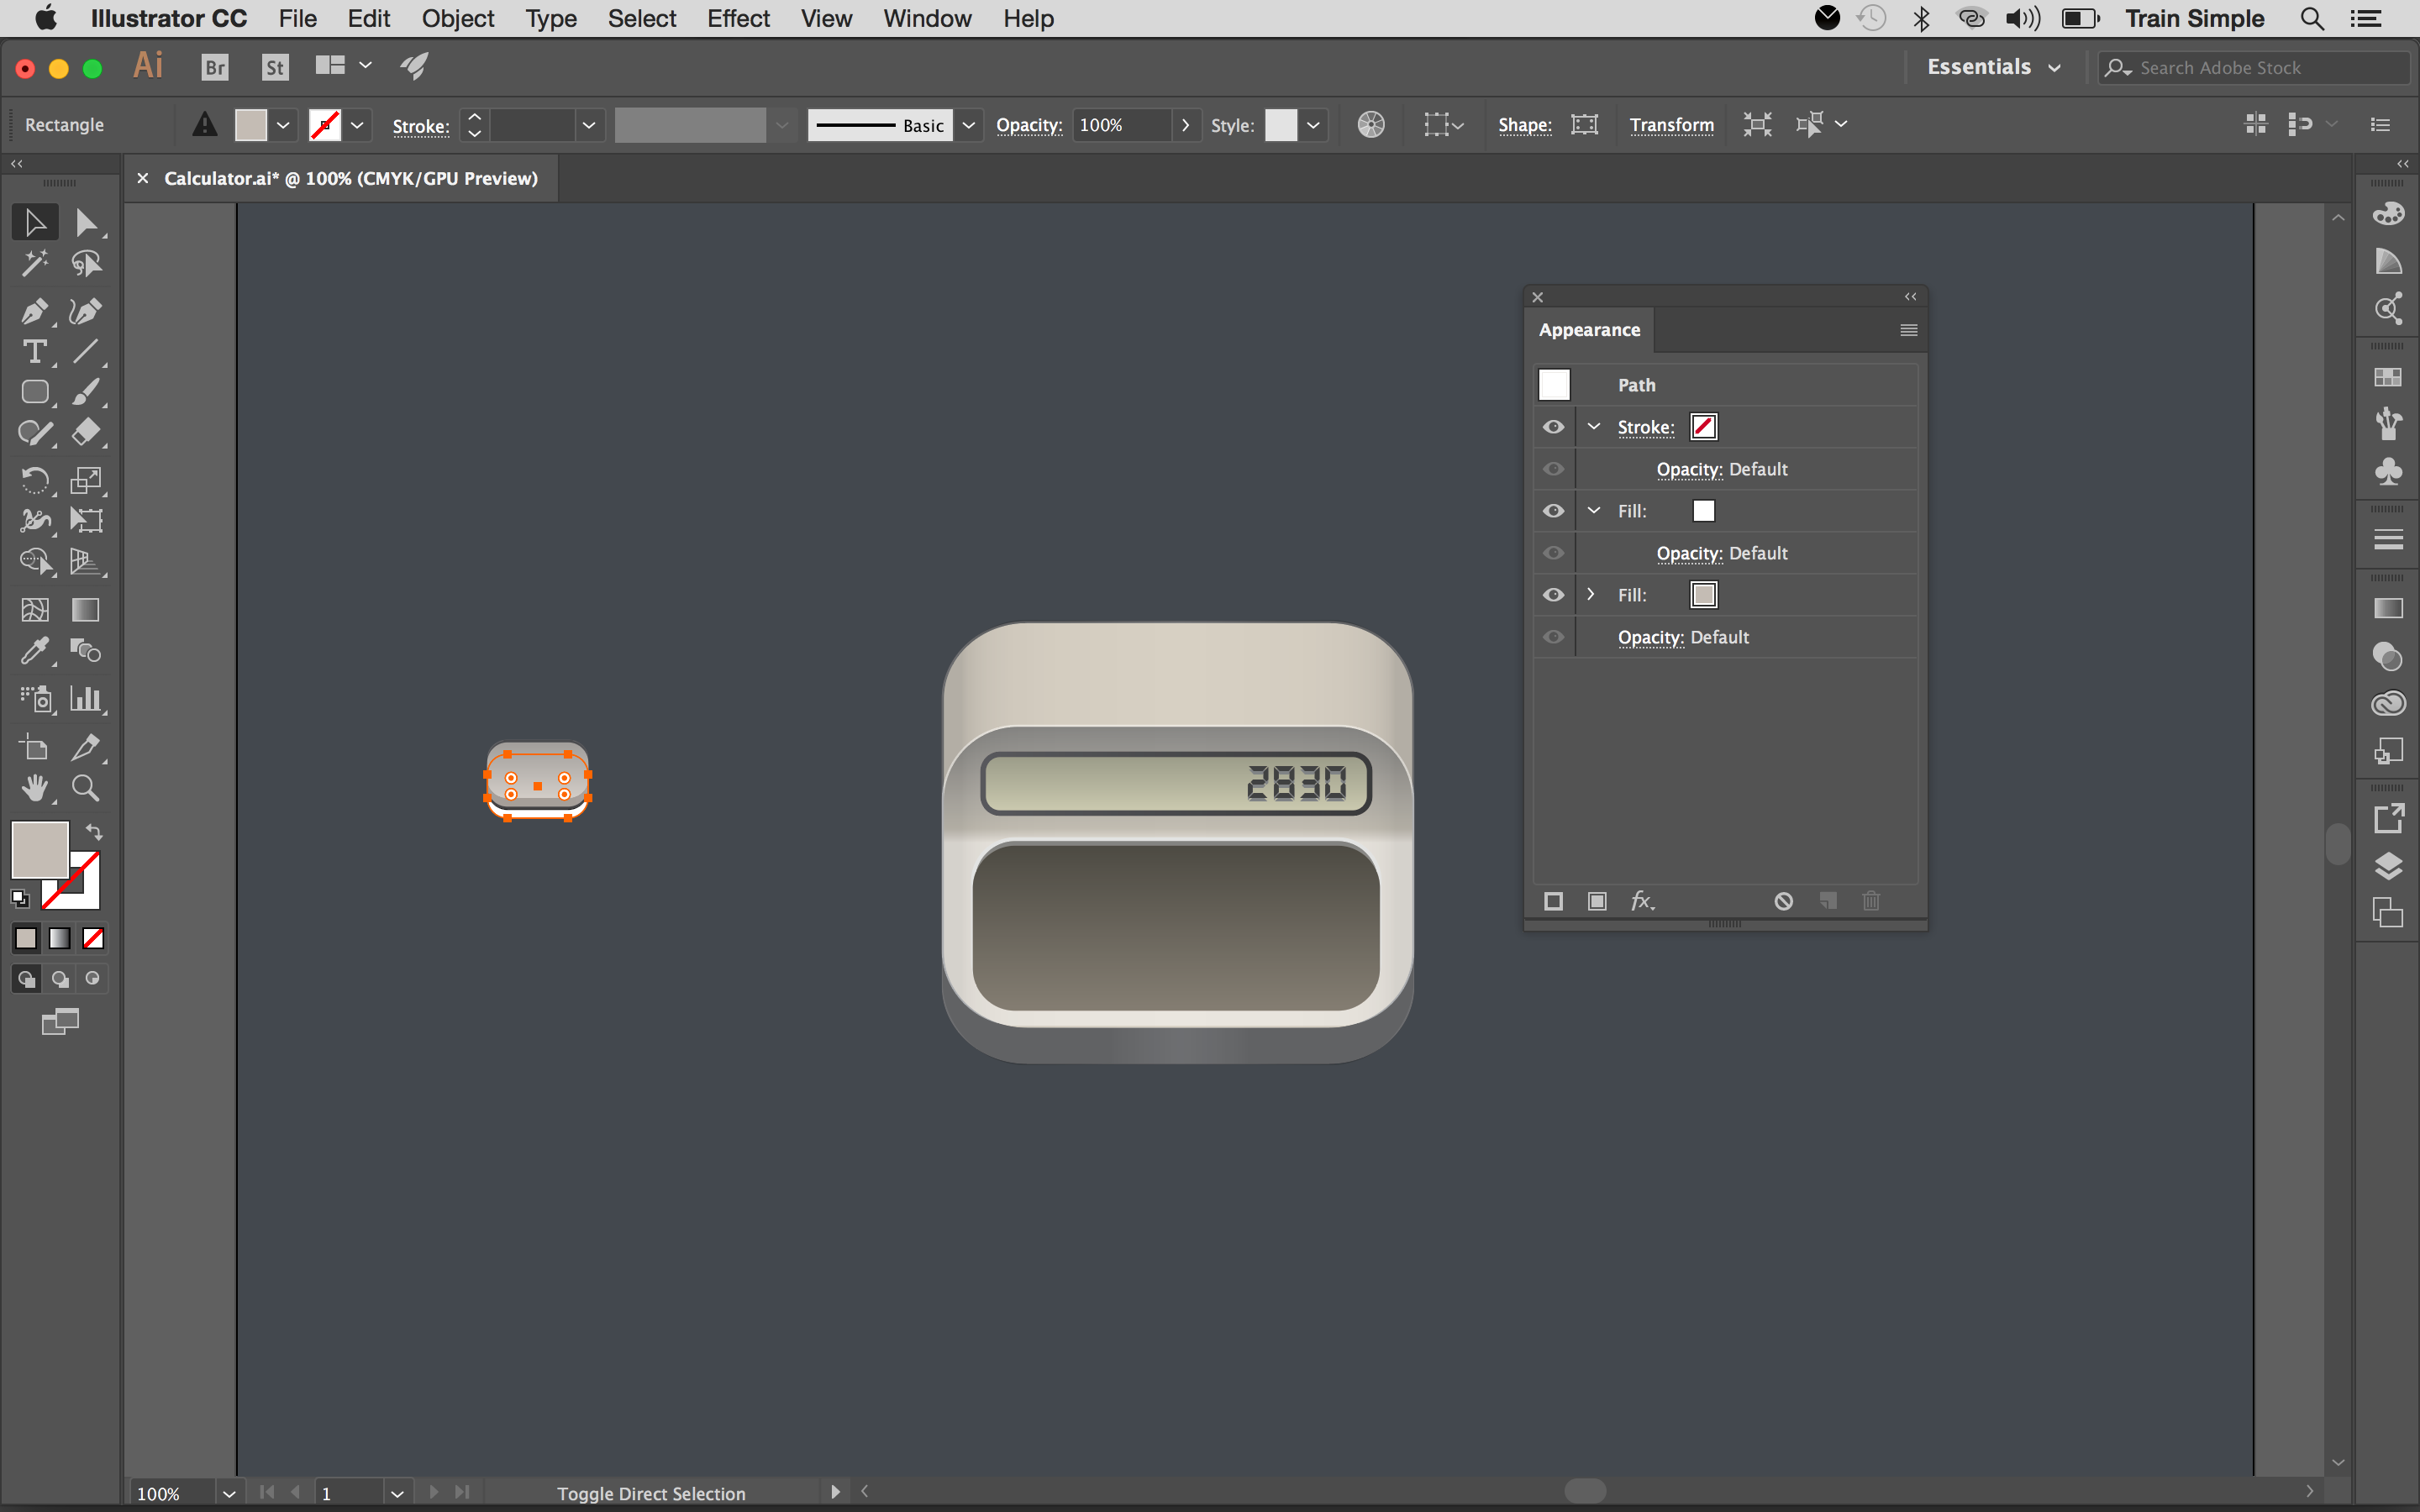
13. Create 3D button
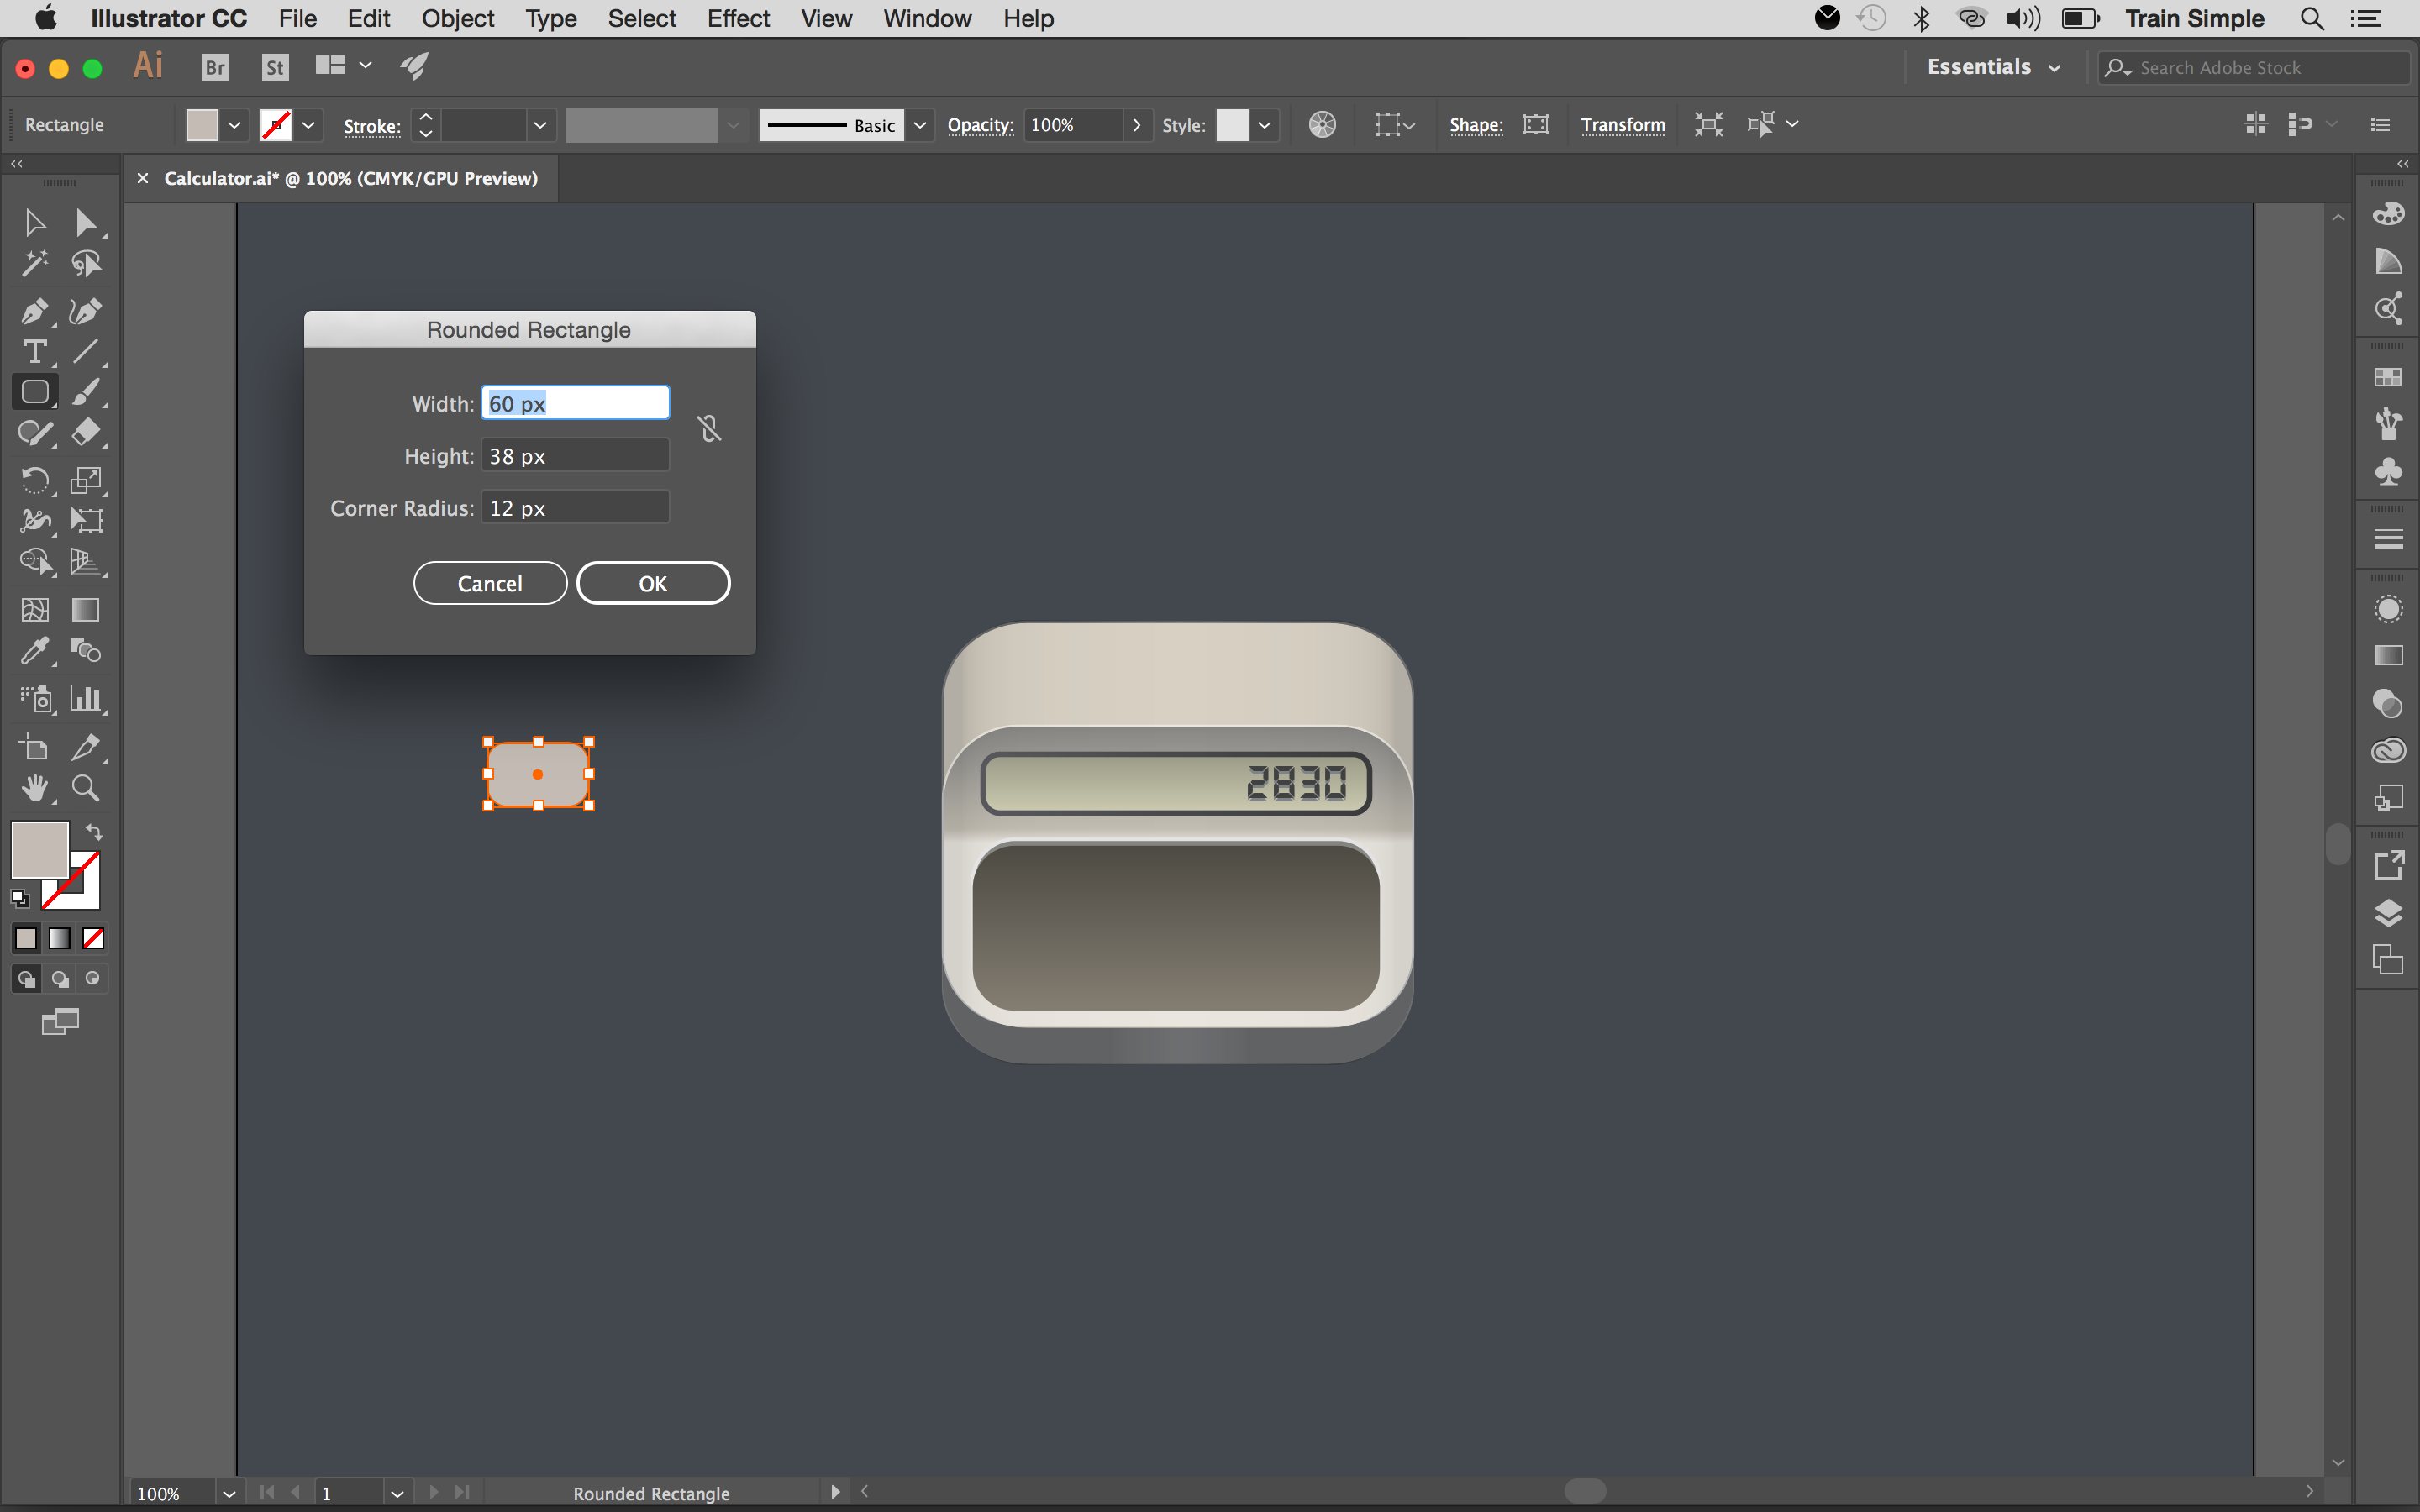
Next, I’ll show you how to create a 3d button. Pick the Rounded Rectangle Tool (M) to draw a 60 x 38px rectangle using #C5BCB4 fill color. Select it and make its corners rounded by 12px.
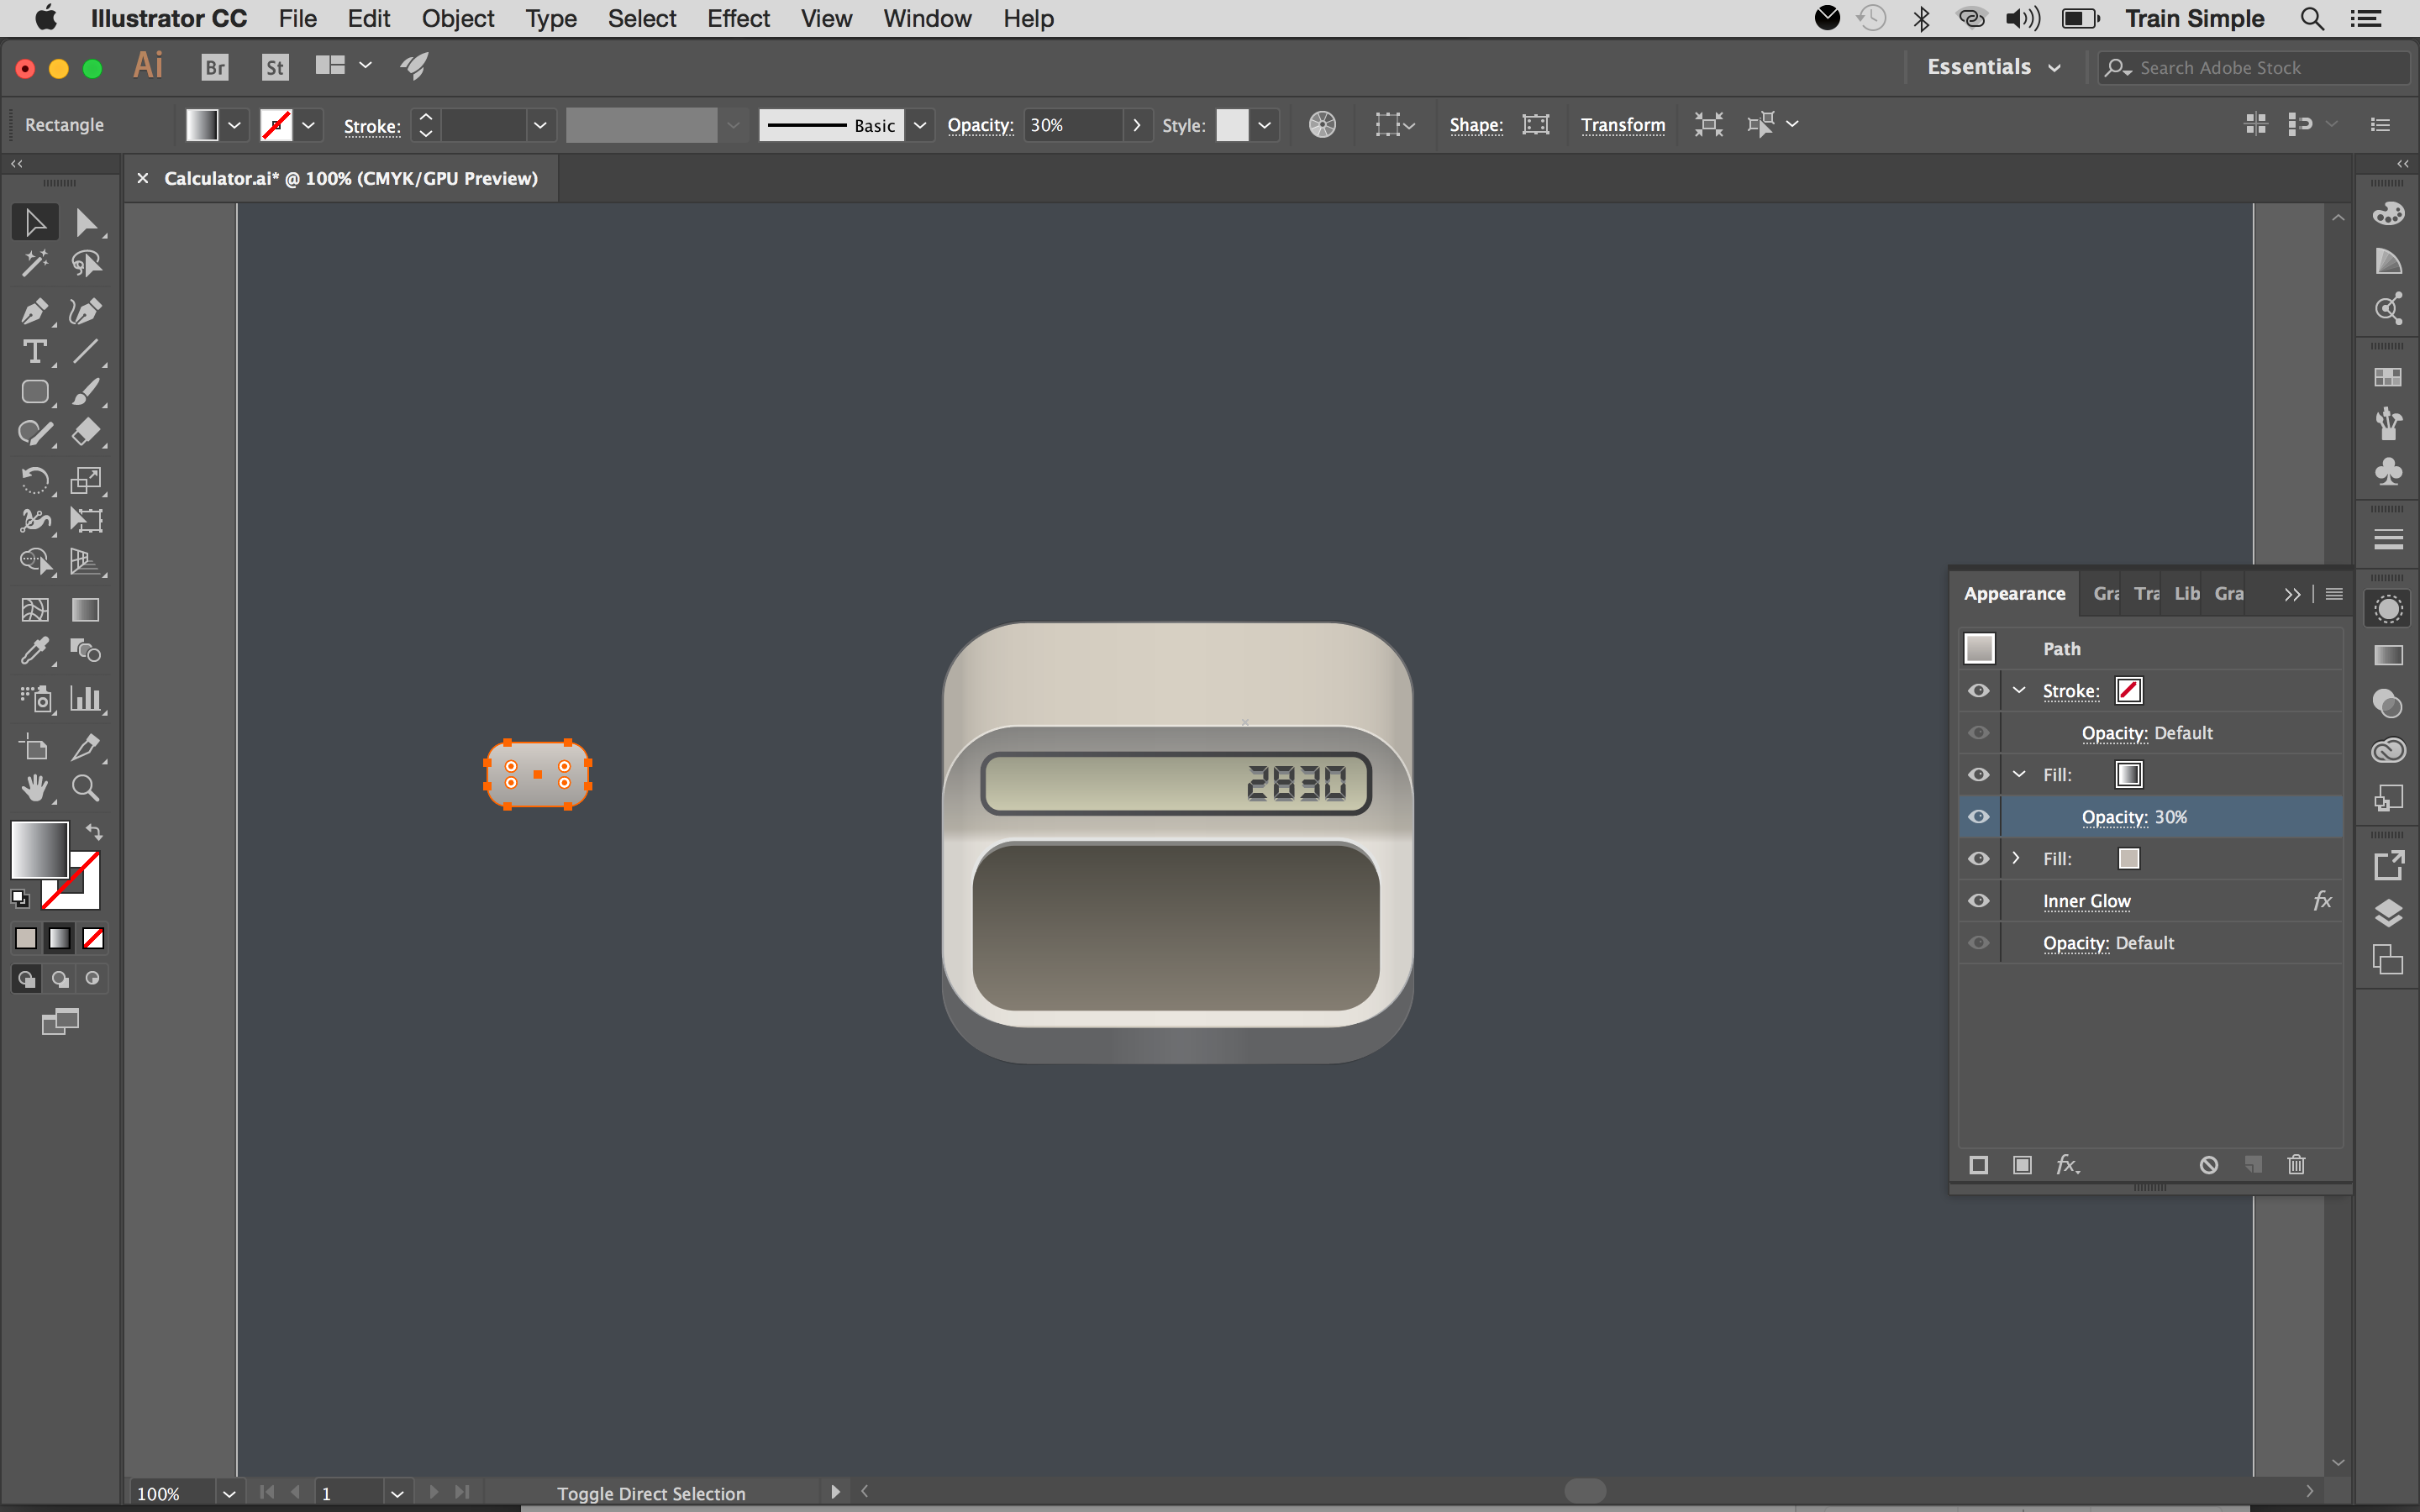
Select the button and go to Effect > Stylize > Inner Glow. Apply given settings here. And apply Black & White gradient on it with Multiply blending mode and 40% opacity as we did in step 11.

14. Extrude and bevel
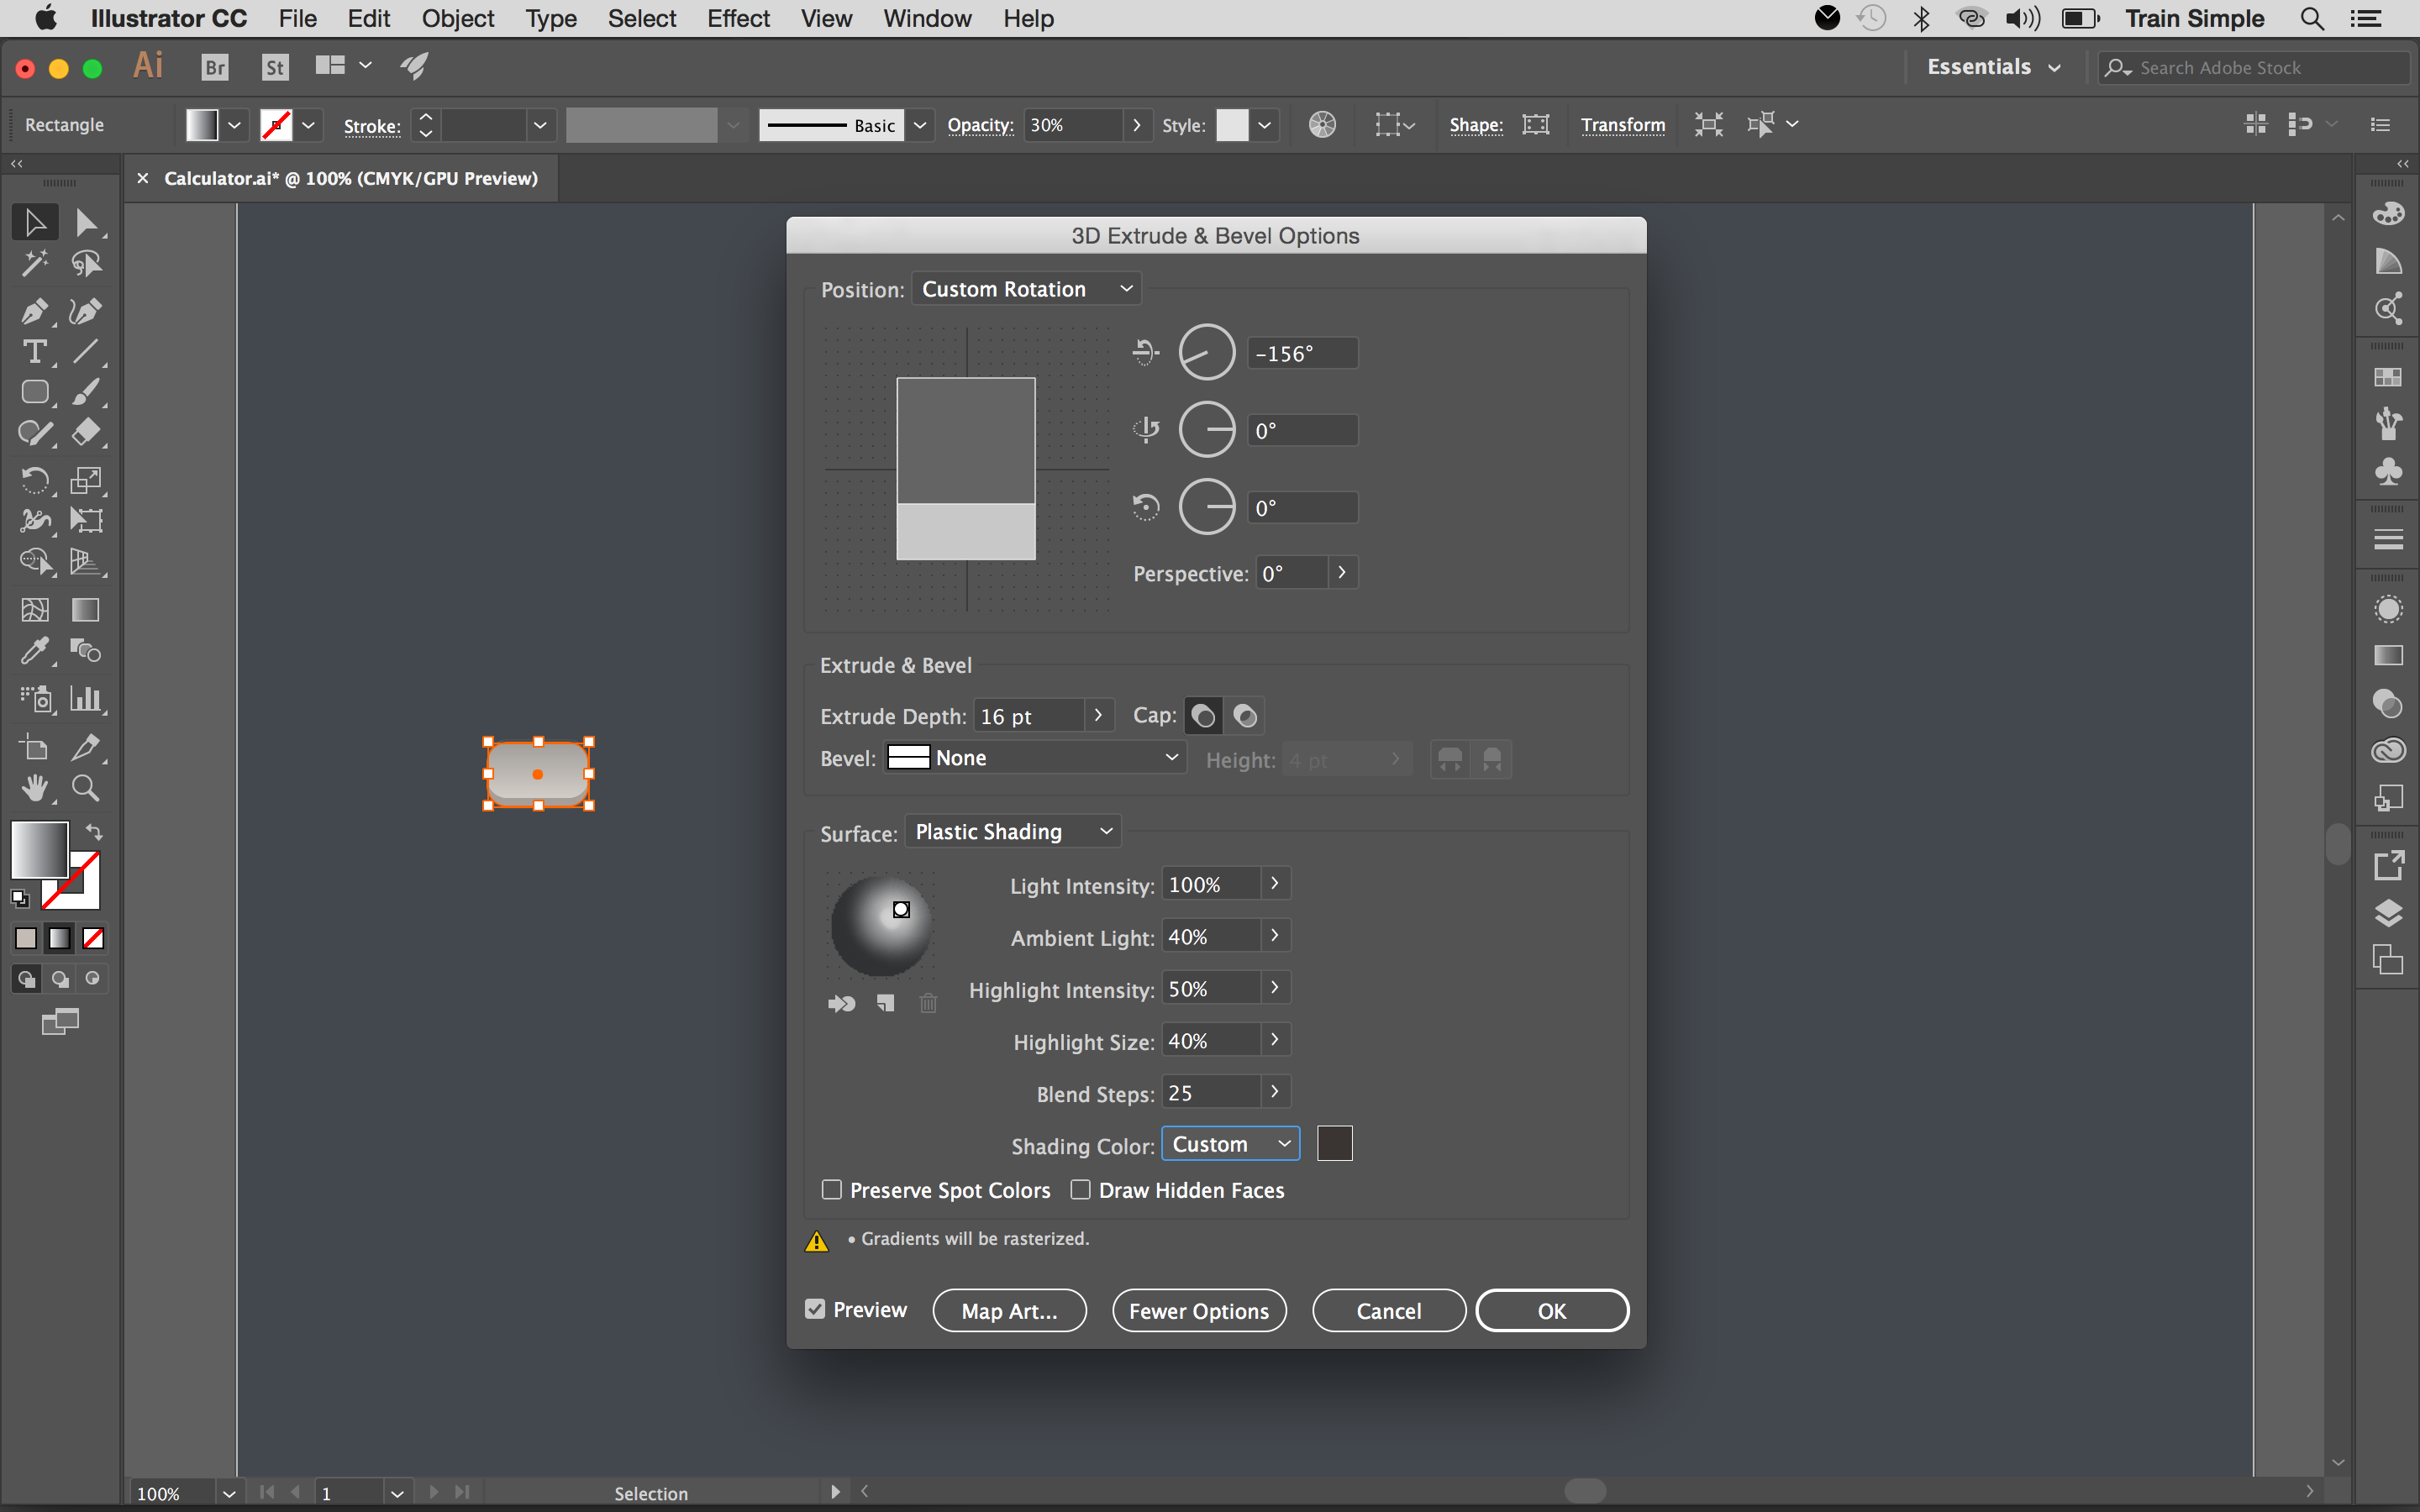
Select the button and go to Effect > 3D > Extrude & Bevel. Apply given settings here.
15. Make the button's shadow
We’ll create button’s shadow now. To do so, duplicate the button. Select the bottom copy and remove all the effects in the Appearance Panel. Now change its fill colour to black and hit the down arrow twice to move it down. Duplicate it and change fill colour of the copy to white. Hit the down arrow on your keyboard 6-7 times downwards as shown above.
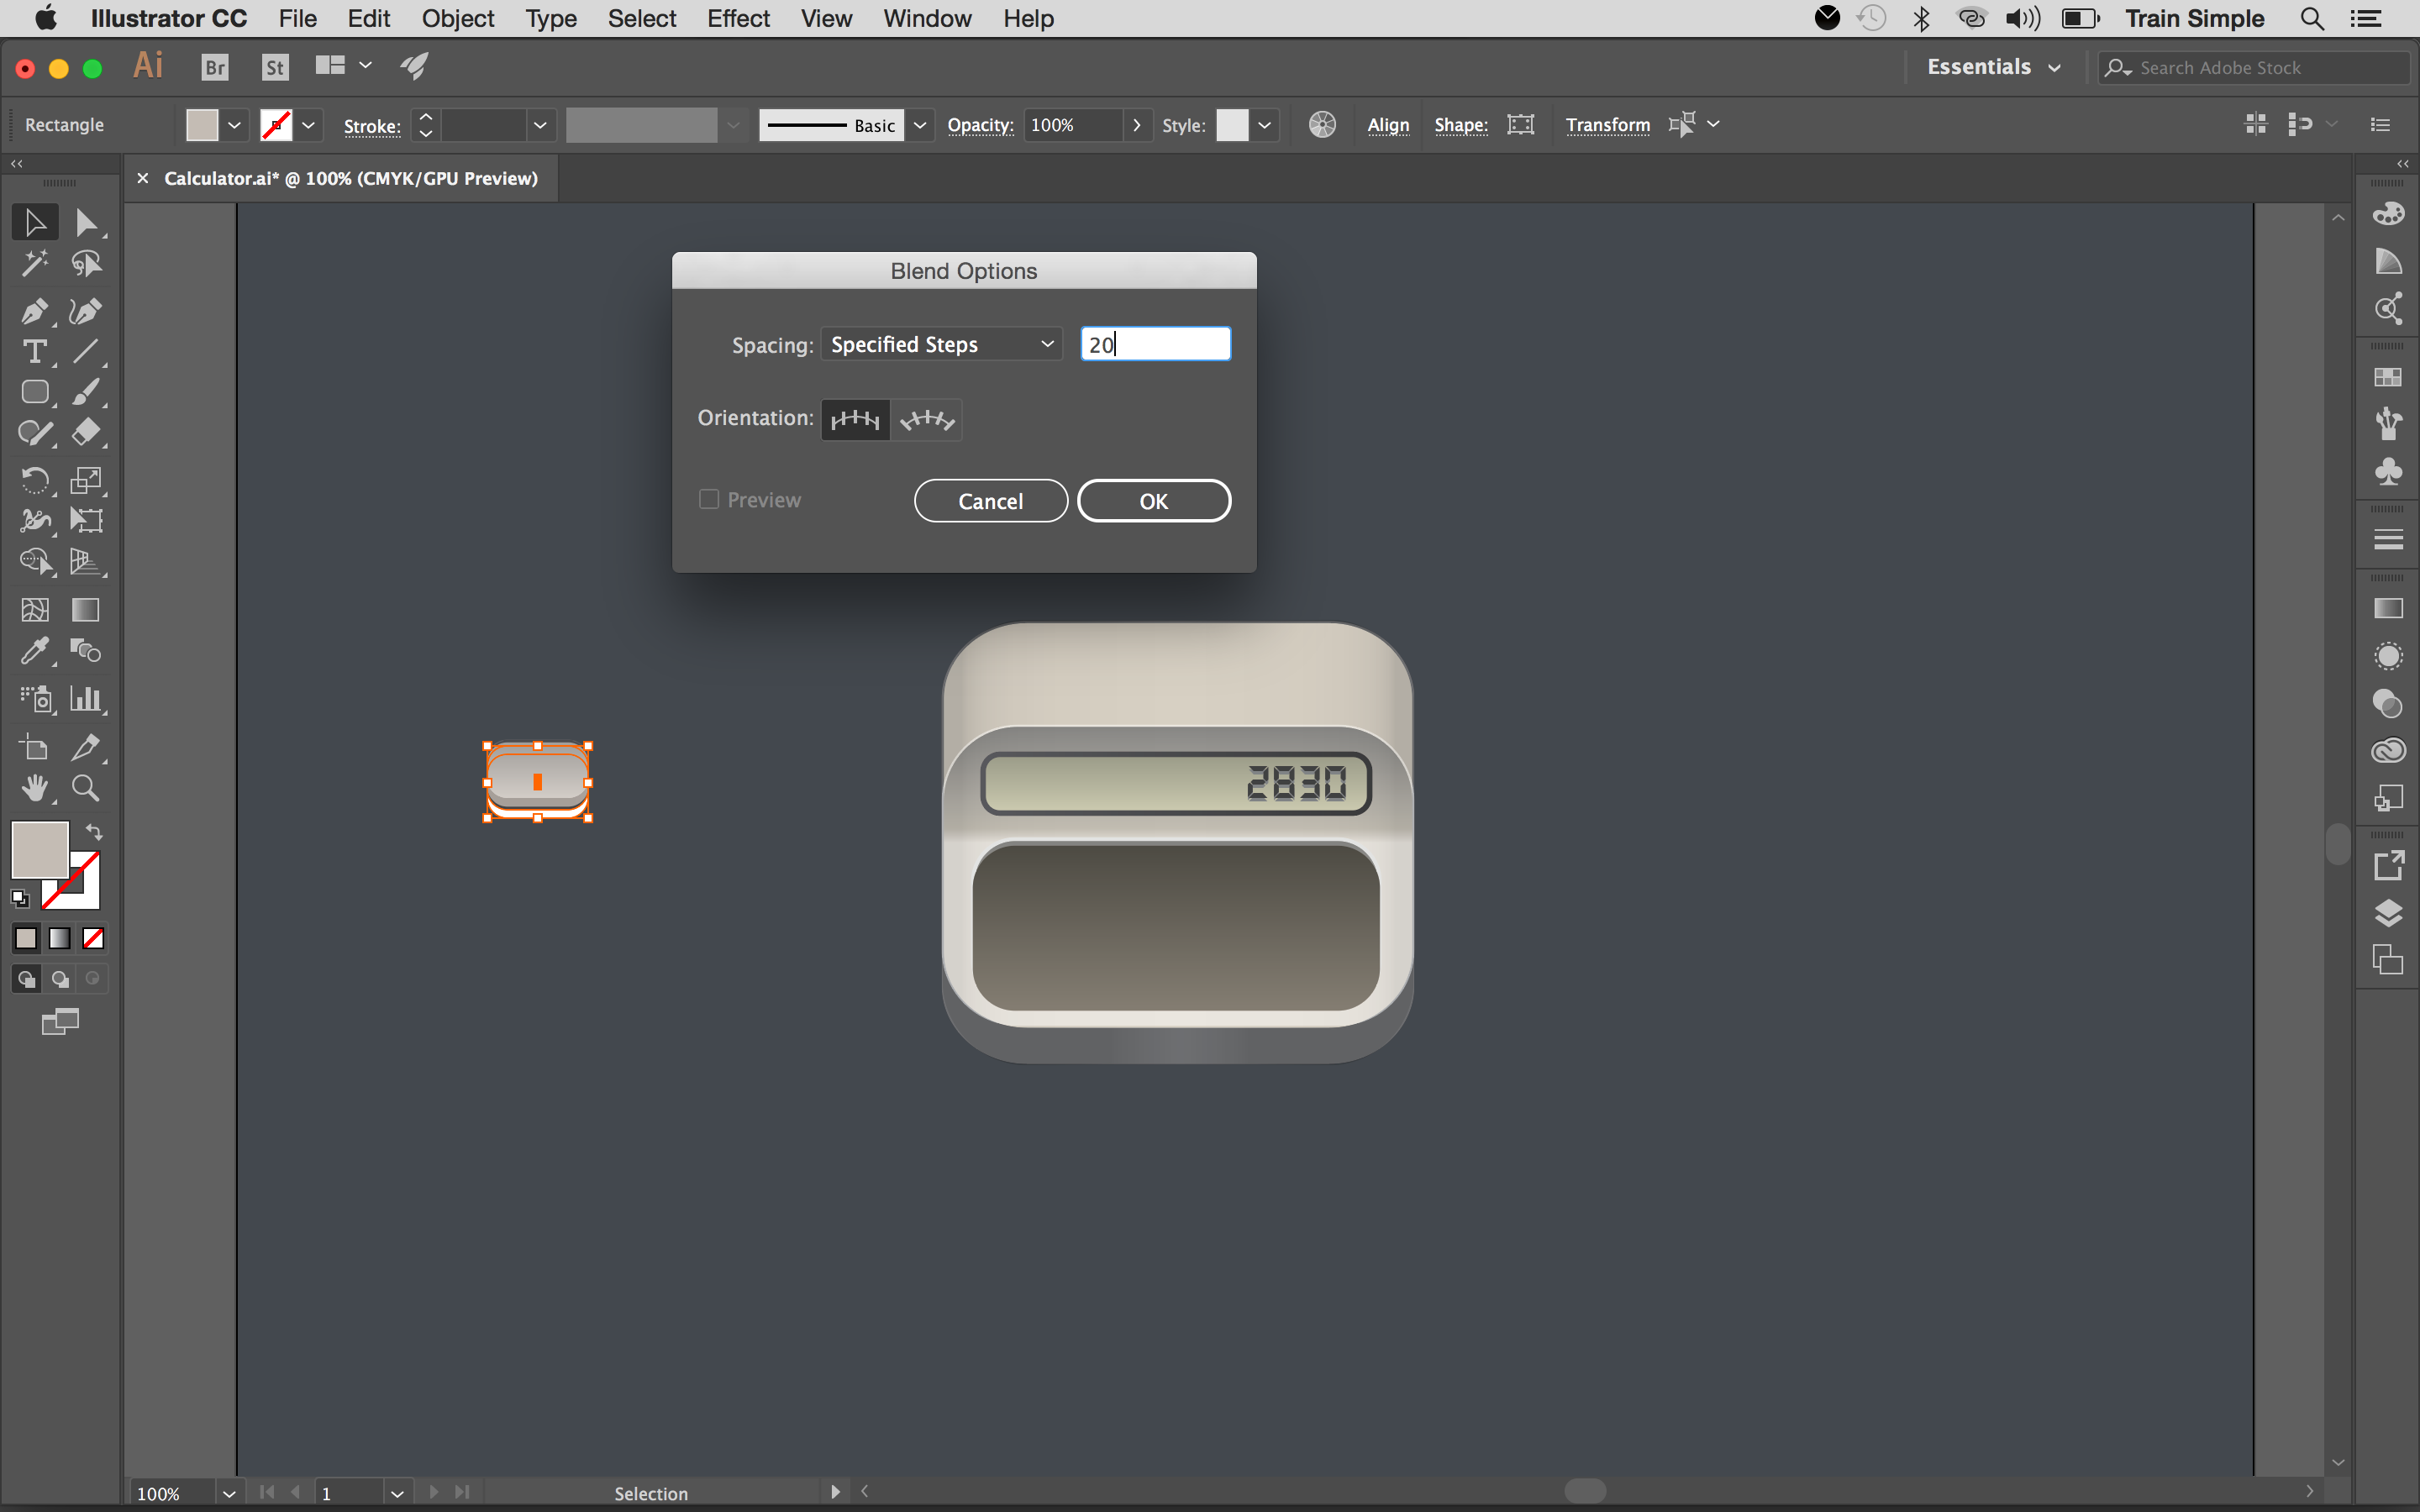
Select both the black and white shapes and go to Object > Blend > Blend Options. Choose Specified Steps with the value of 20 and hit OK. Once again, go to Object > Blend > Make to blend them. Once you are done, change blended shape mode to Multiply with 60% opacity in the Transparency Panel.
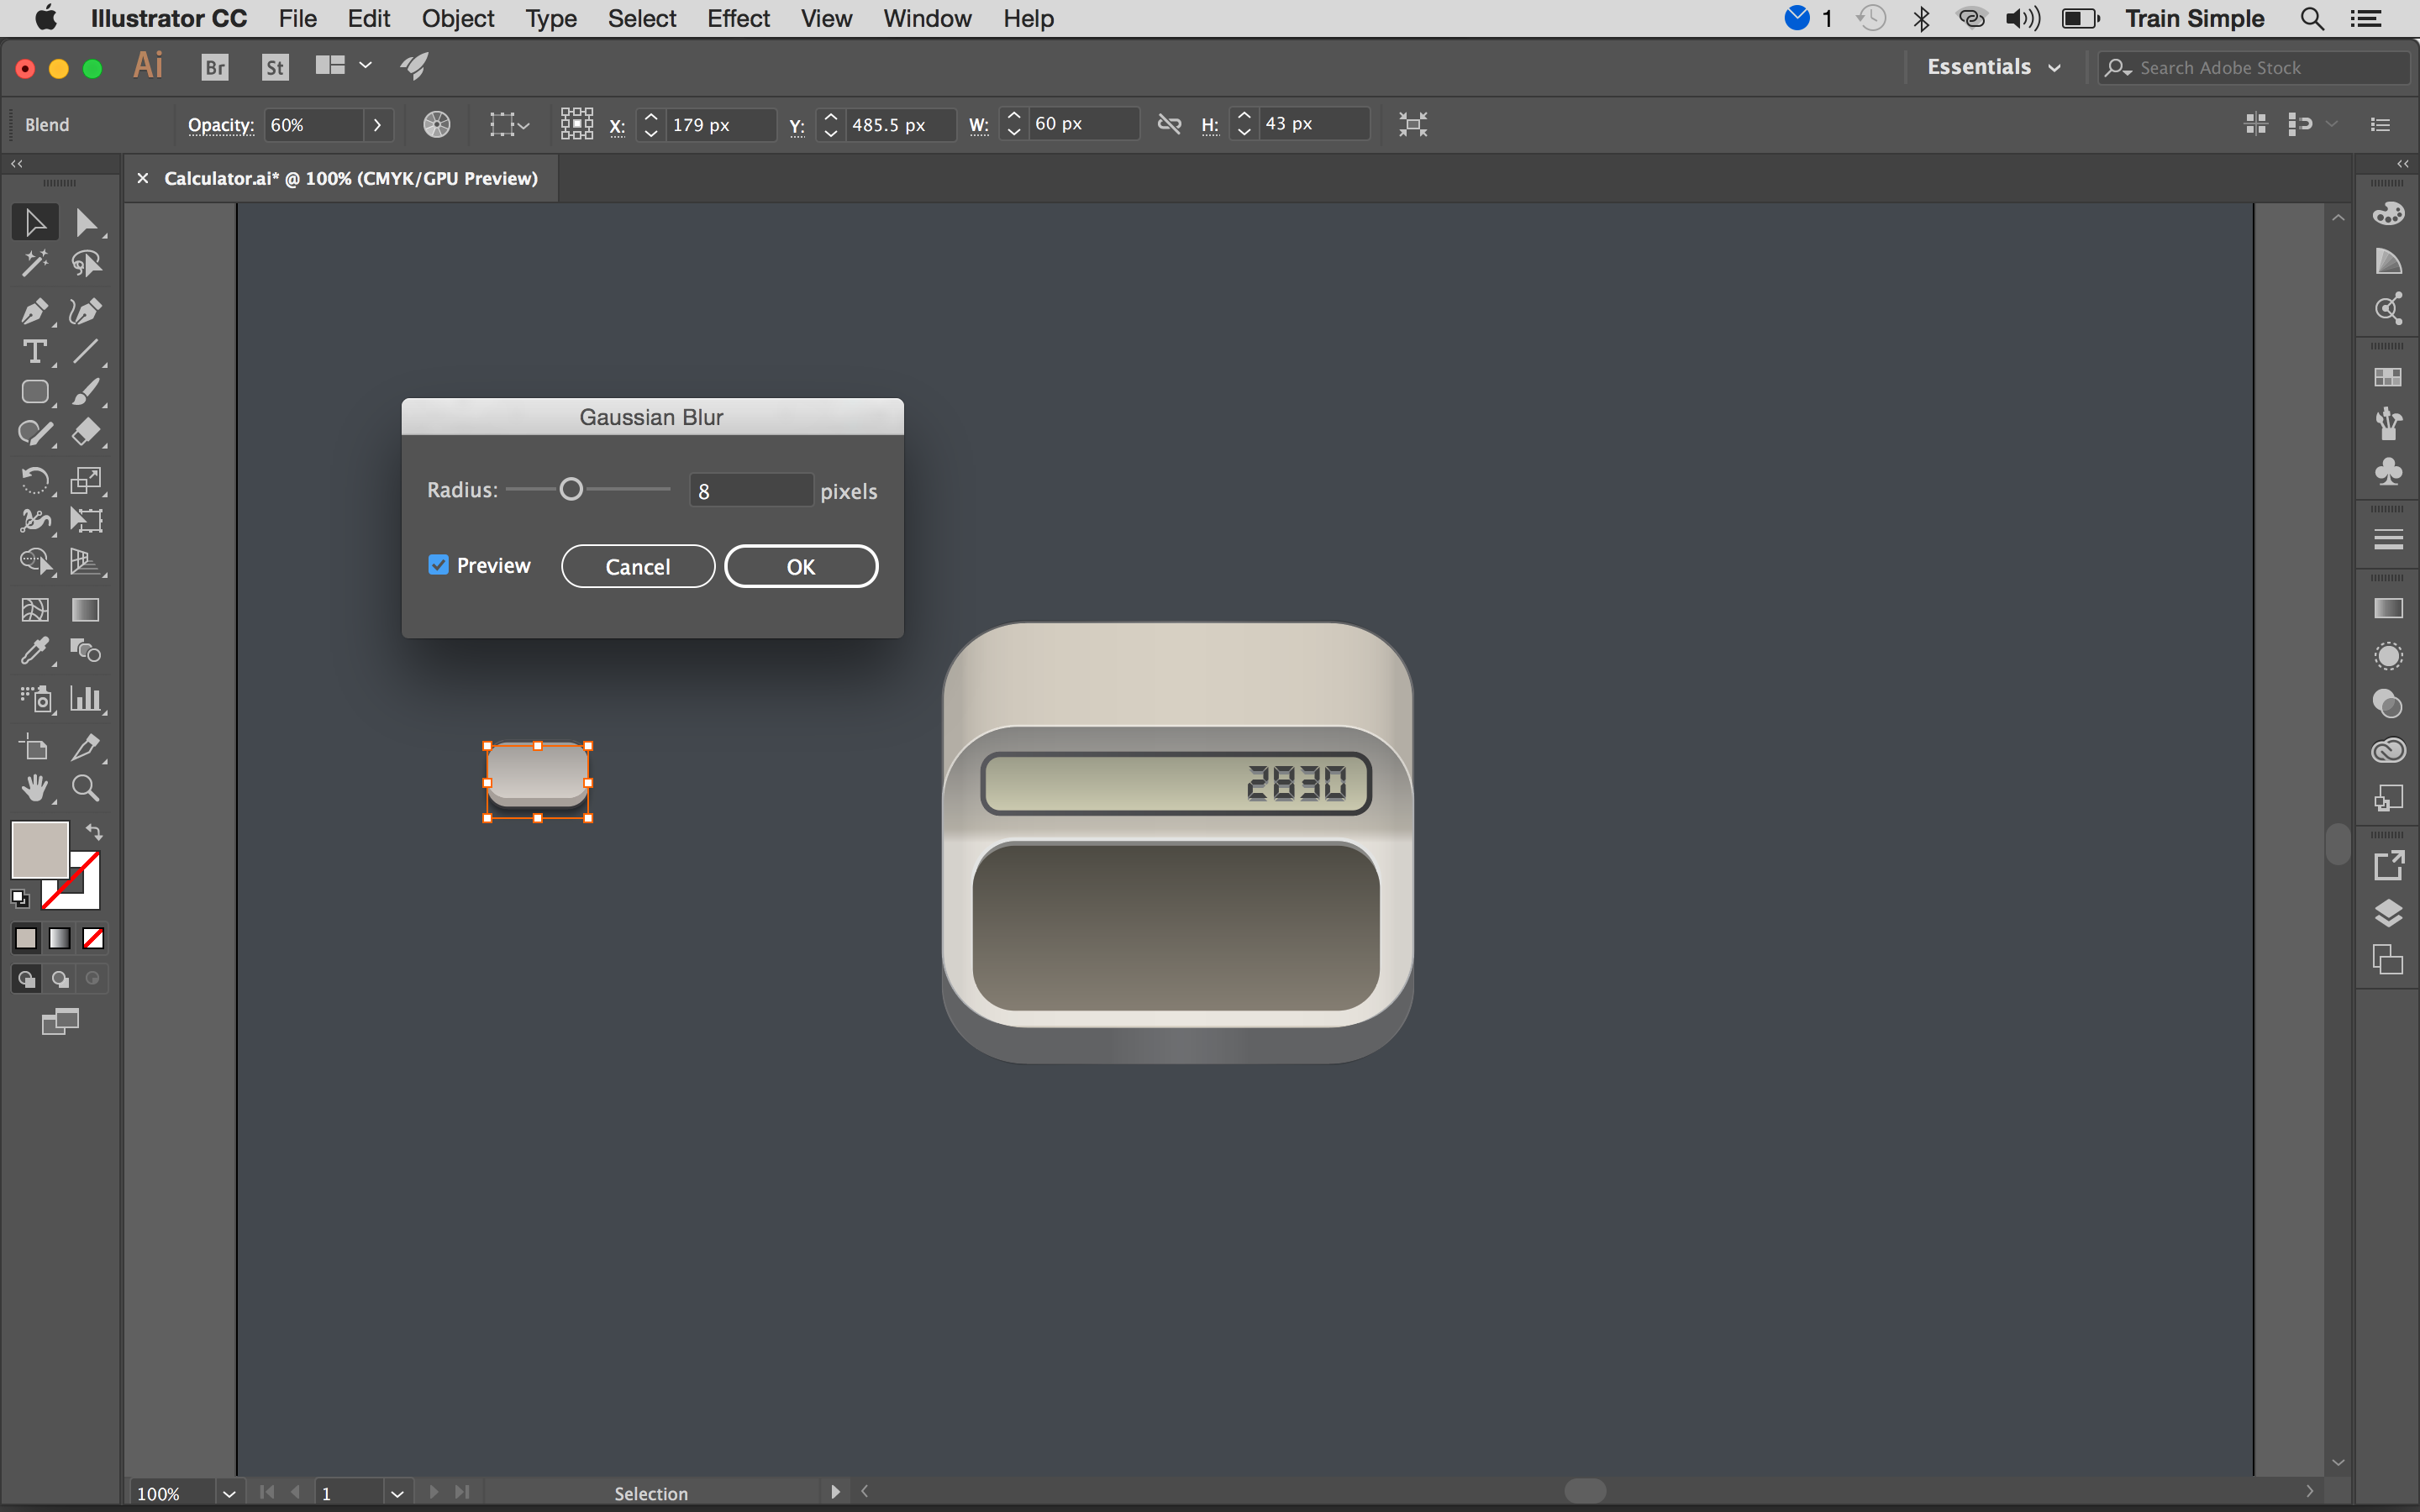
Select the shadow and go to Effect > Blur > Gaussian Blur. Apply 8px Gaussian blur effect on it.
16. Apply the symbol
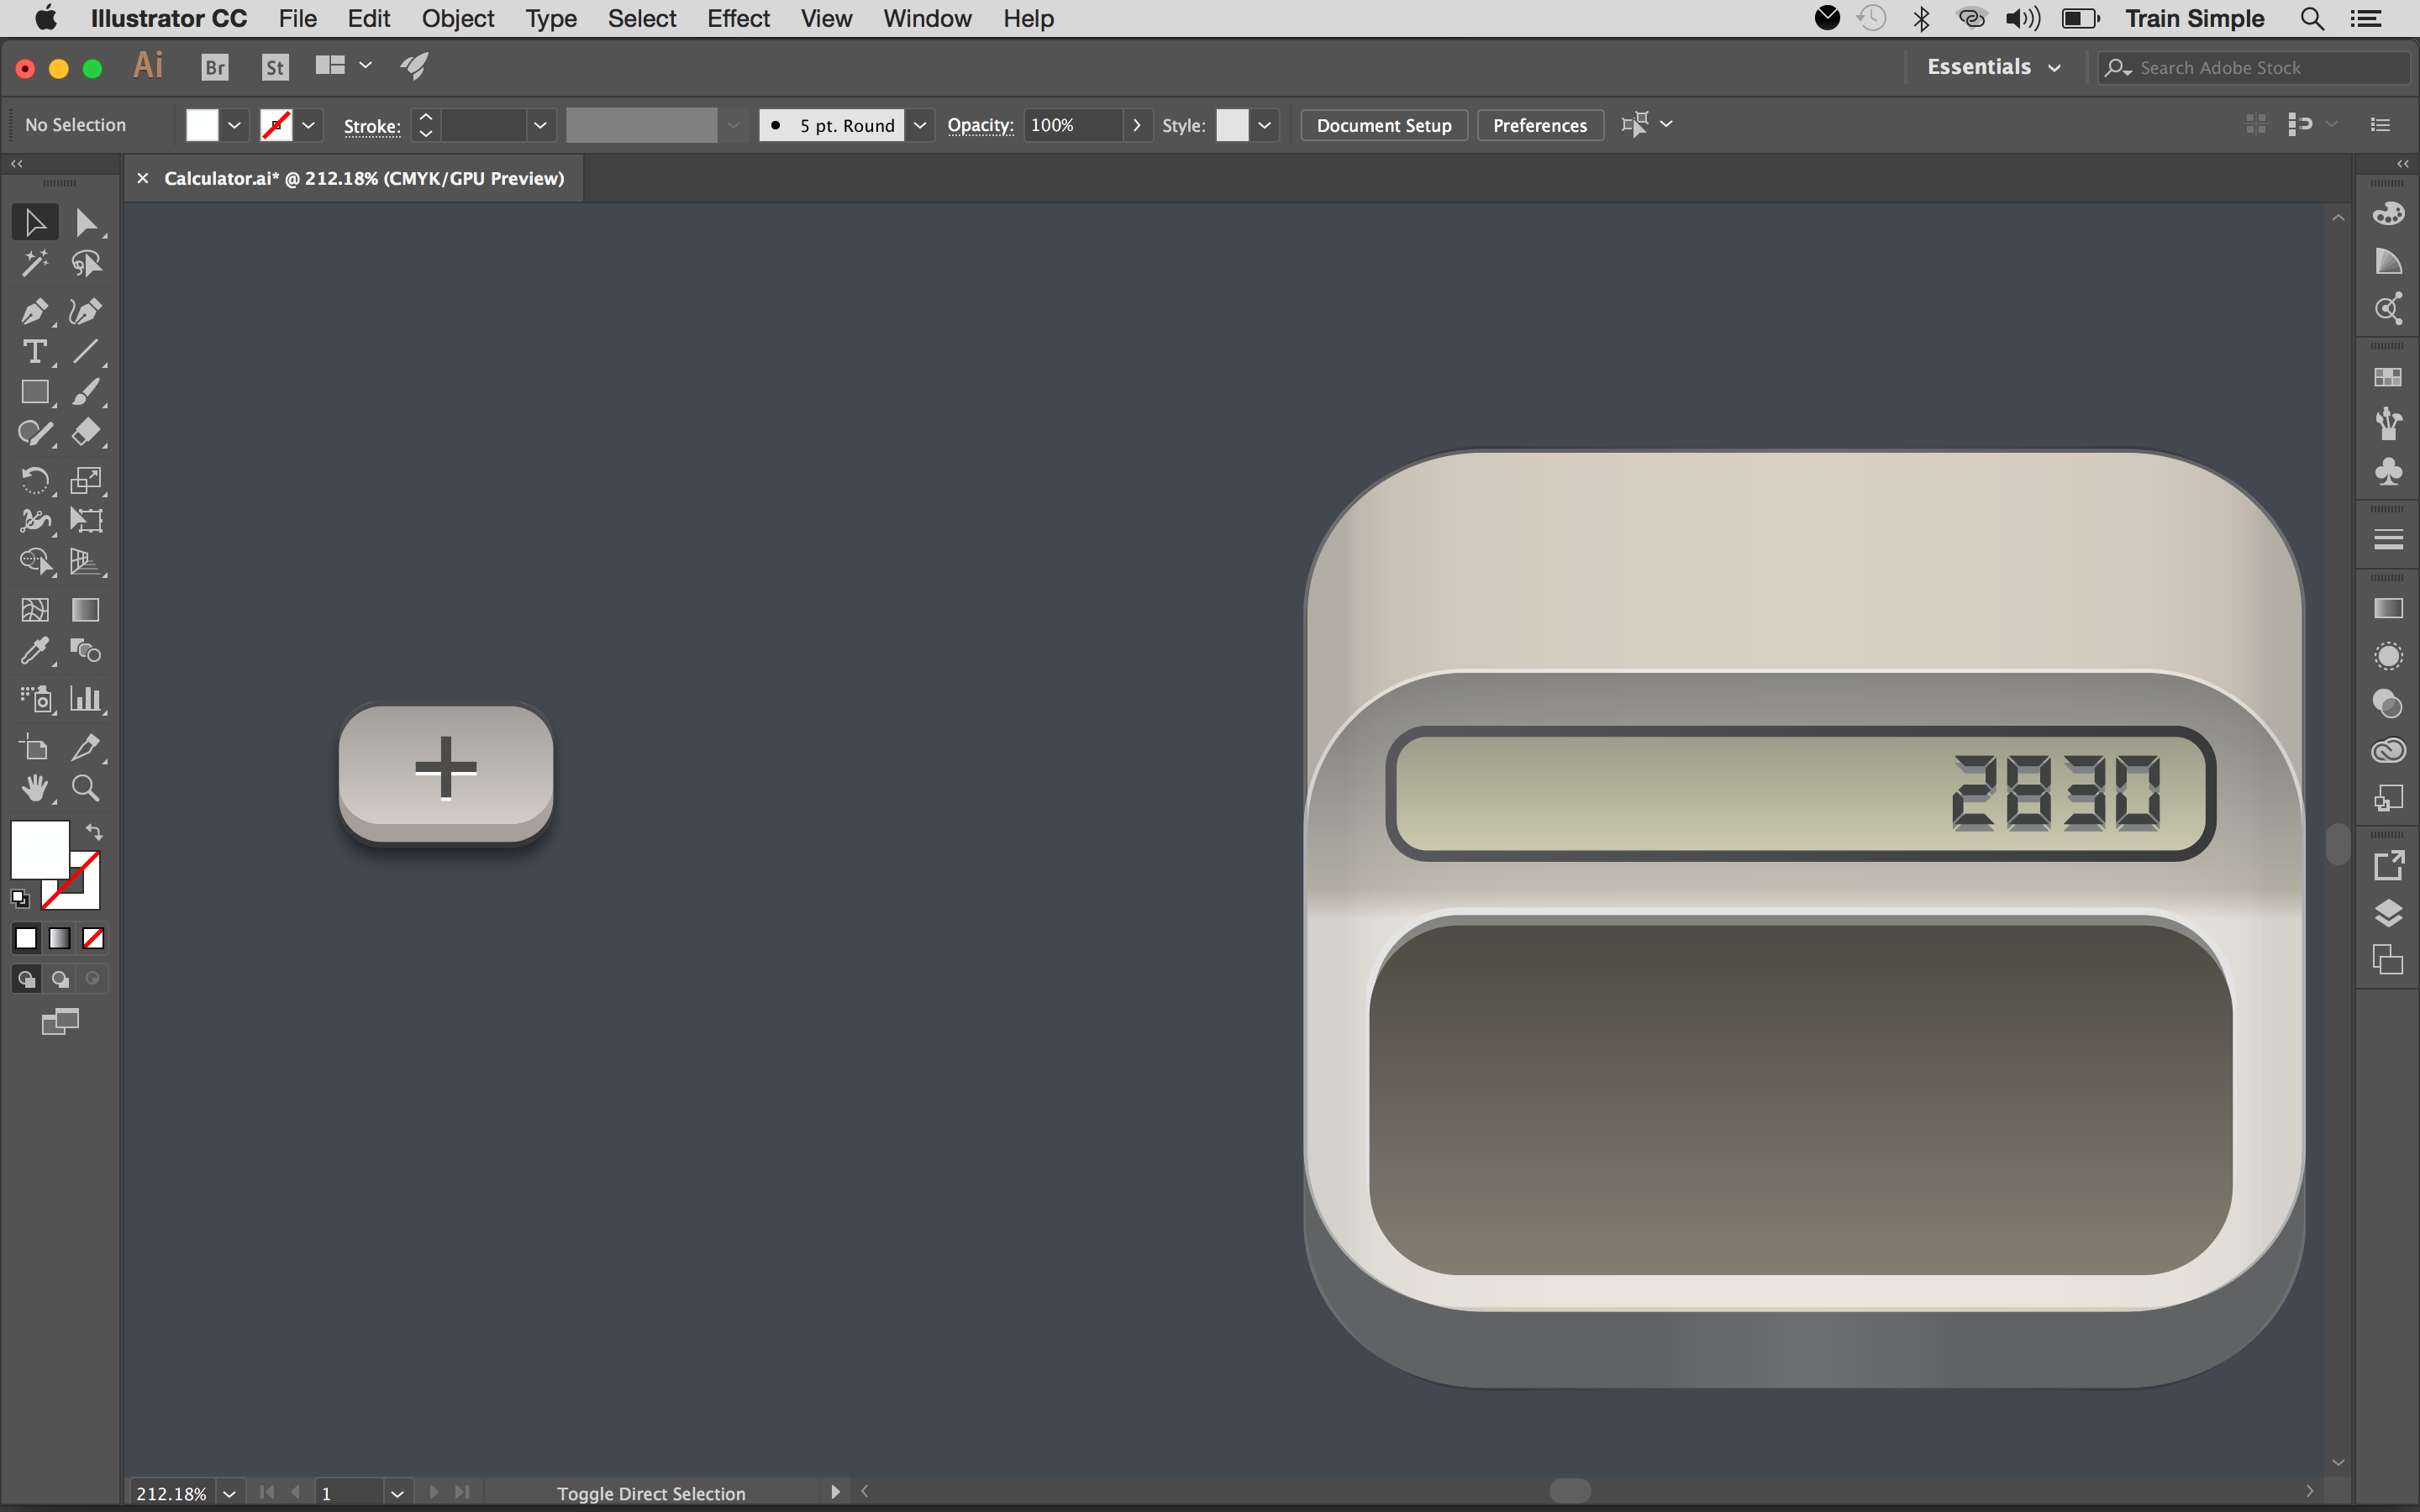
To apply symbol over the button, draw a small rectangle with #56524C fill color. Select it and go to Object > Transform > Rotate. And rotate it at 90 degrees and hit Copy option to make the + symbol. Make its copy, turn the backside copy white and drag it 1-2 steps upwards.
17. Make more buttons
You can make as many buttons as you want by using the same technique. And make the shadow of icon the same way as explained in step 15.
18. Fill in colour
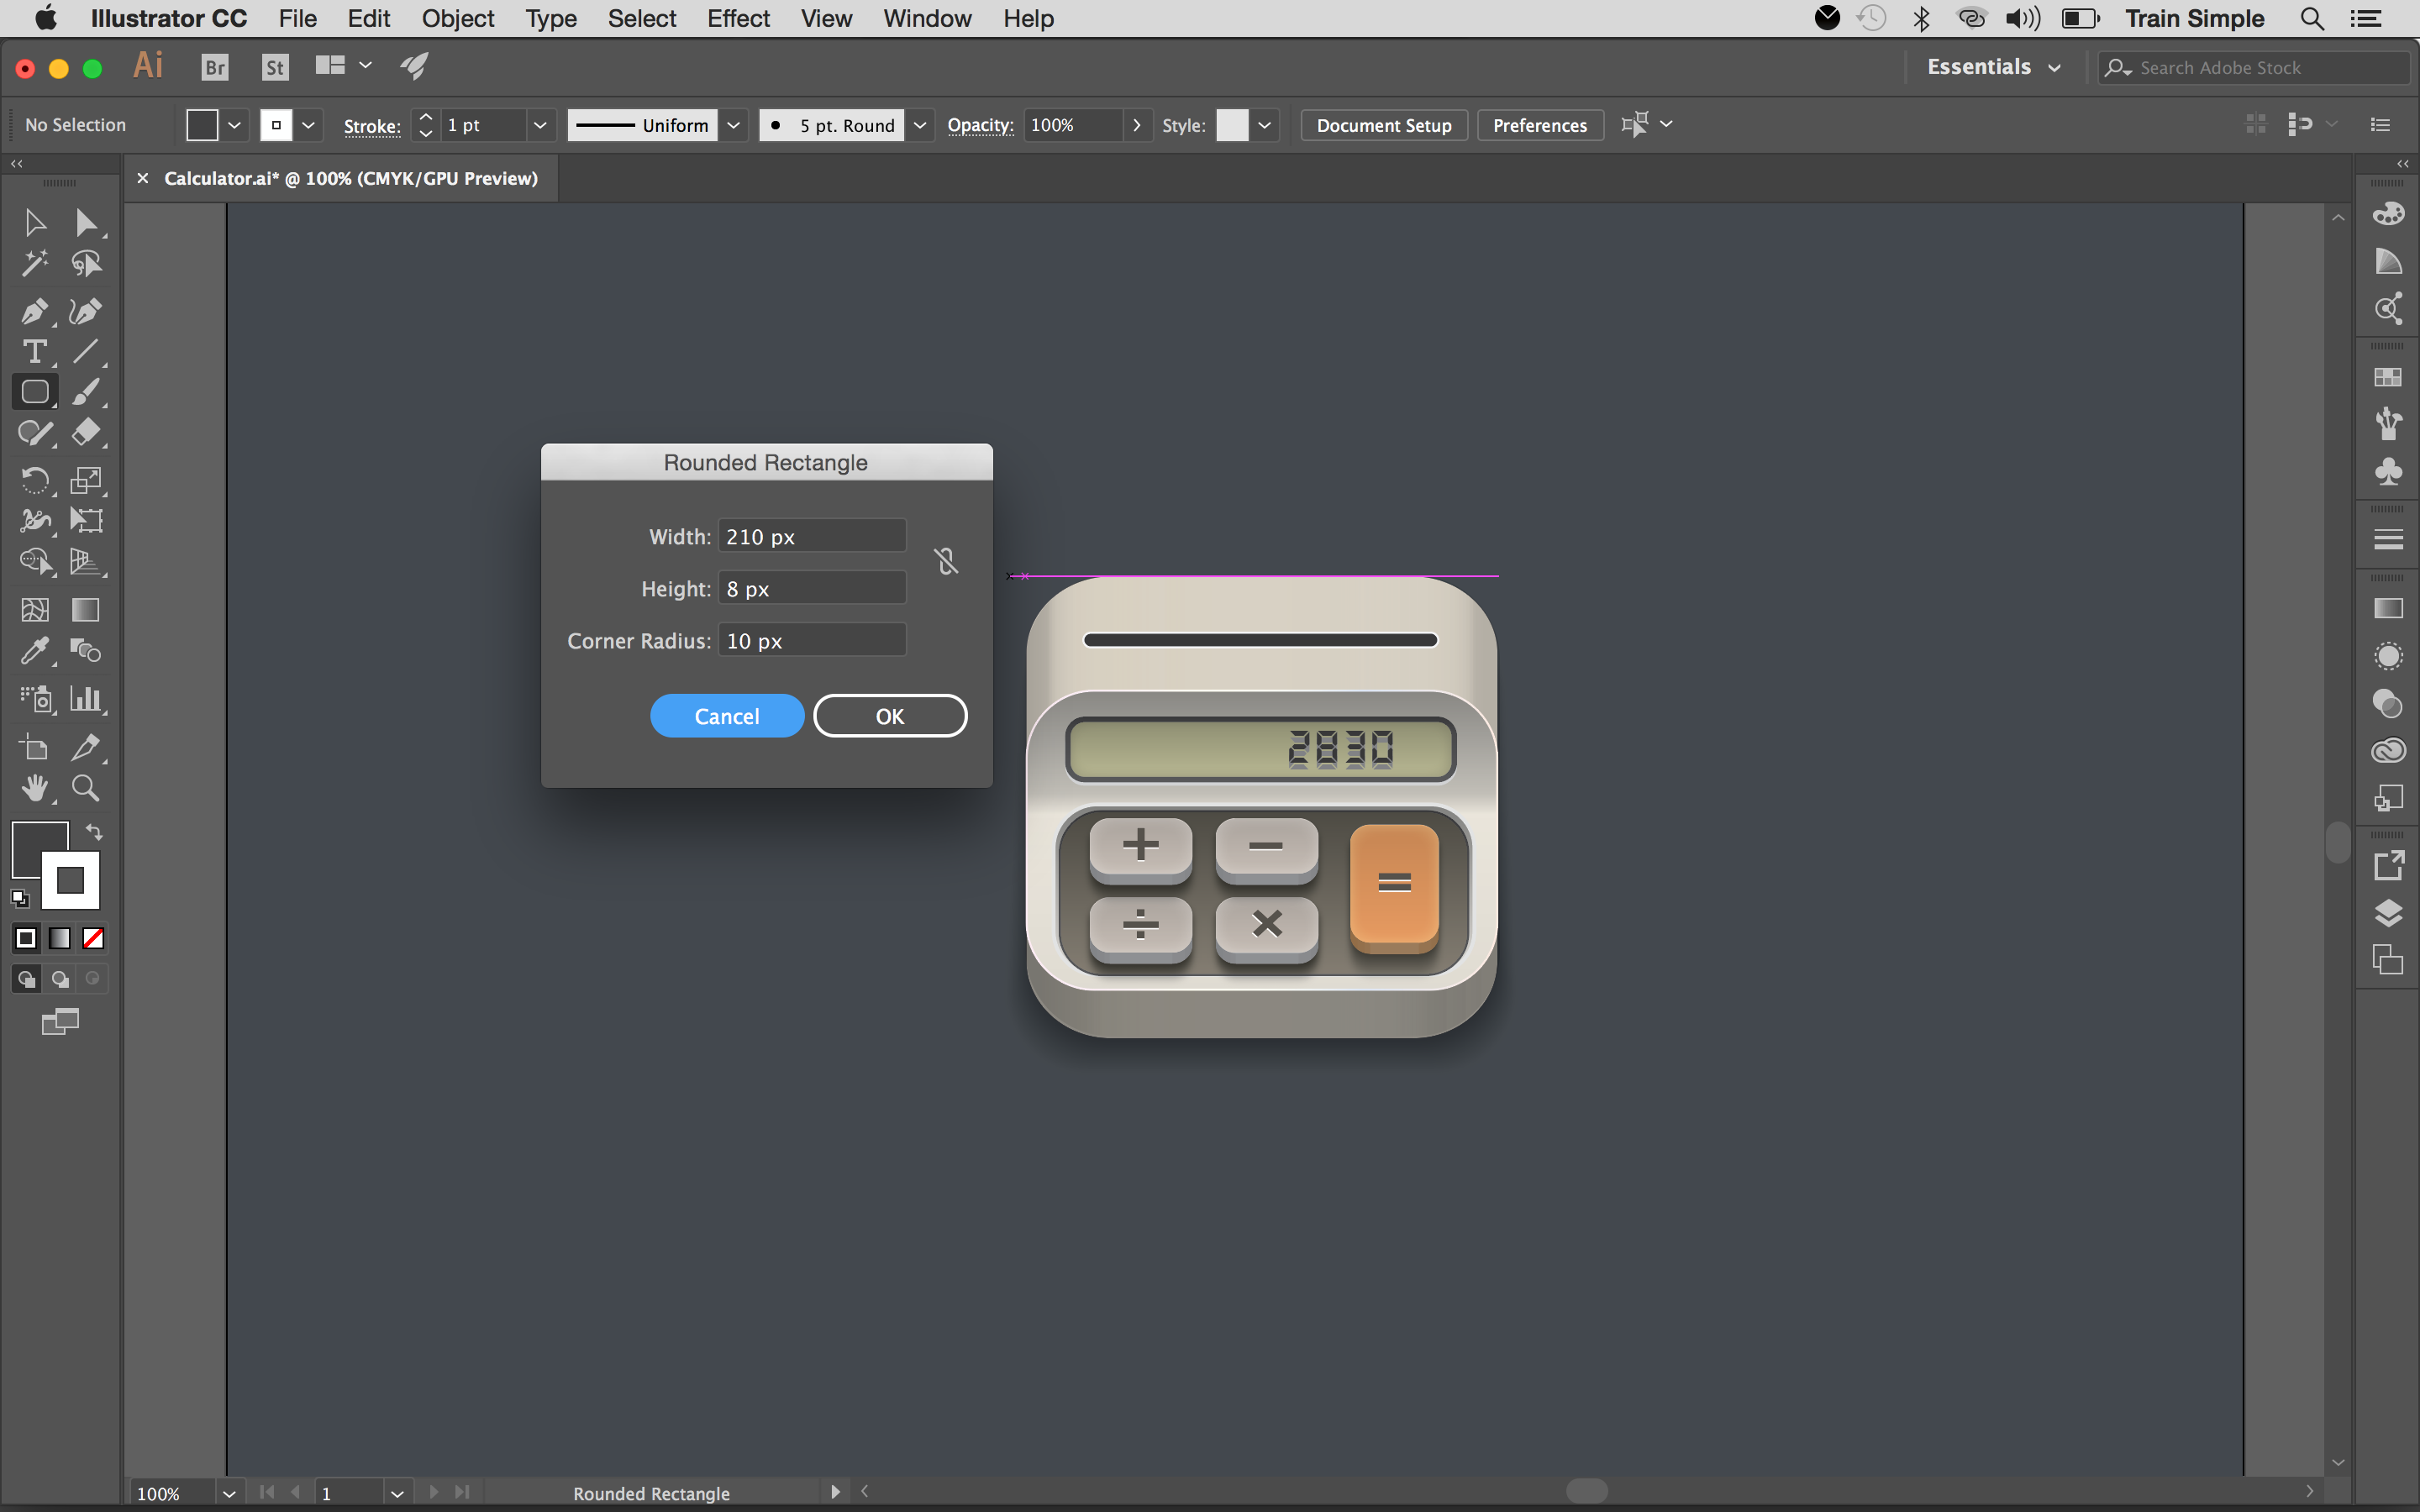
Now pick the Rounded Rectangle Tool, click the canvas to view options window and enter 210px width and 8px height here. Give it #404041 fill colour and #F1F1F2 colour stroke (Stroke weight: 1pt).
19. Make the paper
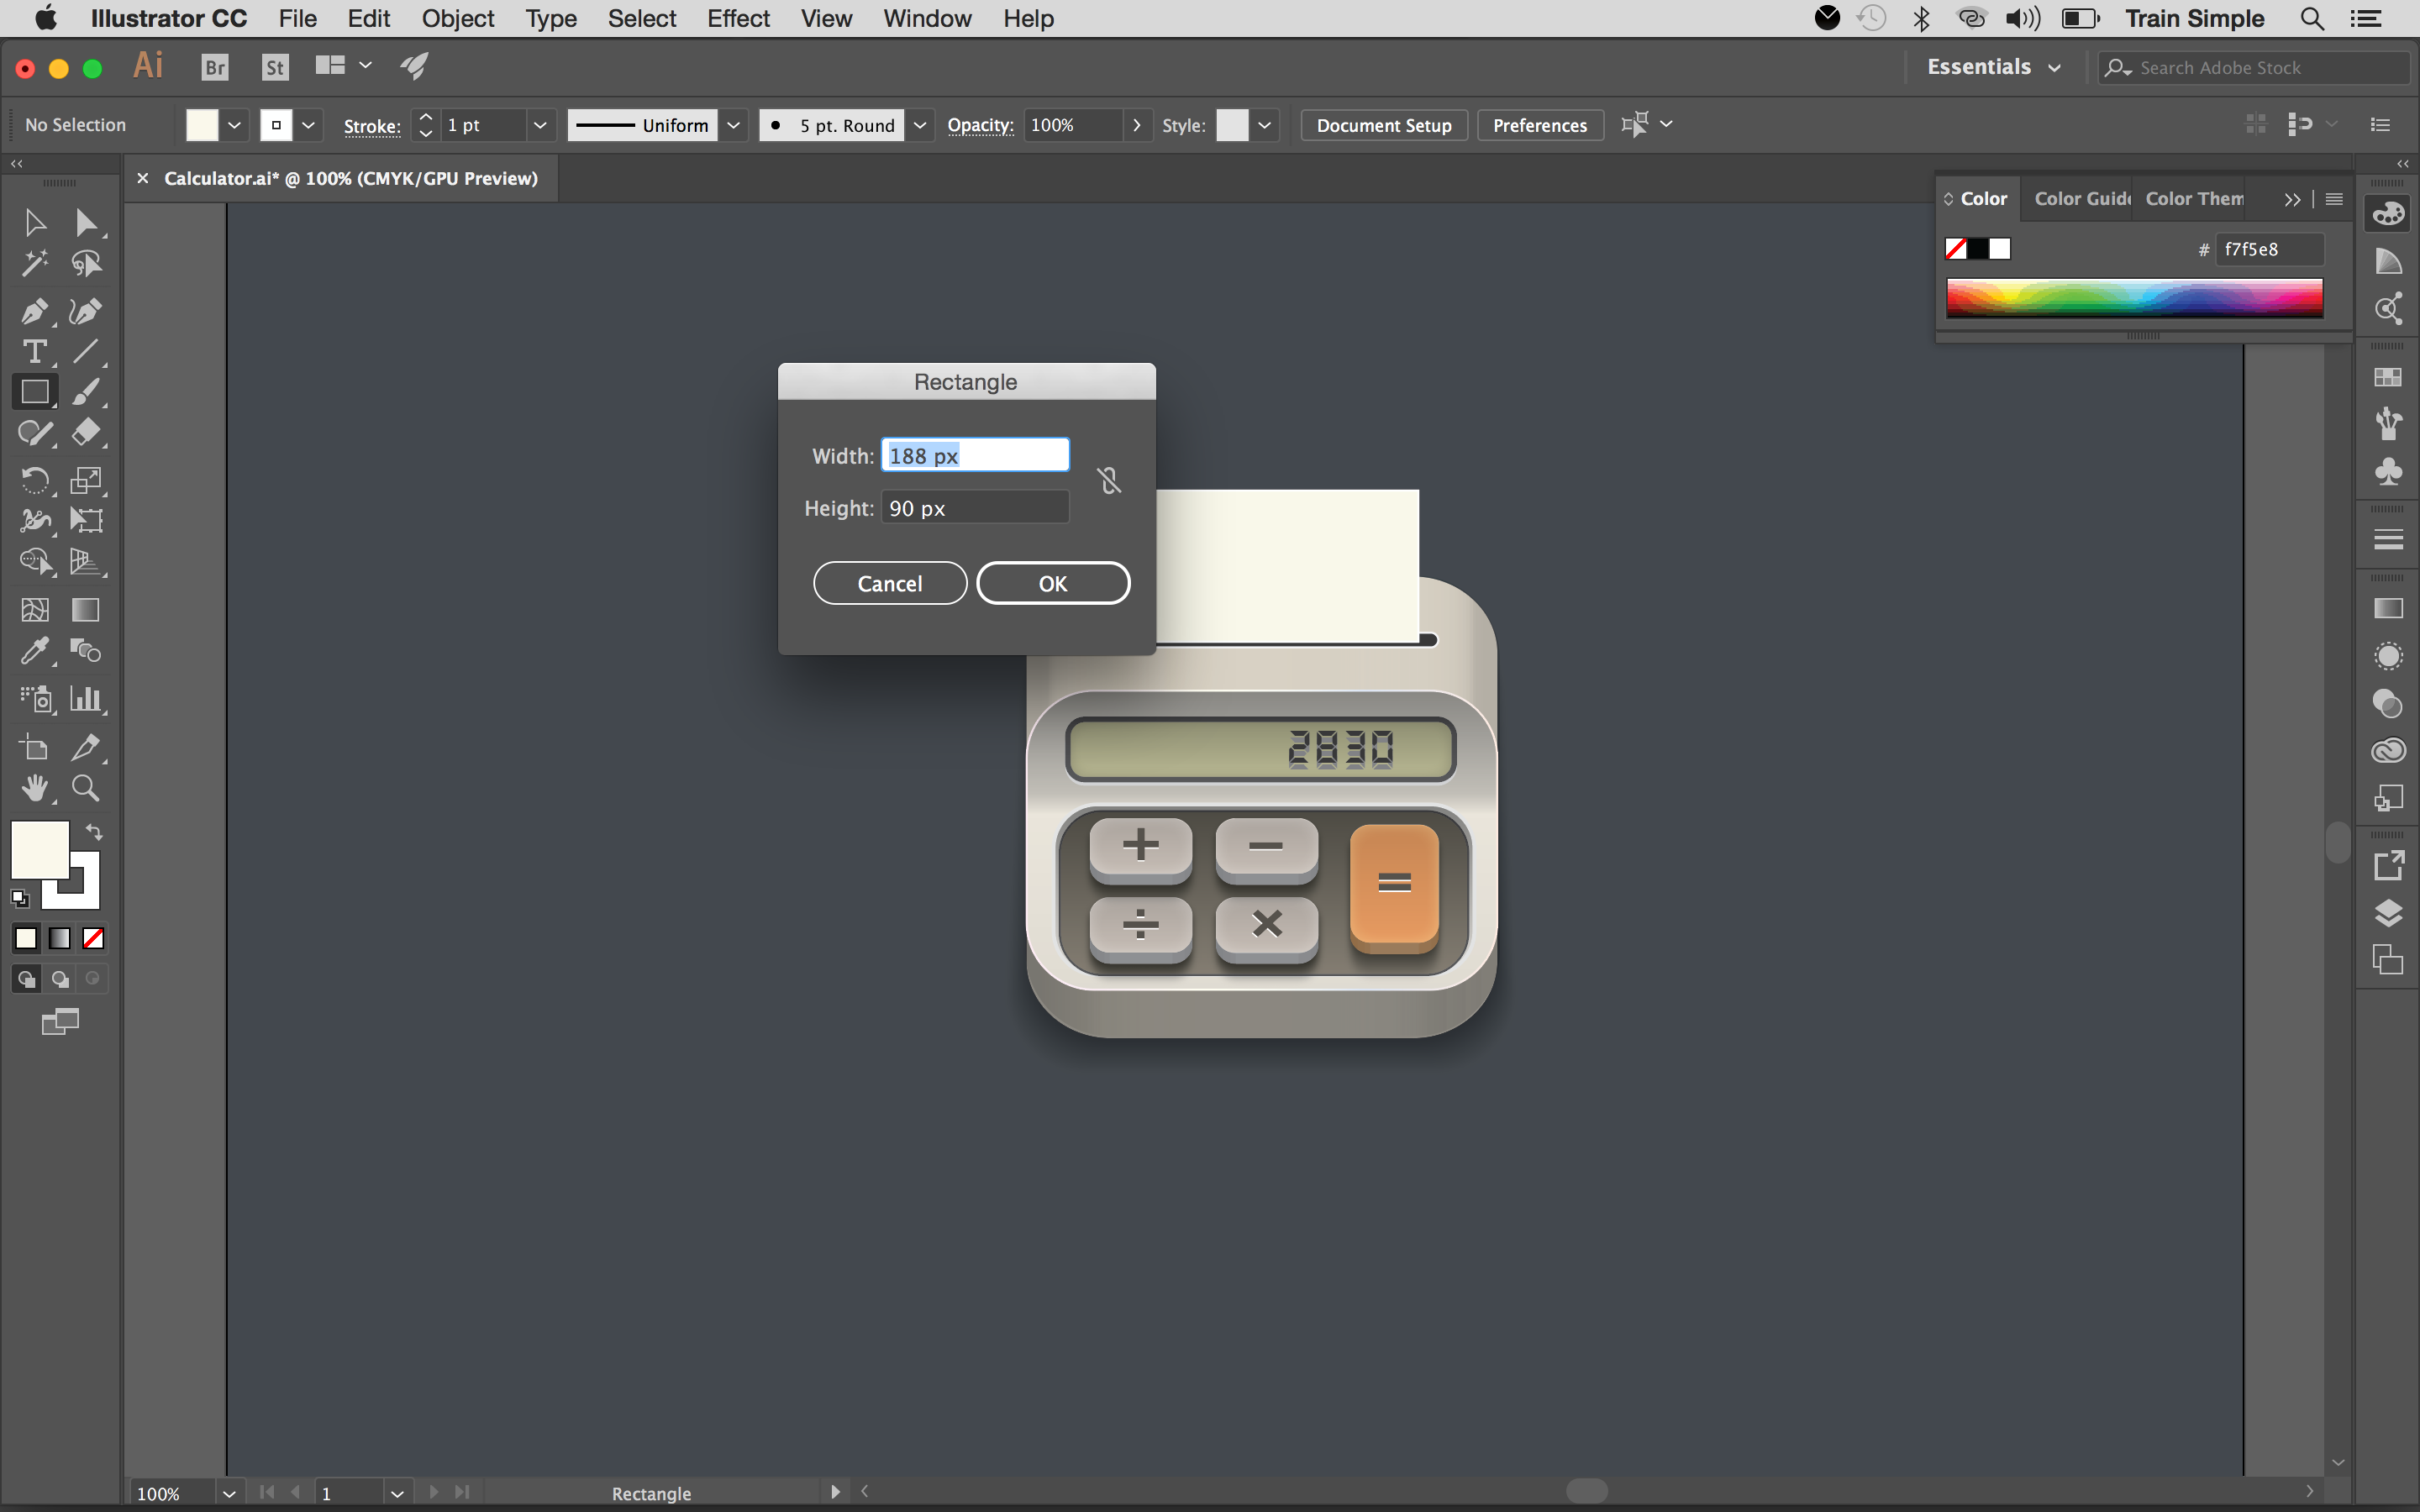
To make the paper, draw a rectangle with following dimensions and #F7F5E8 fill color.
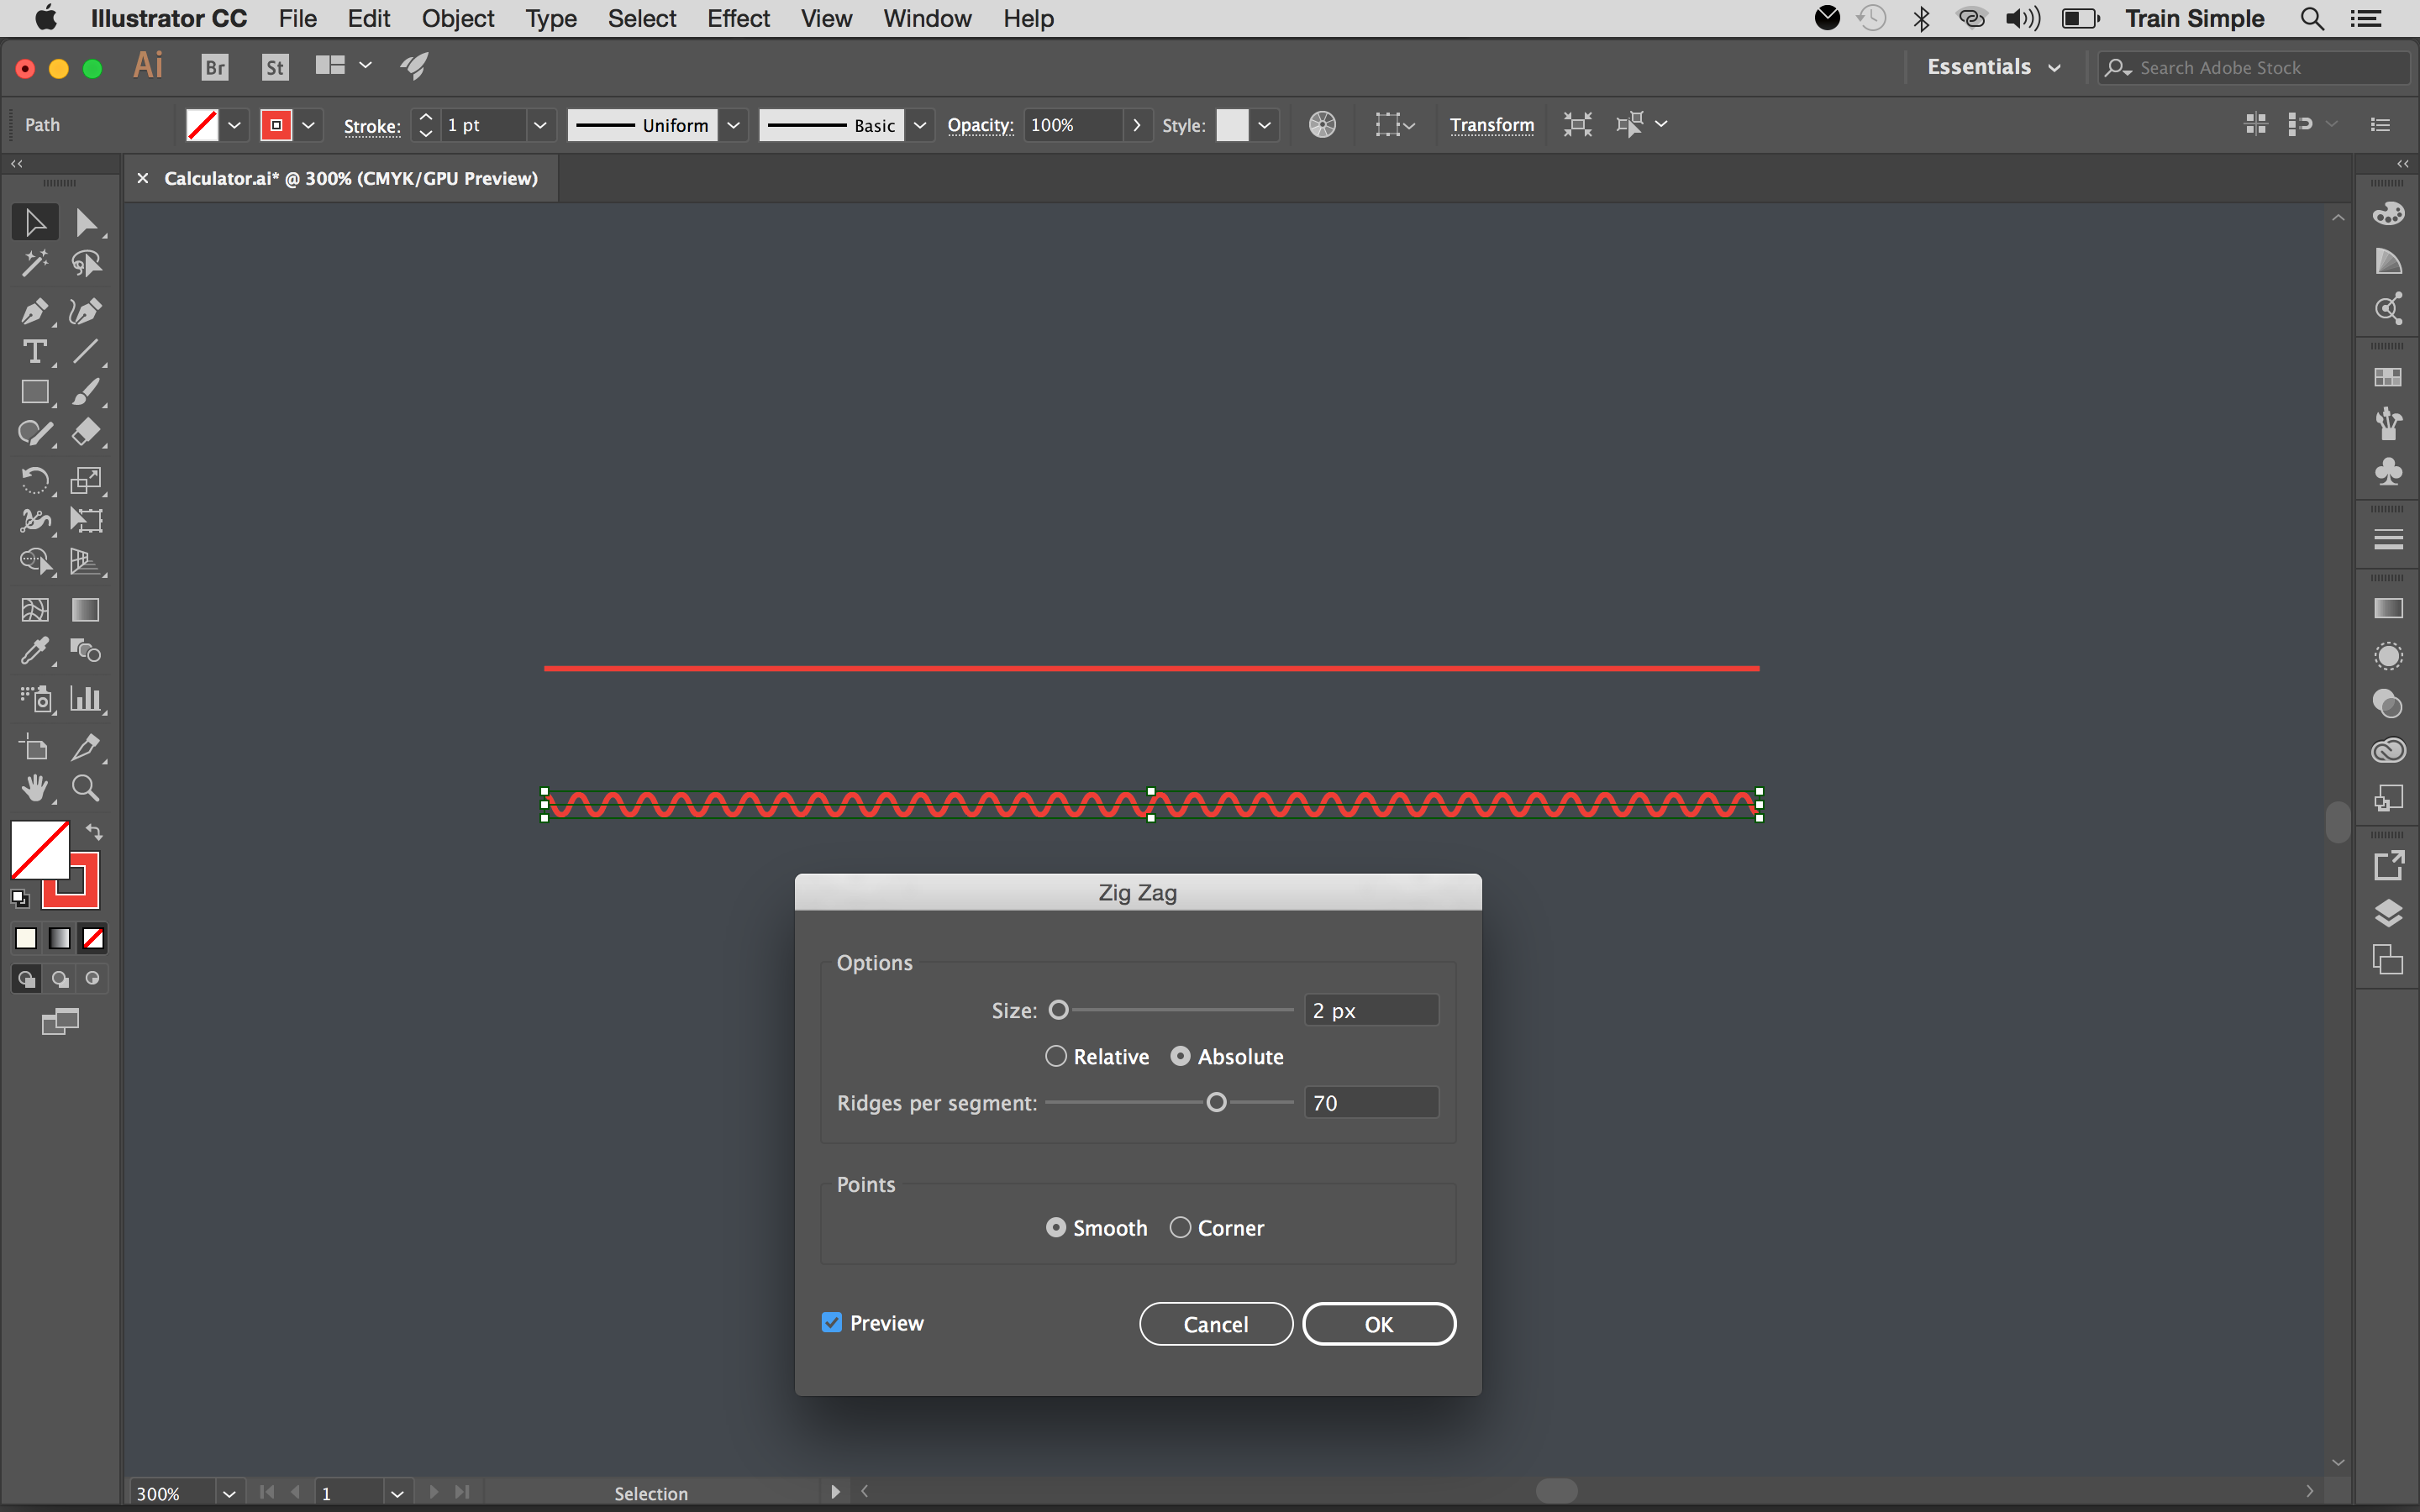
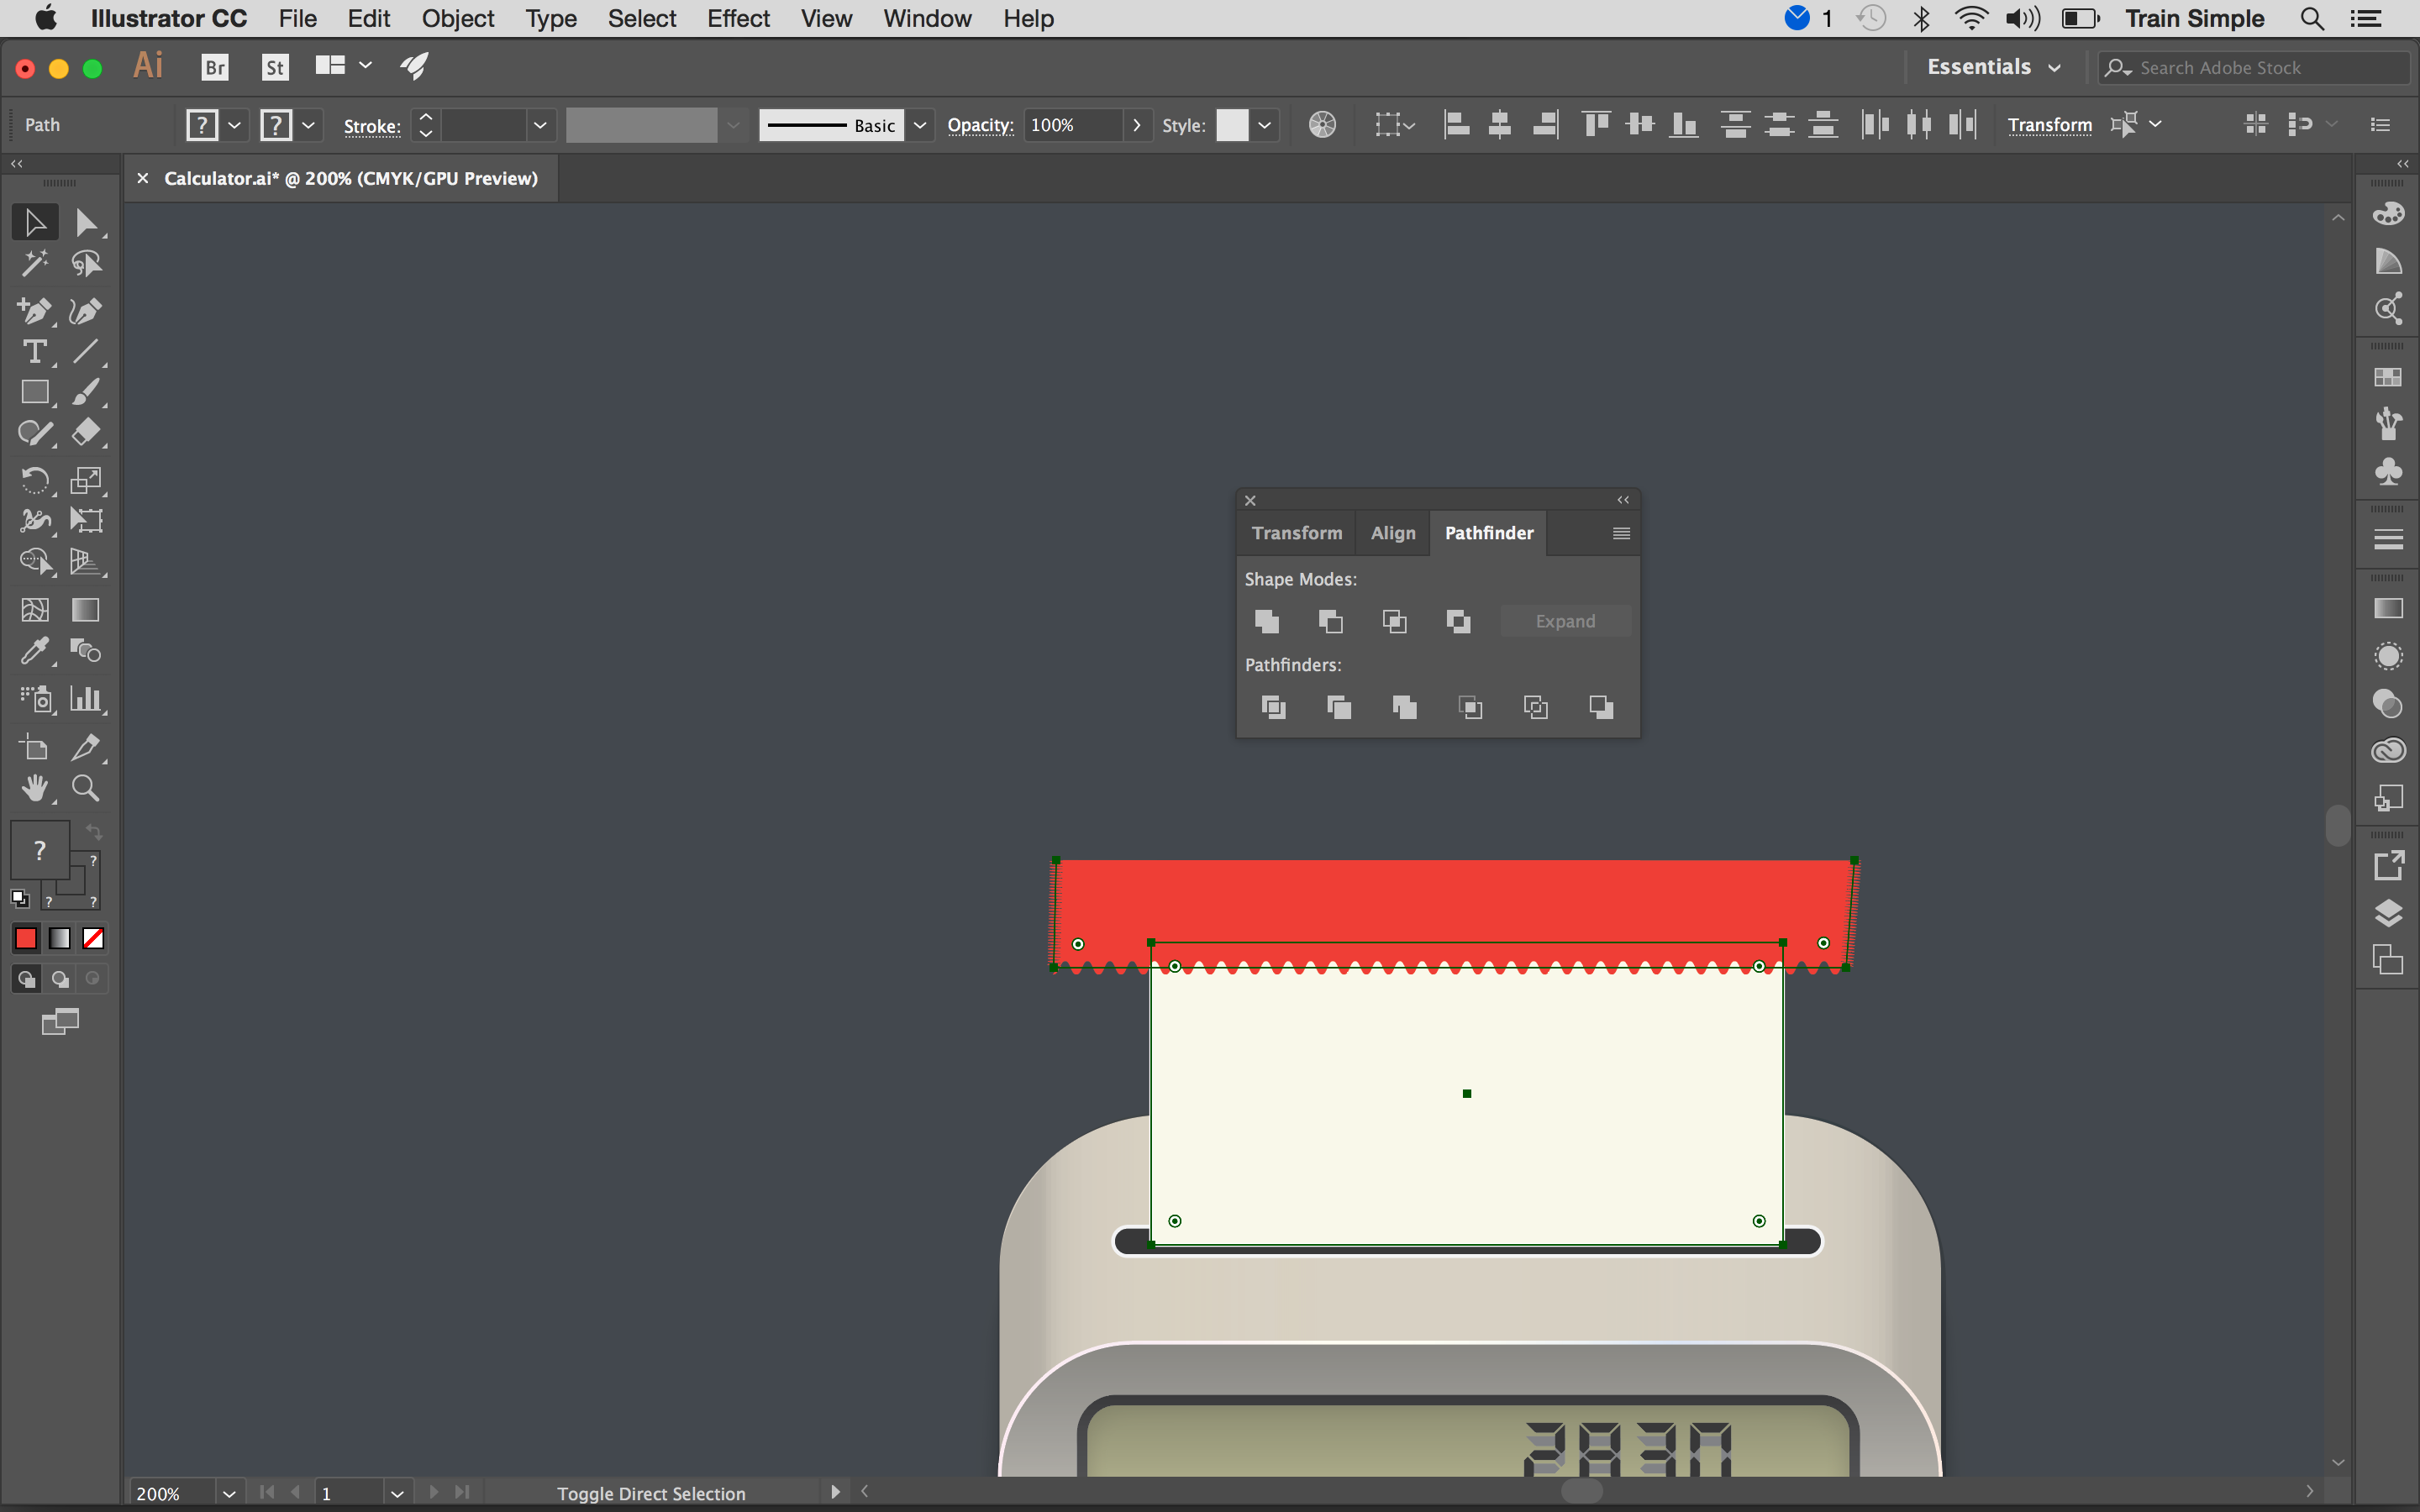
Pick the Pen Tool (P) to draw a small line using any colour as a stroke. Select it and go to “Effect”> “Distort & Transform”> “Zigzag”. Apply given settings here to make the path wavy. Now draw a rectangular shape by clicking one end of the wavy path using Pen Tool (P) and close it on the other end. And give any fill colour to the resulting shape.
Now place this shape over the top edge of paper, select both shapes and hit “Minus Front” in the Pathfinder Panel (Shift+ Ctrl+F9).
20. Apply gradient to paper
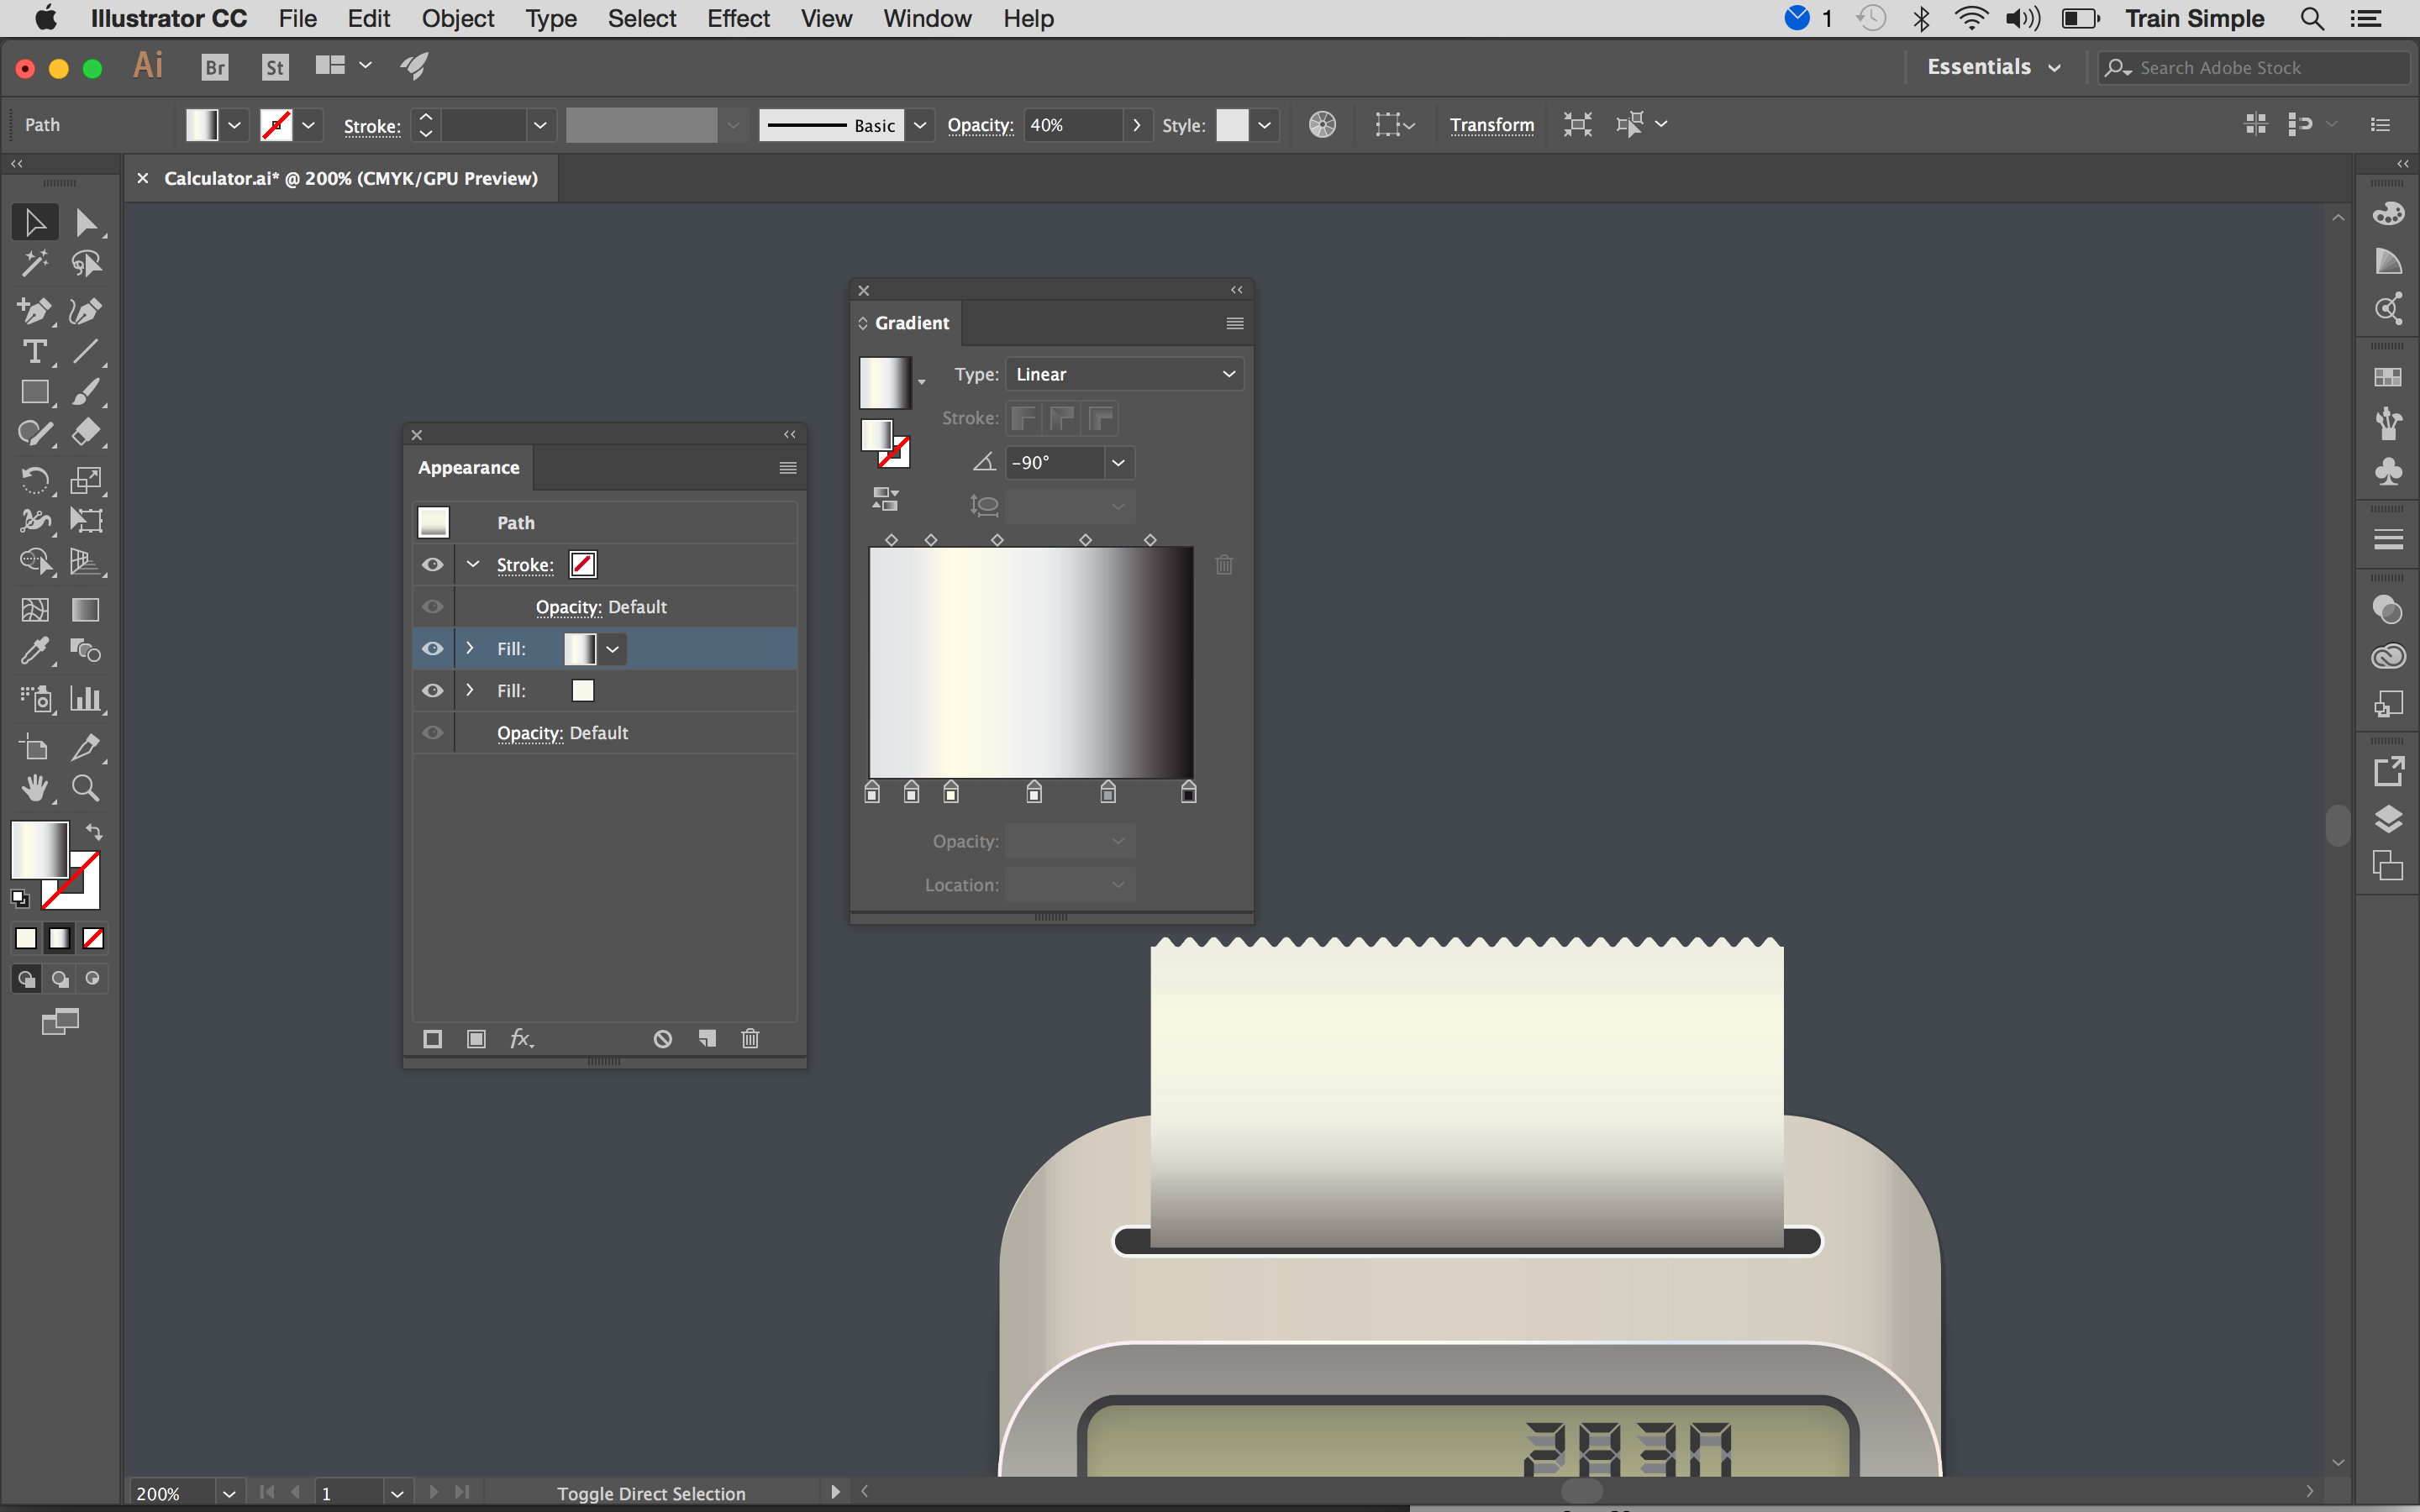
Select the paper, duplicate its fill attribute in the Appearance Panel and apply given gradient on the copied fill.
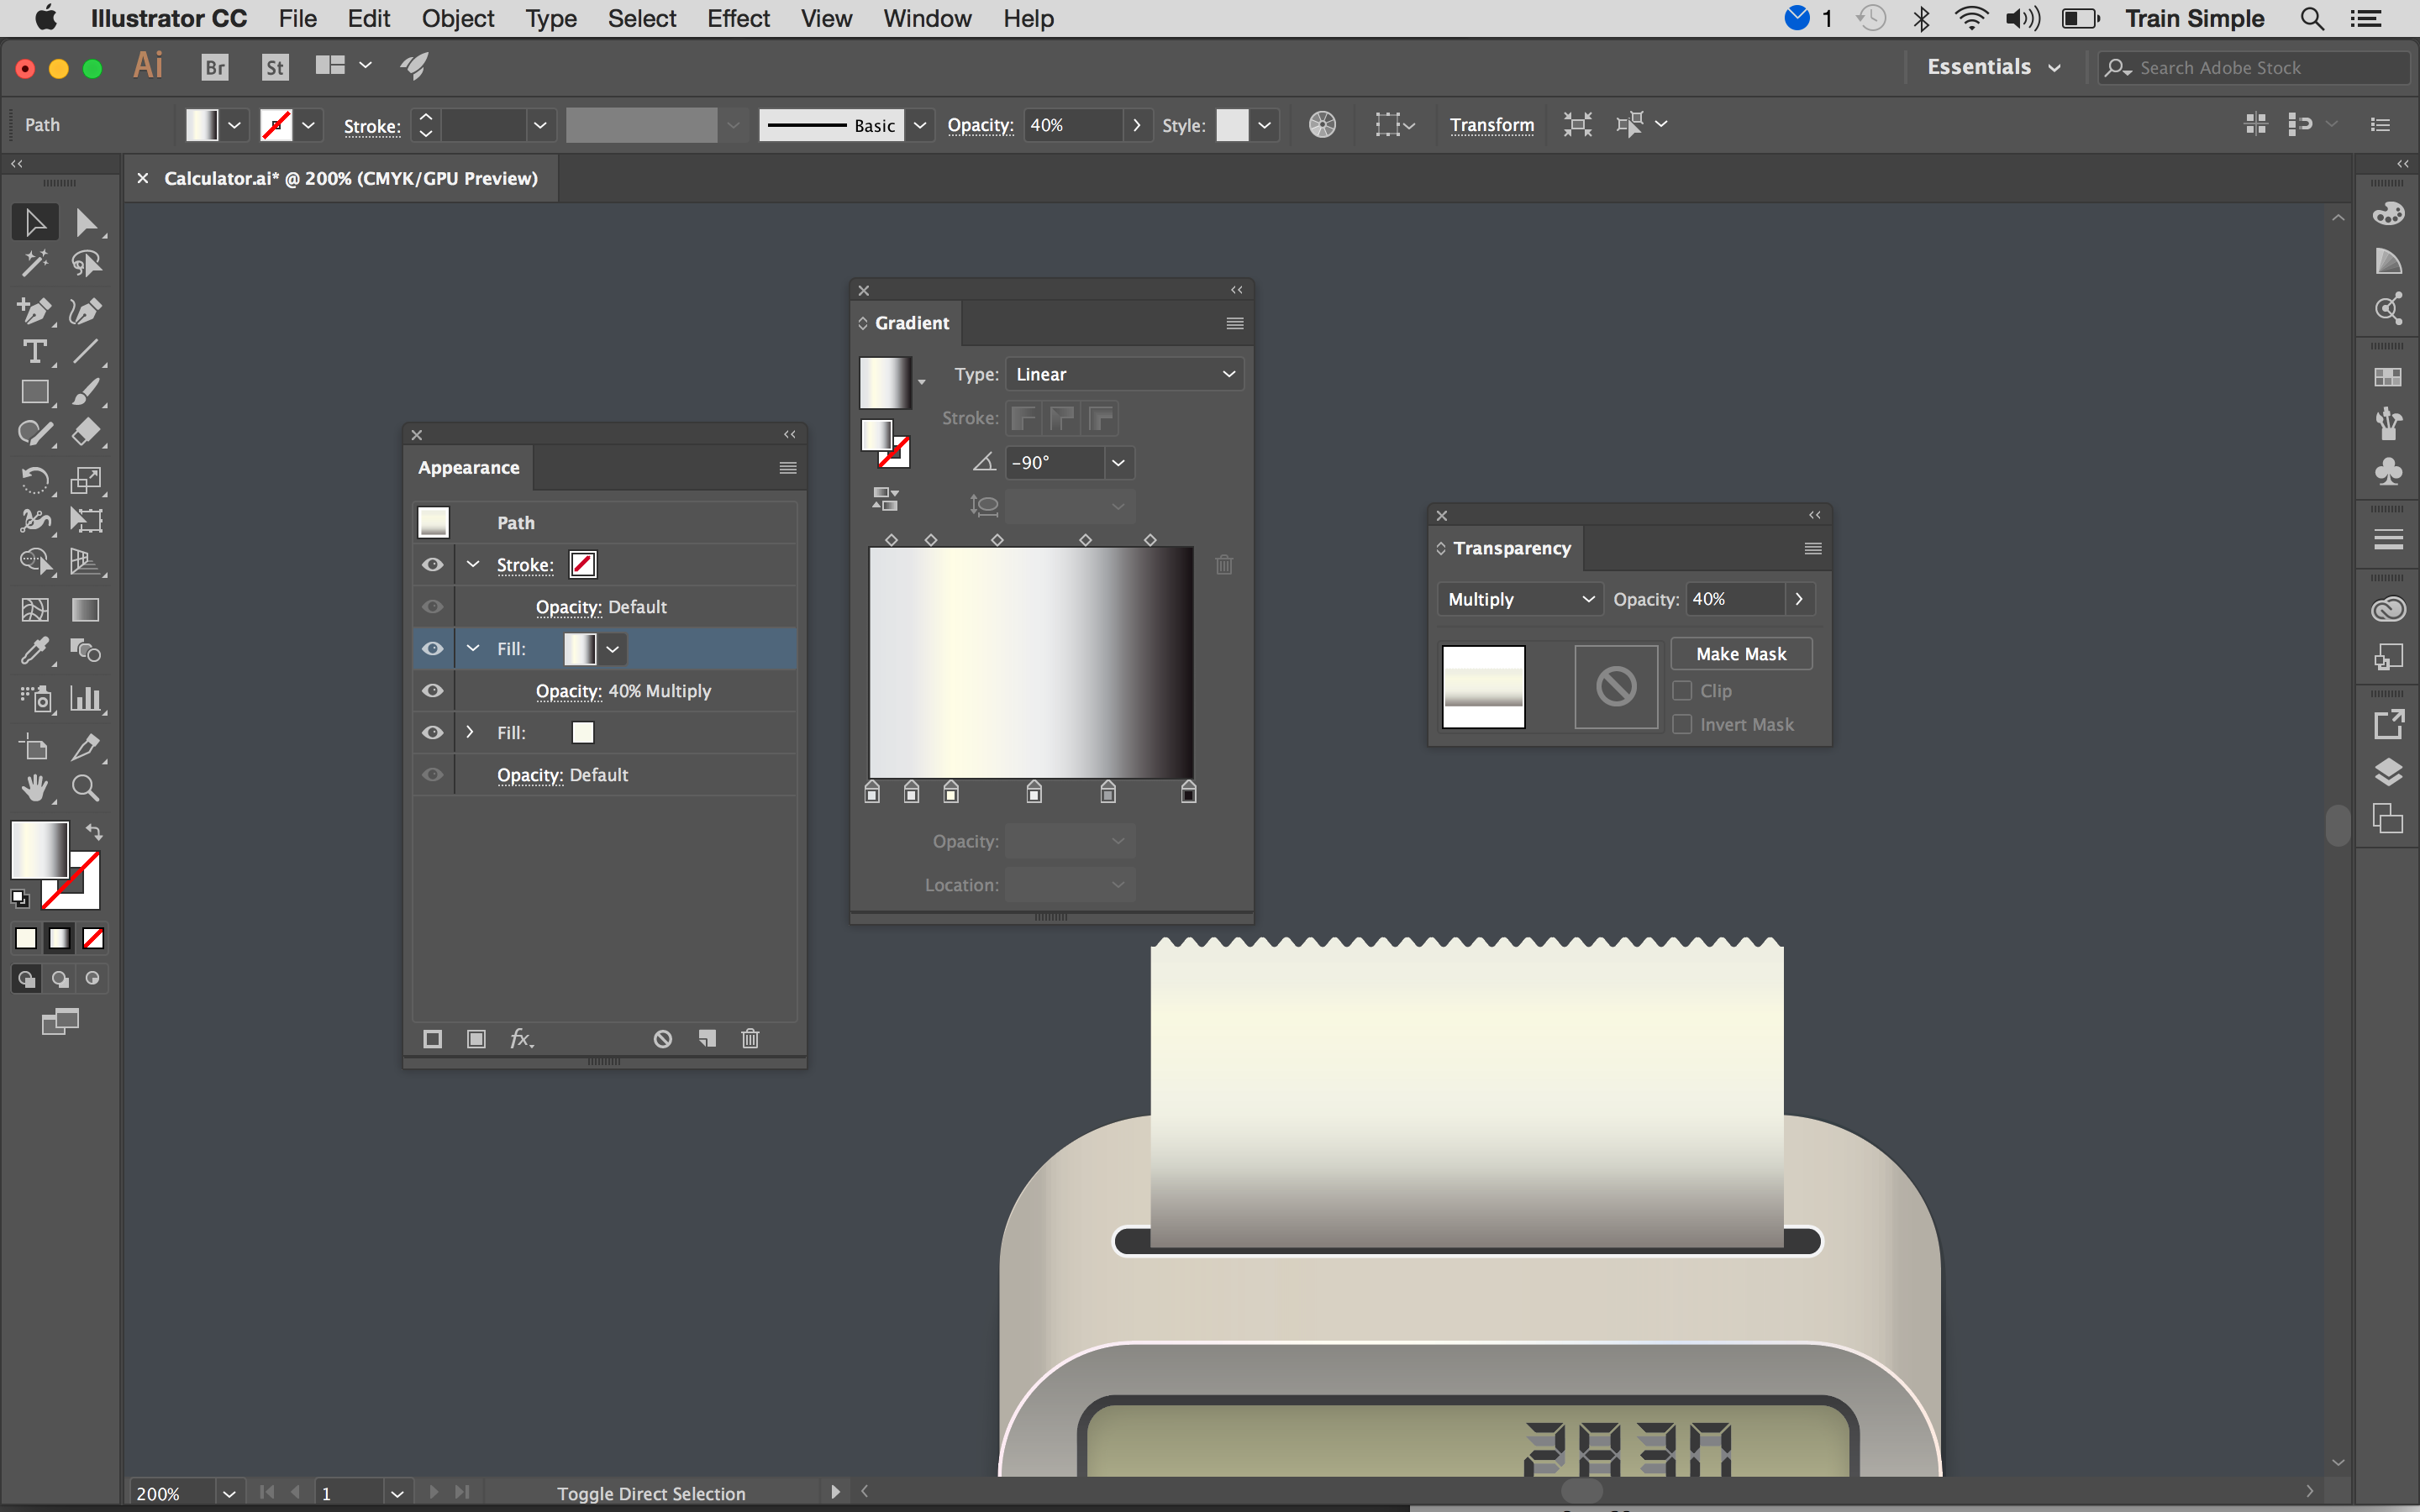
Change gradient fill blending mode to “Multiply” with 40% opacity.
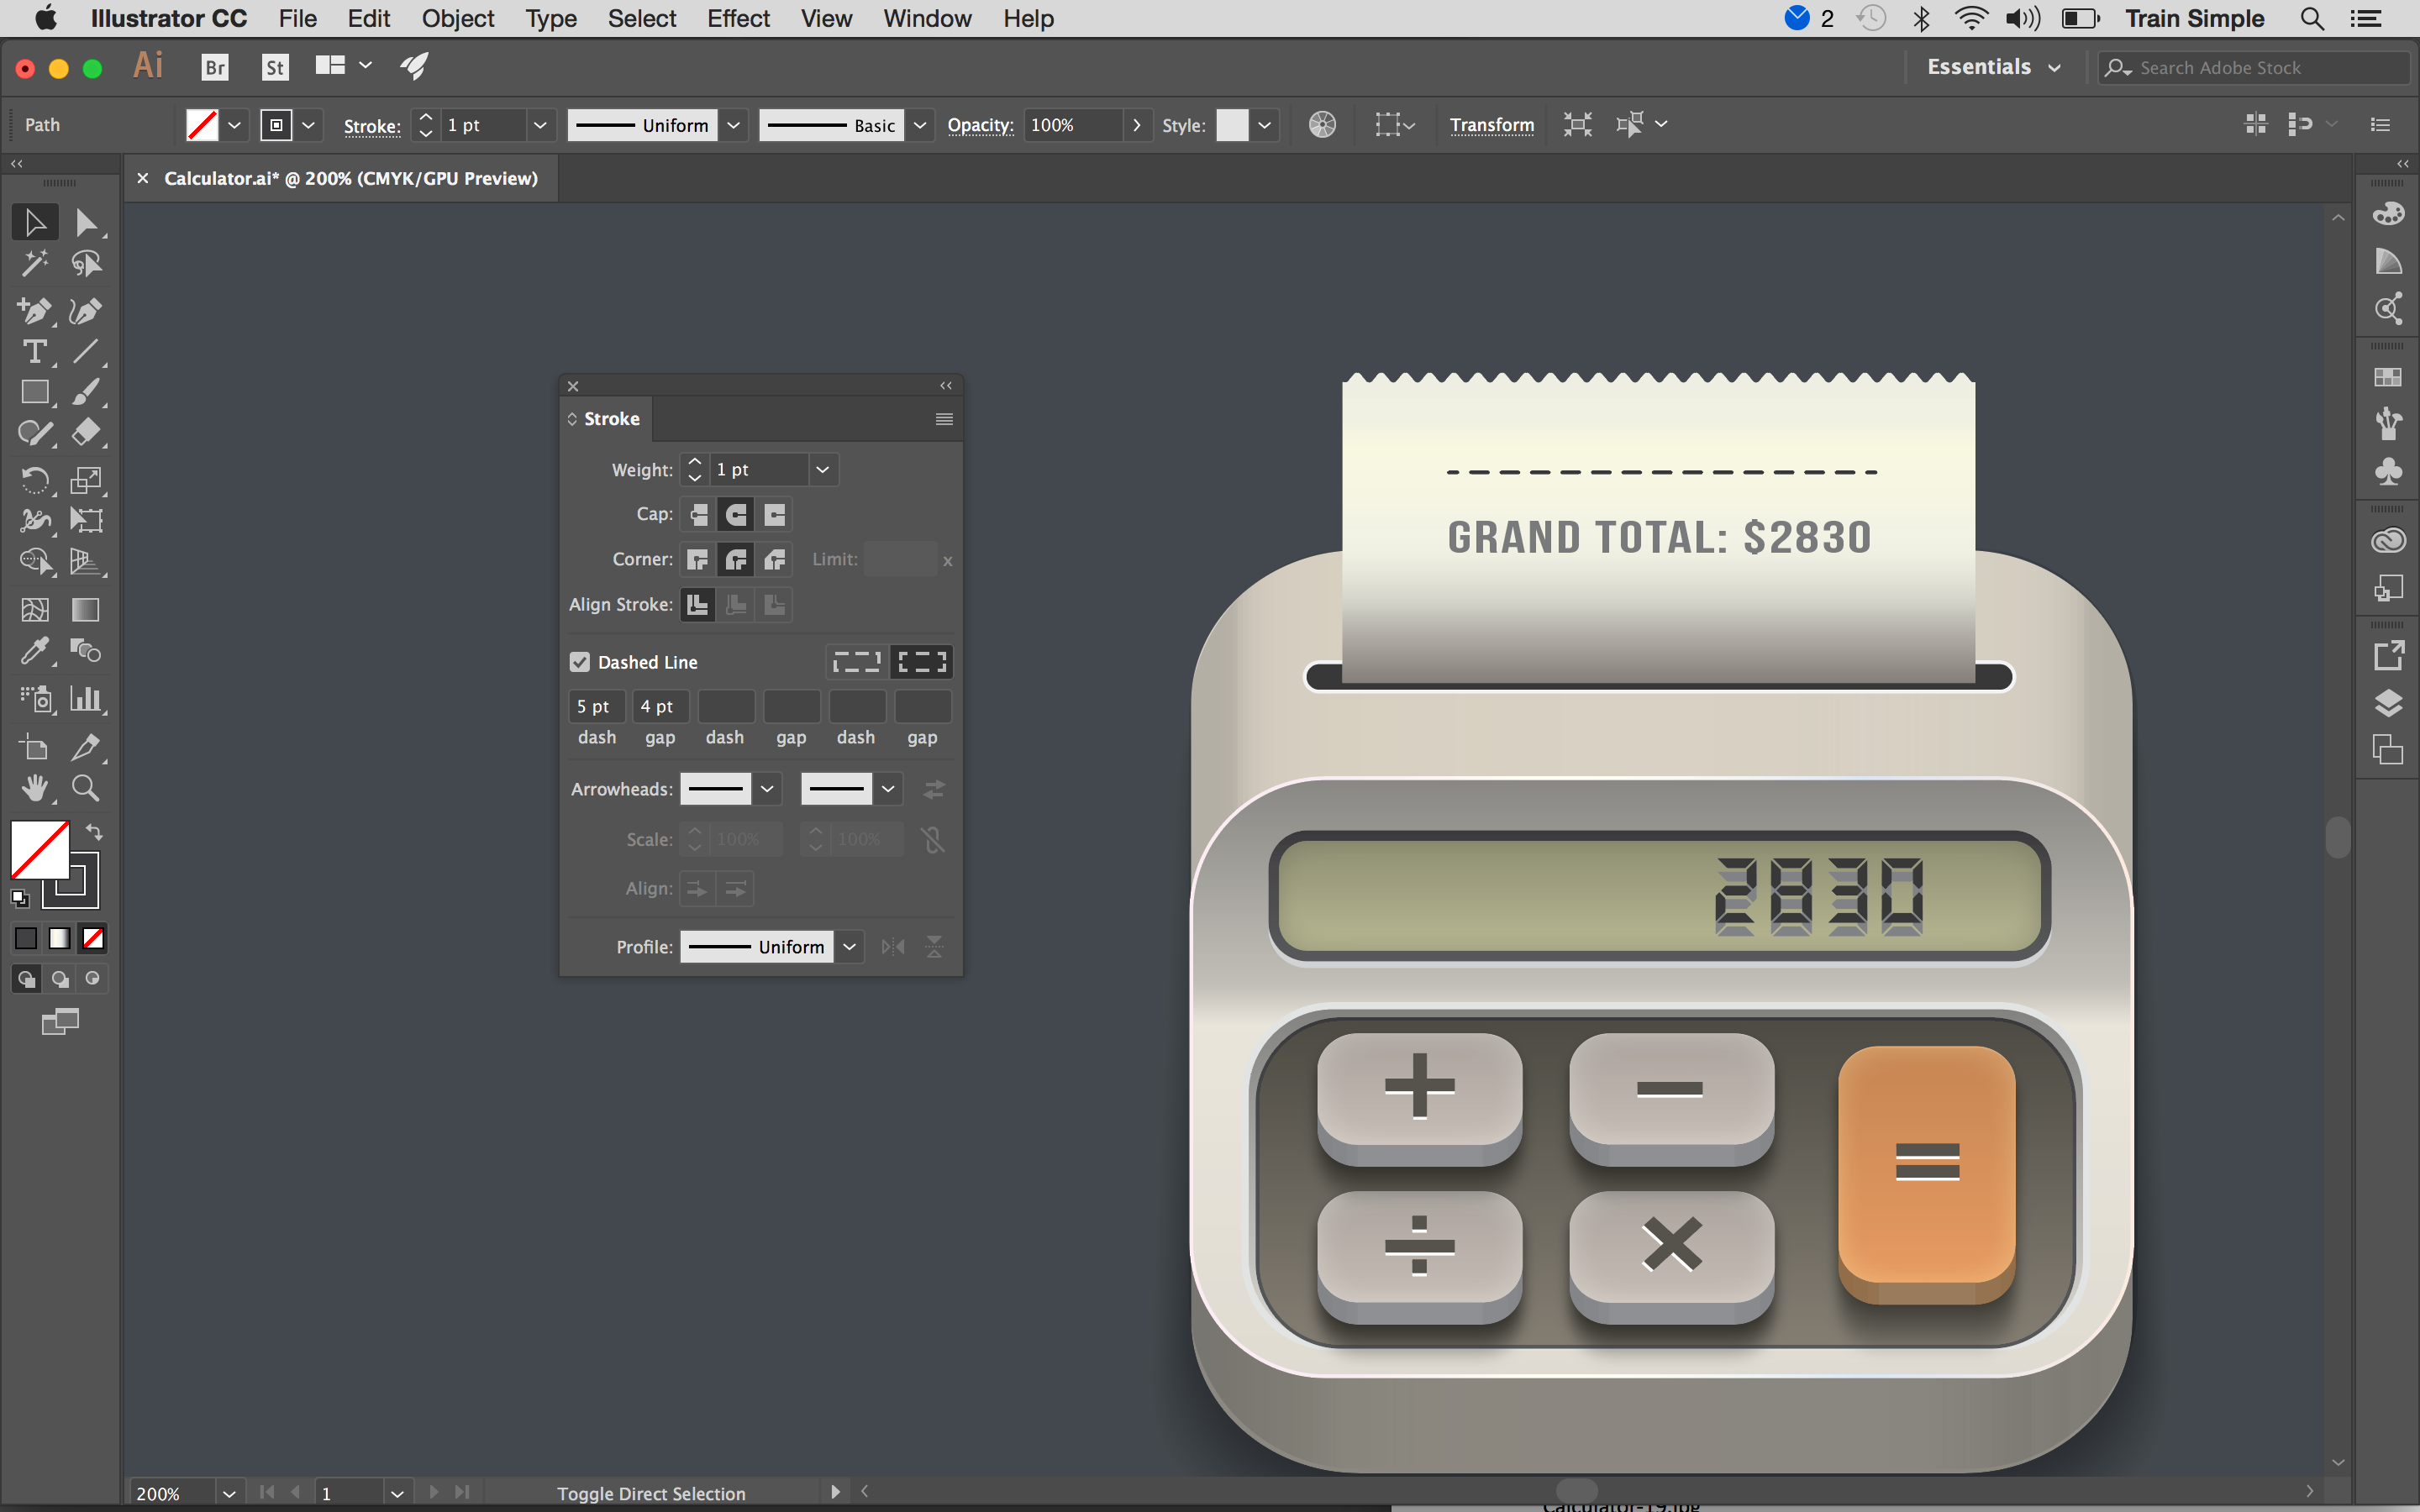
21. Add text
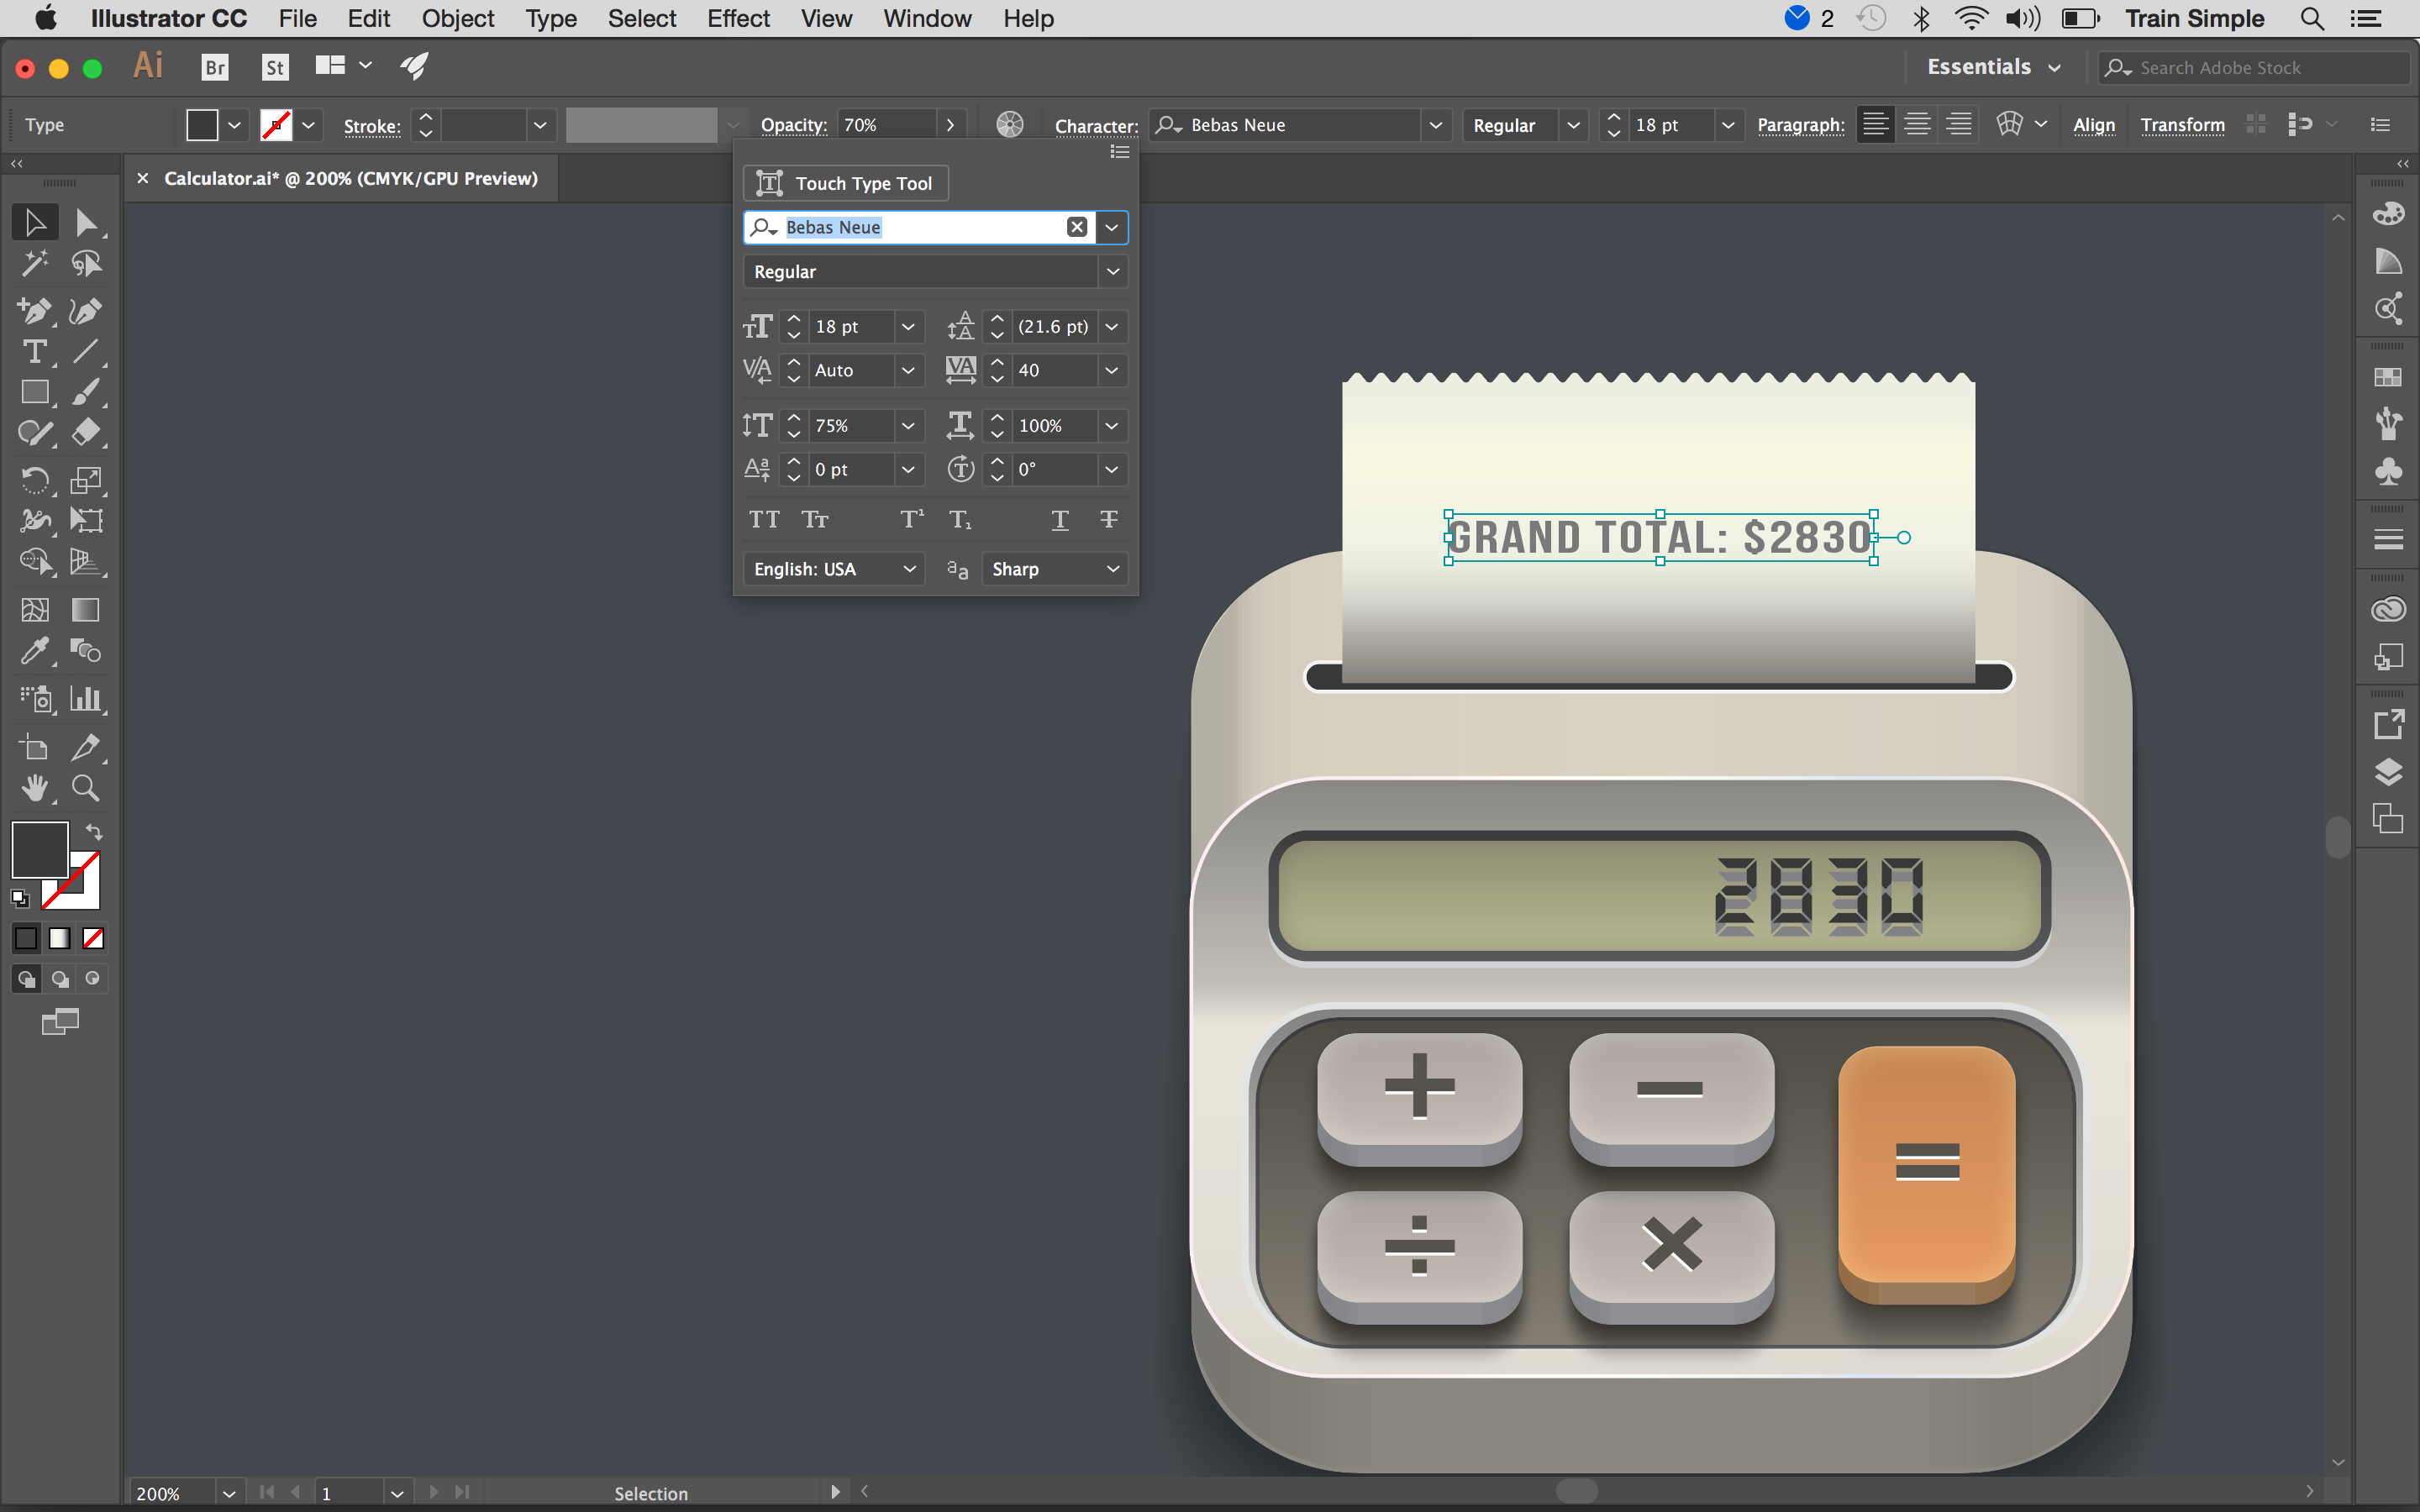
I’ve used “Bebas Neue” Font to type some text over the paper with given settings.
To make dashed line, draw a straight path using Pen Tool (P) with no fill color and #404041 color stroke (Stroke weight: 1pt). Now apply given settings below in the Stroke Panel at the top control bar.
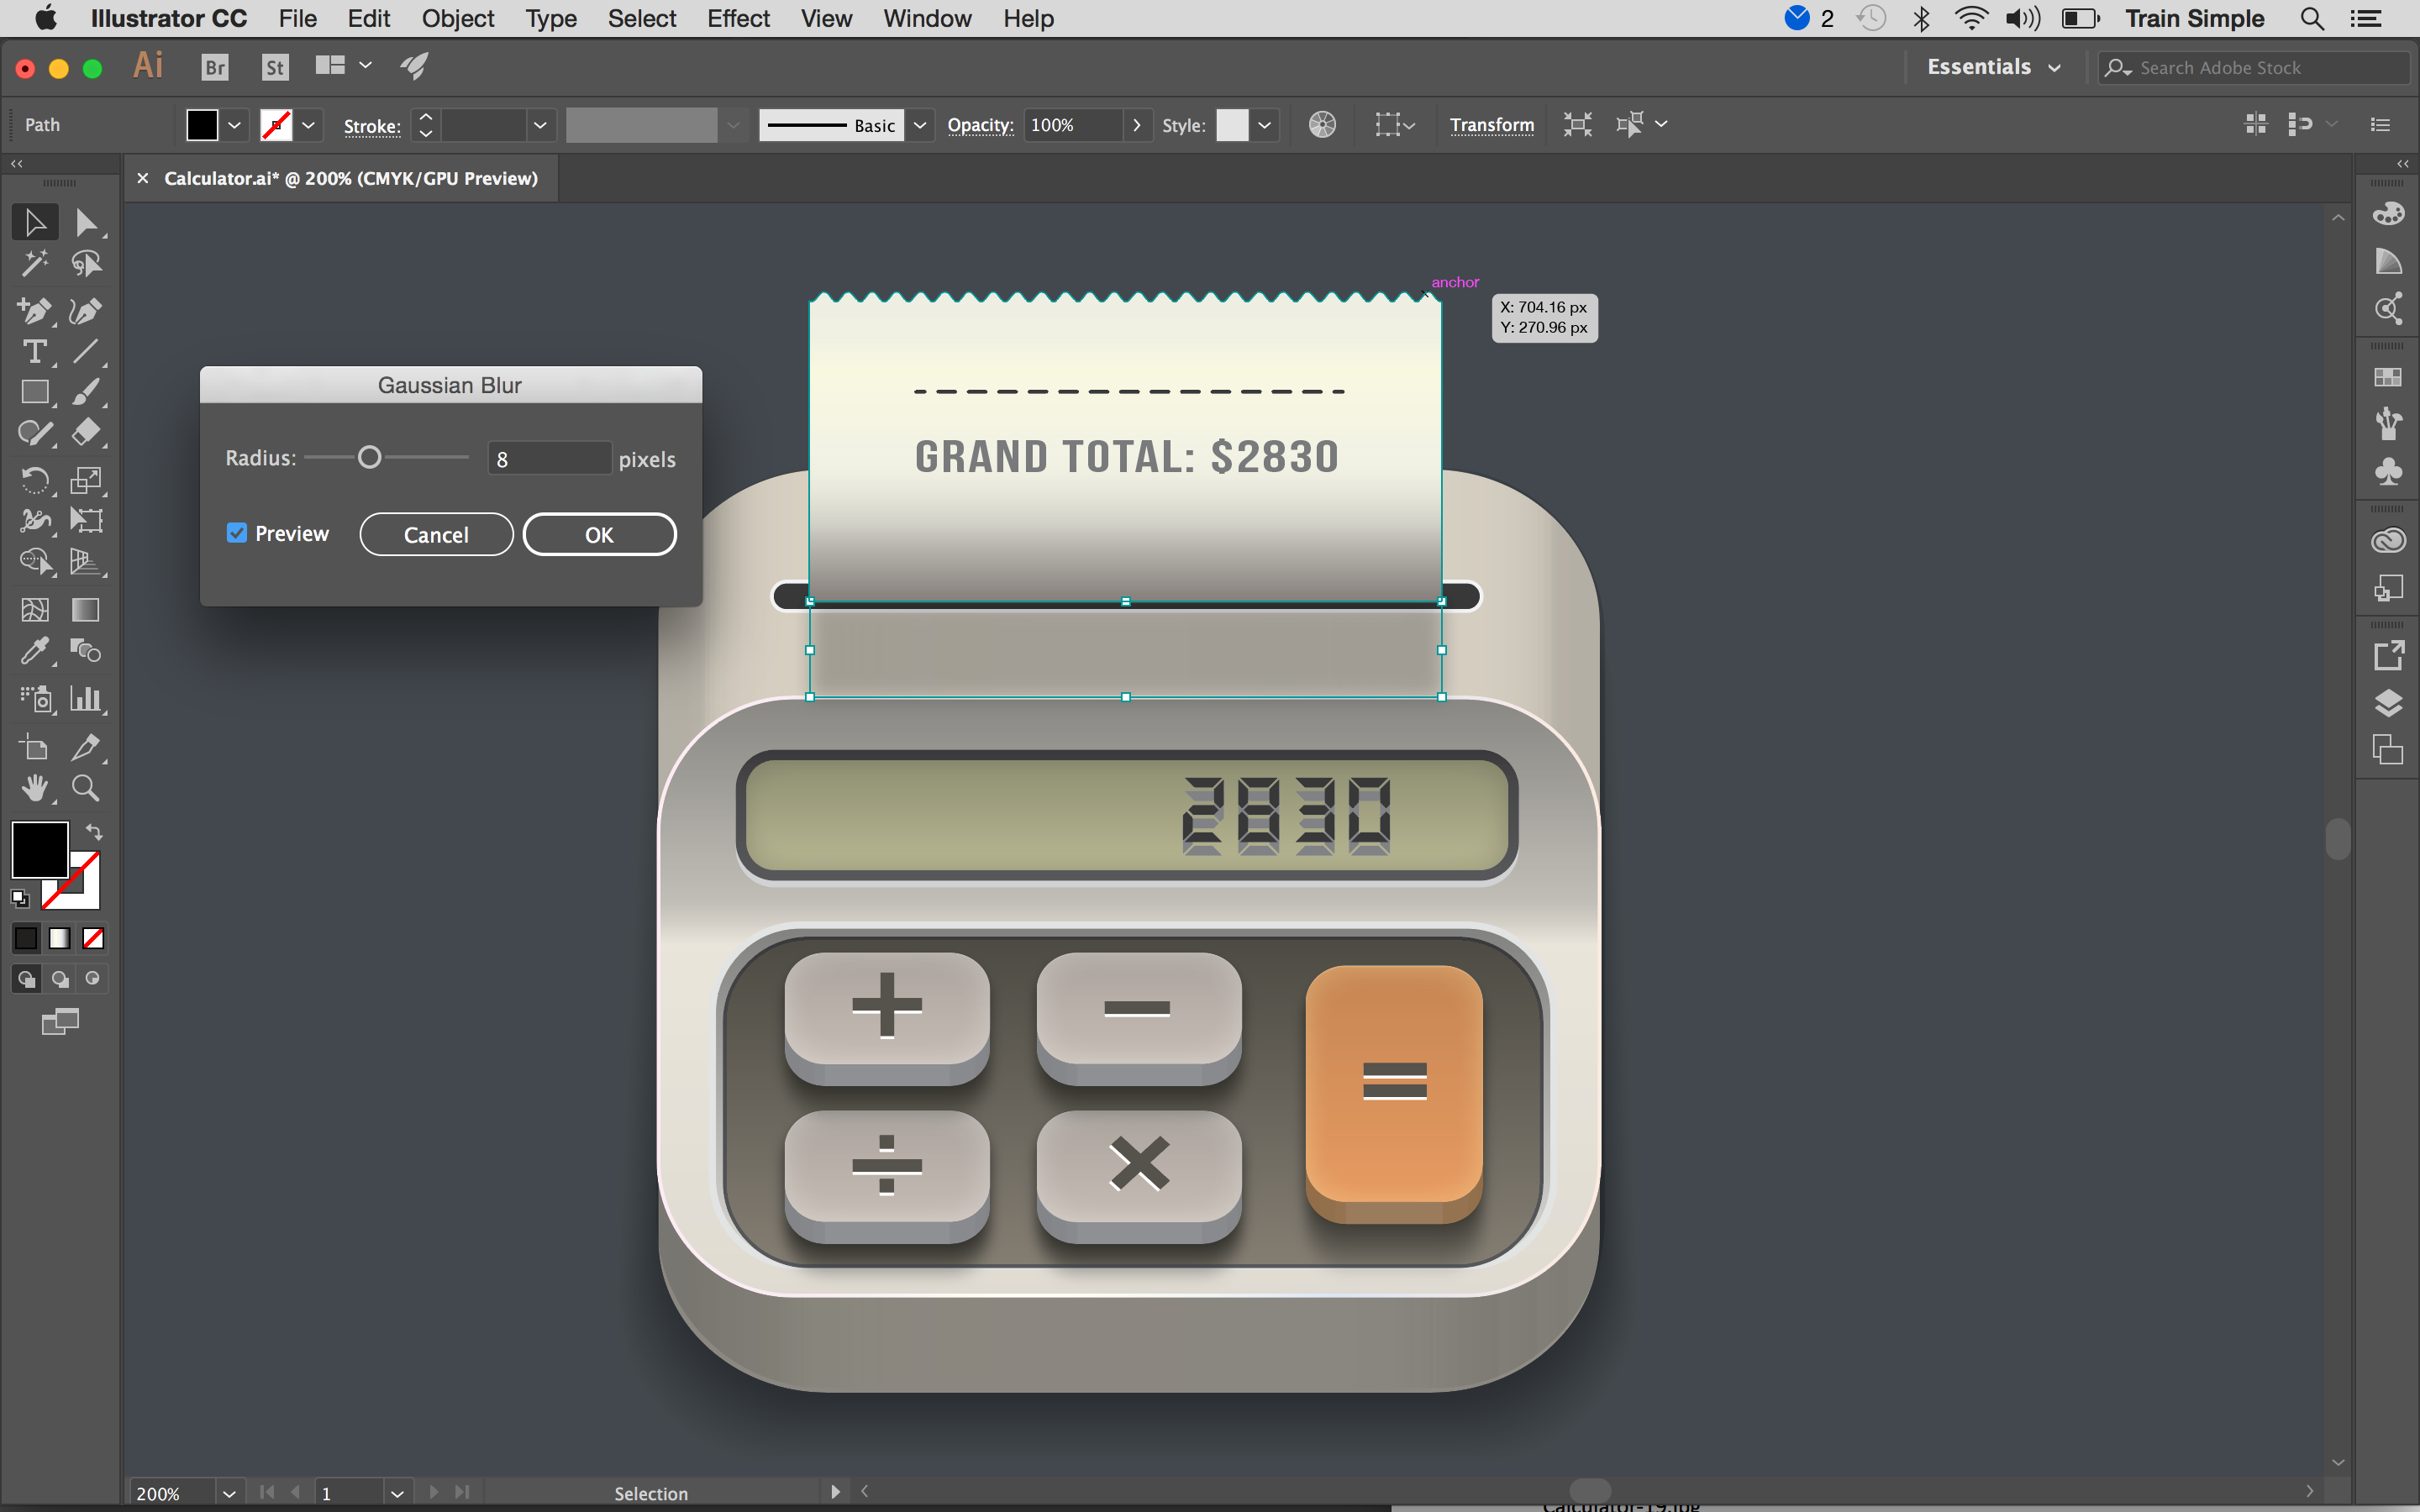
To make paper shadow, draw a rectangle as shown below with black fill. Apply 8px Gaussian blur effect on it and change its blending mode to “Multiply” with 30% opacity.
22. Draw a knob
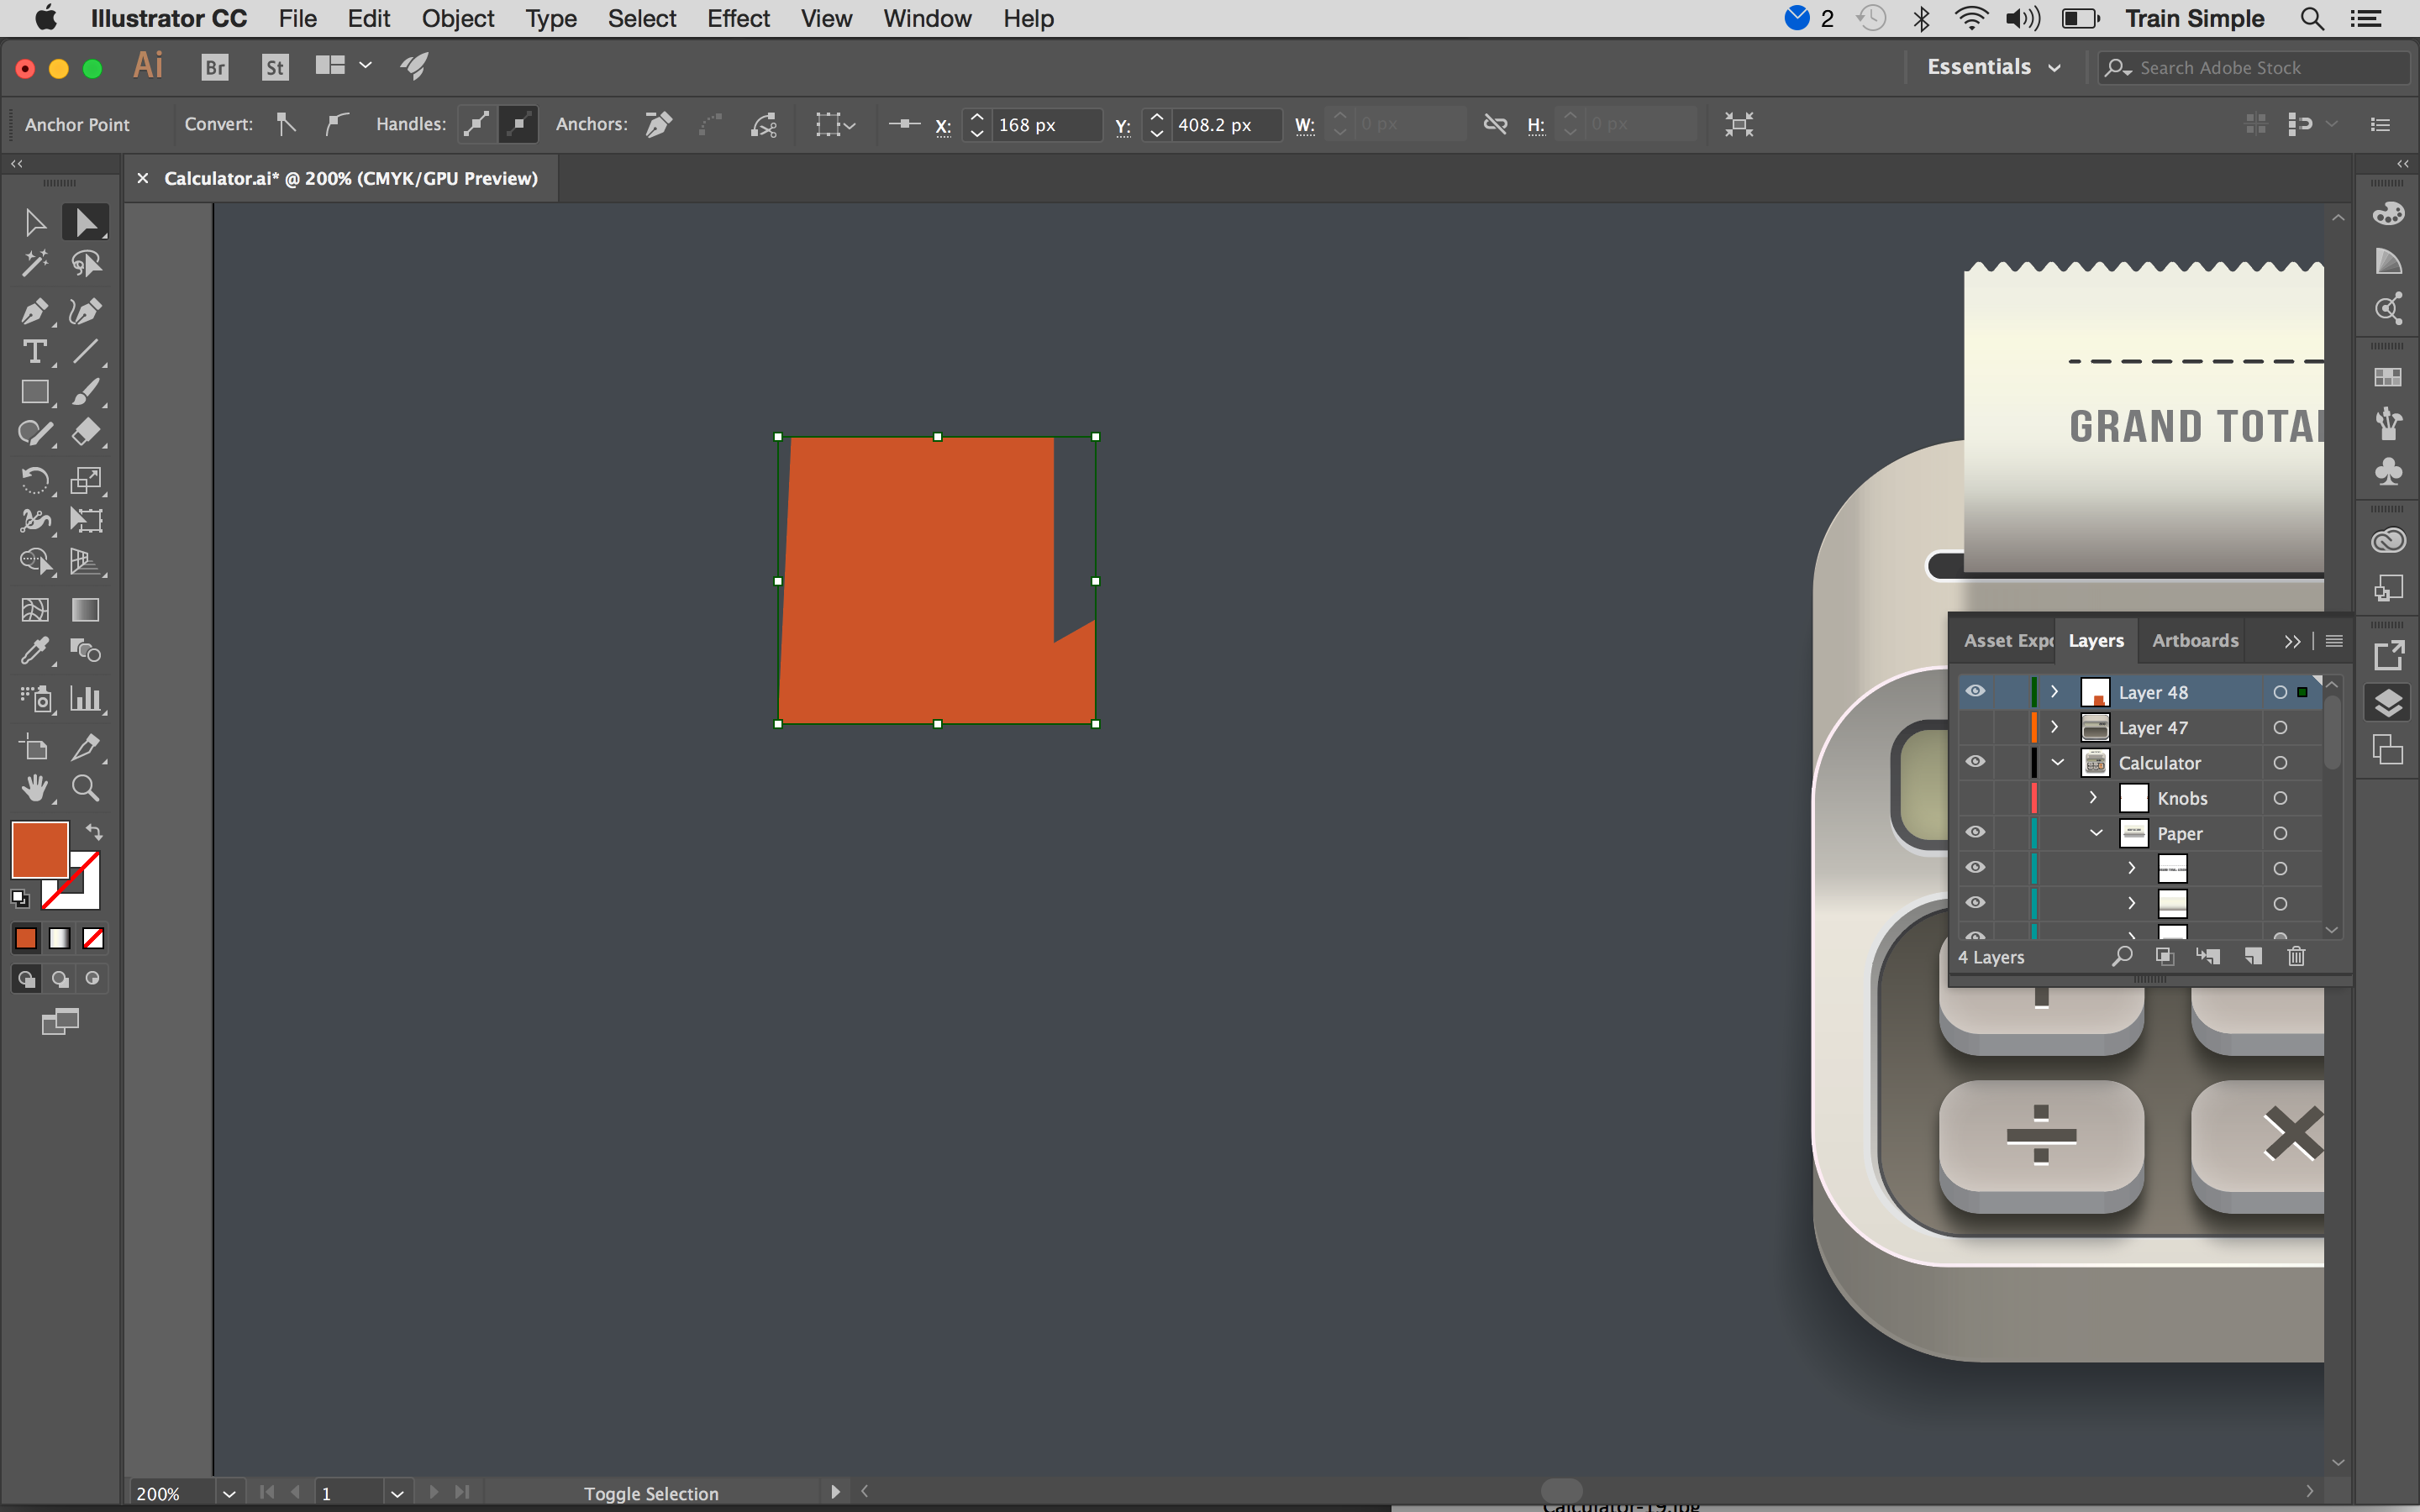
Next, we’ll draw a knob. Draw the following path using Pen Tool (P) and give it #DF7F5E color fill with no stroke.
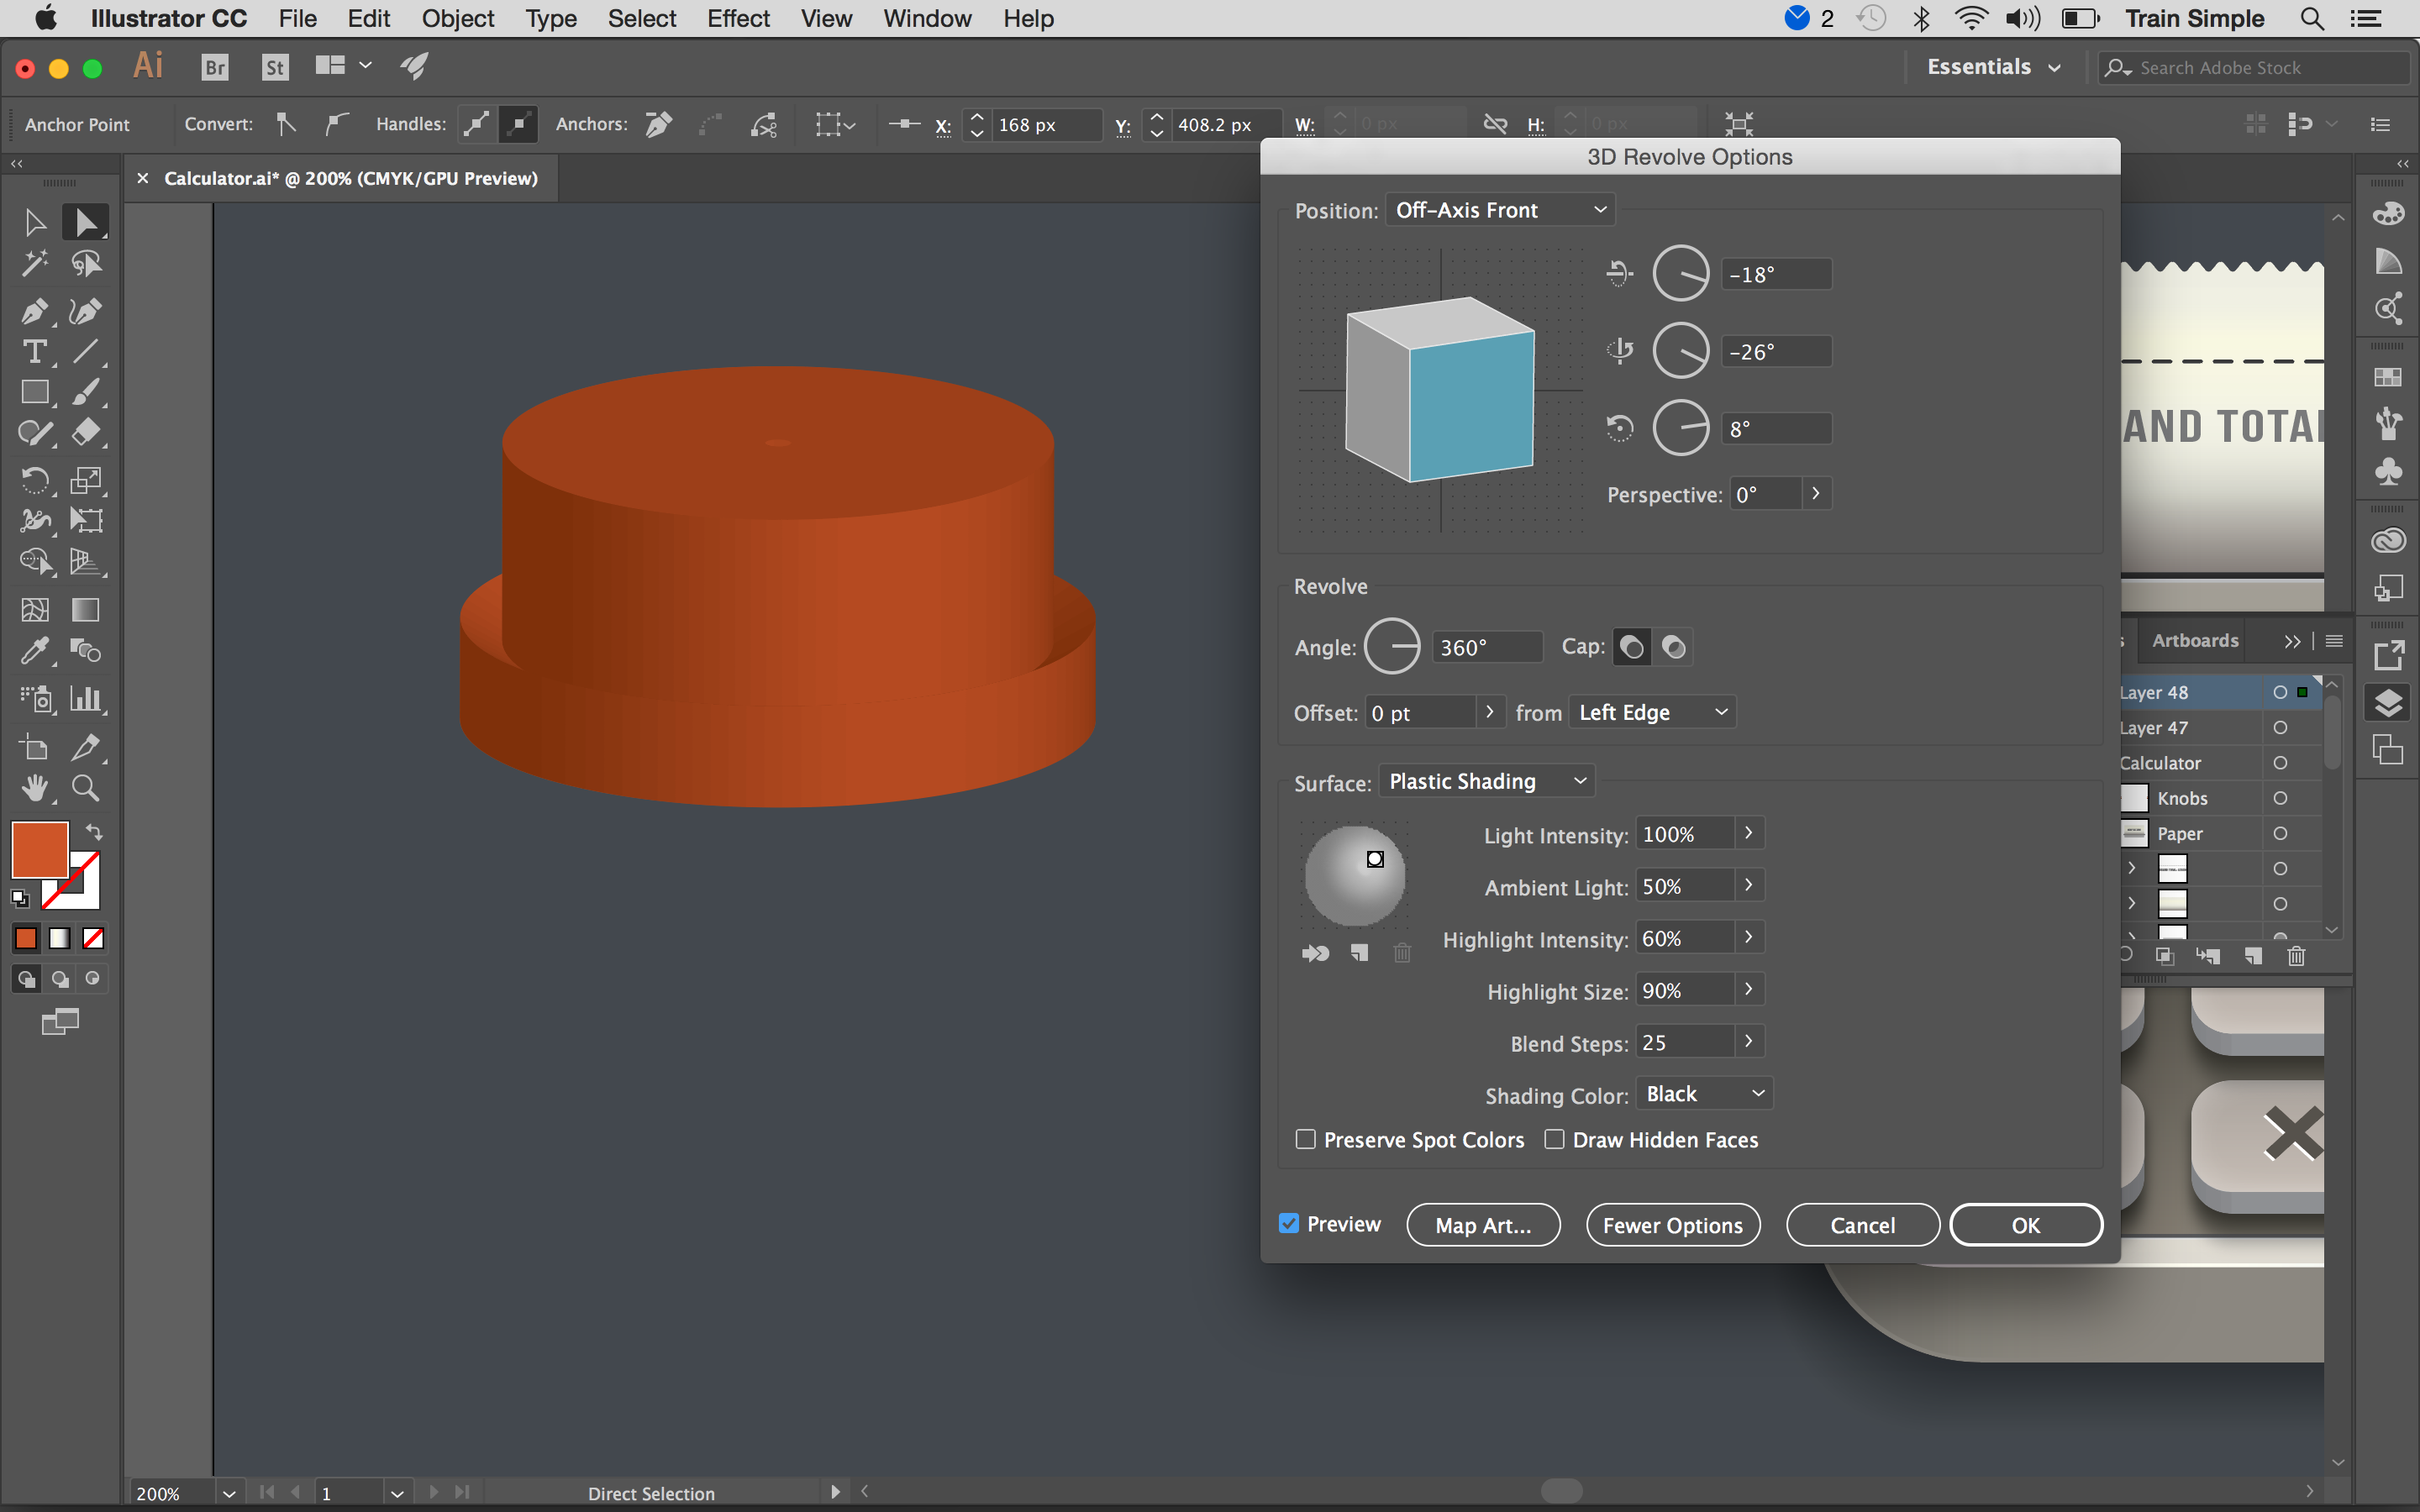
Select the shape and go to “Effect”> “3D”> “Revolve”. Apply given settings below.
23. Place the knob
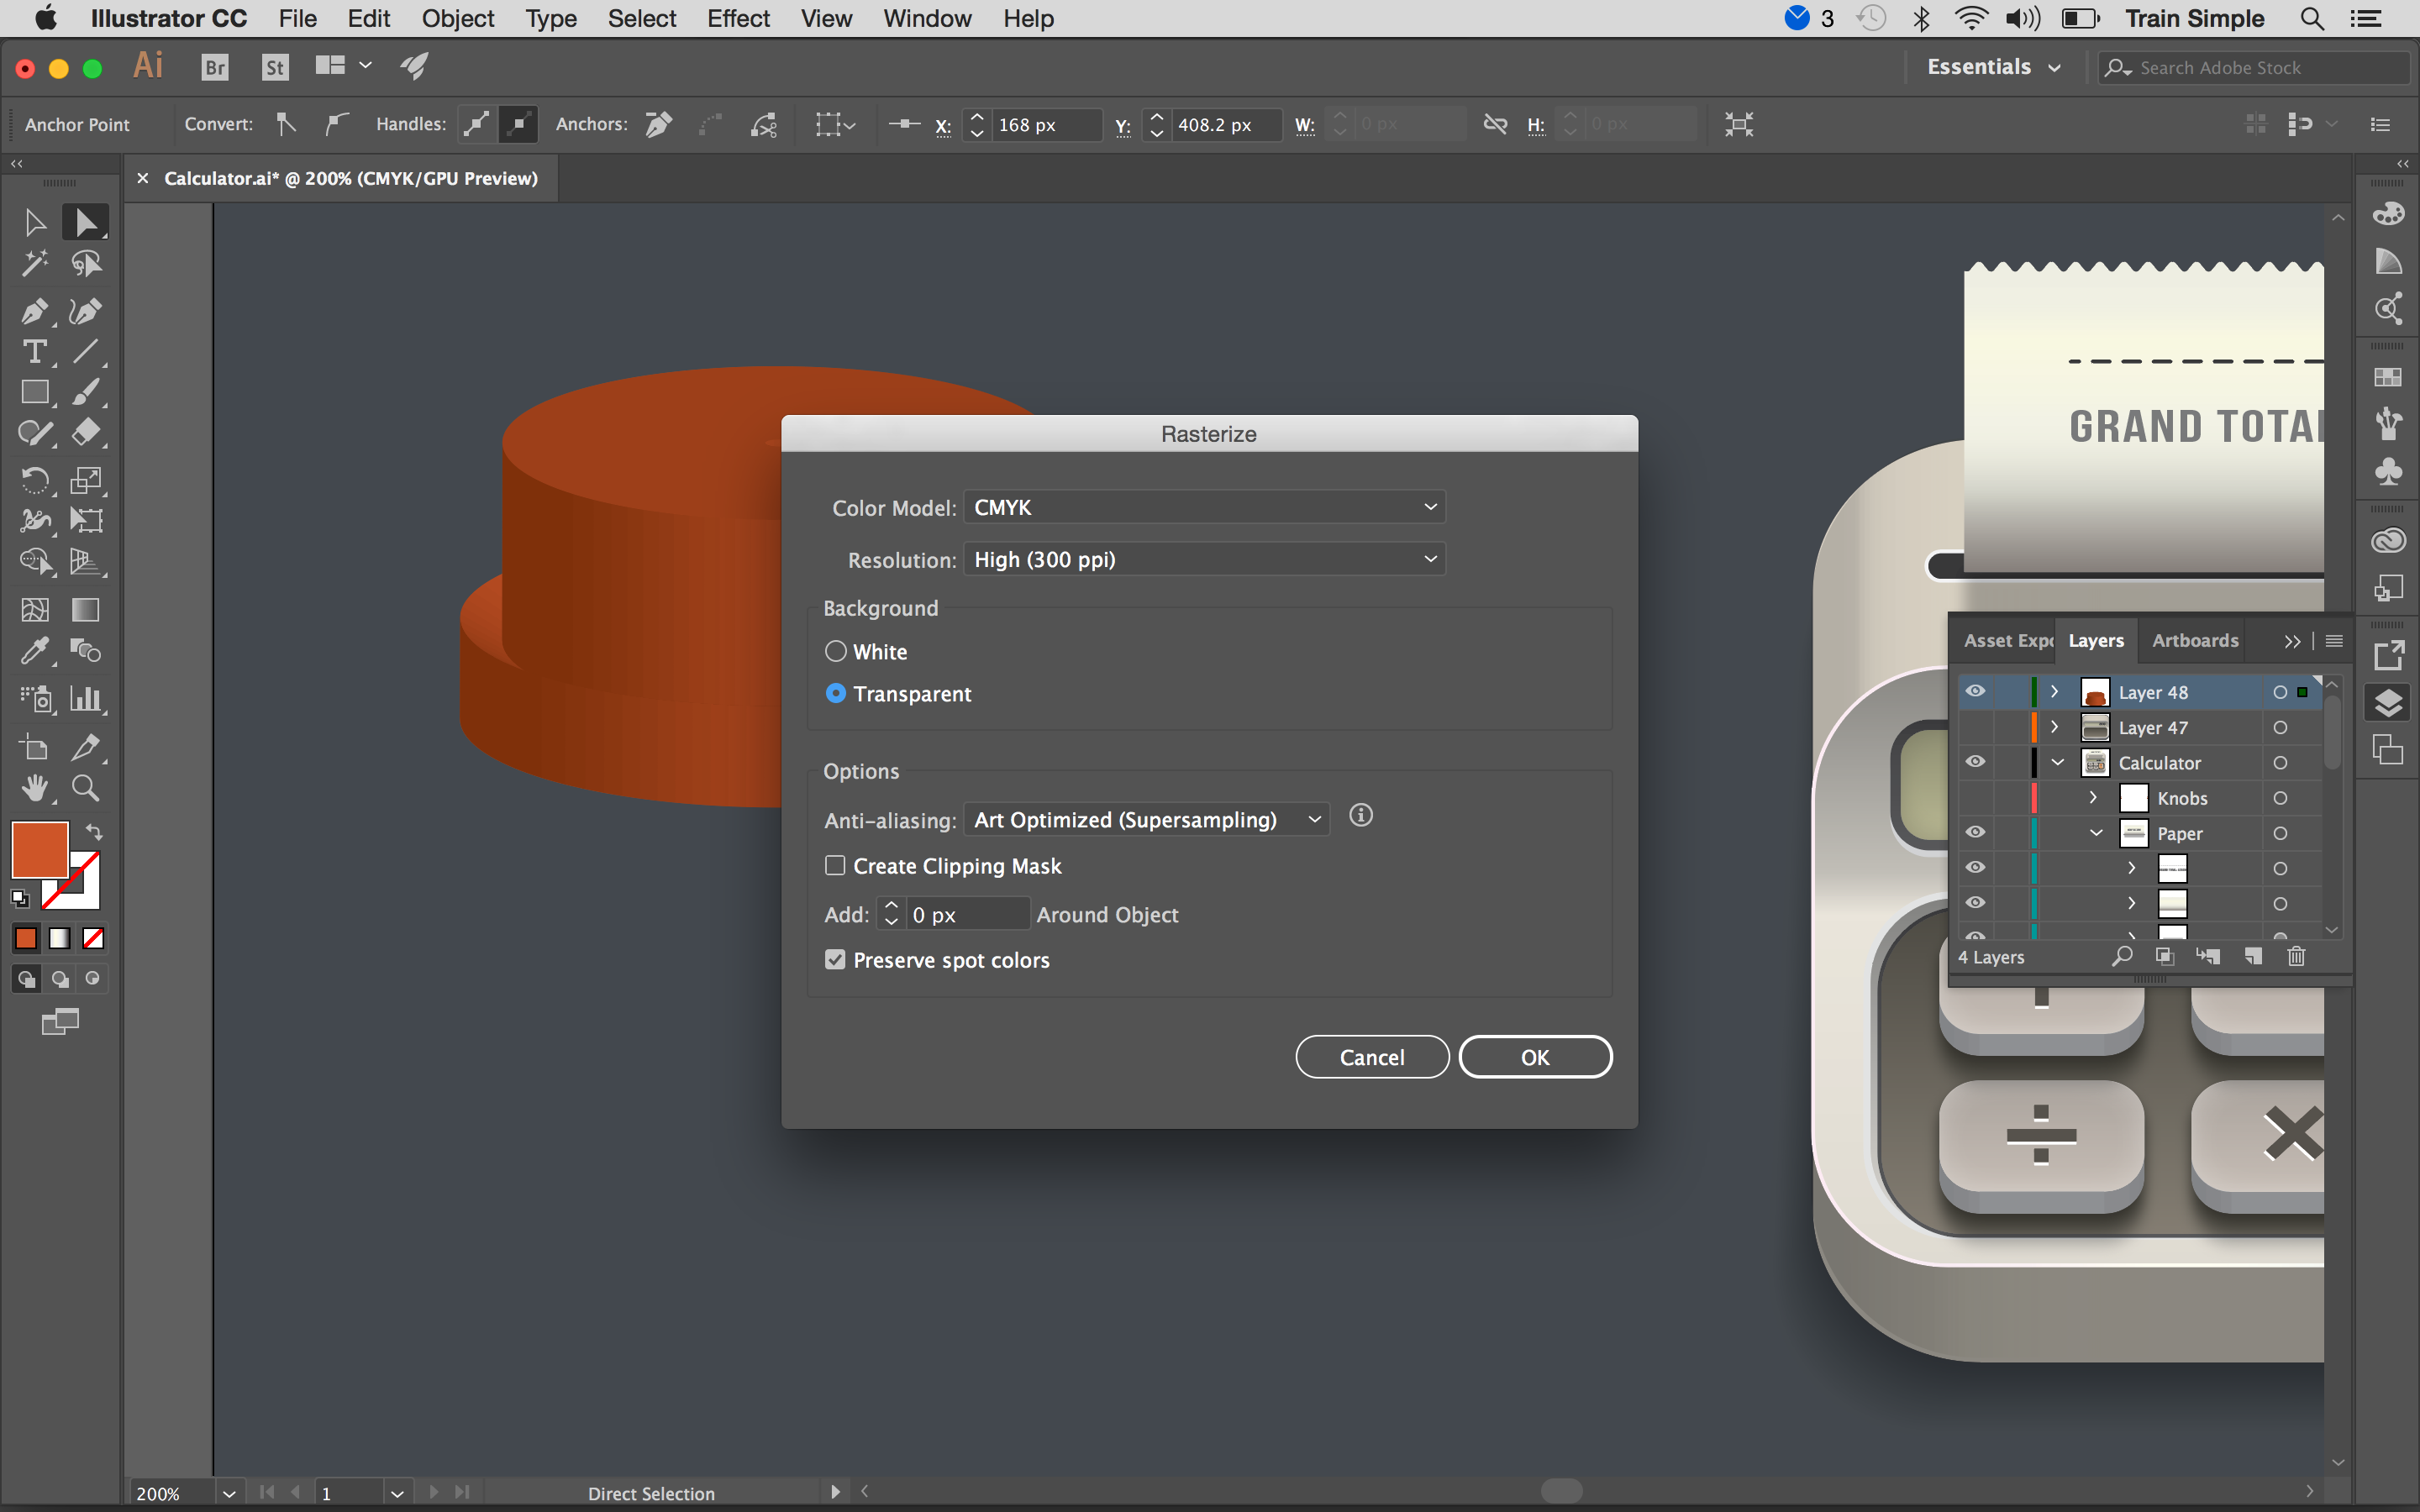
To place the knob parallel to the calculator we have to rasterize it first. Select the knob and go to “Object”> “Rasterize”. Apply given settings above.
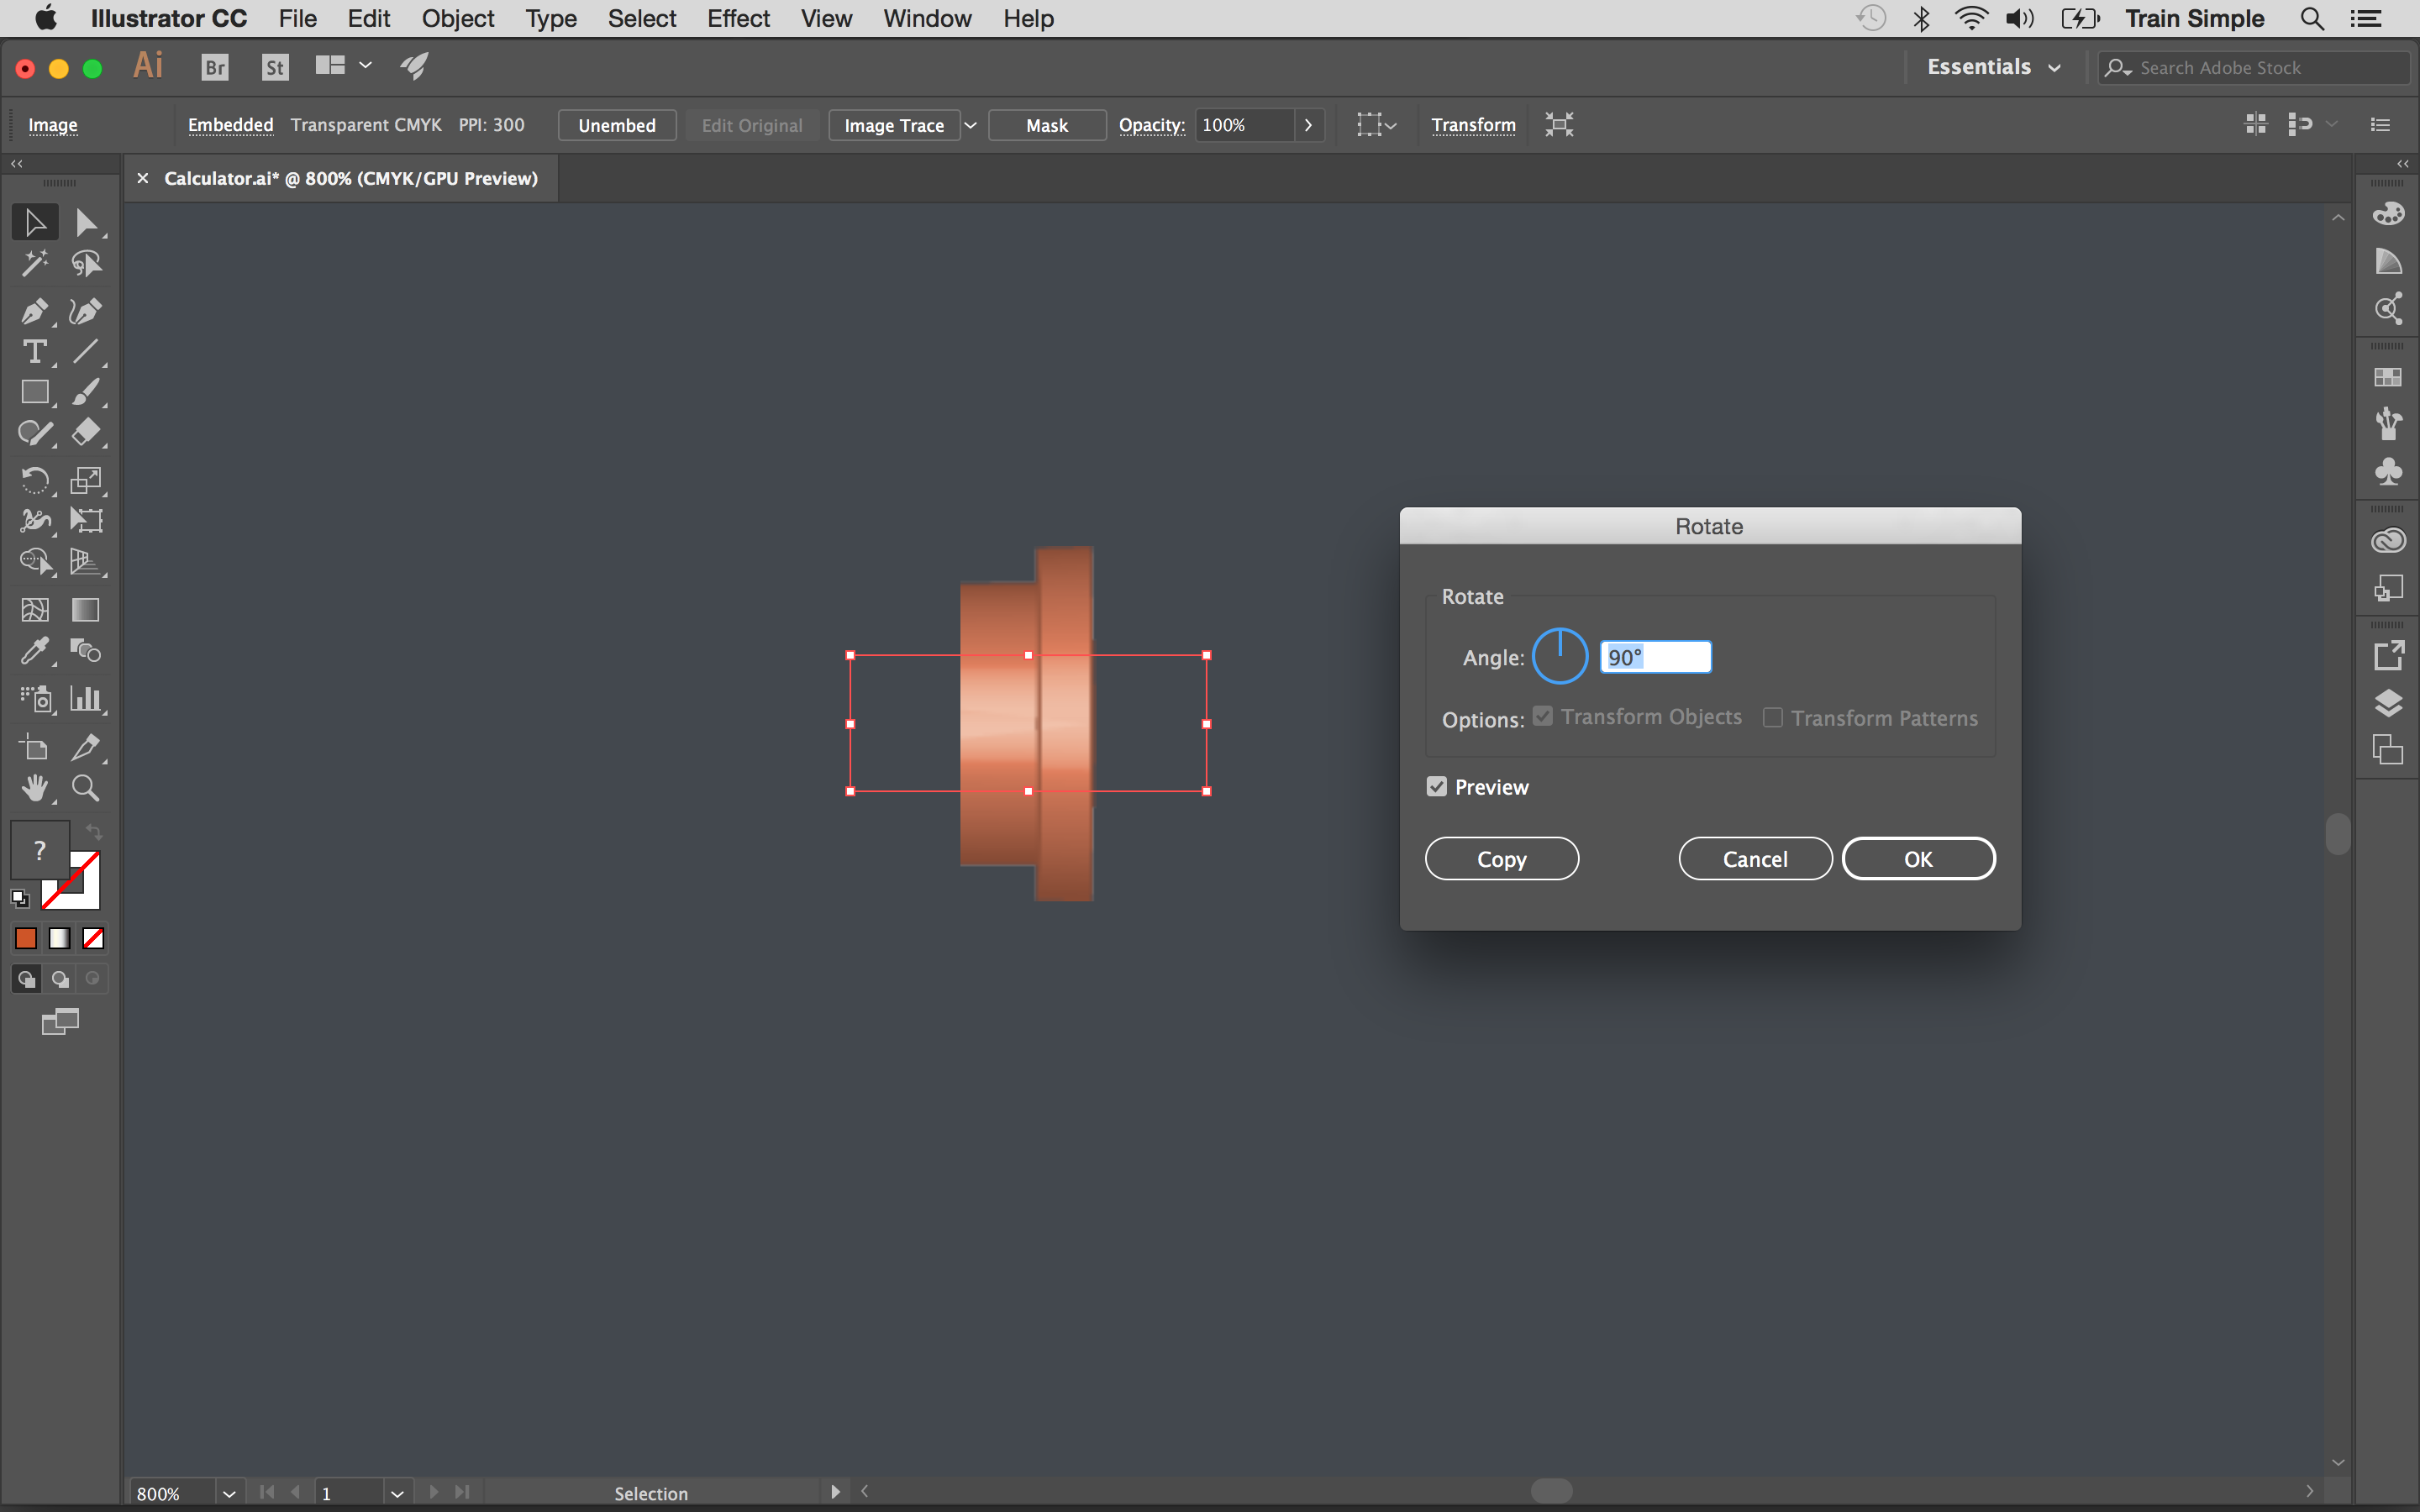
After that, rotate the knob at 90 degrees and hit “OK”. To reflect it you have to rotate it at 180 degrees and hit “Copy”.
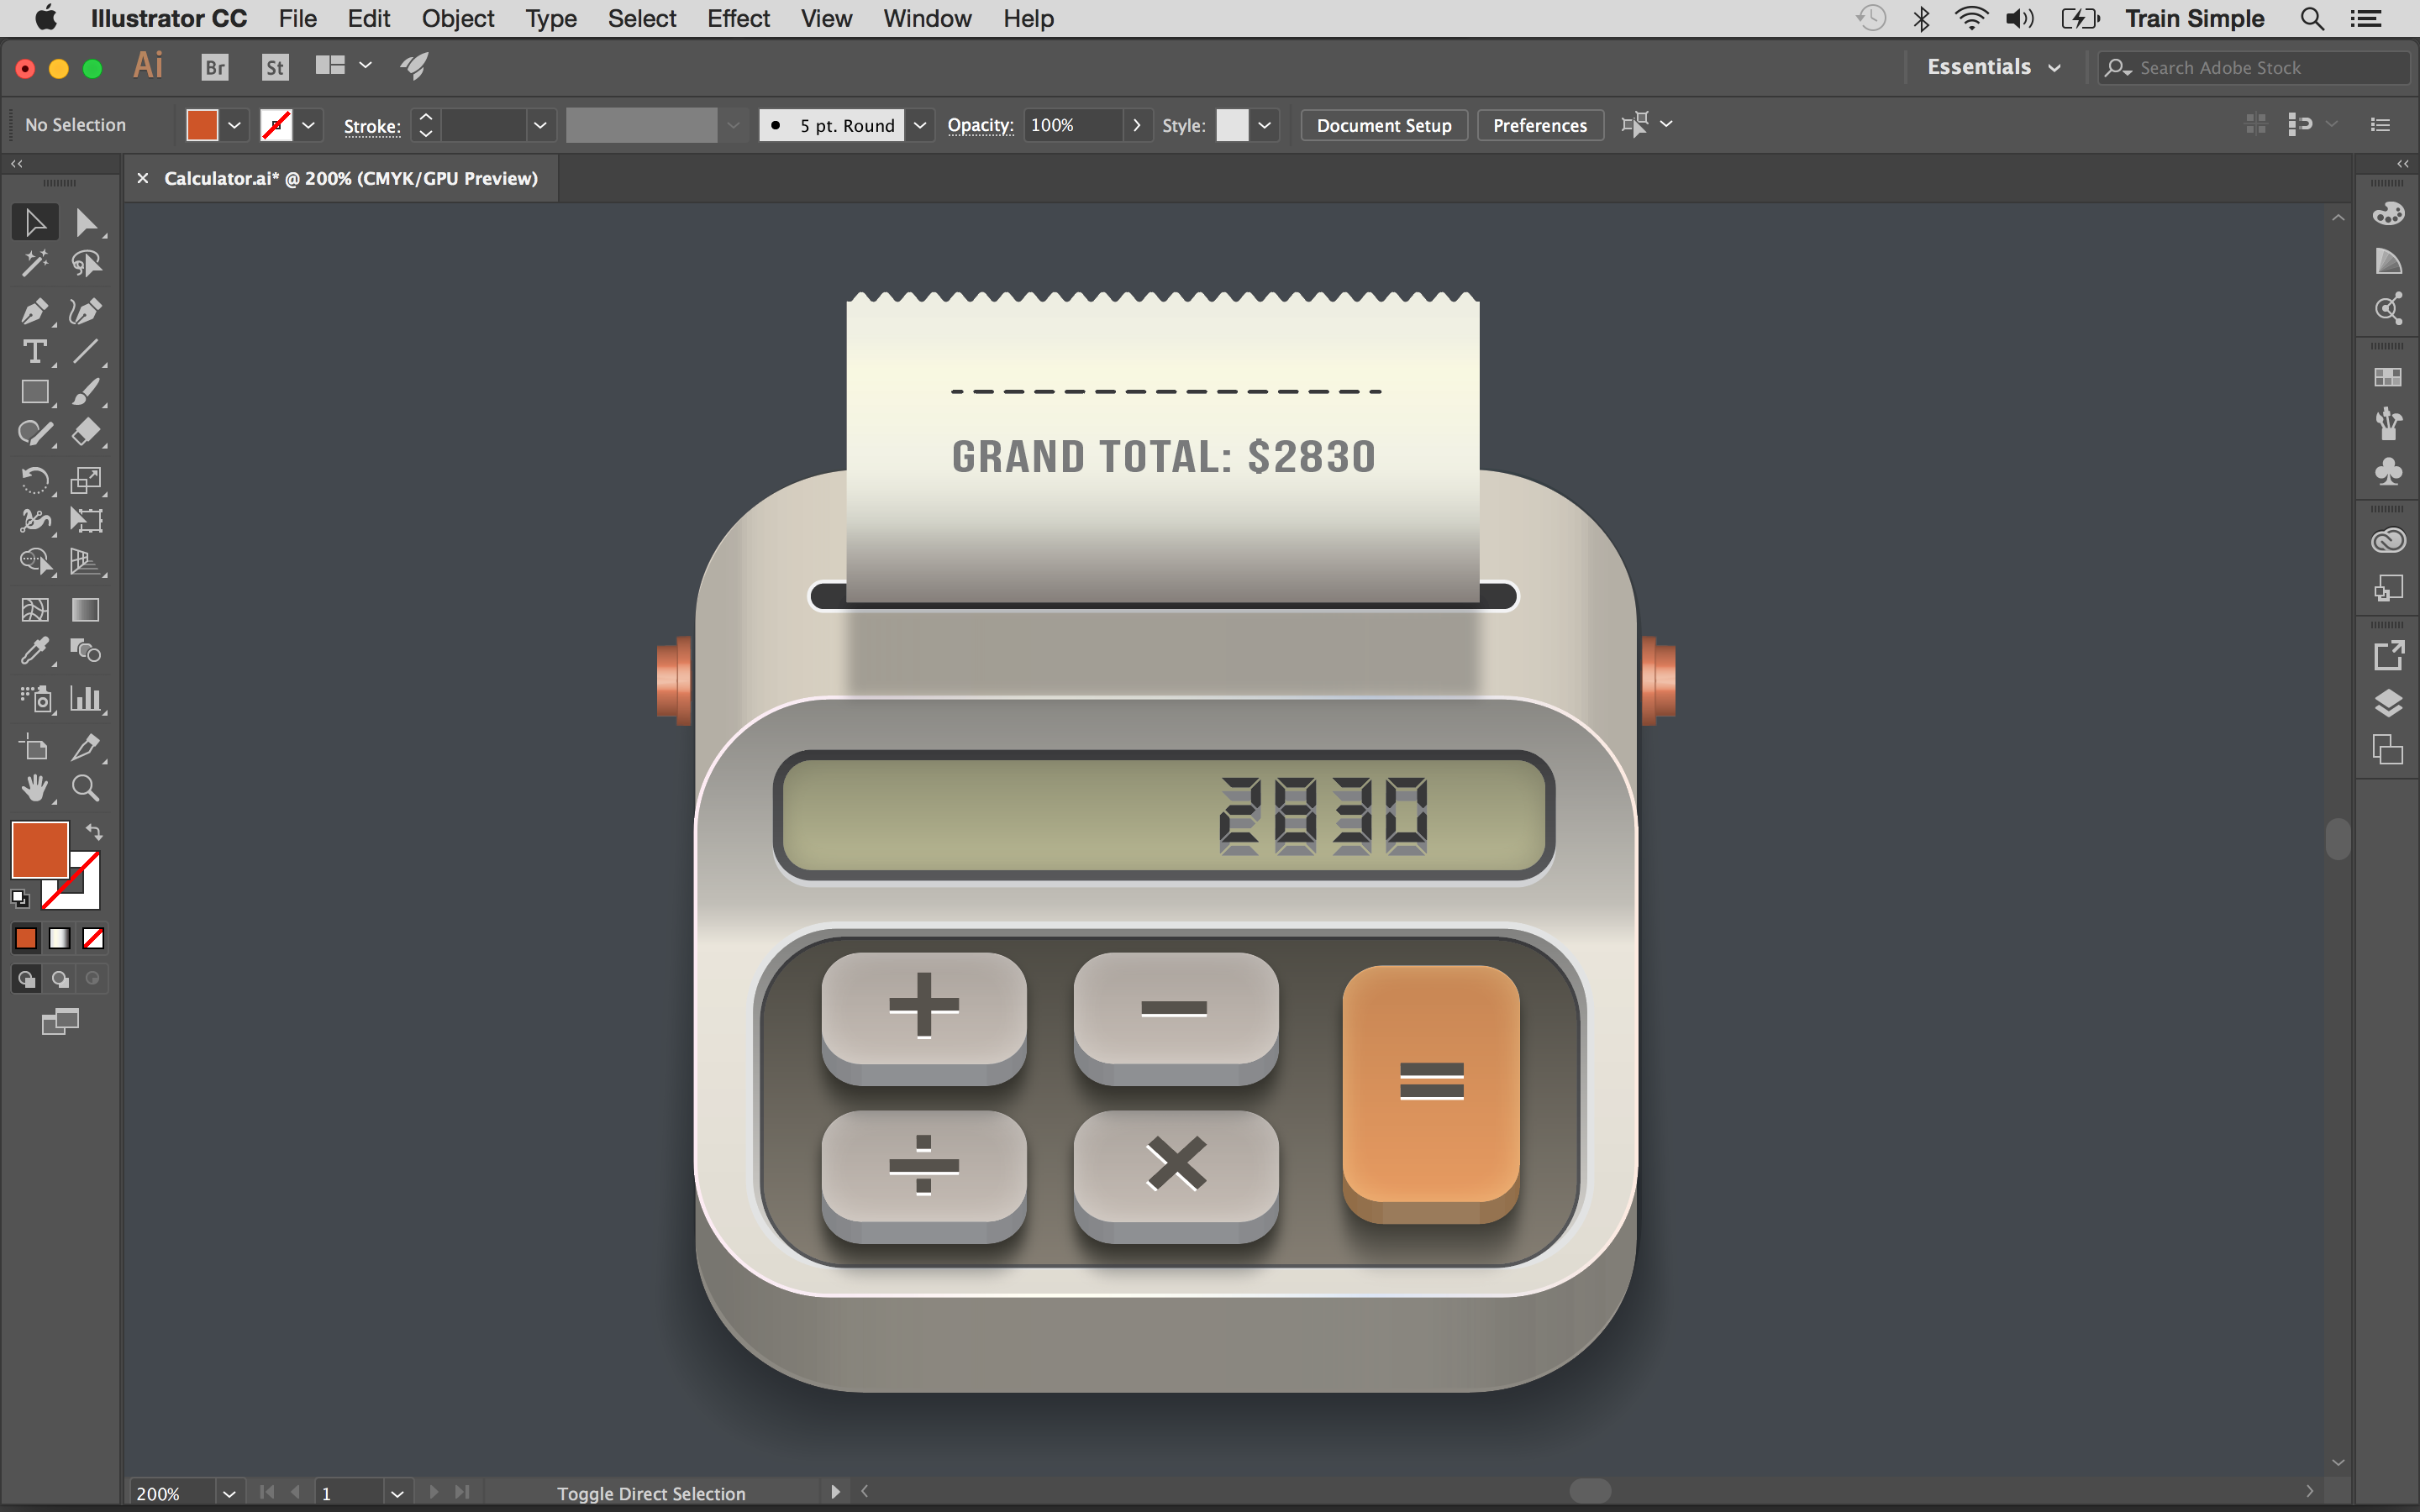
Now position both knobs as shown below.
Related articles:
