Scatter trees with V-Ray
Surround your 3D scene with a large, natural-looking forest using VRayInstancer.

Sign up to Creative Bloq's daily newsletter, which brings you the latest news and inspiration from the worlds of art, design and technology.
You are now subscribed
Your newsletter sign-up was successful
Want to add more newsletters?
Adding details to your scene is always the way to go when you want to achieve more realism in your 3D art, and thankfully there are many plugins available to help you achieve exactly what you want. In this case, imagine you have a home surrounded by a large forest.
Many tools may come to mind for building this scene, including using free textures, but the one we are going to use is 'free' as part of render engine V-Ray. This time you can add the forest using VRayInstancer, which is a tool that not many use. It has its limitations but it hasn't ever failed me. So let's learn how to use it to scatter trees for a forest scene.
01. Get the models ready to use

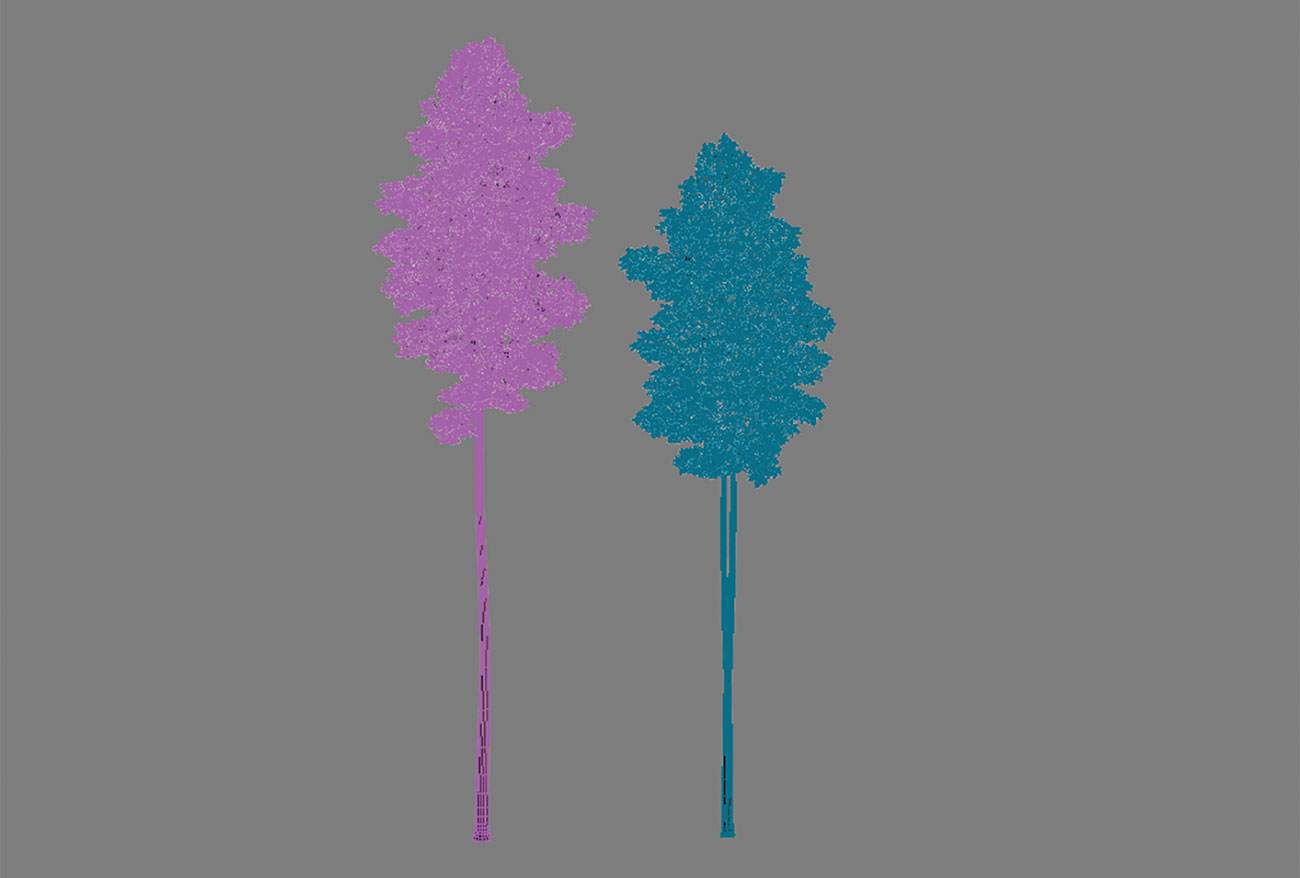
The first thing you need to do is source the models you plan to use. In this case I've selected two models from the CGAxis library. It's always so important to keep in mind that you can make them proxy in order to have fewer polygons in your scene.
Article continues belowAnother important thing is to always have pivots in the base of your models; in this case you have two trees and you need the pivot in their bases, because once you scatter them on a surface the scatter will take that base. When the pivot is not located in the base, you can get strange results, such as half trees scattered all over the scene. So let's make the models proxy and set the pivot on their bases.
02. PF Source and VRayInstancer

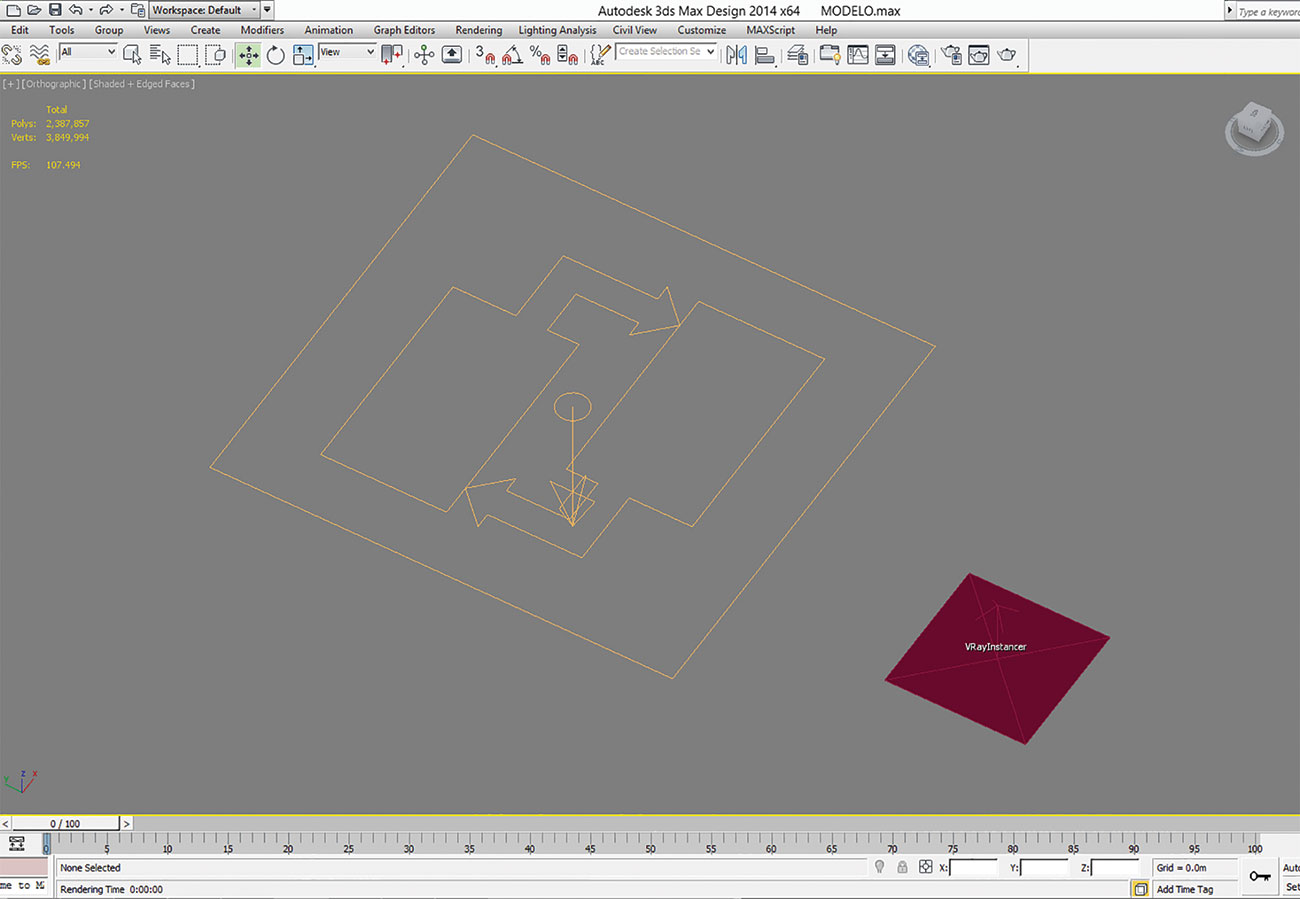
Once you have your models ready, it's time to add all the necessary tools to create the forest in the back of your scene. First of all you are going to create a PF source: to do so go to the Create tab and in Geometry use the roll-out menu and select Particle Systems. From there, select PF Source. Once placed, name it – in this case mine is called 'PF 001 Front Trees'. Naming is important because that way you can have a lot more control when you need to turn off your particle generators.
The next step is to add your VRayInstancer; again head to the Create tab, then select Geometry and in the roll-out menu choose V-Ray. This is where you are going to find your VRayInstancer. Place it in the scene and name it 'VRayInstancer Front Trees', which is again named for organisational purposes.
03. Connect all the elements

Now it's time to connect all your tools to make it work properly. First select your VRayInstancer, go to the Modify tab and in Particles add 'PF 001 Front Trees' (the one you created). After this, in Source Objects add both of your tree models. In this case you can add one, but in order to get more variation I decided to add two (you can add as many as you like).
Sign up to Creative Bloq's daily newsletter, which brings you the latest news and inspiration from the worlds of art, design and technology.
Now it's time to tweak the parameters from your PF Source (PF 001 Front Trees). Select it and in Modify you will find Particle View, open it and you will find more options. First of all, erase Position Icon and Speed as you are not going to need them, and instead add Position Object and Scale. In Position Object add the base of the forest mesh. This will use that base as the plane where it will be scattered. In Birth set Emit Stop to 0 and Amount to 70, and in Scale set the Scale Variation to 8%. Now hit render and you will have your first result.
04. Final details
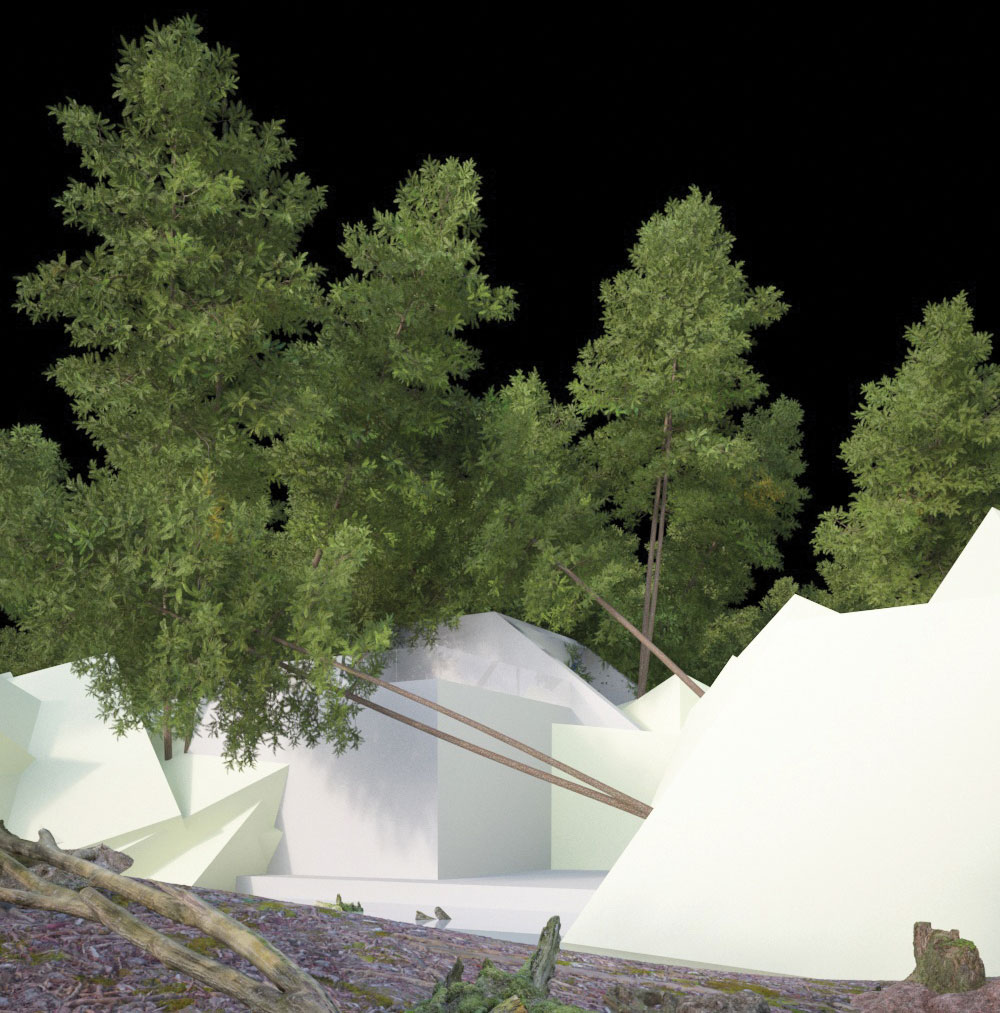
In your initial result you should have a spread of trees, that aren't quite right, and you'll also see some weird elements such as big white boxes. Let's fix all that and set your final settings. First of all, inside the particle view in your PF Source, select Render 004 and in Type set None. This will make the weird boxes you can see in your render go away.
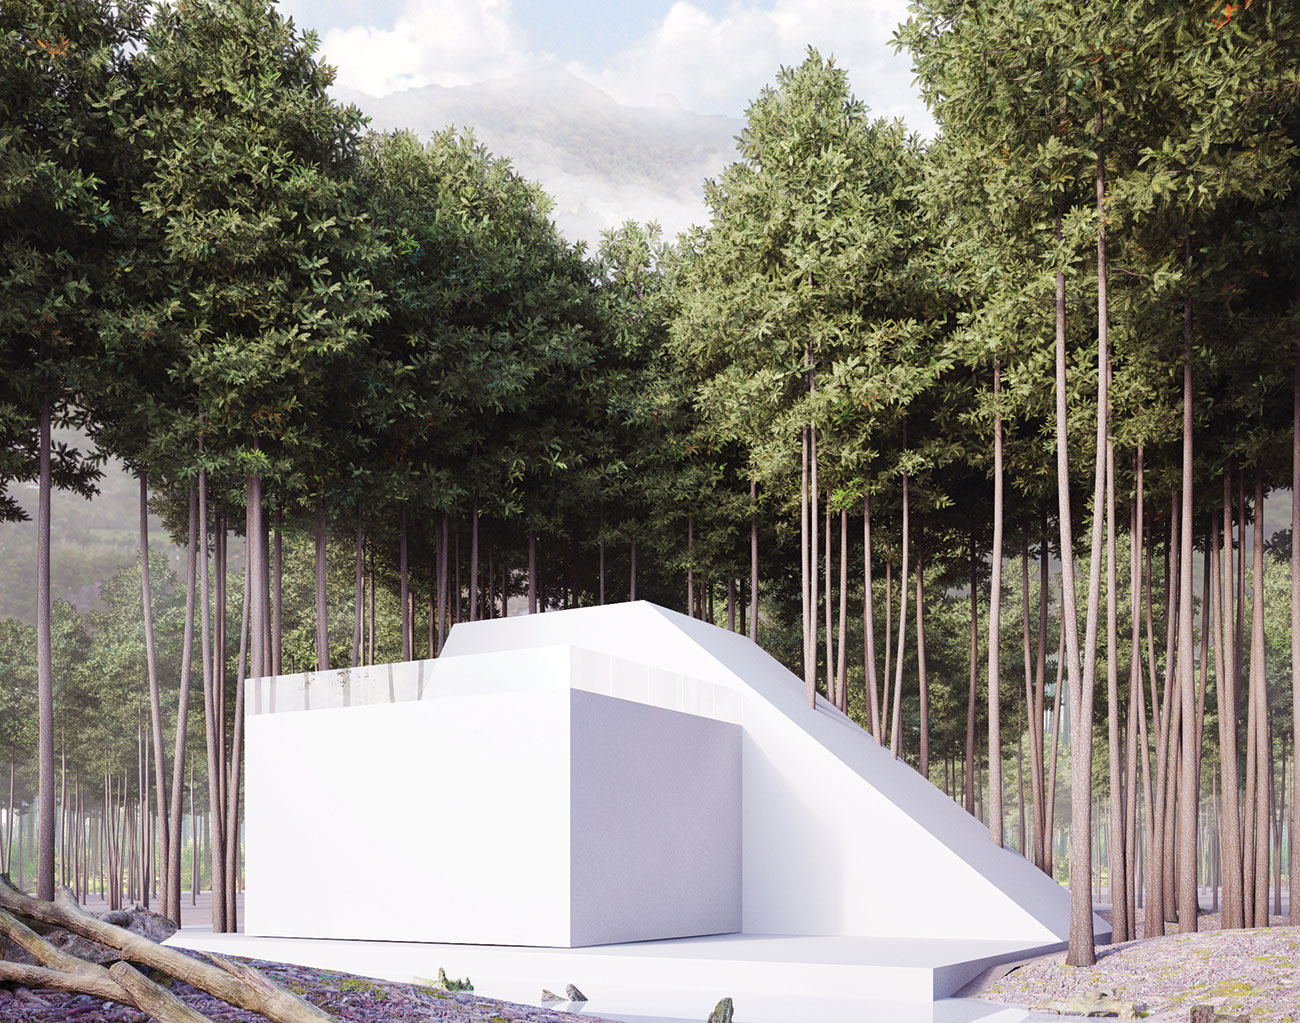
Now let's go to the Position Object settings. In Uniqueness set the Seed value to 12,858. And finally in Rotation in Orientation Matrix, set it to Random Horizontal. With these modifications you are going to get the result as in the final image (at the top). What you've done was the process for the frontal trees, but you can do the same for the background ones. Try it in your scenes, and not only with trees – this method can have as many uses as you like.
This article was originally published in issue 235 of 3D World, the world's best-selling magazine for CG artists. Buy issue 235 here or subscribe to 3D World here.
Related articles:

