Stitch and composit 360 footage
Cara VR for Nuke makes 360 compositing easy. Here's how to use it.
Sign up to Creative Bloq's daily newsletter, which brings you the latest news and inspiration from the worlds of art, design and technology.
You are now subscribed
Your newsletter sign-up was successful
Want to add more newsletters?
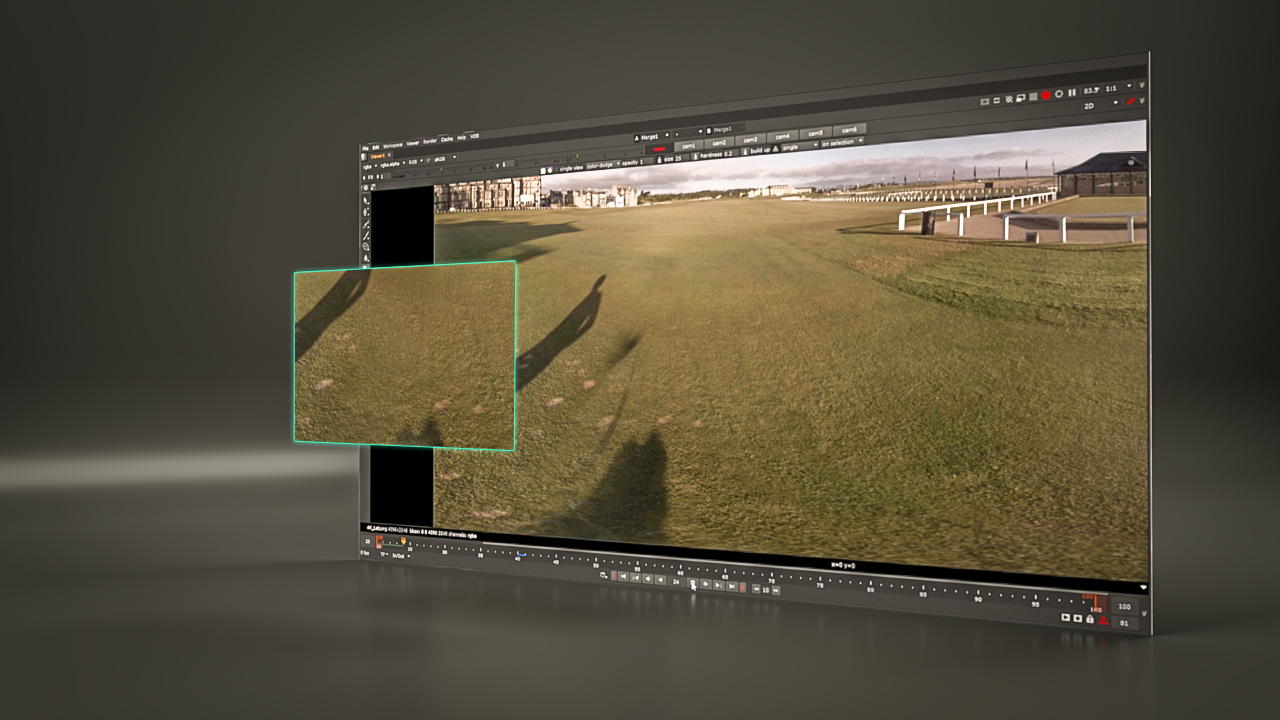
With the addition of the Cara VR plugin to Nuke, we now have a powerful tool at our disposal for stitching and compositing our 360 footage.
In this tutorial I'll show you how to use it. Let’s begin by quickly going over the overall workflow with Cara VR – it's similar to other 360 pipelines, so it shouldn’t be too hard to wrap your head around!
- Preprocess your footage. Review, sync and convert from a video file into a sequence
- Preview the stitch, preferably in the camera manufacturer’s software (this is a great place to make sure things are looking right)
- Camera Solve with Cara VR, then refine the solve and use Cara VR’s other tools, such as Colormatcher and Stitcher
- Intermediate render. Export your views so you can review them and establish where you need to refine things later
- Fix any ghosting issues and split up your views, if required
- Export the result
After bullets one and two, it's time to import your footage into Nuke and start exploring Cara VR. Let's take a closer look at how this works.
Article continues below01. Set up your footage
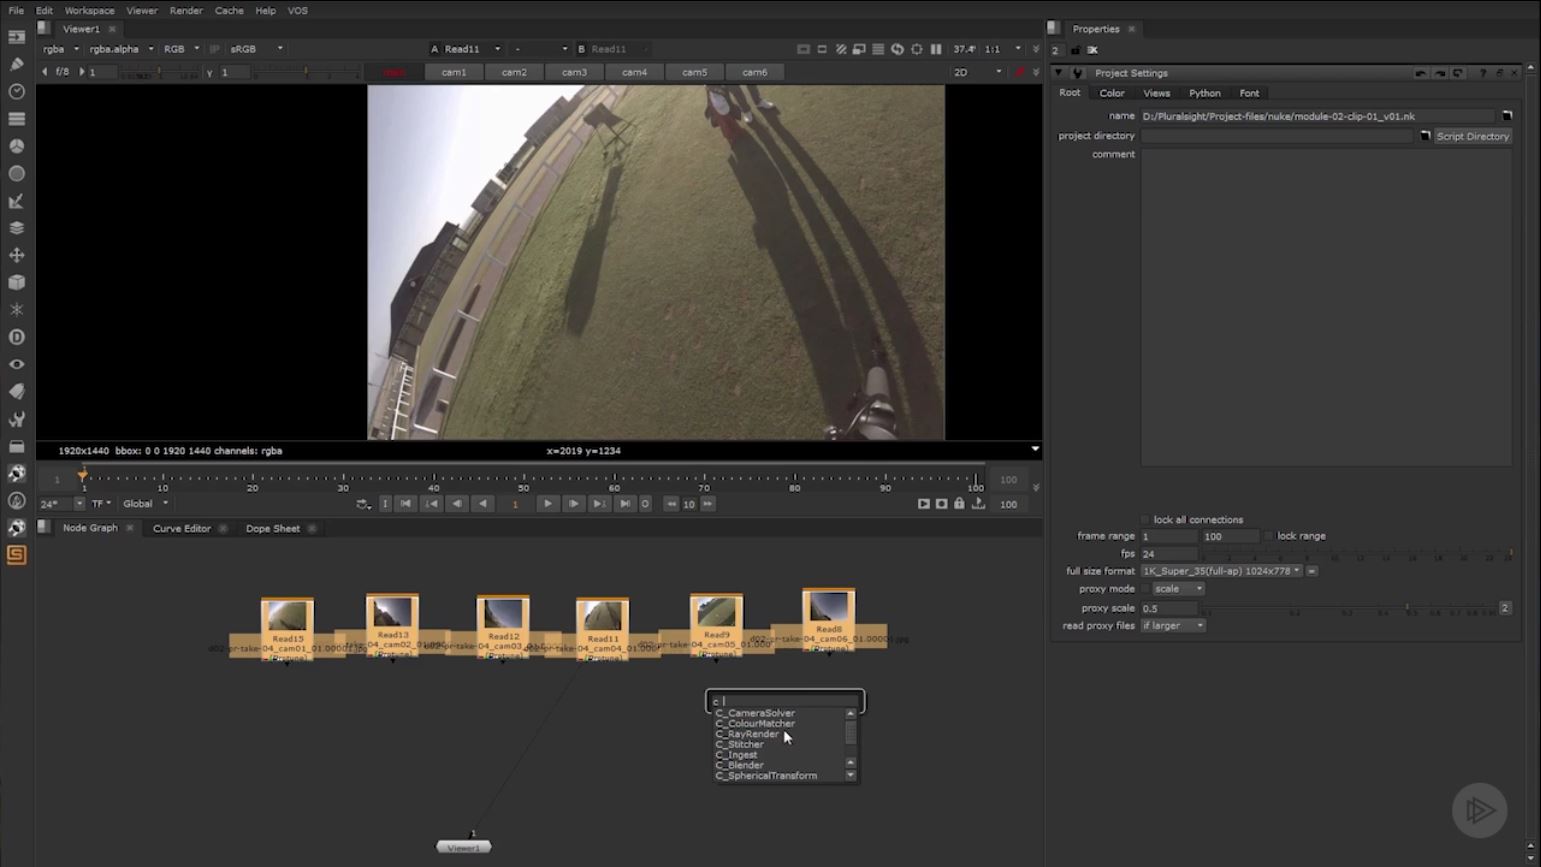
First, read all your sequences in. Select all your footage and then drop in the CameraSolver node. This will automatically connect all your nodes for you. You’ll notice that the resolution not-so-conveniently defaults to the wrong value, so you’ll need to go into the Project Settings and change the resolution to the desired LatLong. The 4k_LatLong is what I’m using in this project.
Depending on what camera rig you shot with, you may be able to choose it from the Presets, but you can always set up custom camera parameters if there isn’t a preset for you. In our case we’re using the H3PRO6 preset for a 6 camera GoPro Rig.
02. Adjust focal length, layout and distortion
Next, you’ll move into the Analysis section. You’ll want to set the Focal Length – there are a few choices here. Choose Known Focal Length (this will fix the existing focal length in the solve), Optimize per Camera (to calculate the focal length for each camera in your rig) and Optimize Single (this calculates a single optimised focal length for all cameras in the rig) – the third option is the one we want, as it’s the most simple to deal with.
Now it’s time to set the lens distortion if needed. Since we’ve used GoPro cameras, there is some lens distortion present. We’ll want to choose Optimize Single again to take care of it. Then you’ll choose the Camera Layout. If you have some parallax in your cameras you’ll want to choose Spherical Layout.
Sign up to Creative Bloq's daily newsletter, which brings you the latest news and inspiration from the worlds of art, design and technology.
03. Work with keyframes
Cara VR will automatically add a keyframe at the beginning of your shot, but you can add more keyframes as needed throughout the sequence. The more keys you add the longer it takes, but you can get cleaner results. If your lighting doesn’t change much over the course of the shot, then you don’t need to add too many keys.
Click Match in the Analysis section to compare keyframes on overlapping cameras for shared features.
Click Solve to calculate and define each camera.The solved camera will display in the viewer and you’ll see that inevitably, we have a few errors displayed as red tracks. This means they were over the error limit.
04. Colour-match the cameras
At this point you may need to do some work to align the horizons. You can begin to control this with the Viewer toolbar. Enable the Horizon tool, hold cmd+alt and drag in the Viewer to adjust the horizon. In our case, I’m noticing the exposures of the different cameras are not matching up. ColorMatcher node can fix this issue.
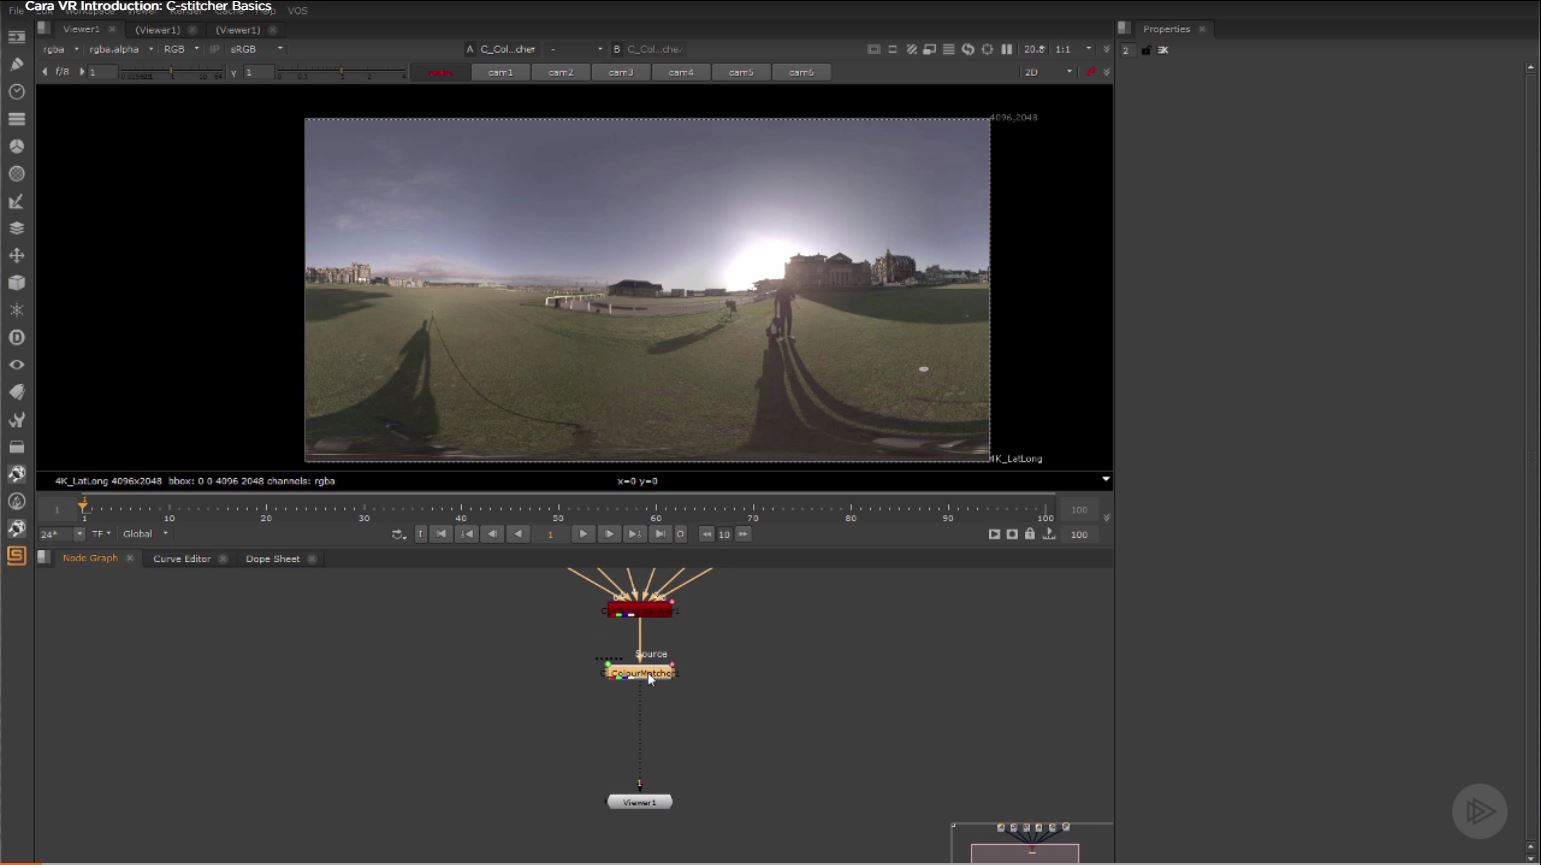
Place a ColorMatcher node after the CameraSolver, and look at the Output section of the CameraSolver node. For the Cam Projection property choose LatLong. Now jump to the ColorMatcher node and under the Input section choose LatLong for the Projection Property.
In the Analysis section of the ColorMatcher we can leave the Match property set to Exposure, since that’s all we need to fix. Then click Analyze. If you need to tweak the overall exposure further, you can do that with the slider in the Output section.
05. Get rid of any ghosting
Now we’ll move onto the C_Stitcher portion. This is such a magic bullet for this workflow – it’s awesome! It’s the most render intensive portion of the Cara pipeline, but it virtually eliminates all ghosting from the shot.
We can leave our Projection set to default for this particular scene. If you notice ghosting in your images, you’ll want to enable Warps. If you know some of your cameras don’t have ghosting, and the C_Stitcher node actually overcorrects and introduces that error, you can go into the Cameras tab and uncheck any cameras you don’t want to be affected.
If there are people in your scene, you’ll need to lower the step size in the Keying section, to eliminate any ghosting as they walk. The more static the image is, the higher you’ll want the step size to be.
06. Remove the tripod shadow
Now our scene is solved and looking pretty good (if I do say so myself), we can begin to work on clean plating the shot.
First, we want to get rid of the tripod and its shadow by painting them out. To do this, add the Cara node Latlong_Comp. This gives us a little network of nodes to work with, including two spherical transform nodes.
The first one takes the LatLong image and flattens it out in a way that isn’t so distorted. We can then get a much better view of the tripod for painting. The second puts the flattened image back as it was into LatLong perspective. You’ll also have a Merge node, but in our case we don't need it. This final node would be useful for those wanting to add any 2D assets into the footage while it’s flattened.
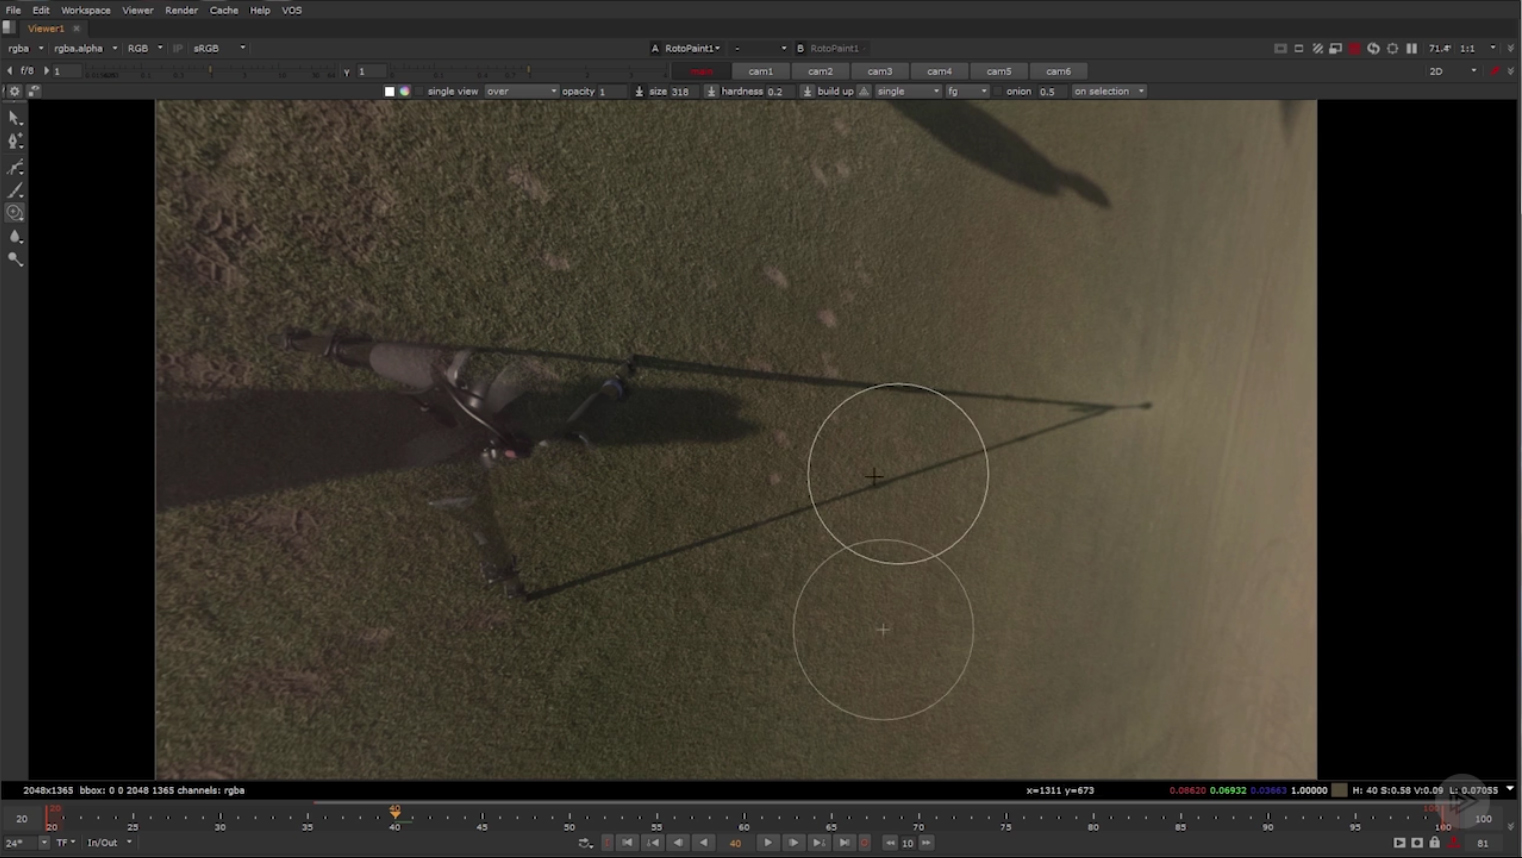
You can pan around by holding ctrl+alt and left-clicking and dragging. Once you’ve navigated to the place in the footage you need to paint, add a Roto_Paint node between the two spherical transform nodes. Make sure you select all your clones and change their life to ‘all’ (by default they’ll set their life to the frame you painted them on).
07. Review the footage
Once you’re ready to review your footage, you can use an Oculus Rift headset to look at it right inside Nuke!
There are many other issues that can be encountered when you’re working to perfect your 360 footage, and they all happen on a case-by-case basis. To learn more about really specific issues to your footage and how to fix them, check out Cara VR for Nuke from Pluralsight.
About Pluralsight
Pluralsight is an enterprise technology learning platform that delivers a unified, end to end learning experience for businesses across the globe. Through a subscription service, companies are empowered to move at the speed of technology, increasing proficiency, innovation and efficiency. For a free trial and more information, visit www.pluralsight.com.

Laura is a passionate visual effects and motion graphics author at Pluralsight. Her favourite projects are her two in-depth After Effects introductory courses on Pluralsight, which were each built around training motion artists and VFX artists, respectively. Using her vast skill set, Laura has taught thousands of artists everything from shot-tracking and rotoscoping to motion design.
