This is certainly a tricky skill to master, but it gets easier with time and practice. The key is to understand the proportions and how the volume and placement of a feature is depicted from various angles. A sharp, chiselled nose is certainly easier to depict in a side view. But knowing how to depict that same nose with the same proportions in the front view is the key to getting this right.
Face facts

The easiest way to start practising is to use guidelines and draw your character orthographically (front, side, top). This will ensure that at least your features are correctly proportioned. Once you have done this a few times, you can start experimenting with more dramatic angles. Use line width, shading and shadows to explore the volume of features at the less-intuitive angles.
Another vitally important way to practise is to draw real people from life, at various angles. The more you do this, the more you will understand how facial features work.
Side profile

Draw your character from the front or side to start, but try both for various characters. Think about what makes your character's face unique – deep-set eye sockets? Weak or strong chin? Sharp, bony cheeks, or soft round ones? Use shadows and shading to indicate volume and depth, for example on a nose that is pointy and juts out more than usual.
Keep it simple

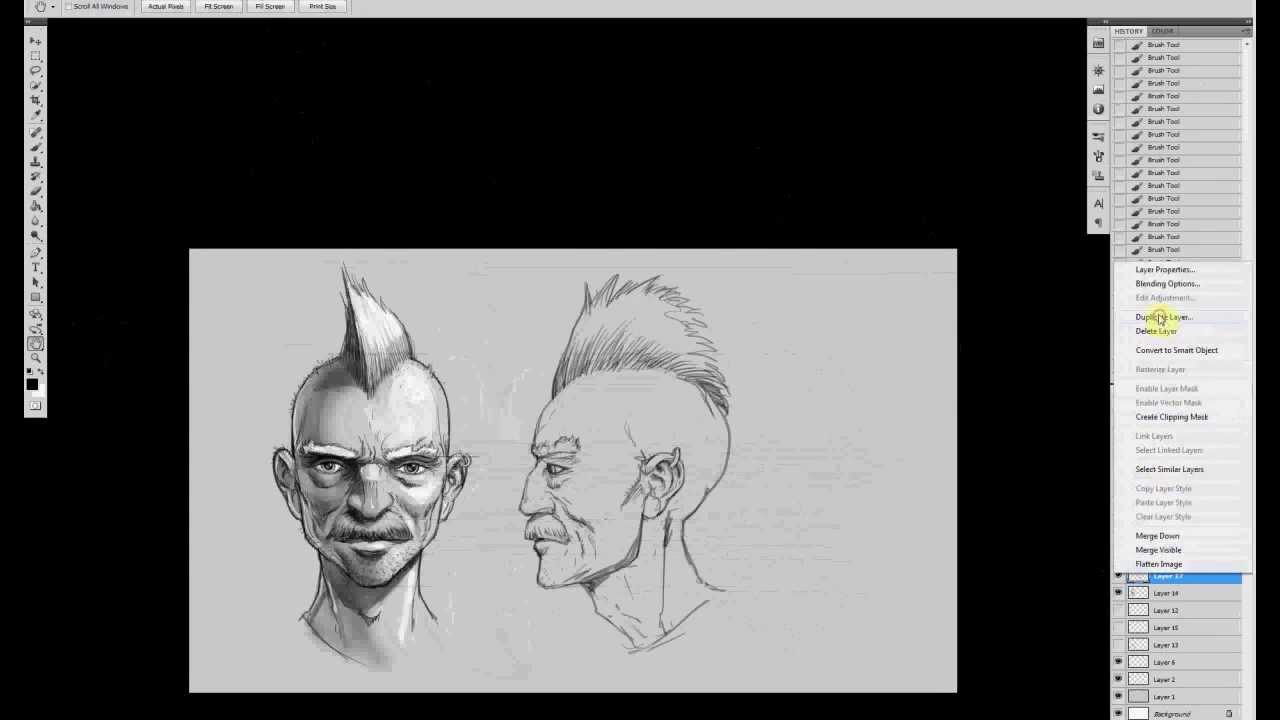
On a separate layer, draw light guidelines across the page to the right or the left in order to draw the side view. Draw the guidelines from key points in his/her features – the tip of the nose, the bottom of the chin, the middle of the eye, or even things like where the bump in his nose is, or where his cheekbones protrude the most. Too many of these can get confusing.
Once you have your side view, move it up the canvas and rotate it about 45 degrees to use it to draw an angled top view. You can draw guidelines from the side view and the front view to help inform this. Then try drawing the face without guidelines from a less straight-on view, using what you've learnt so far.
Finished piece

By the time you've drawn the face from the front, side and top, you should have a good enough idea of its features to draw an angled view.
Artist's secret
If not placed with care, textures can flatten an image. Use the Warp Tool to bend the design around whatever surface it's on, and then erase any areas where the pattern crosses over two forms unnatural
Words: Sean Andrew Murray
A freelance illustrator and concept artist, Sean Murray is also the creator of Gateway: The Book of Wizards, and has worked for WotC, EA and Turbine. This article originally appeared in ImagineFX magazine issue 102.

