How to create 3D bullet holes in 5 simple steps
Visual effects artist William Dwelly explains how to create bullet holes that appear to have actual depth, using Maya and Nuke.
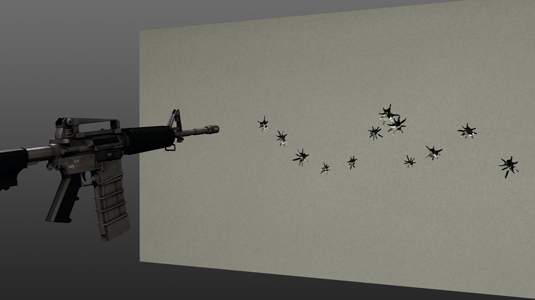
Impact craters, which appear to gouge deep chunks out of your BG surface, can easily be created in Maya with particle-instanced geo, a double-sided shader to create strategically rendered alpha, and a Compositing application, such as Nuke.
- Download the source files for this tutorial here
01. Instance crater geometry
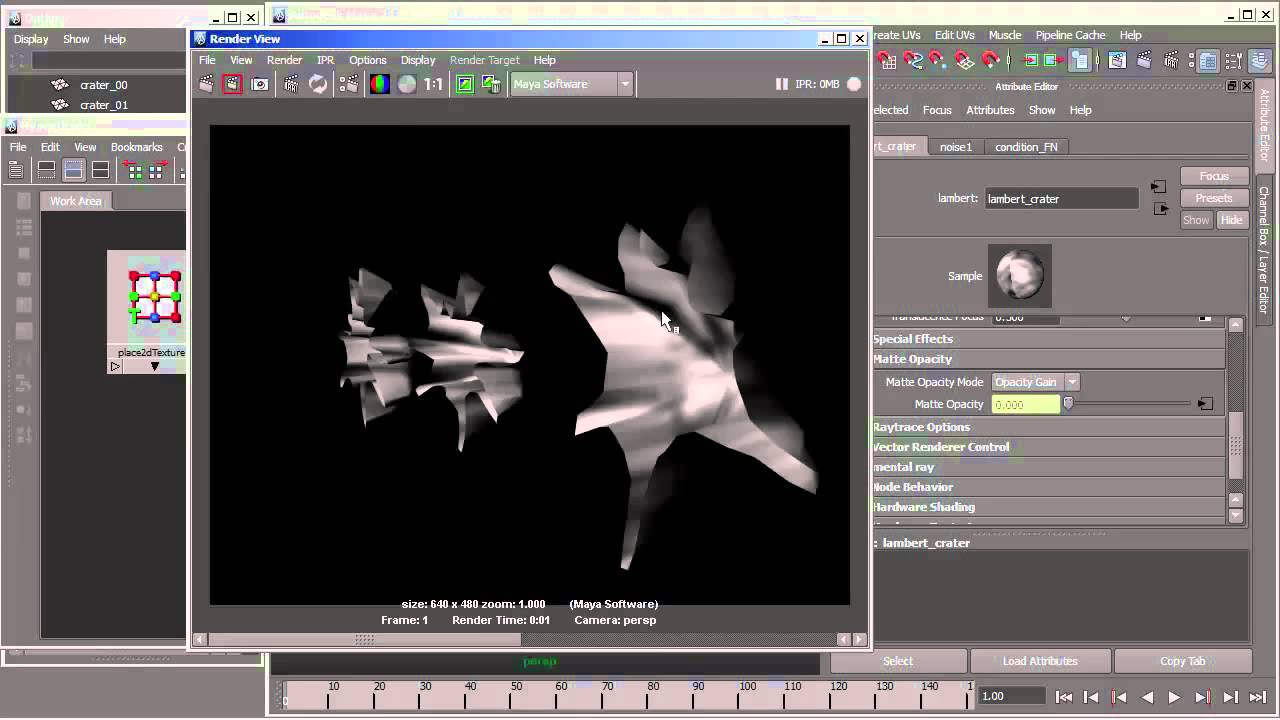
Setting up the double-sided shader in Maya is easy. Apply a material to the geometry that is going to be instanced. If you render now, and check the alpha, you'll see that the alpha represents the entire silhouette of your geometry.
What you want is for the alpha to only be present where you want to see the crater geo, so essentially the front, rather than the back, of the rendered geo. In the case of alpha, which only covers the areas of the craters that you want to see, you can comp your crater render onto your BG, and create the illusion that the craters have actually been carved out of the BG.
Article continues below02. Creating a Condition node
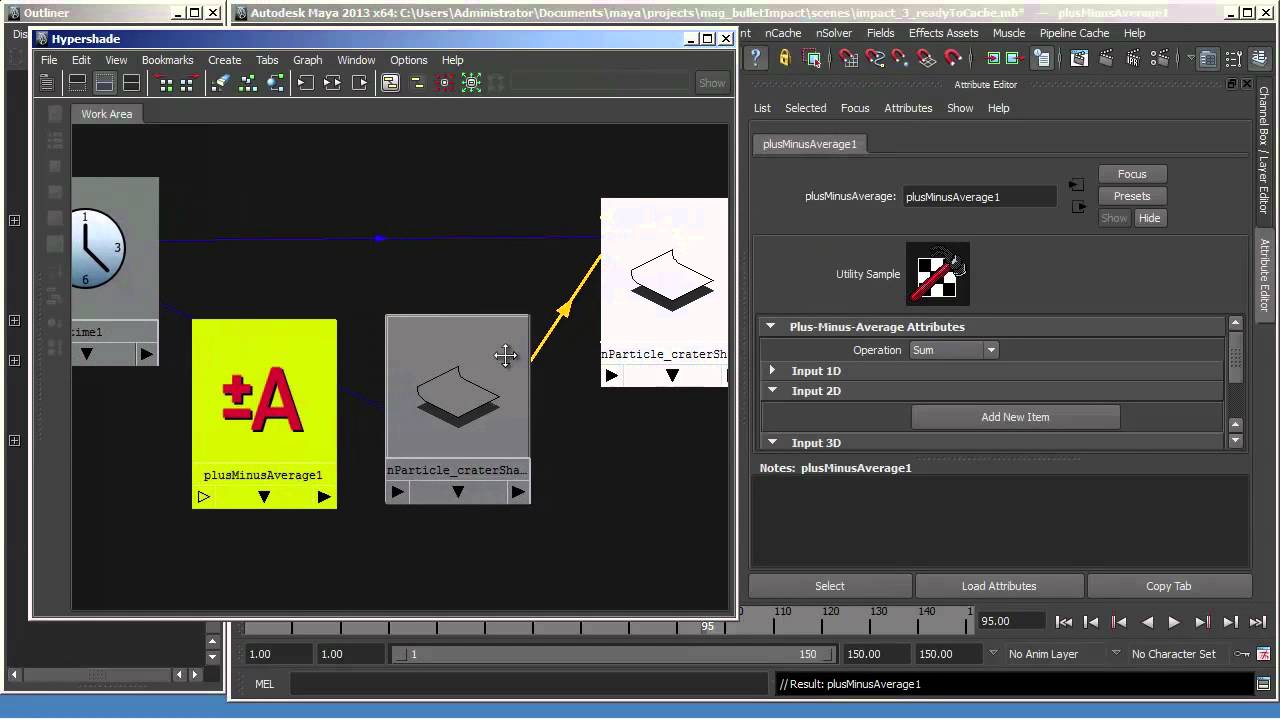
Next, create a Condition node, make sure that the Operation is set to Equal, and connect the outColor (red) to the Matte Opacity of your material. The Condition node will output the colour you specify, based on whatever condition you set. In this case, we want the condition to be determined by whether the pixel currently being rendered displays the front, or back, of the geo being rendered. If the pixel shows the front of the geo, we want the condition node to output white.
If the pixel shows the back, we want the Condition node to output black. To find out which side of the geo is being rendered, for each pixel, connect the Flipped Normal output from a Sampler Info node to the First Term of the Condition node. Set the Color If True (red) to 1.0, and the Color If False (red) to 0. Render and compare the RGB and alpha channels. The RBG will show all of your geo, but the alpha should only cover the pixels that represent the front of the geo.
03. Bullet impacts
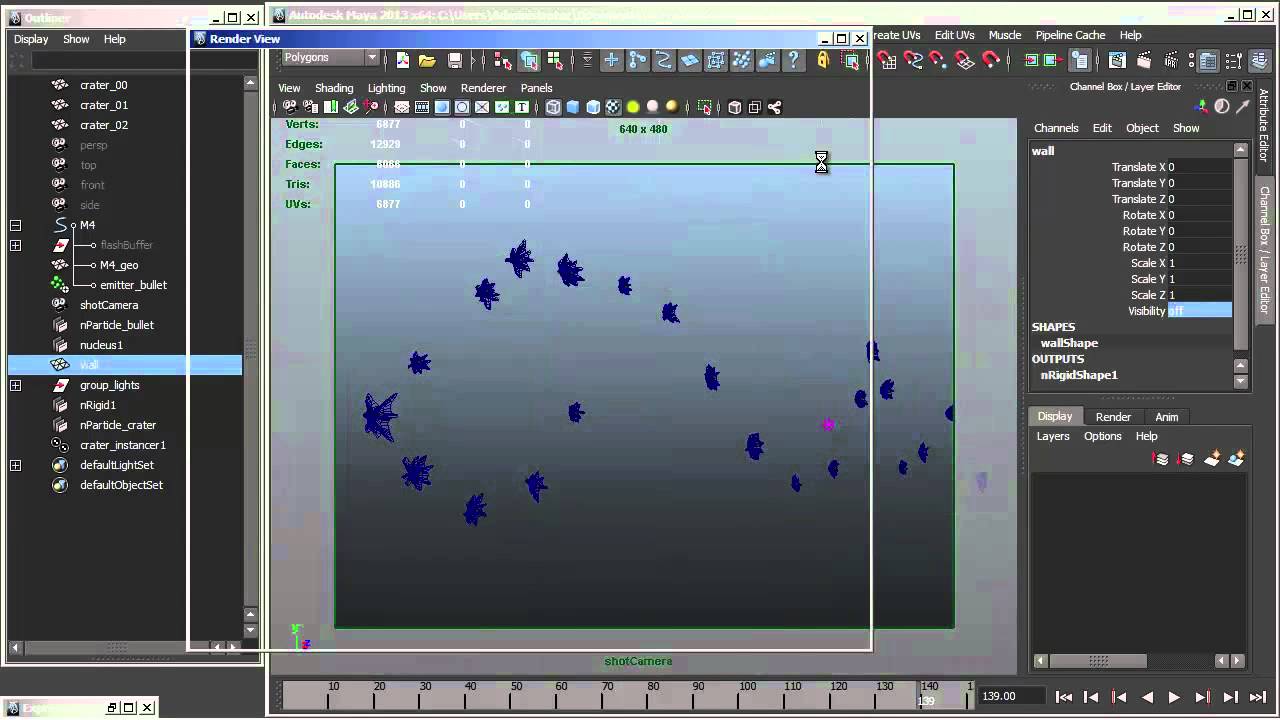
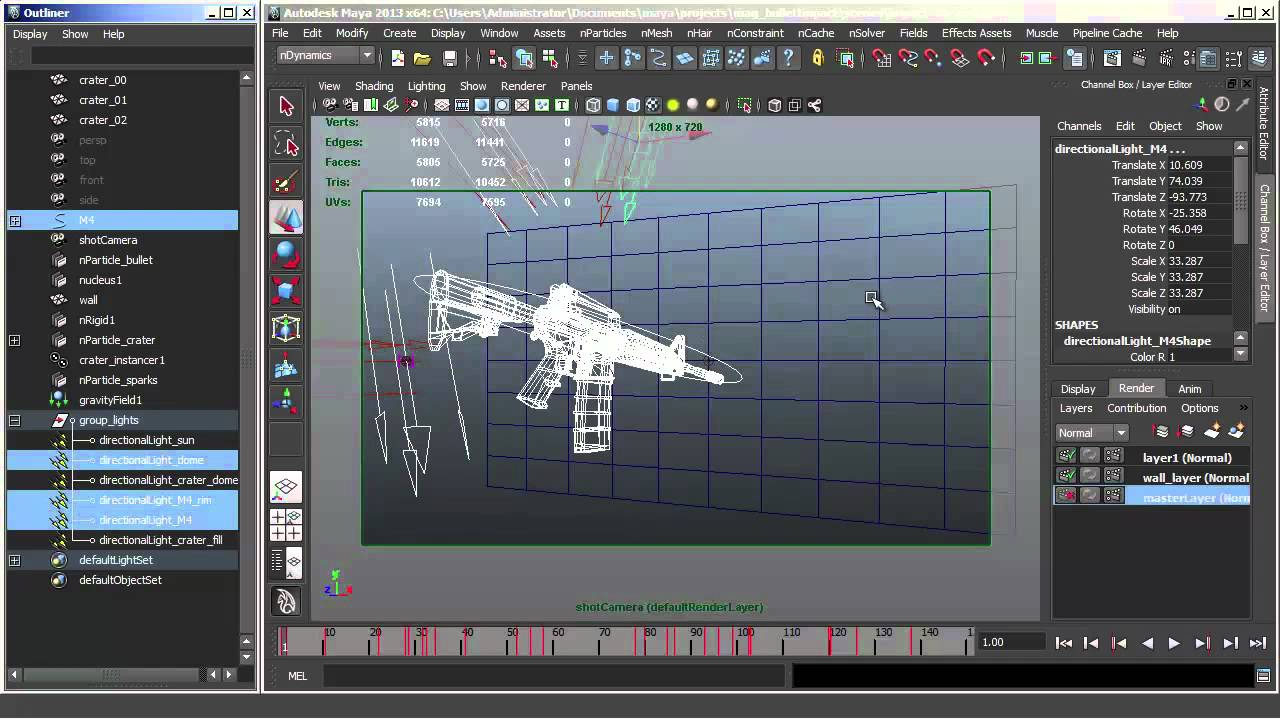
Once the shader is set up on your crater geo, you are ready to set up the bullet impacts with a combination of Particle Collision events, and Particle Instancing. Turn your BG surface into an nMesh Passive Collider, setting its Collision Thickness to 0.0. Run the simulation to confirm that your particles collide with the surface.
Create a Particle Collision Event to emit a new particle (named nParticle_crater), and kill the original particle when it collides with your surface. As you run the simulation you should see new particles appear where the original particle collided with the surface and died. To create a particle instance node select your crater geo, running nParticles -> Instancer -> Options. Make sure your crater geo is listed as the "Instanced Object" and nParticle_crater is selected as the "Particle object to instance", then click Create.
Sign up to Creative Bloq's daily newsletter, which brings you the latest news and inspiration from the worlds of art, design and technology.
Run the simulation. Instanced copies of the crater geo should appear at each crater particle as it is emitted. Since bullet holes tend to be background effects you could render your simulation as it is. But in close up, viewers may notice repetition of the geo.
04. Random simulation
To add randomness to the simulation you could use multiple pieces of crater geo, each with a slightly different look, and randomise the scale and rotation of each instanced crater. To do this, add a custom, per particle, attribute to your particle object, drive that attr's value with an expression, then select that custom attr from the Rotation drop-down menu in the Instancer section of the crater particle's Attribute Editor.
The simulation can be further refined by adding additional effects, such as dust or shards ejected from the impact, using the same techniques. Then cache your simulation once you're happy with it.
05. Final renders
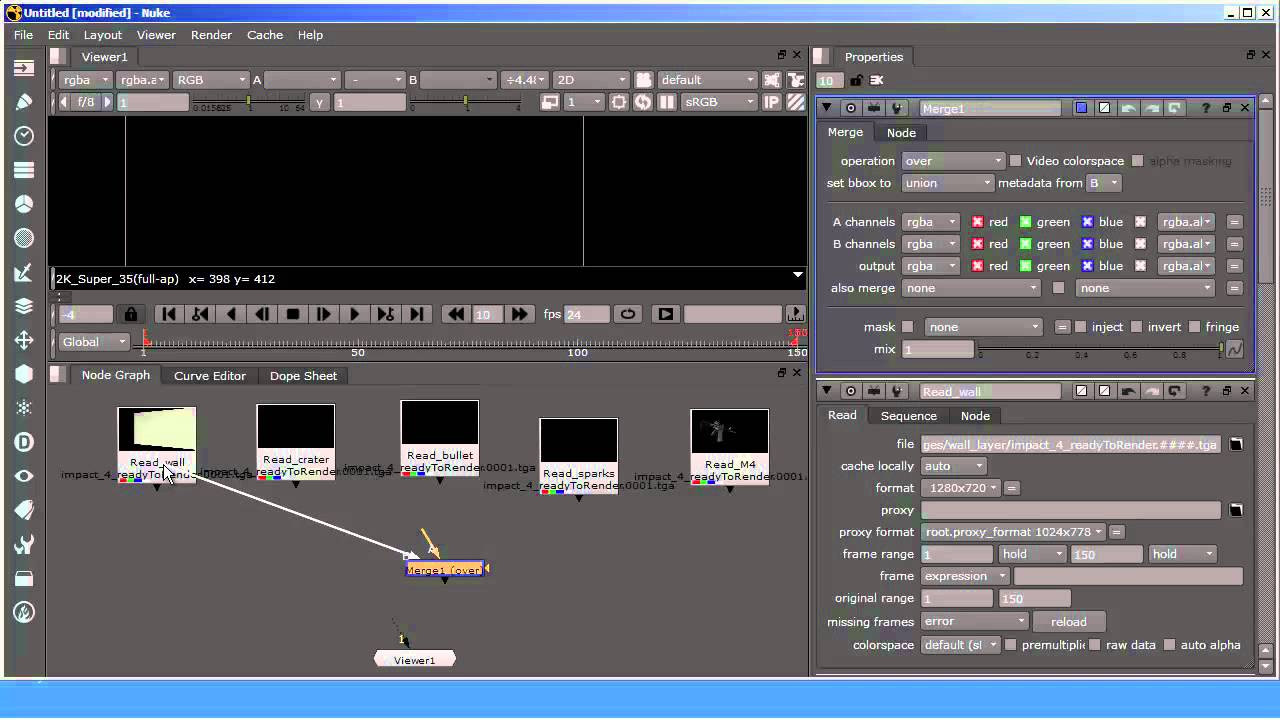
Render your BG surface and crater separately and you are ready to finish in Comp. The alpha, built into your rendered crater images makes it easy to comp them over your BG using Nuke, After Effects, or whatever Compositor you like. I built a simple Comp script in Nuke by creating Read nodes for each element, connecting them to a Merge node (Operation set to Matte), and Rendering.
Approaching procedural effects, such as bullet impact craters or sparks, with a combined 2D/3D strategy like this can produce powerful results.
Words: William Dwelly
William Dwelly has been working in Visual Effects since the '90s, working on such films as Avatar and I, Robot. He has also written two books on Maya.
This article originally appeared in 3D World issue 174.
Liked this? Read these!
- The best 3D movies of 2014
- Discover what's next for Augmented Reality
- Download free textures: high resolution and ready to use now

The Creative Bloq team is made up of a group of art and design enthusiasts, and has changed and evolved since Creative Bloq began back in 2012. The current website team consists of eight full-time members of staff: Editor Georgia Coggan, Deputy Editor Rosie Hilder, Ecommerce Editor Beren Neale, Senior News Editor Daniel Piper, Editor, Digital Art and 3D Ian Dean, Tech Reviews Editor Erlingur Einarsson, Ecommerce Writer Beth Nicholls and Staff Writer Natalie Fear, as well as a roster of freelancers from around the world. The ImagineFX magazine team also pitch in, ensuring that content from leading digital art publication ImagineFX is represented on Creative Bloq.
