How to add assets and materials to a basic 3D game environment
In the third installment of this six-part series, Andrew Finch talks assets and materials.
04. Experimenting with PBS
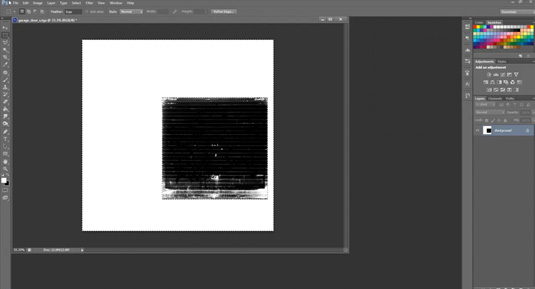
To use the new PBS technology you need to put a value into the Roughness slot of the material, in the garage door example, the diffuse has two kinds of materials, brick and metal. Using a Constant Node gives the same result across both surfaces which was no good; you have to create a new texture to plug into the Roughness slot. The brick surface would be white and the metal would be black. You can now see the metal is reflective and the brick work is not.
05. Apply materials to assets
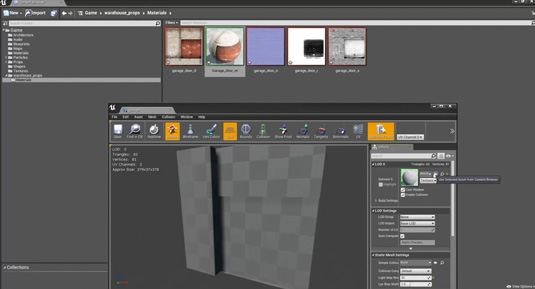
Assigning materials to static meshes is easy. In the Content Browser find the garage door mesh and double-click it to open its properties. Back in the Content Browser window locate the new garage door material you created in the previous step and select it; return to the garage door mesh window and you'll see a grey sphere in the element 0 section of the details panel, click the arrow; this will assign the selected material into this slot and to the mesh itself.
Tip: Mass import assets
You can now drag multiple assets into the Content Browser at once to mass import, this saves a lot of time and fuss
06. Setting up meshes
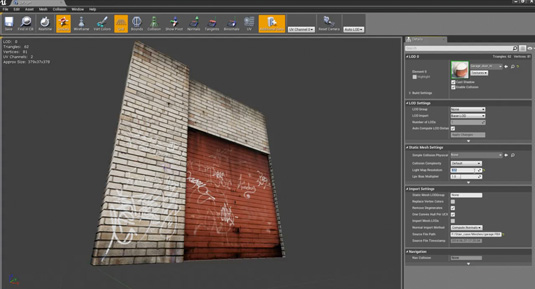
Your static meshes will require some minor setting changes in order to light correctly. We have to increase the size of the light map the asset will use to get a good resolution for our shadows – this is all dependant on the size of the asset.
Here the garage door asset is selected and because this is quite a large object for our scene the light map needs to have good resolution, so change the Light Map Res from 32 to 512. The smaller objects can stay at 32.
Expert tip: Applying new materials
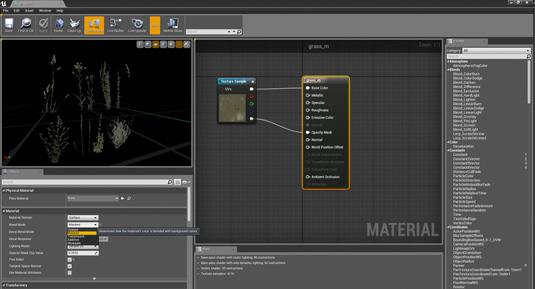
If you want to see what a new material looks like on a particular mesh that is already in the scene, drag and drop the new material from Content Browser directly onto the static mesh in the viewport and Unreal will automatically apply the material.
Daily design news, reviews, how-tos and more, as picked by the editors.
Words: Andrew Finch
Andrew is a senior environment and lighting artist at Codemasters Game Studio in Birmingham. He has been in the industry for seven years. This article first appeared in issue 189 of 3D World magazine.
Like this? Read these!
- Part One of How to create a basic game environment
- Part Two of How to create a basic game environment: textures
- Download free textures: high resolution and ready to use now

The Creative Bloq team is made up of a group of art and design enthusiasts, and has changed and evolved since Creative Bloq began back in 2012. The current website team consists of eight full-time members of staff: Editor Georgia Coggan, Deputy Editor Rosie Hilder, Ecommerce Editor Beren Neale, Senior News Editor Daniel Piper, Editor, Digital Art and 3D Ian Dean, Tech Reviews Editor Erlingur Einarsson, Ecommerce Writer Beth Nicholls and Staff Writer Natalie Fear, as well as a roster of freelancers from around the world. The ImagineFX magazine team also pitch in, ensuring that content from leading digital art publication ImagineFX is represented on Creative Bloq.
