In more recent versions of Adobe’s Creative Suite, the Contact Sheet function has disappeared from Photoshop. Instead, Bridge can be used to process multiple images into a contact sheet PDF. But as a more flexible alternative, here’s a quick and easy way to create a contact sheet using InDesign alone.
This technique is really simple to use and will enable you to create a contact sheet document that you can alter whenever you like, if necessary. This function can also be used within your designs when placing multiple images into a grid format.

01 Before you start, you’ll need to collate your images (this example uses 12) into one folder. Then open a new InDesign document and go to File>Place. Highlight the images and click ‘Open’.

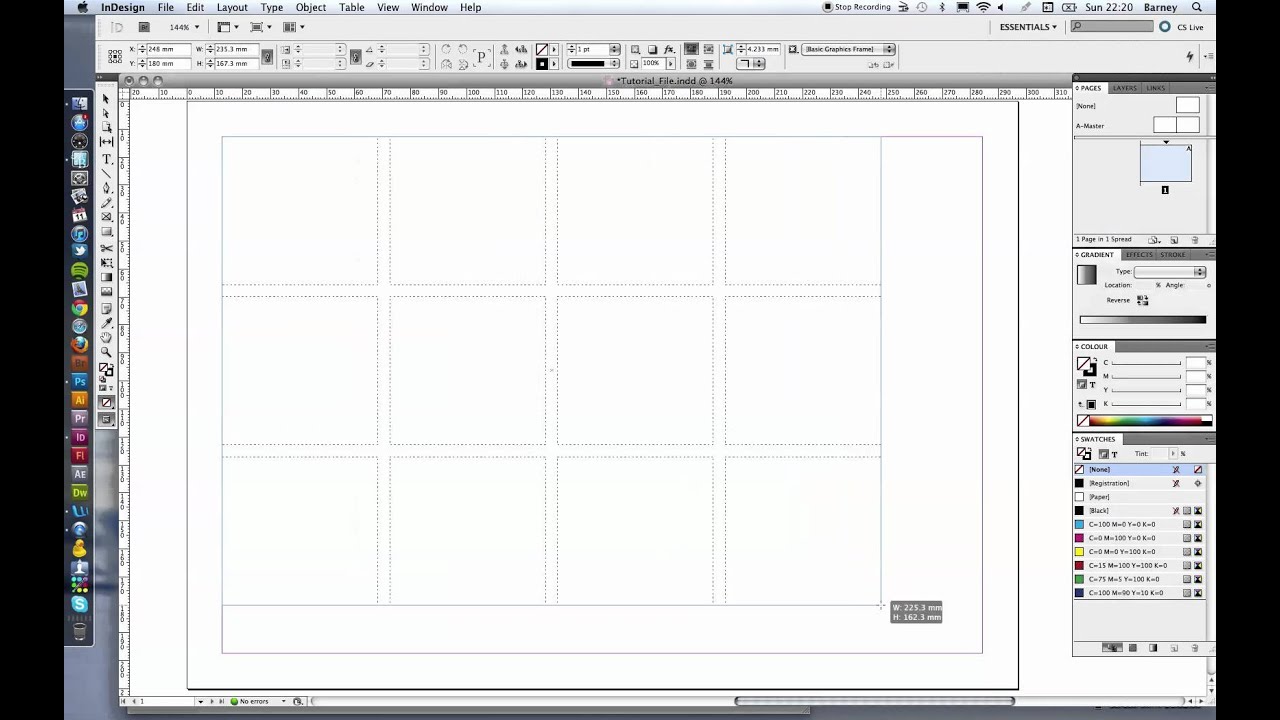
02 Now place the gallery of 12 images into your document within a grid format. Hold Ctrl/Cmd+Shift (your cursor should change into a grid to highlight), and click and drag on the page to create a grid.

03 Release Ctrl/Cmd+Shift, but keep the mouse held down (note that the grid lines all stay on the screen). Now you can adjust the number of images on each page. To do this, simply press the arrow keys to add or delete columns and rows – use the Up and Down arrows to adjust the rows, and Left and Right to adjust the columns.

04 With the mouse still held down, you can adjust the spacing between images within the grid by holding Ctrl/Cmd+the arrow keys. Create enough space to add a caption between the top and bottom edges of the images.

05 Release the mouse button and the images will be placed into the InDesign document, with each image placed in its own box. To add a label underneath each image to search for and identify it, select all of the images on the page and go to Object>Captions>Generate Static Caption. This will automatically set each image’s name below it.

