How to use the Brush tool in Photoshop
Core skills: Tips for getting to grips with Photoshop’s Brush tool.
Sign up to Creative Bloq's daily newsletter, which brings you the latest news and inspiration from the worlds of art, design and technology.
You are now subscribed
Your newsletter sign-up was successful
Want to add more newsletters?
Photoshop CC is one of the best photo editor apps and is the creative weapon of choice for many designers. Its Pen and Brush tools mean Photoshop is more than capable of creating wonderful illustrations, making it suitable for digital artists, too.
In this Photoshop tutorial, we'll be focusing on the Brush tool. Photoshop brushes are responsive and easier than ever to control, thanks the CC 2017 update, which introduced smoothing effects. They’re located in folders too, and you can load your own custom brushes for specific, unique effects. In this article, we’ll explain how to use Photoshop’s Brush tool, including guides to what each of the icons in the Brush palette mean.
There’s a separate article on how to use the Pen tool, or for more core Photoshop tools knowledge, check out our 2-minute tool school series.
Article continues belowCreate a basic outline
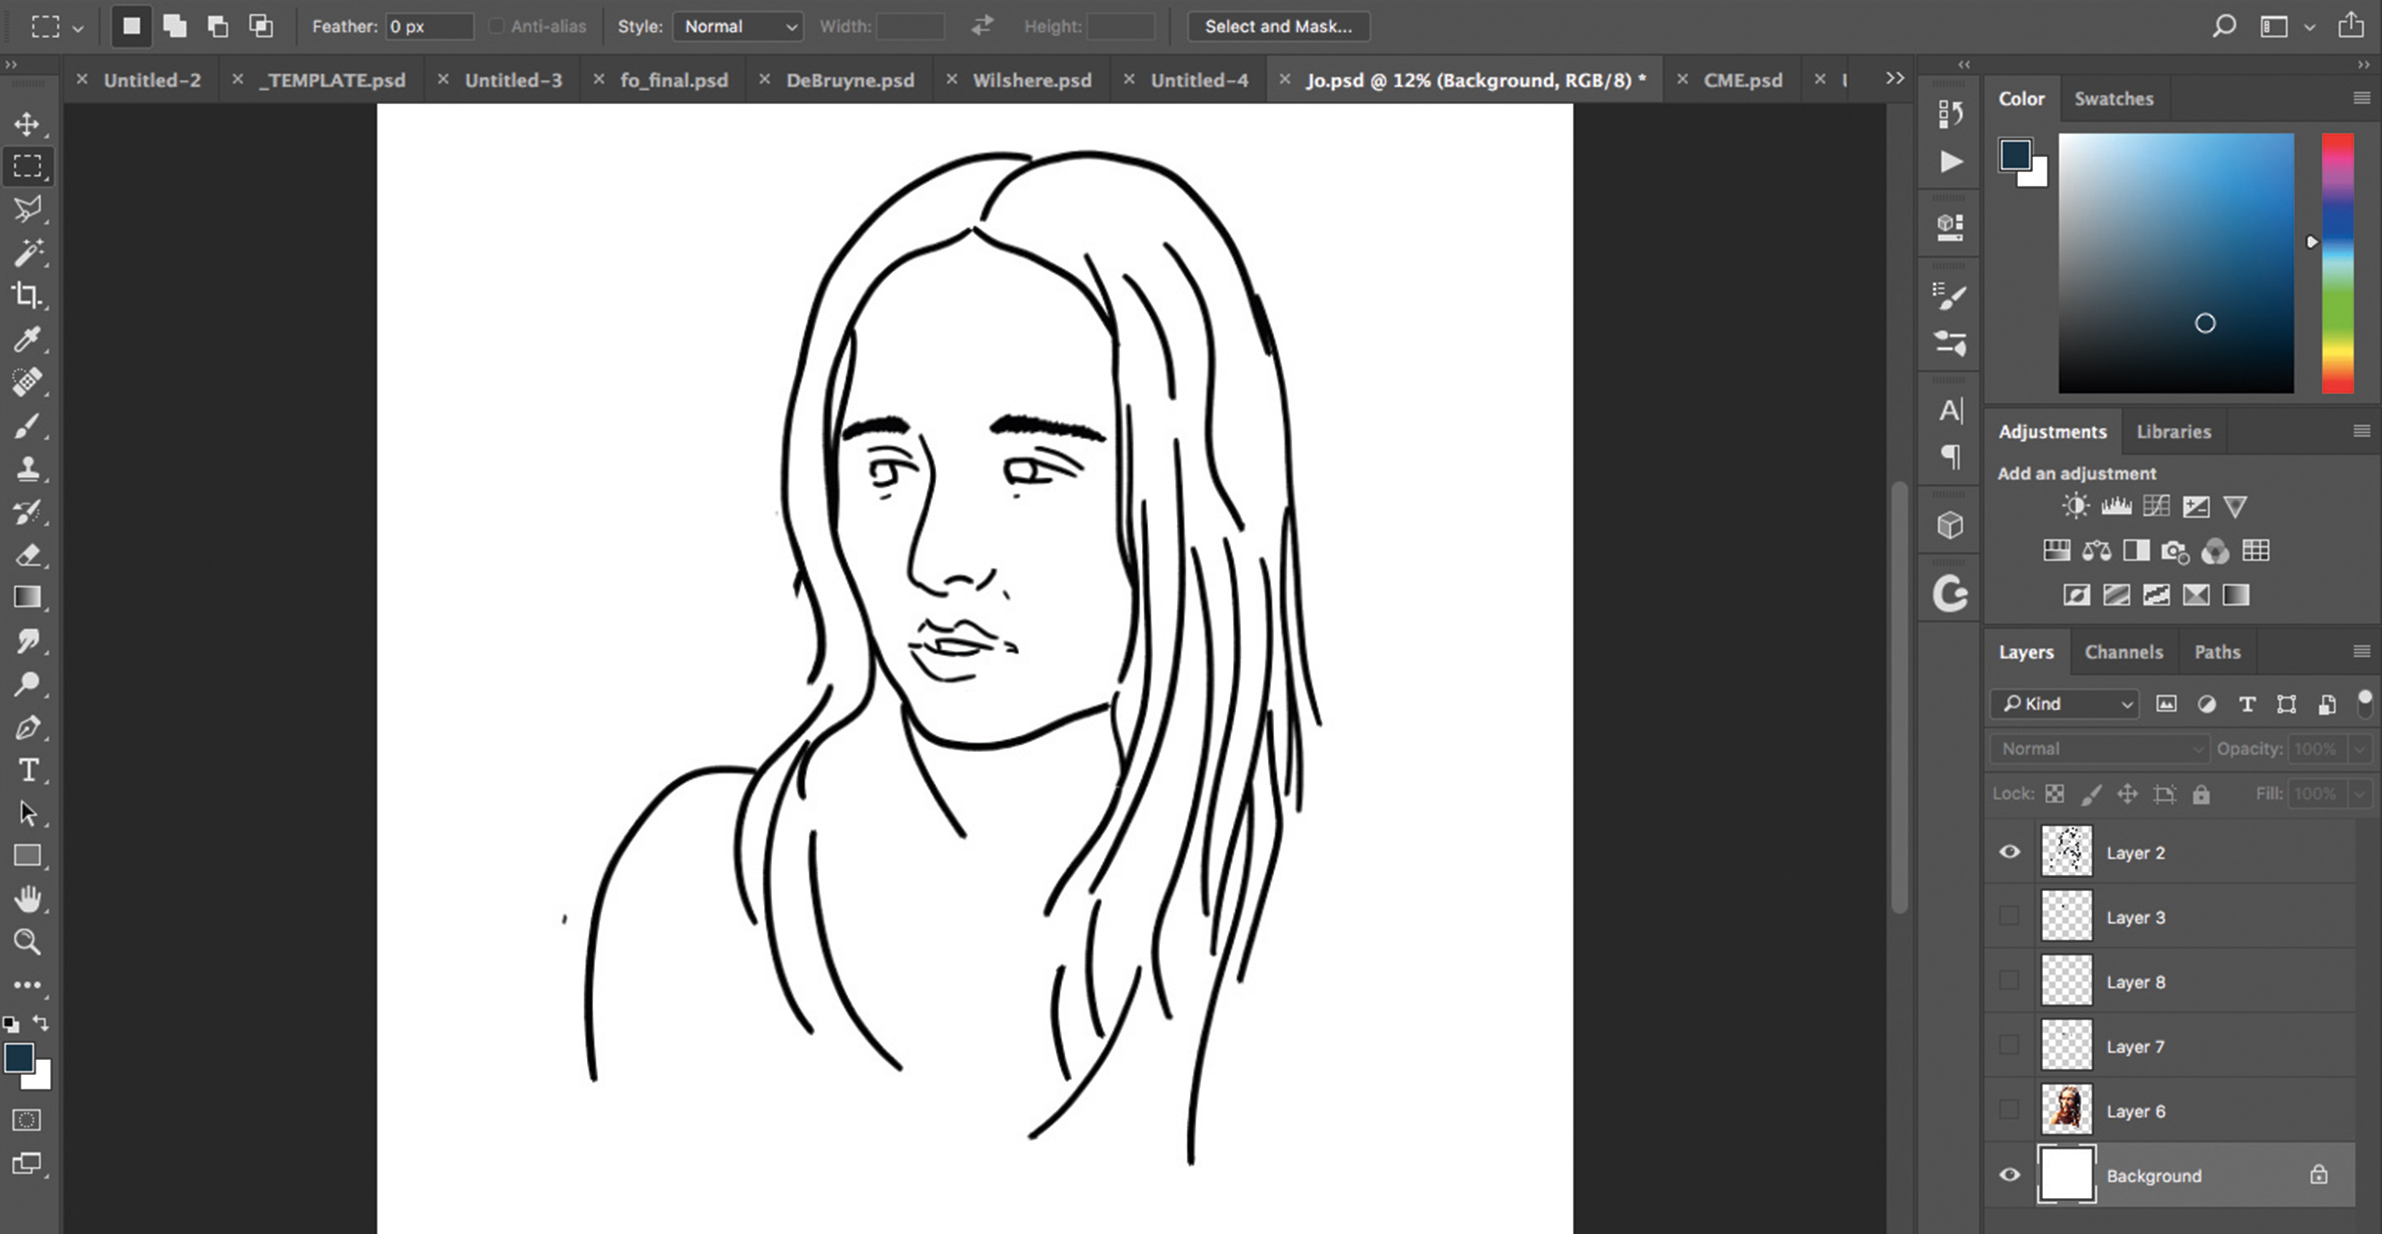
The Brush tool is great for laying down outlines, no matter the nature of project. Begin by creating a new layer in the Layer palette, press B to select a brush and then begin drawing. If necessary, create a guide layer on a new layer, and set it to a lower Opacity level so you can see your work over it.
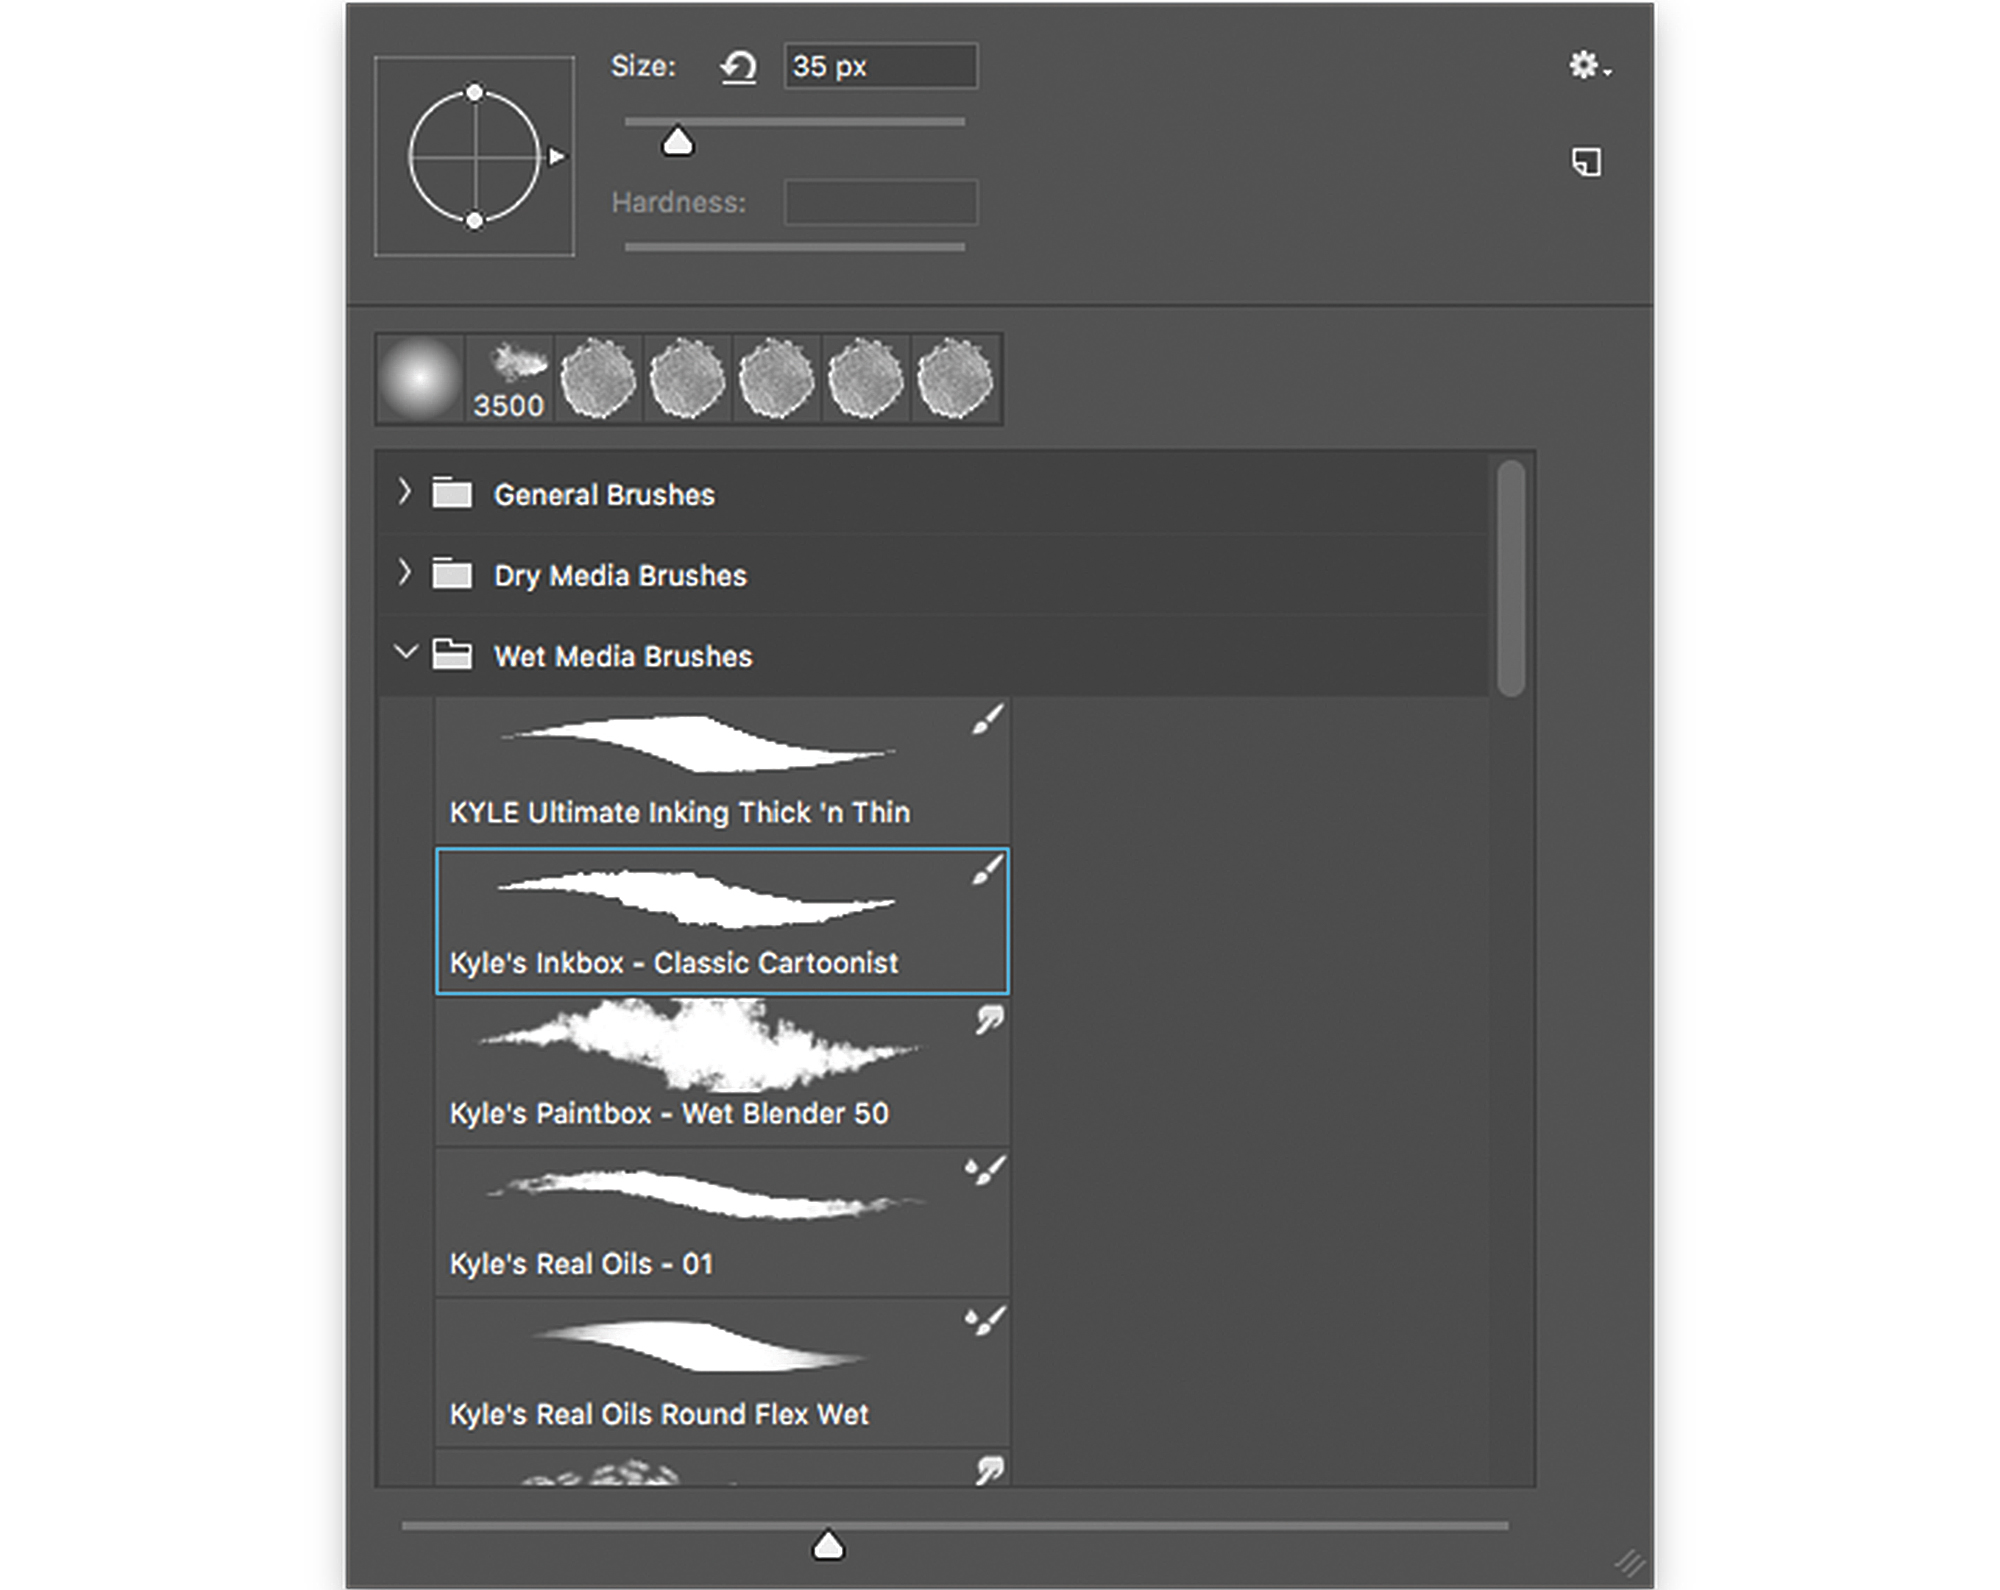
Use the crosshairs icon to change the direction in which the brush drags across the image. This is particularly useful if you’re working with custom brushes.
Below the crosshairs icon is an area that displays your recently used brushes. This is handy if you’re working on a project that requires a small set of brushes for a range of requirements.
Your brushes are sorted into folders so you can more easily find the one you want. You can edit the folders to suit your workflow.
Sign up to Creative Bloq's daily newsletter, which brings you the latest news and inspiration from the worlds of art, design and technology.
Blend brushstrokes
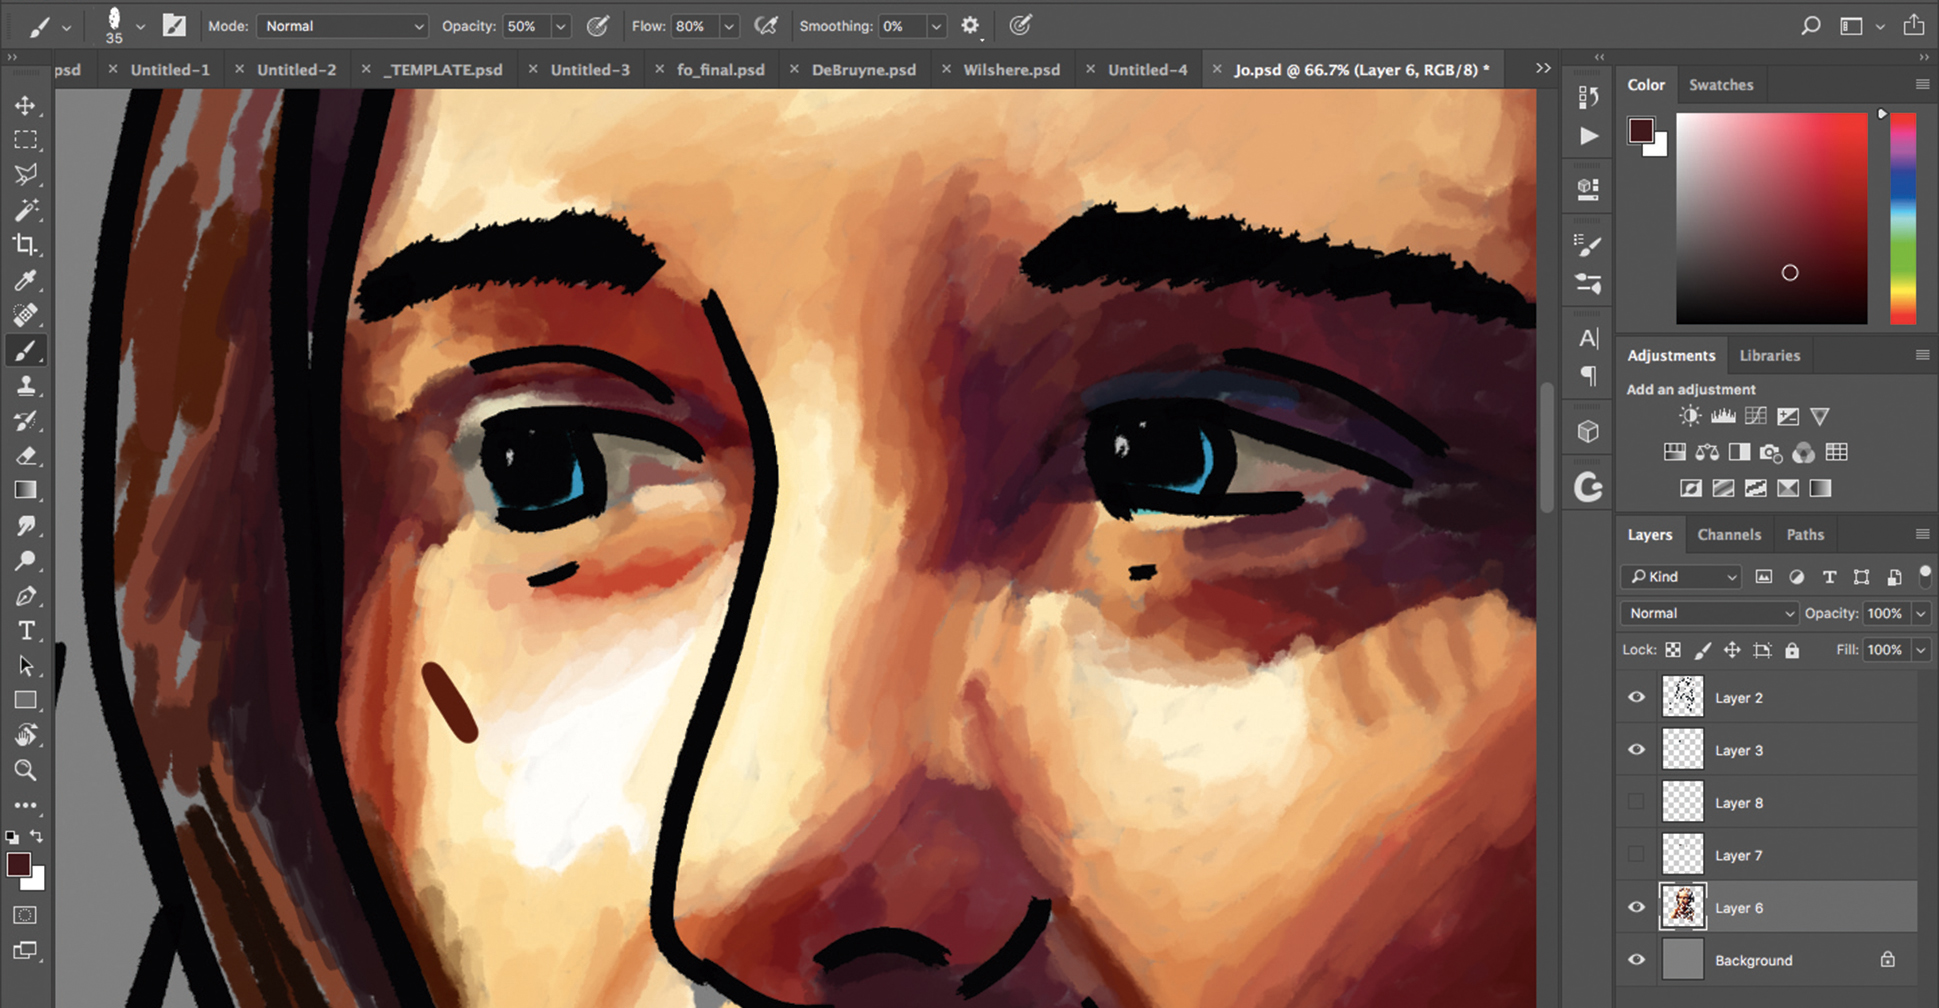
Activate the Mixer brush by ctrl/right-clicking on the Brush tool icon. This can help blend the shades you apply to your piece. You can also alter the Opacity and Flow settings of your brush.
The Blend mode dictates how the brushstroke reacts to the pixels below it. Use Overlay mode to mix in the light and dark strokes, or Multiply to make the strokes darker, for example.
To the left of the Smoothing dropdown, you'll find the Airbrush Style Effects icon. This is great for creating more realistic brush strokes, with more natural looking edges and flicks on the end of them.
The Smoothing feature can help you to create less jagged lines by enabling you to slowly drag your brush around the page, instead of pulling it in short, sharp motions.
Use brushes to mask
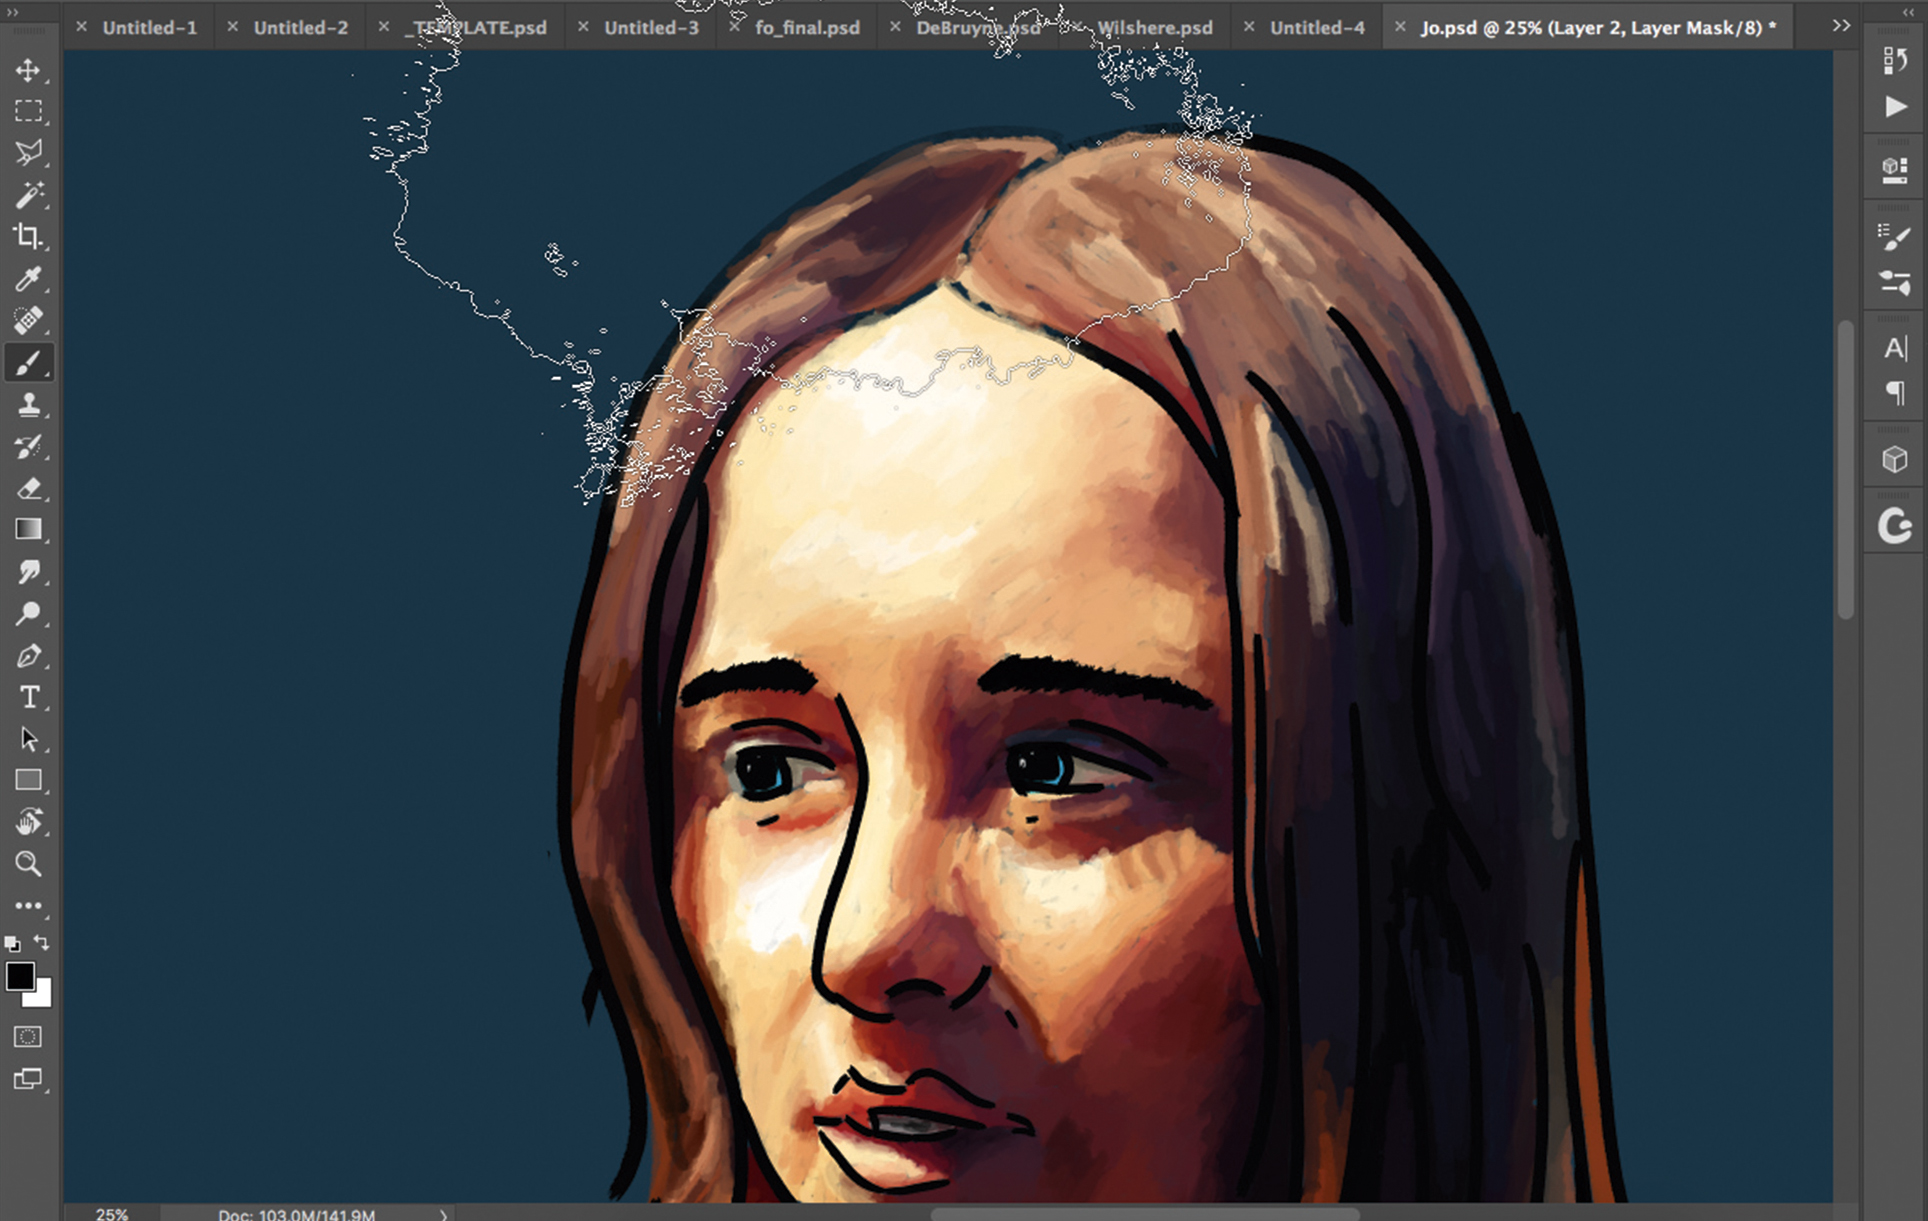
Some of the most exciting possibilities in Photoshop come with masking, and the brush can certainly combine for stunning effects. Click the Mask icon, and use brushes to show or hide areas of your layer. This can become particularly fun to experiment with when it comes to adjustments.
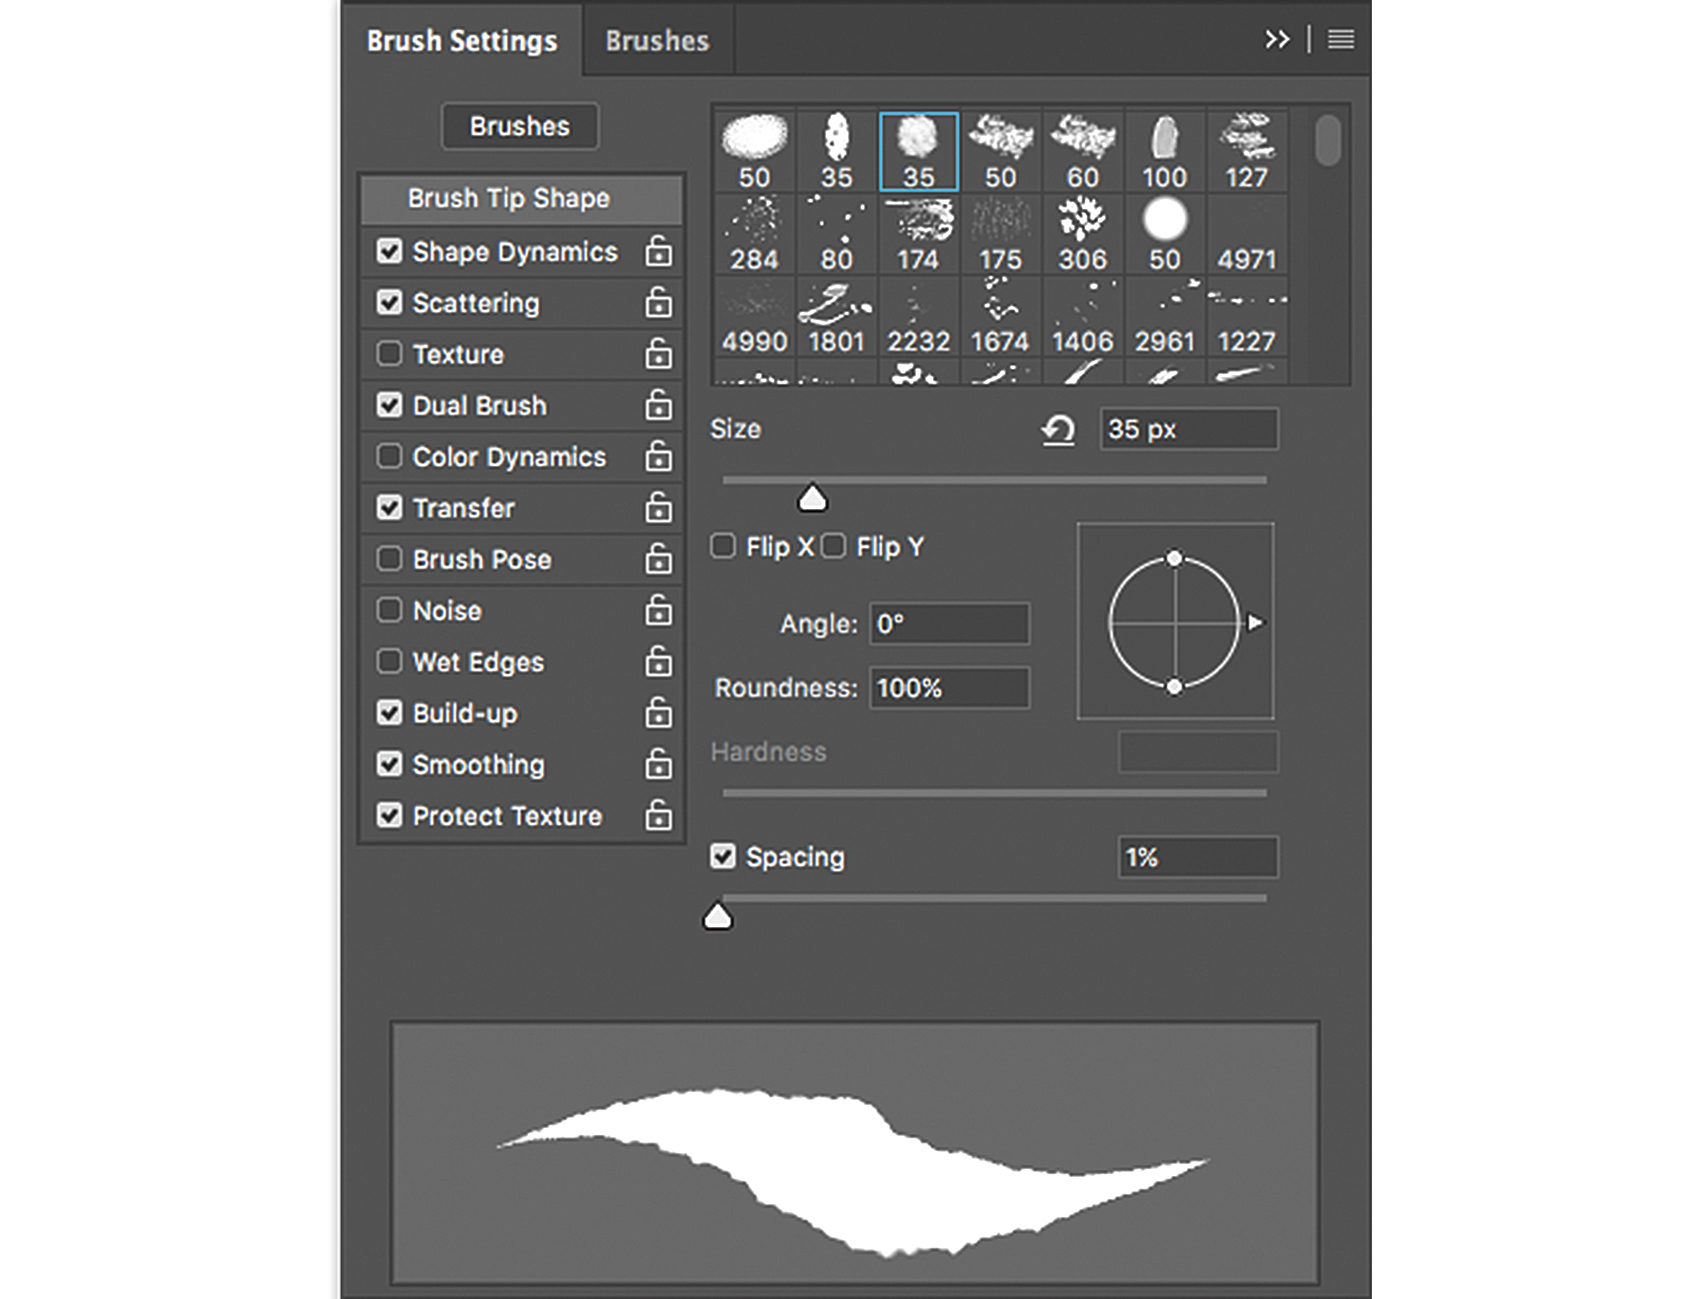
Use the Brush settings tab to adjust everything about your chosen brush, from the smoothness of its edges to the amount of Scattering.
You'll also find the collection of different brush types displayed in rows. This is a throwback to older versions of Photoshop, but can help to show you whether your brushes are big enough for the project, and what shape they’ll appear in.
At the bottom of this tab is the Brush preview. This is the best way to get a feel for how the stroke will look when you apply it to your image. It also changes as you tweak the settings.
This article was originally published in ImagineFX, the world's best-selling magazine for digital artists. Buy issue 159 or subscribe.

Mark is the former techniques editor at Photoshop Creative magazine. He uses Photoshop almost exclusively, and has been using the software for over a decade.
