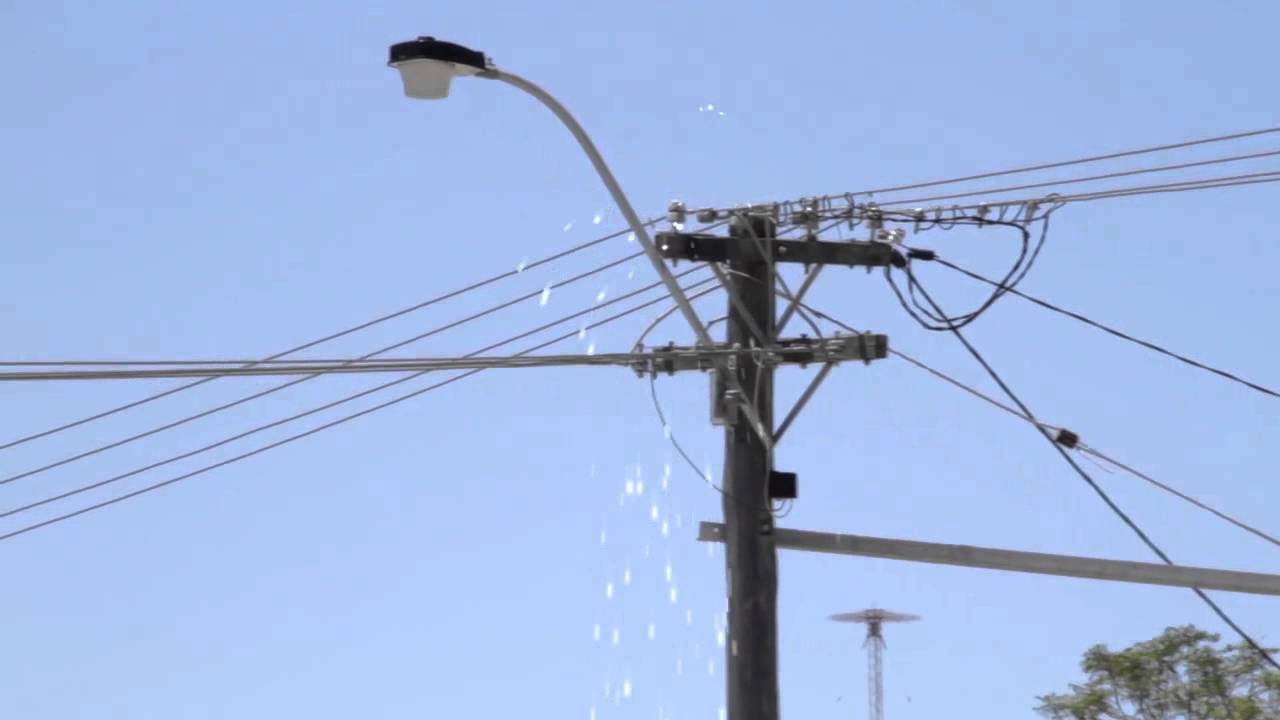
Create dripping metal sparks in After Effects CS6
Sometimes you need heavy sparks to drip from the ceiling. Christopher Kenworthy shows the shortcuts to perfecting this particle effect
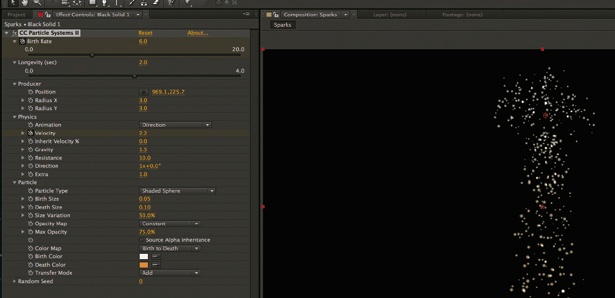
06 Move the current time indicator to the 2-second mark, then click the keyframe clock for birth rate and velocity. Move the current time indicator forward a few frames, then change birth rate to 6 and velocity to 2.
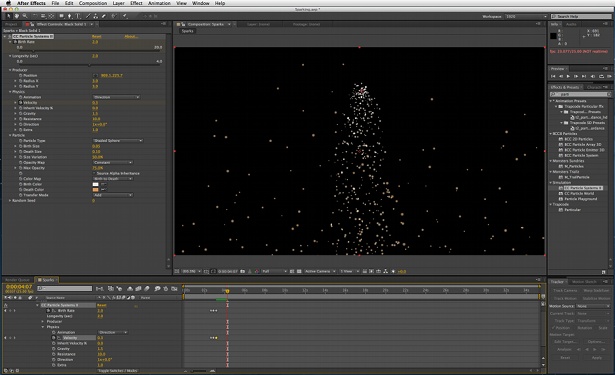
07 Move the current time indicator forward a few more frames, and take the birth rate and velocity back to their original values. Play through this part of the clip and you’ll see a surge of sparks burst out.
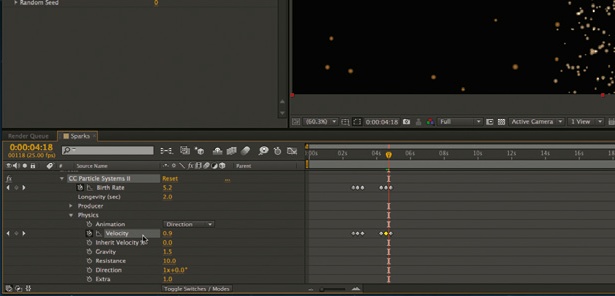
08 Drag your pointer around the keyframes, then go to Edit>Copy, move the current time indicator forward a second and choose Edit>Paste. This repeats the spark burst, so click on individual keyframes and move them slightly to change the timing. You can also adjust their values to get a unique look for each burst.
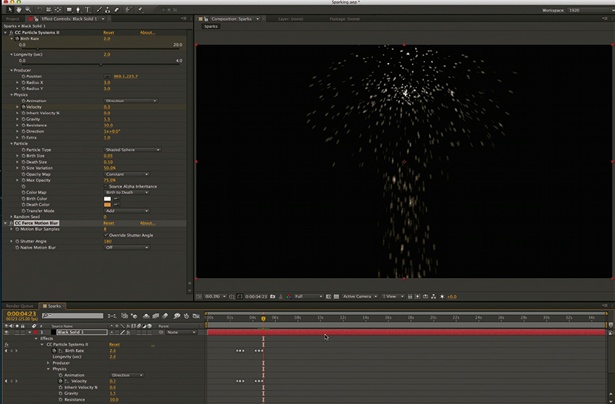
09 Apply the CC Force Motion Blur filter to the sparks. The default settings for this will work perfectly for most effects, but if your sparks are very slow, increase the shutter angle to 180. Increasing the motion blur samples improves quality but slows render times.
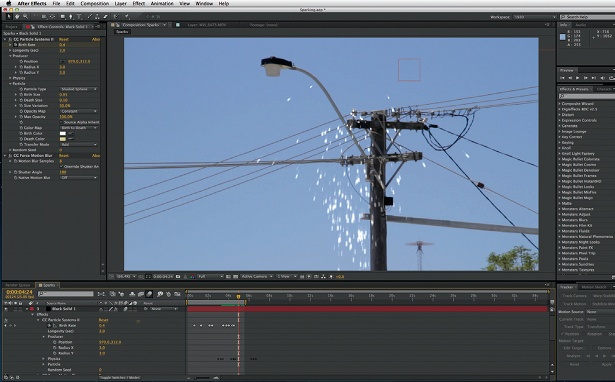
10 To make use of these sparks you’ll need to composite them over another layer. Change the Black Solid’s Composite Settings to Add for the best effect. You can position the producer manually in static shots, or use the tracker to generate position data when you want it to follow an object.
Sign up to Creative Bloq's daily newsletter, which brings you the latest news and inspiration from the worlds of art, design and technology.

The Creative Bloq team is made up of a group of art and design enthusiasts, and has changed and evolved since Creative Bloq began back in 2012. The current website team consists of eight full-time members of staff: Editor Georgia Coggan, Deputy Editor Rosie Hilder, Ecommerce Editor Beren Neale, Senior News Editor Daniel Piper, Editor, Digital Art and 3D Ian Dean, Tech Reviews Editor Erlingur Einarsson, Ecommerce Writer Beth Nicholls and Staff Writer Natalie Fear, as well as a roster of freelancers from around the world. The ImagineFX magazine team also pitch in, ensuring that content from leading digital art publication ImagineFX is represented on Creative Bloq.

