Animate a character with these 4 top tips
Discover how to bring a hand-drawn illustration to life using Photoshop and the free AnimDessin2 extension.
Character animation is a time-consuming business that normally requires several processes, all performed by a different specialist. It starts with the character designer (we'll leave scenery to another time) and then onto the poser – the main animator. With the aid of assistant animators, the animator will work through all the key poses as pencil drawings. Only then would it move to the finishing, which is where we add colour and create the final treatment.
It's important to understand the basics, at least, of each part of the process. You can do this using just Photoshop CC and the free AnimDessin2 add-on, which enables you to easily draw animations frame-by-frame; simply follow these steps.
01. Creating the idea
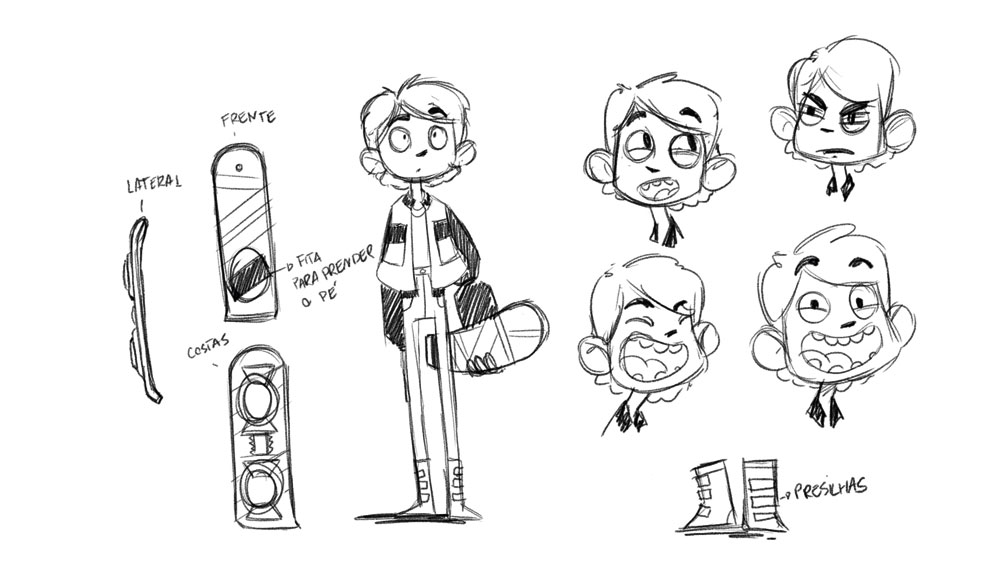
Start the animation by visually developing your idea and planning what will be needed. In this case, it's a simple, traditional animation of a character. It's essential that you leave this stage only when all the visuals are locked down.
Article continues below02. Keyframing and fitting
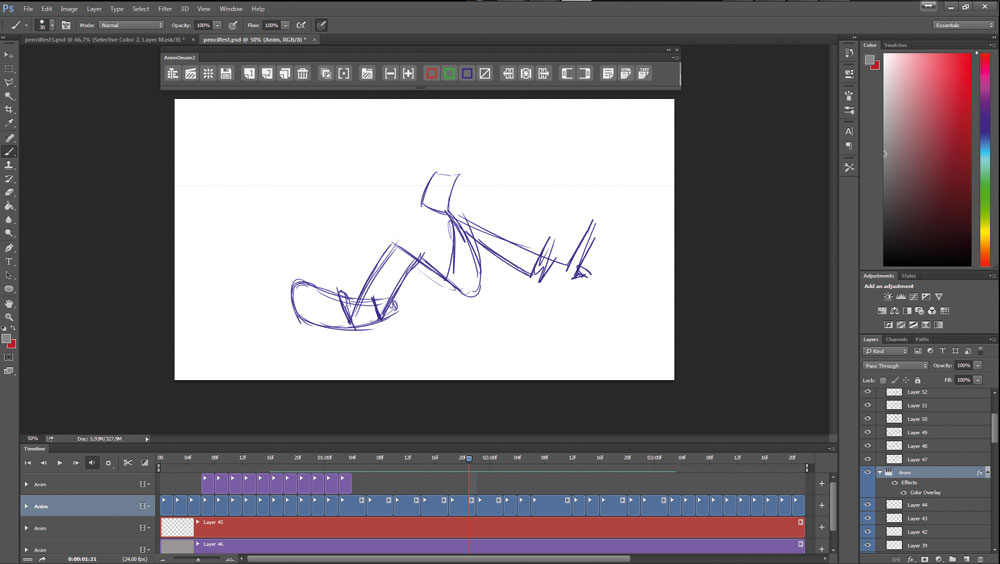
With the visuals set, it's time to open Photoshop and the AnimDessin2 plugin, and create the keyframes for the animation. I always spend a lot of time on this stage of the process, studying and re-studying the poses, then redrawing each so that I'm left with the most dynamic and interesting movements. These are your keyframes.
With the key poses defined, the next stage is to fit all the positions within the timeline. Here I tend to only create new illustrations that will help me get a better sense of movement. This is about getting the dynamics of movement and time absolutely right. You can't really come back and redo this part of the process, so you have to get it right – think hard about how you want it to appear in the final animation.
03. Refining
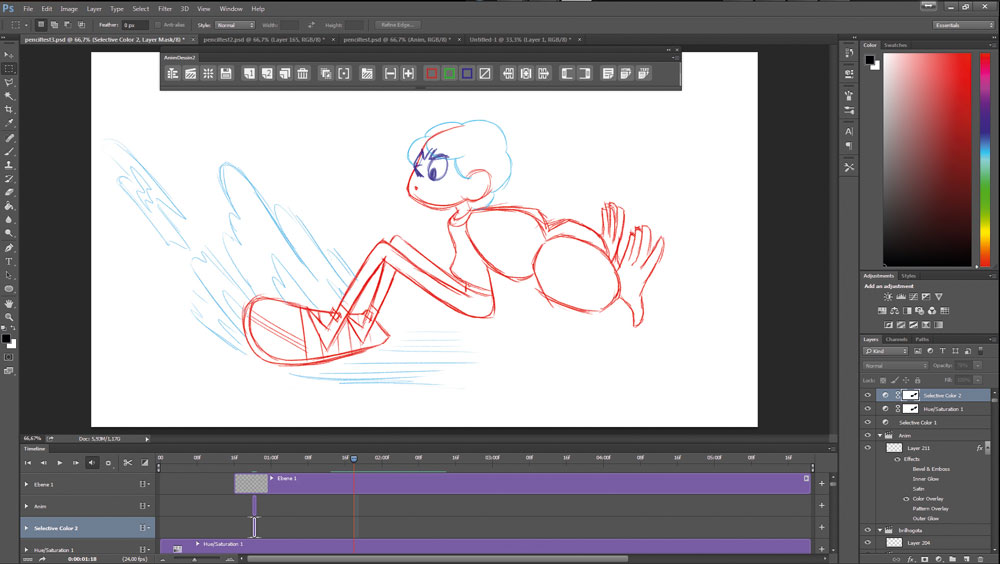
At this stage we have the animation in time, with all the key poses set. The whole scene is planned – now we now need to refine it. Here's where the 'inbetweening' comes in. Cut the animation into parts, and then again into different layers to be animated. In this case, you can see from the colours where I animated each layer separately: the hair was done separately to the body, as well as all the water effects.
04. Finishing up
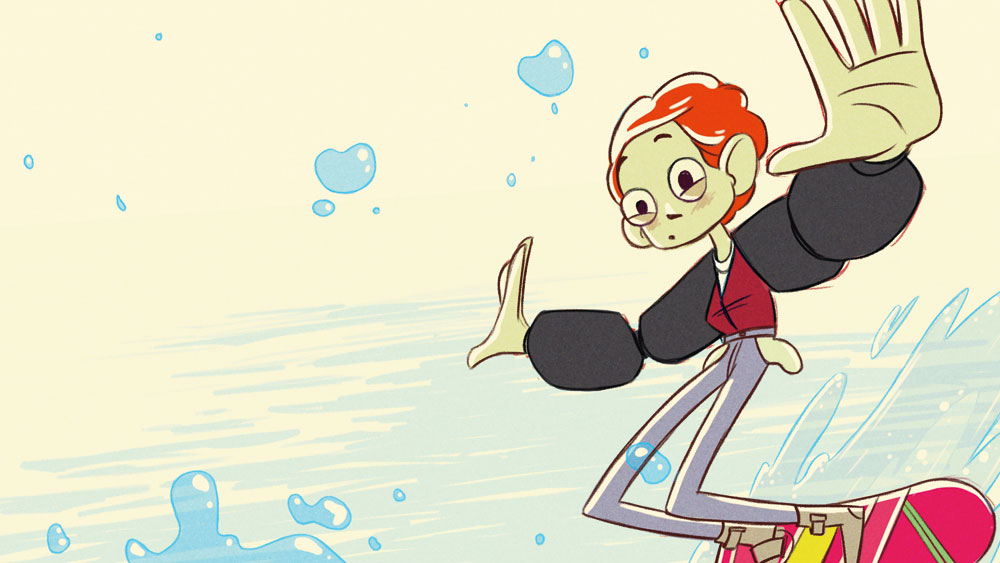
At this stage, create one layer for each colour you plan on using. This makes editing easier, and ensures you can come back and make alterations later on if necessary. After grading the colour (I did this part in After Effects, though you can do it in Photoshop too) and adding a bit of noise, the animation is complete.
Sign up to Creative Bloq's daily newsletter, which brings you the latest news and inspiration from the worlds of art, design and technology.
This article originally appeared in Computer Arts issue 254; buy it now!
Rafael Pires has a showreel packed with work from eight years as an illustrator and 2D animator.
