Create striking images using InDesign's blending modes
Jo Gulliver reveals how to use InDesign’s built-in functionality to produce visual effects in your layout, without switching to Photoshop.
Sign up to Creative Bloq's daily newsletter, which brings you the latest news and inspiration from the worlds of art, design and technology.
You are now subscribed
Your newsletter sign-up was successful
Want to add more newsletters?
It isn’t necessary to take images into Photoshop to make a dynamic layout. Providing you have the right assets to start with, there is now a lot of freedom within InDesign to experiment with a multitude of blending modes to create some dynamic effects.
To work through this you'll need a CMYK image of a model or an object, or you can use the image in the support files. The image will need to have an alpha channel, or alternatively, it can just be a cutout. You need a greyscale version of the same image as well as a greyscale textured image. Make sure these are saved as PSD files as this will give you the most flexibility when using them in InDesign (see our InDesign CS6 review for more).
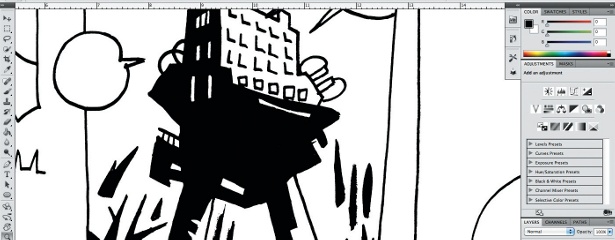
01 Begin by opening a new InDesign document – I’m working to a page size of 232x300mm with margins at 15mm on all edges. Draw a frame that snaps to your margins and hit Cmd/Ctrl+D to place your CMYK image.
Article continues below 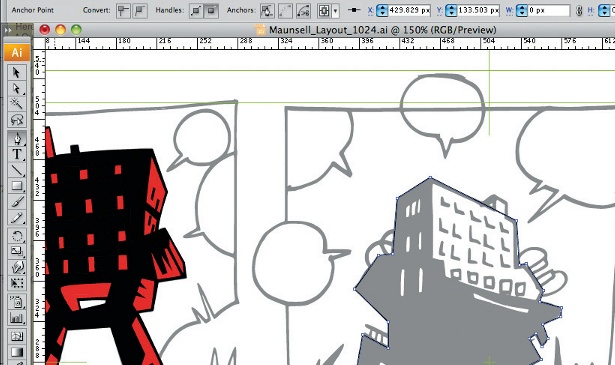
02 Position the image so that it fits nicely within the page margins. I want to hide the image’s background so that the model appears as a cutout, using the alpha channel that I created for it in Photoshop. Select the image and hit Cmd/Ctrl+D to replace it, but this time before clicking OK select the Show Import Options tick box.
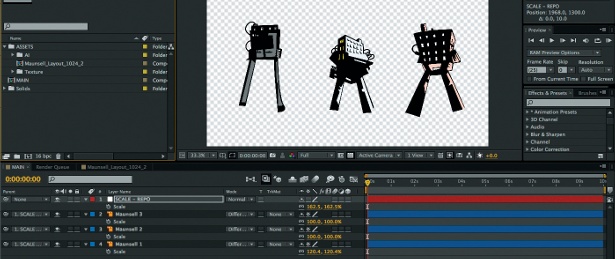
03 This opens the Image Import Options dialog. Here, select the image button at the top and in the Alpha Channel drop-down menu select your alpha channel. Hit OK and your image will update as an alpha channel cutout.
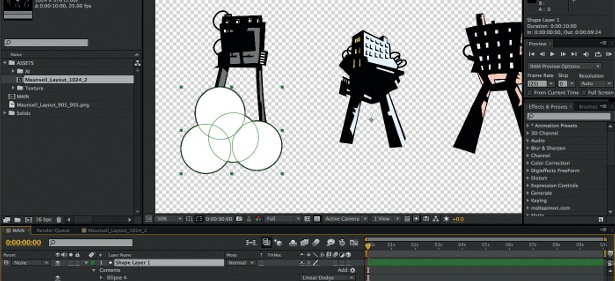
04 To add a background texture to sit behind the model, draw a second frame smaller than the first and add a 3.5mm black stroke to it by selecting ‘Align to the Inside’ using the middle button in the Stroke panel. Press Cmd/Ctrl+D to place the texture image in the frame, then send it to the back using the shortcut Cmd/Ctrl+ Shift+[ so it now sits behind the model. Move the model image to its own layer and lock it. Now add a mid-grey colour to the background to soften the texture.
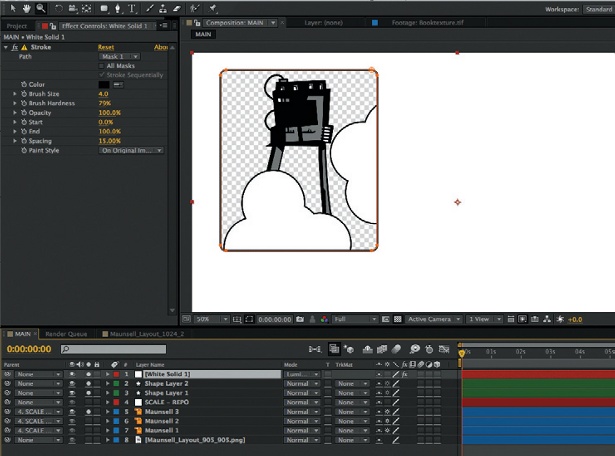
05 Draw another frame over the model’s left foot and change the fill colour to yellow. Chose the Direct Selection tool, then hit Cmd/Ctrl+C to copy the background texture and Cmd/Ctrl+Opt/Alt+Shift+V to paste it into place in the new frame. Select the image content of the new frame with the Direct Selection tool and choose the paper colour from your colour palette. Use the Delete Anchor Point function to delete the bottom right point of the square to create a triangle.
Sign up to Creative Bloq's daily newsletter, which brings you the latest news and inspiration from the worlds of art, design and technology.
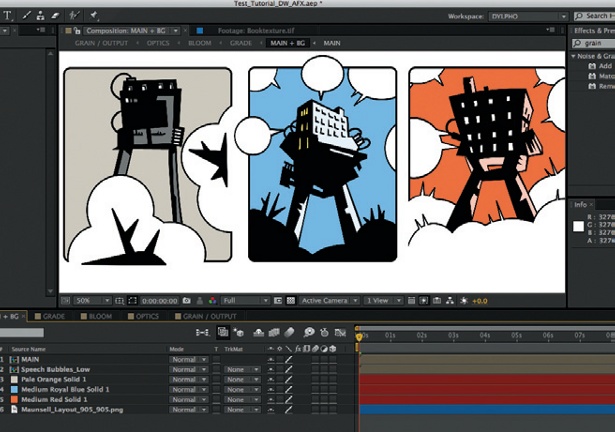
06 On a new layer draw a frame over the model’s left arm and drag a ruler horizontally to the centre of the frame. Hold down the Shift key and drag the top corner point of the frame using the Direct Selection tool so it snaps to the ruler guide. Use the Delete Anchor Point function to delete the bottom right-hand corner point to create a triangle. Copy and paste the model image in place, unlocking the layer. Hit Cmd/Ctrl+D to replace the CMYK image with greyscale, and use the Direct Selection tool to change the fill to pink.
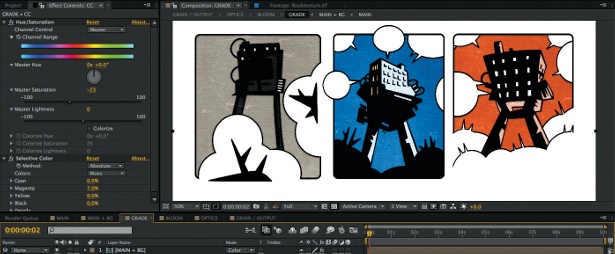
07 Draw another box and repeat the paste in place process with a greyscale image, changing its colour to aqua this time. With the frame selected but not the content, choose Hard Light from the drop-down menu found in the Effects panel. Now apply the same blending mode to the content of the image, to increase the intensity of the effect. Change the opacity to 90% so that some of the background
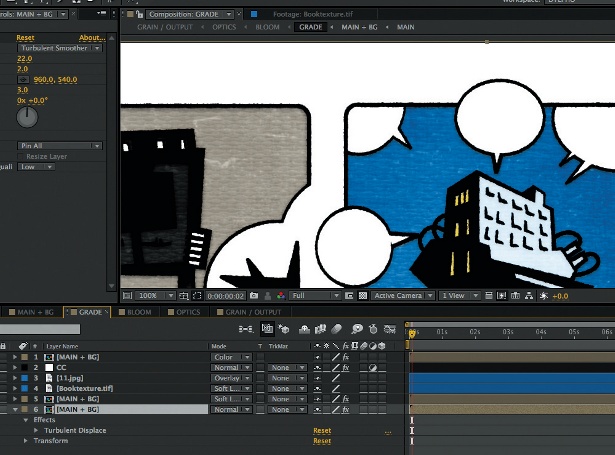
08 Draw a long rectangle frame over the model’s right leg and fill it with black. Select the Overlay blending mode, then draw a circle above this and select your Gradient tool. Add the aqua colour to one end of the slider and paper to the other. Make sure the gradient type is Linear and change the angle to 90-degrees, then change the blending mode to Multiply.
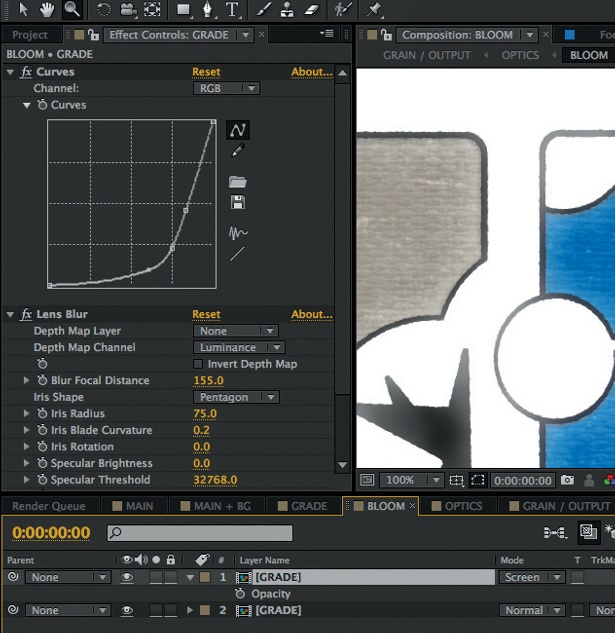
09 Draw a circle in the top left of the image, change the fill colour to paper and add a 3.5mm black stroke aligned to the inside. In the Effects panel double-click on Stroke: Normal 100% to open the larger Effects panel, which lets you work only on the stoke. Change the opacity to 70% and add a gradient feather changing the settings so the frame isn’t visible outside the background frame, and click OK.
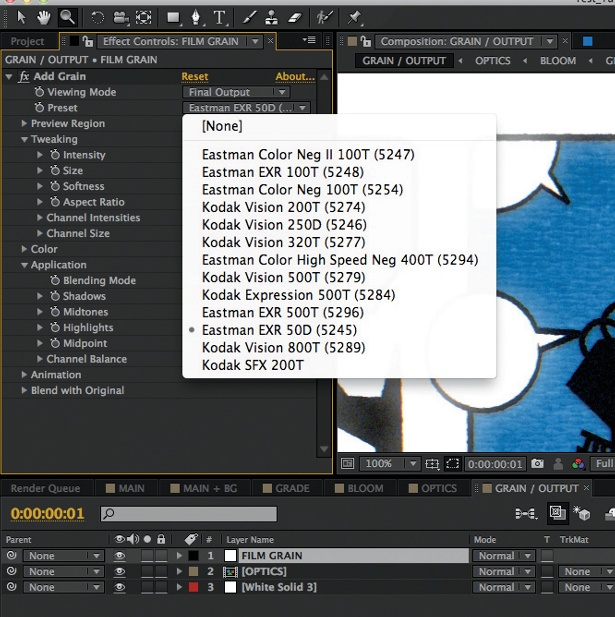
10 Double-click on Fill: Normal 100%, select an Overlay blending mode and click OK. This just changes the fill that’s applied to the frame. Draw a 3.5mm vertical black line that crosses through the circle and add a Soft Light blending mode. Play around with the position of your elements within the frame to add interest.
This tutorial originally featured in Computer Arts

The Creative Bloq team is made up of a group of art and design enthusiasts, and has changed and evolved since Creative Bloq began back in 2012. The current website team consists of eight full-time members of staff: Editor Georgia Coggan, Deputy Editor Rosie Hilder, Ecommerce Editor Beren Neale, Senior News Editor Daniel Piper, Editor, Digital Art and 3D Ian Dean, Tech Reviews Editor Erlingur Einarsson, Ecommerce Writer Beth Nicholls and Staff Writer Natalie Fear, as well as a roster of freelancers from around the world. The ImagineFX magazine team also pitch in, ensuring that content from leading digital art publication ImagineFX is represented on Creative Bloq.
