10 free Photoshop brushes for painting nature
Marta Dahlig concludes her guide to custom brushes by revealing the best for painting environments and nature.
Sign up to Creative Bloq's daily newsletter, which brings you the latest news and inspiration from the worlds of art, design and technology.
You are now subscribed
Your newsletter sign-up was successful
Want to add more newsletters?
In this three-part workshop, I've tried to lay out the general rules and custom brush settings to as well as show some tips and tricks on unconventional ways to use them. The first part was devoted to painting characters, the second part described painting textiles. Now, we have come to the third and final part, which will be devoted to enhancing landscapes and everything that you might find useful for painting nature.
The majority of brushes described here are photograph based for the sake of realism and have been created in Photoshop. However, where possible, I am also going to write down the settings for standard Corel Painter brushes.
Download all 10 brushes here.
Article continues below01. Clouds
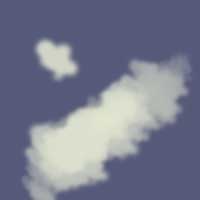
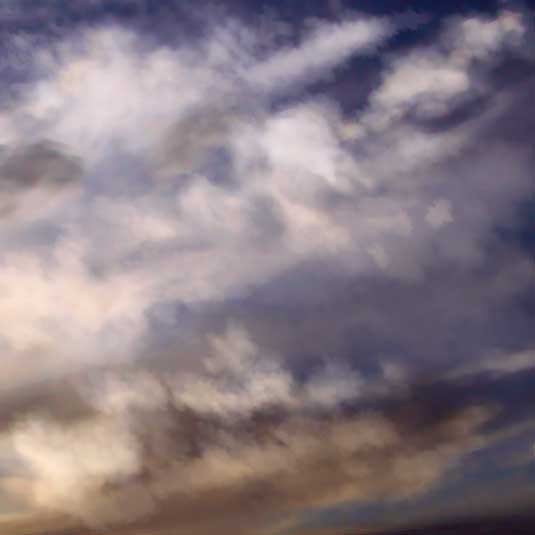
This brush is quite a simple shape and consists of a few merged airbrush tips. It is very easy to use and very efficient for realistic renders, so long as you remember to switch the opacity and colours constantly throughout the painting process. To use it most effectively, first off sketch out the general cloud shape with an airbrush and try the brush out on top of it on a separate layer.
Photoshop:
- Opacity: 25-50%
- Flow: 100%
- Spacing: 3%
- (Shape Dynamics) Size Jitter: 20%
- Minimum diameter: 9%
- Scattering: Both axes, 137%
- (Other dynamics) Opacity and Flow Jitter: 0%
Painter:
- Large Chalk
- Opacity: 10-50%
- Grain: 20%
- Resat: 20-50%
- Bleed: 0 %
- Jitter: 0-1
02. Blades of grass
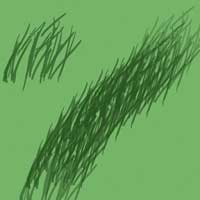
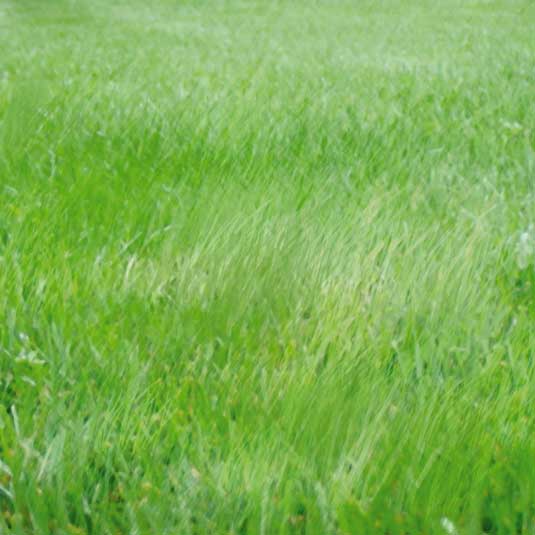
This brush is great for basic texturing of a grassy field. However, do not rely on it solely, as nothing can replace the hand-made touches. Once you have the basis done, pick an airbrush or hard round of a lighter colour and add some additional blades. For extra realism you can also add some loose leaves, sticks and so on. Once the texture is done, duplicate the layer with it, flipping it horizontally and setting its layer mode to Soft Light.
Sign up to Creative Bloq's daily newsletter, which brings you the latest news and inspiration from the worlds of art, design and technology.
Photoshop:
- Opacity: 5-50%
- Flow: 100%
- Spacing: 25%
- Other dynamics: Opacity and flow Jitter: 0%
Painter:
- Unavailable
03. Leaves
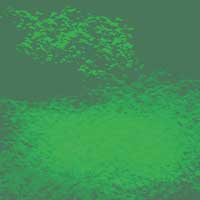
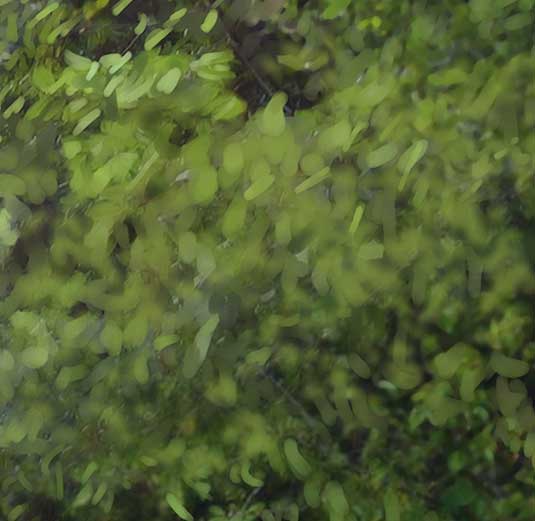
This photo brush is extremely useful for painting leaves in distant backgrounds. Its edges are sharp, due to the photo extraction, so be sure to blur the painted leaf blobs from time to time to avoid artificial looking results. When shading with these brushes, try to gradually move on from darkest to lightest shades. Once done, paint some individual leaves with an airbrush on top of the area.
Photoshop:
- Opacity: 5-30%
- Flow: 100%
- Spacing: 25%
Painter:
- Large Chalk
- Opacity: 50%
- Grain: 25%
- Resat: 18%
- Bleed: 0%
- Jitter: 4
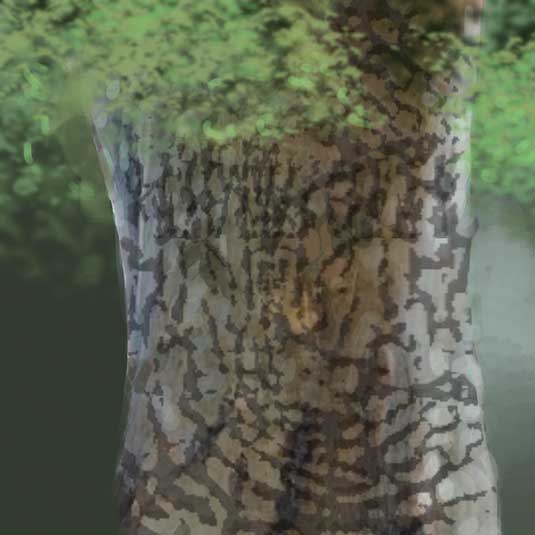
04. Tree bark
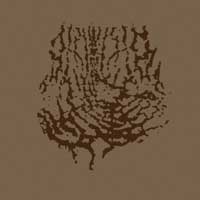
This is another brush that I extracted from an old photo I took a while back. Using it requires a bit of patience as the stamp has to be rotated continuously, but it enables you to create truly realistic effects after getting used to it. After you place it over an area, enhance the effect by underlining the cracked edges with a lighter stroke. This brush has a lot of functions and, aside from texturing bark, can be used for painting cracks, facial marks and scars.
Photoshop:
- Opacity: 20-40%
- Flow: 100%
Painter:
- Unavailable
05. Marble
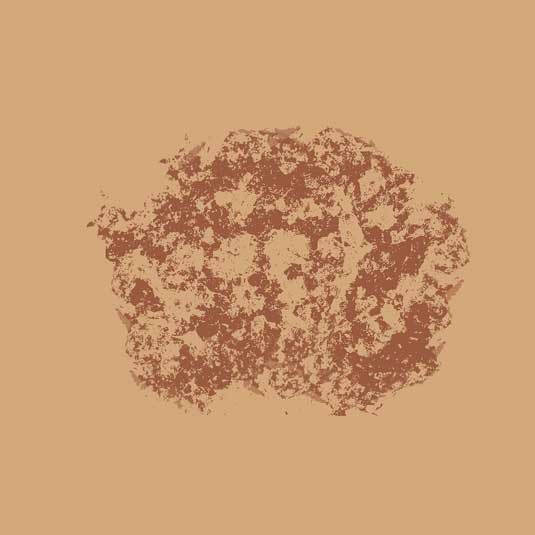
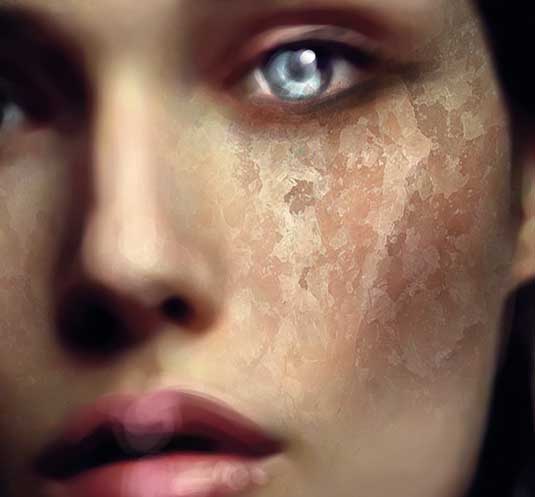
This is a wonderful brush extracted from a marble photo, which I use excessively for a multitude of things. It can be employed for general painting and texturing, texturing of flat stone surfaces and even skin deformities. It is most efficient when used over the desired area on a separate layer with its mode switched to Overlay, Multiply or Soft Light.
Photoshop:
- Opacity: 30-70%
- Flow: 100%
Painter:
- Unavailable
06. Rocks
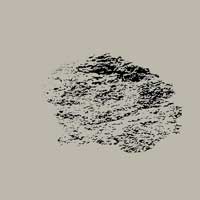
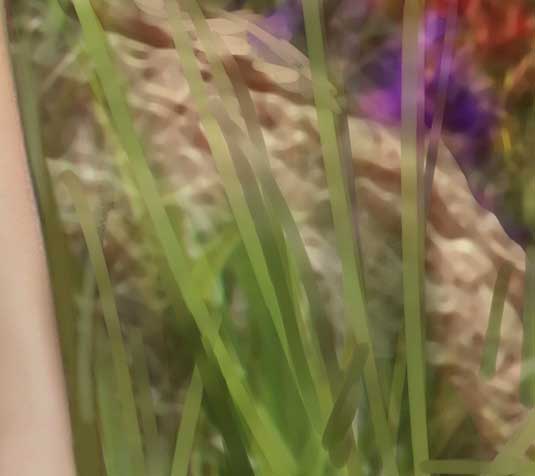
Painting rocks is extremely hard and time consuming. This brush can't be used to create a realistic rock from beginning to end, but it is extremely useful for creating a basic texture or for hinting at the detail during speed painting. Use it as a stamp, from time to time rotating the blobs. It's definitely most effective when you blur the outcome and regularly change the hues and brightness.
Photoshop:
- Opacity: 5-50%
- Flow: 100%
Painter:
- Unavailable
07. Butterflies
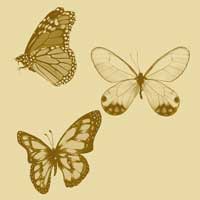
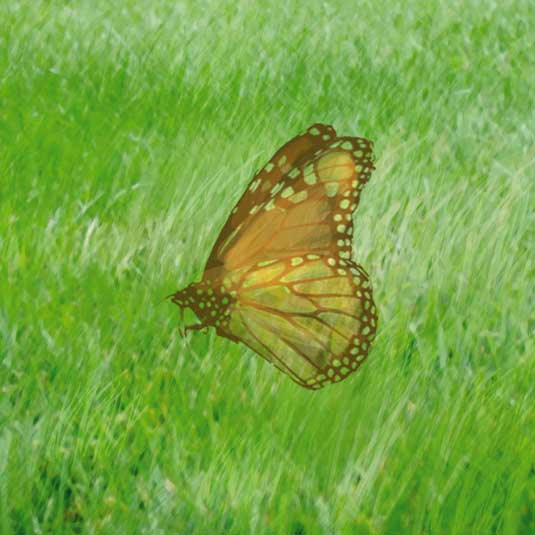
Butterflies are very common painting elements, yet quite time consuming. So, why not make your life a little bit easier? The brushes shown here were created from photos I found on the internet. They're extremely handy if you need to add detail to your painting but are feeling a bit lazy – I always use them when painting glades, forests and such.
Photoshop:
- Opacity: 50-100%
- Flow: 100%
Painter:
- Unavailable
08. General texturing
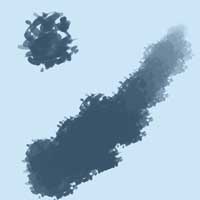
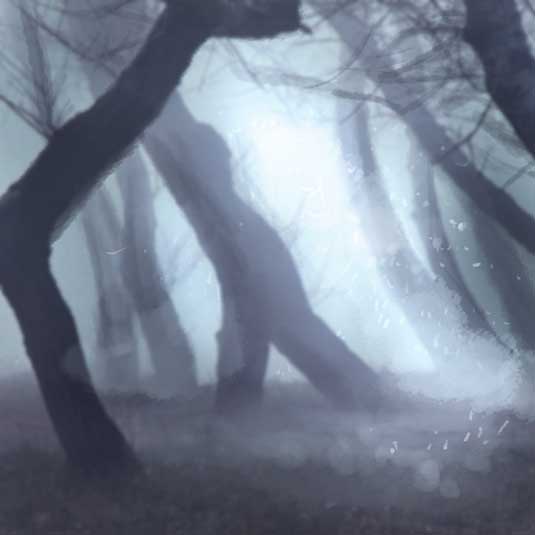
I use this brush for speed painting landscapes, when I rarely switch between the brush types. This custom one is made out of some loose colour blobs – its ragged edges encourage smooth transitions between colours and so make this brush perfect for all fast jobs, as you don't need to constantly worry about colours not blending correctly. Use this brush as a typical hard round, constantly playing with the opacity and colour.
Photoshop:
- Opacity: 10-90%
- Flow: 100%
- Spacing: 5%
- (Shape Dynamics) Size Jitter 55%
- Minimum diameter: 9%
- Scattering:
- Both axes, 104%
- Count: 5
- Other dynamics:
- Opacity and Flow Jitter: 0%
Painter:
- Unavailable
09. Cracked ground
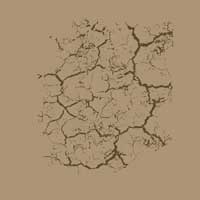
This brush is a fast and efficient means to texture dried ground.
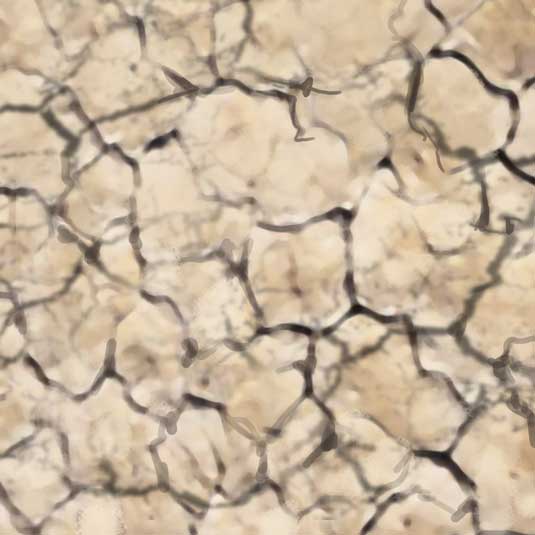
Use it as a stamp, preferably on a multiply layer mode. It usually requires some editing and rotating, but generally greatly speeds up the painting process. Aside from its main use, it can also be handy for painting lightning.
Photoshop:
- Opacity: 10-80%
- Flow: 100%
Painter:
- Unavailable
10. Stars
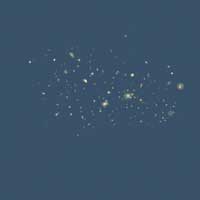
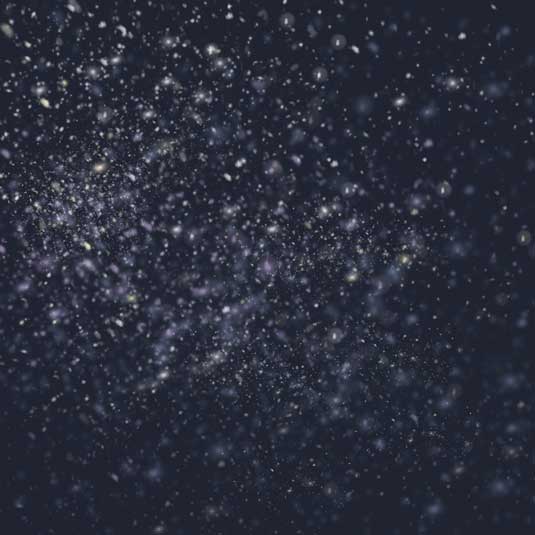
Now that is a fast way to paint a sky! Just run over the night sky with this brush, first with a larger size and higher transparency (for distant stars) gradually blurring and changing to smaller and more opaque. This brush is one of the most functional, as aside from its main purpose, it can be used to create such textures as: skin pores, brocade, smaller leaves, dust, enhanced grass and so on.
Photoshop:
- Opacity: 10-100%
- Flow: 100%
Painter:
- Tiny Spattery Airbrush
- Opacity: 75%
- Spread: 15 degrees
- Flow: 2-4
- Feature: 5-10
Words and illustrations: Marta Dahlig
Marta Dahlig is a talented Polish artist who has been working with Photoshop and Painter for years. She's currently a freelance illustrator. This workshop originally appeared in ImagineFX.

The Creative Bloq team is made up of a group of art and design enthusiasts, and has changed and evolved since Creative Bloq began back in 2012. The current website team consists of eight full-time members of staff: Editor Georgia Coggan, Deputy Editor Rosie Hilder, Ecommerce Editor Beren Neale, Senior News Editor Daniel Piper, Editor, Digital Art and 3D Ian Dean, Tech Reviews Editor Erlingur Einarsson, Ecommerce Writer Beth Nicholls and Staff Writer Natalie Fear, as well as a roster of freelancers from around the world. The ImagineFX magazine team also pitch in, ensuring that content from leading digital art publication ImagineFX is represented on Creative Bloq.
