With Halloween fast approaching, what could be more appropriate than a devil with burning flesh? There's no one correct way to paint burning flesh – there are as many ways to accomplish the task as there are artists.
However, all successful paintings of burning materials have one thing in common; the effective use of value. Burning materials and flames are light sources and, as such, must be the lightest elements of any painted image.
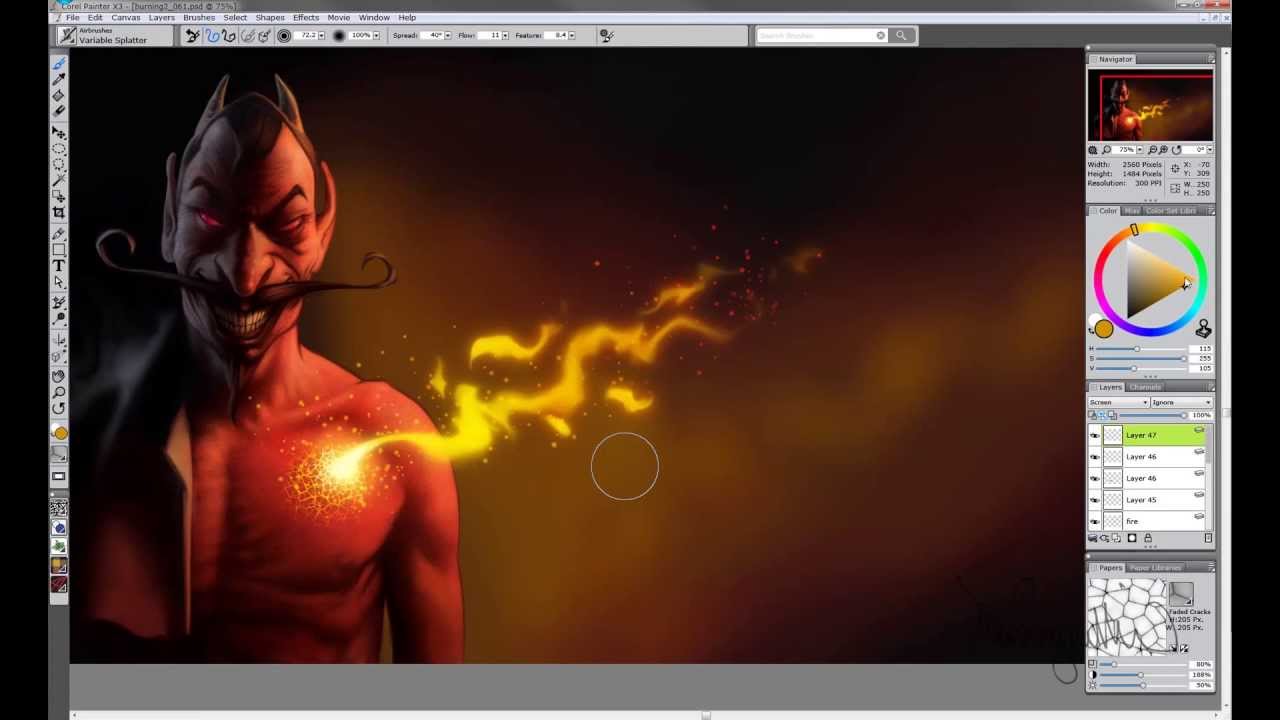
The software I used for this image is Painter X3 with default brushes, but the method is easily adapted to earlier versions of Painter or the software of your choice. This particular painting is a stylised version of burning flesh and is an easy technique to follow. The basic method could be used for more realistic or imaginative approaches.

Your starting image must be darker overall than normal. Try to imagine the lightest value in the painting (aside from the fire) as having a mid-value grey. From there, I paint a crackle texture onto the skin surface in a light flame colour, getting gradually darker toward the edges of the burn area. This is the smouldering material at the edges of the flames.
On a new layer I paint the actual flame. This is painted lighter at the point it originates and gradually gets darker further away. On another layer I paint small embers of burning flesh in the air. I finish the image by painting some smoke on an additional layer; once finished, the smoke layer is moved below all the flame layers. As you can see, value is paramount!

Artist's secret
One of the most important things you can do when painting flames is to simplify the process. Use simple shapes and don't try and copy photographs of real flames. Because fire is so abstract, almost anything you paint will look like flames.
Words: Don Seegmiller
Artist, author and instructor, Don Seegmiller teaches in the Art and Visual Communication Department at Utah Valley University. This article originally appeared in ImagineFX magazine issue 102.

