15 tips for better manga characters
How to clean up your sketches, develop a story, and more.
Sign up to Creative Bloq's daily newsletter, which brings you the latest news and inspiration from the worlds of art, design and technology.
You are now subscribed
Your newsletter sign-up was successful
Want to add more newsletters?

Five times a week
CreativeBloq
Sign up to Creative Bloq's daily newsletter, which brings you the latest news and inspiration from the worlds of art, design and technology.

Once a week
By Design
Sign up to Creative Bloq's daily newsletter, which brings you the latest news and inspiration from the worlds of art, design and technology.

Once a week
State of the Art
Sign up to Creative Bloq's daily newsletter, which brings you the latest news and inspiration from the worlds of art, design and technology.

Seasonal (around events)
Brand Impact Awards
Sign up to Creative Bloq's daily newsletter, which brings you the latest news and inspiration from the worlds of art, design and technology.
For the aspiring artist wanting to create your own character design, it can be tempting to just follow the manga template wholesale. It’s important to note that basic art and storytelling fundamentals are still necessary in the creation of good manga art.
Here, three artists from Collateral Damage Studios – Loe ZI Rong, Tan Hui Tan and Ho Wei Rong share their expertise and experience when it comes to creating and refining manga character art. From how to clean up your character sketches, work with colour theory and craft a story for your creations, there’s plenty to incorporate into your own manga workflow.
For more tips, see our post on how to draw manga characters.
Use the icon in the top right of each image to enlarge it
Clean up your sketches
01. Tighten up your roughs
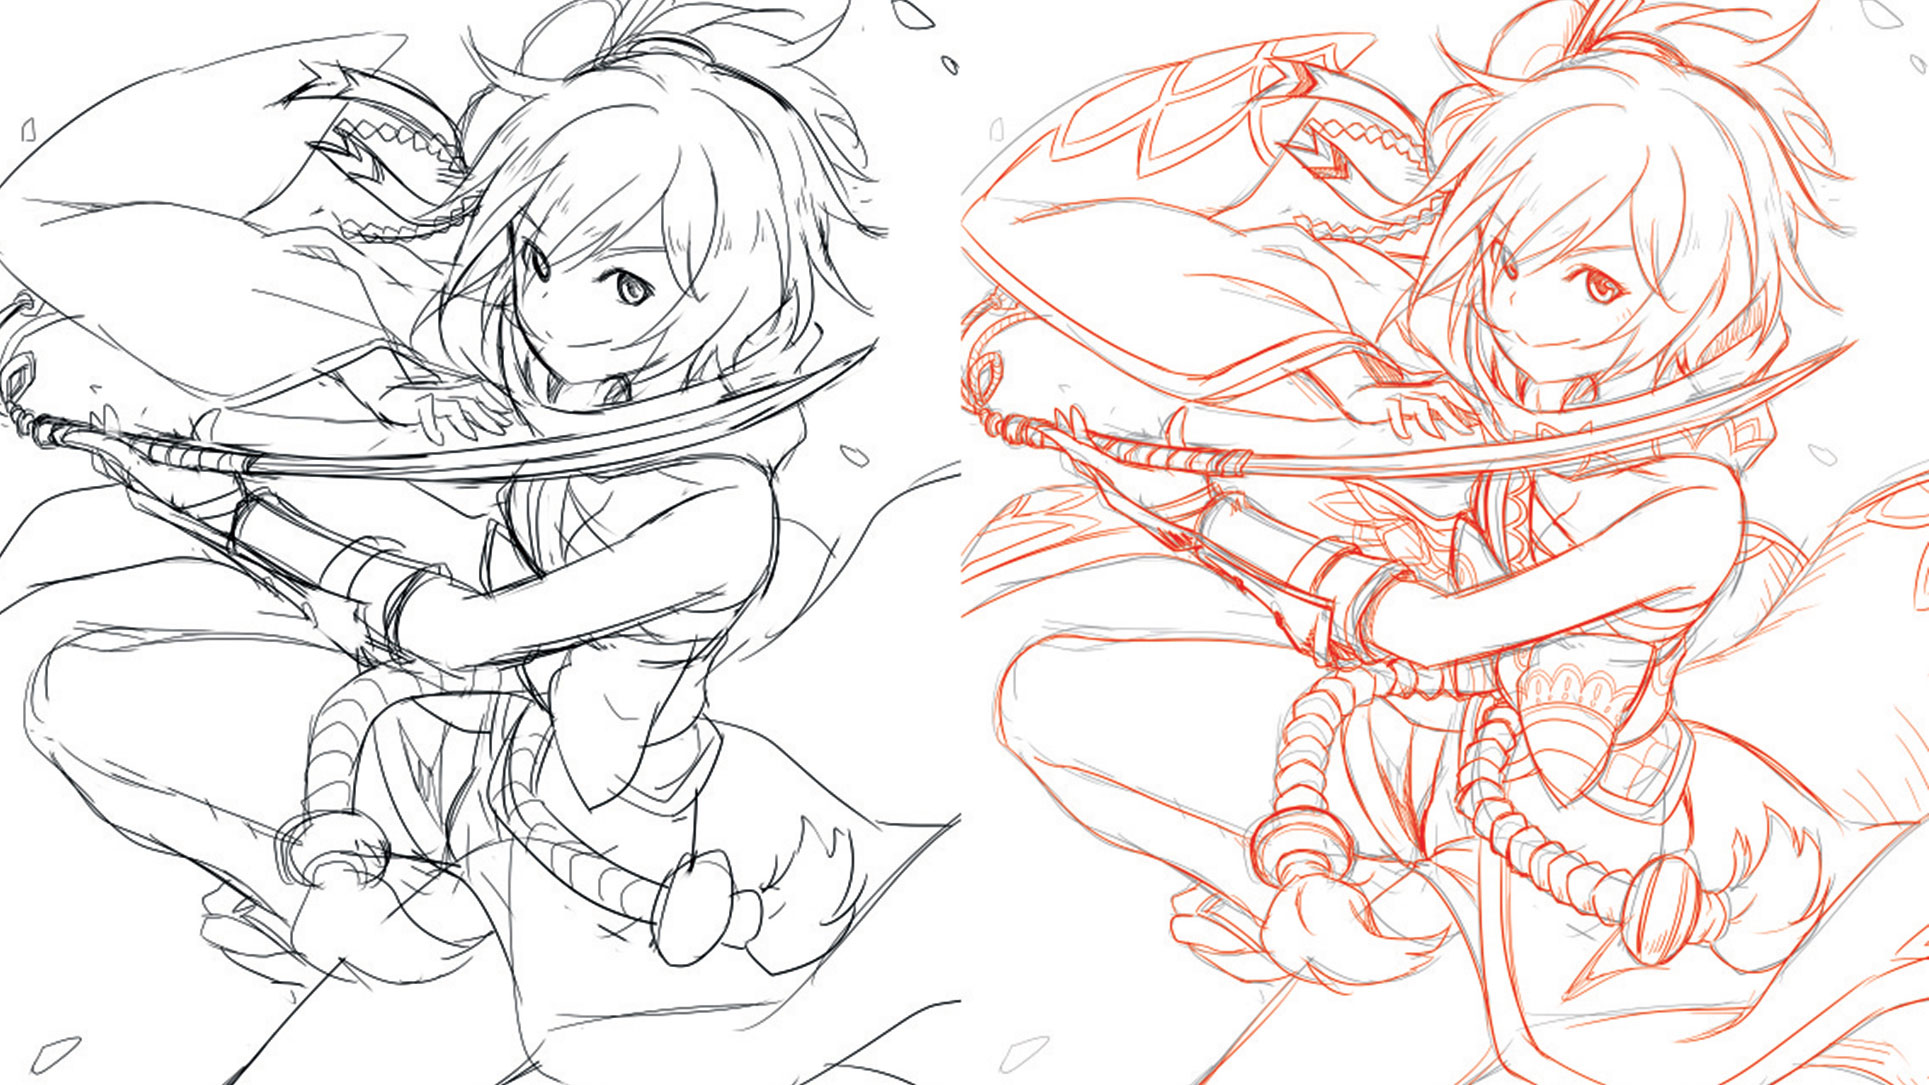
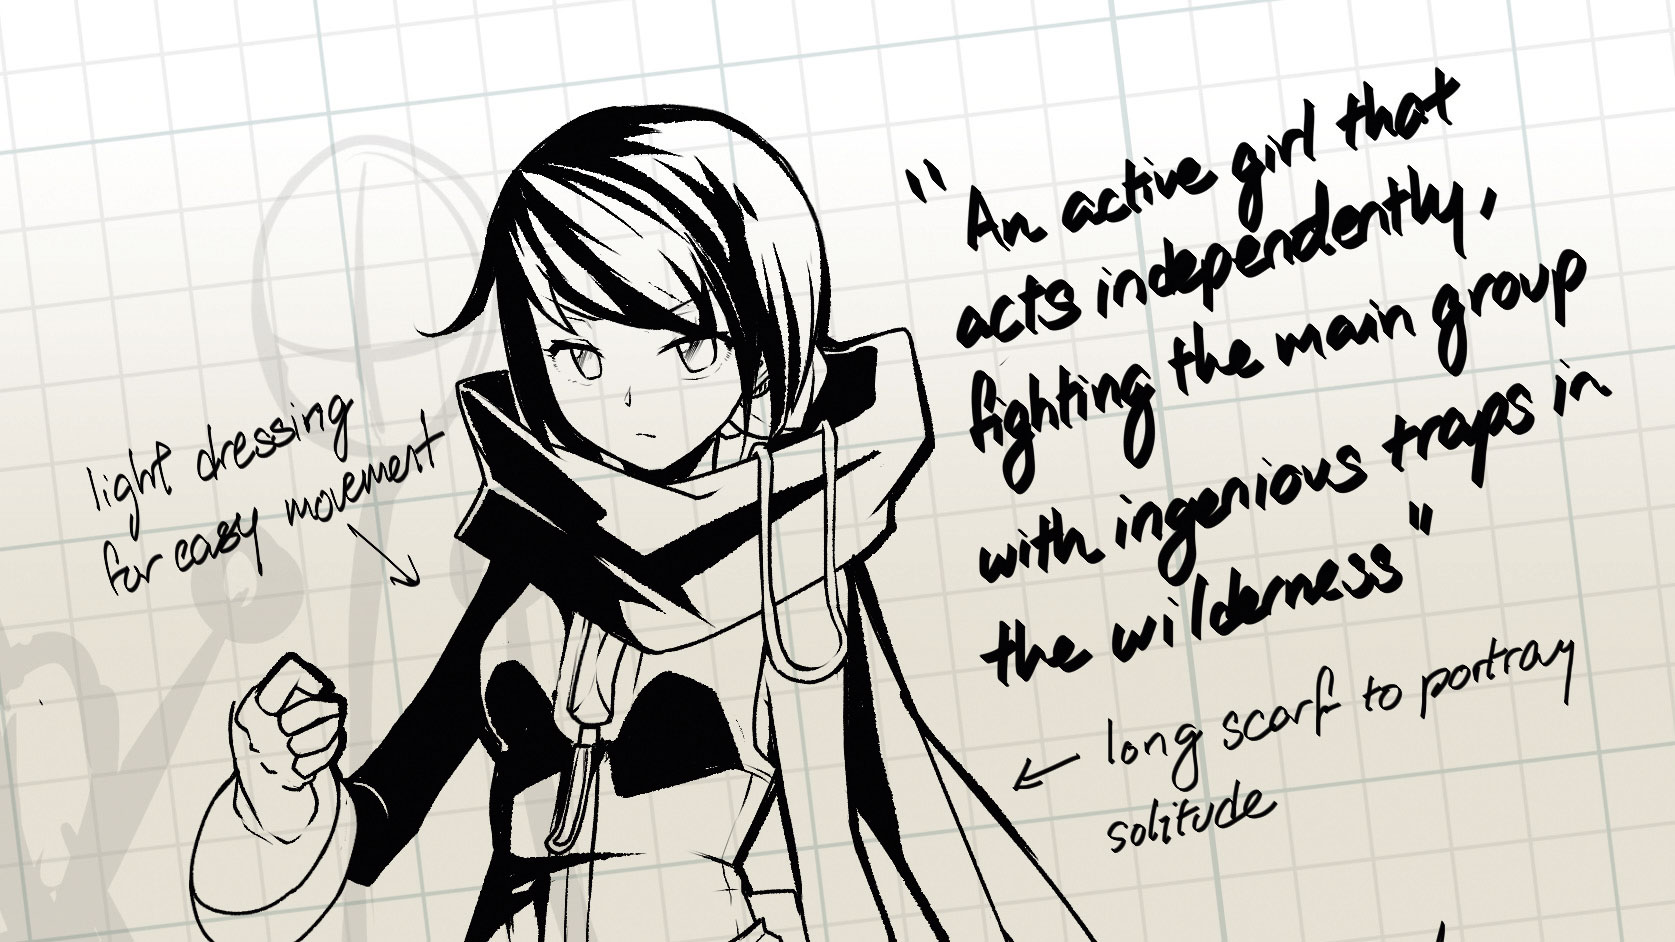
I usually start with a rough sketch, working out the pose and the flow of the other objects such as the costume and hair. Then I’ll take a quick second pass to refine parts of the picture and add more details that can aid in my line-work process later. If you’re working on a single layer it can be easy to accidentally erase portions of the original sketch when you’re zoomed in and focused on adding details, resulting in the overall composition being altered. I recommend using a new layer to flesh out the details, while keeping the original composition on another layer for easy reference.
02. Differentiate layers with colour
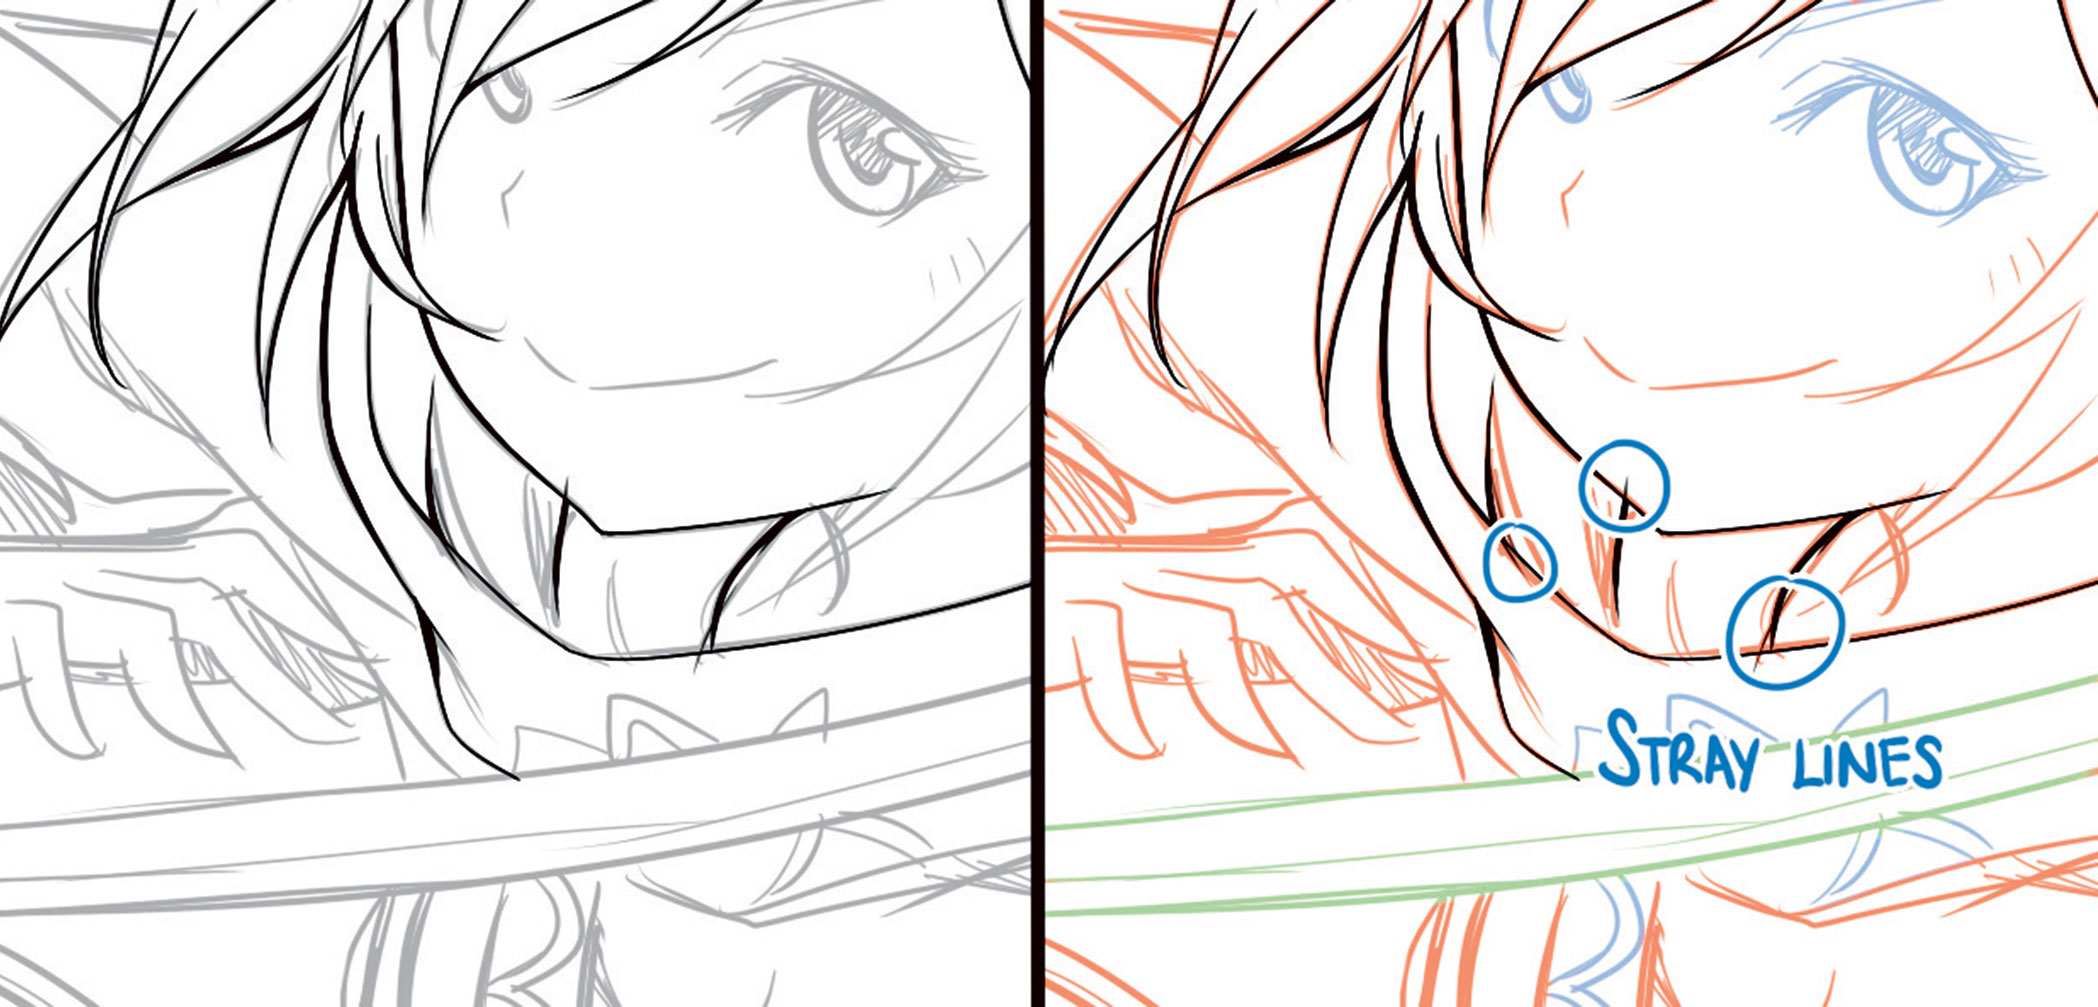
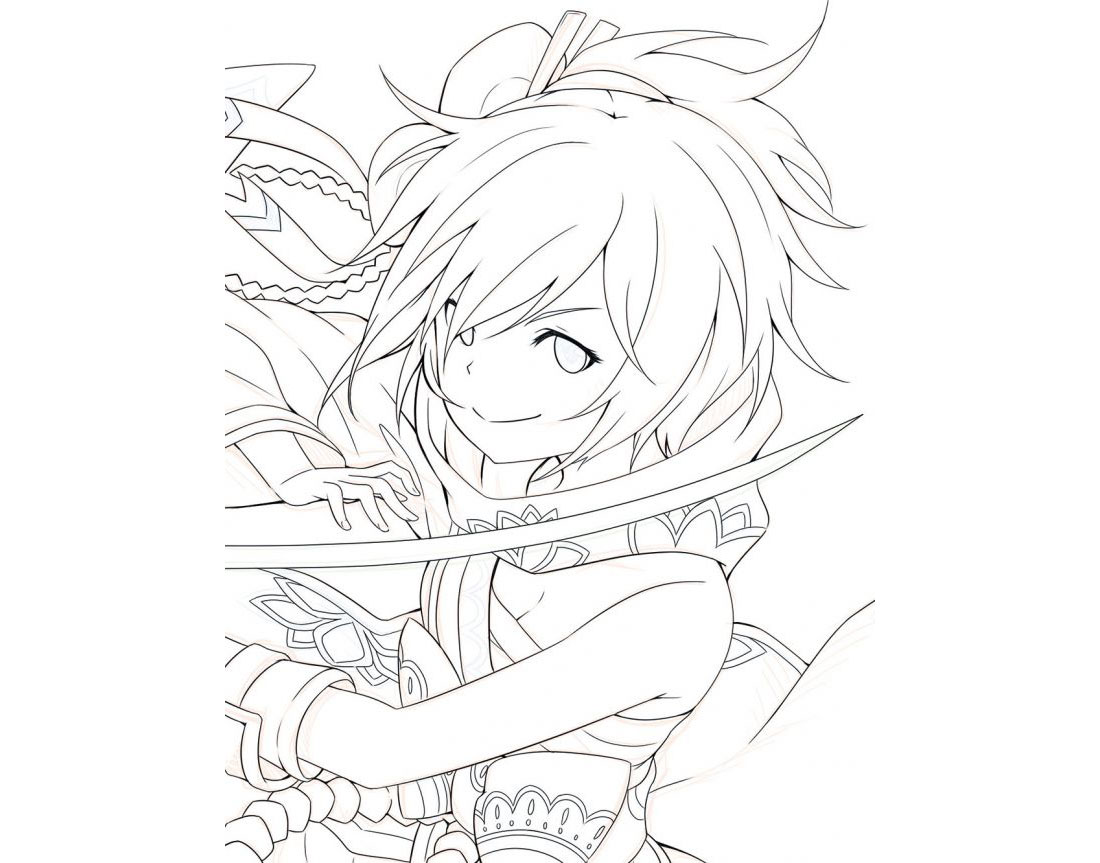
I find it useful to change the colour of my pencil before cleaning up your sketch. Even if you reduce the opacity of the sketch layer during the clean-up stage, unwanted lines that are overlooked might be mistaken for lines from the original sketch. Changing the colour of the sketch to another colour can make the distinction between the sketch layer and clean-up layer more obvious, and reduce stray lines when cleaning up. Using colours to highlight different areas that you might want to separate into layers also serves as a visual reminder when lining them.
03. Add weight to your lines
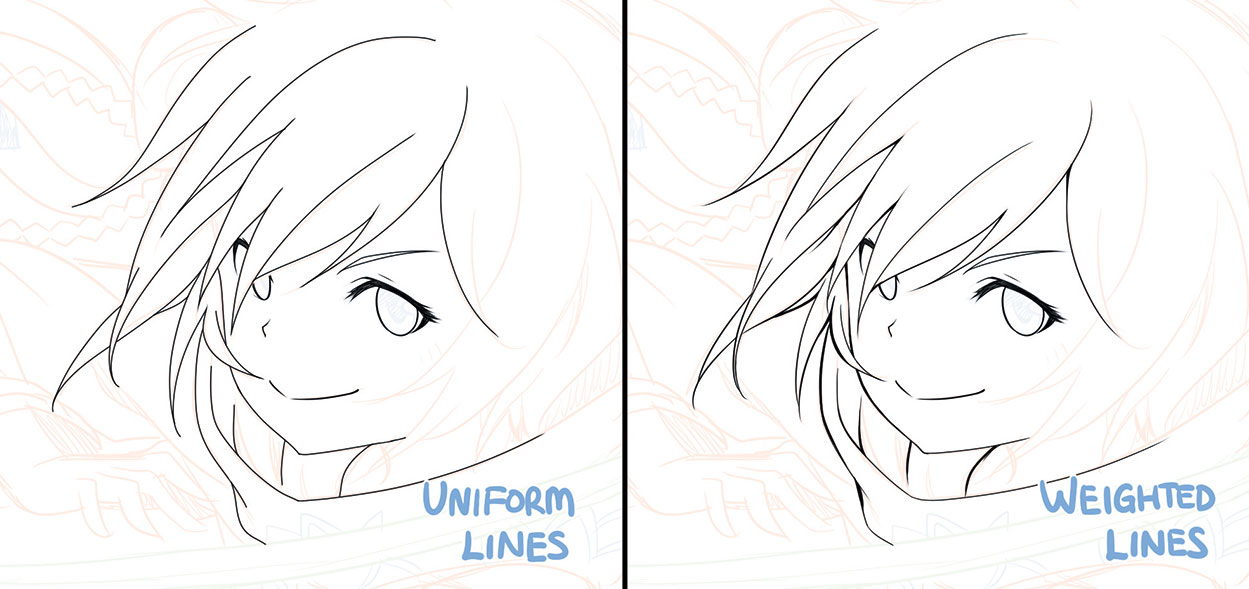
Apart from certain art styles or production requirements, giving your lines different thicknesses helps to add depth to your drawing. In general, drawing thinner lines of elements closer to the light source and thicker lines for those further away can make your art pop. One example when it’s not necessary to add weight to your lines is for animation production, when production time is limited and the consistency of lines between frames is more important.
Sign up to Creative Bloq's daily newsletter, which brings you the latest news and inspiration from the worlds of art, design and technology.
04. Rotate and flip the canvas
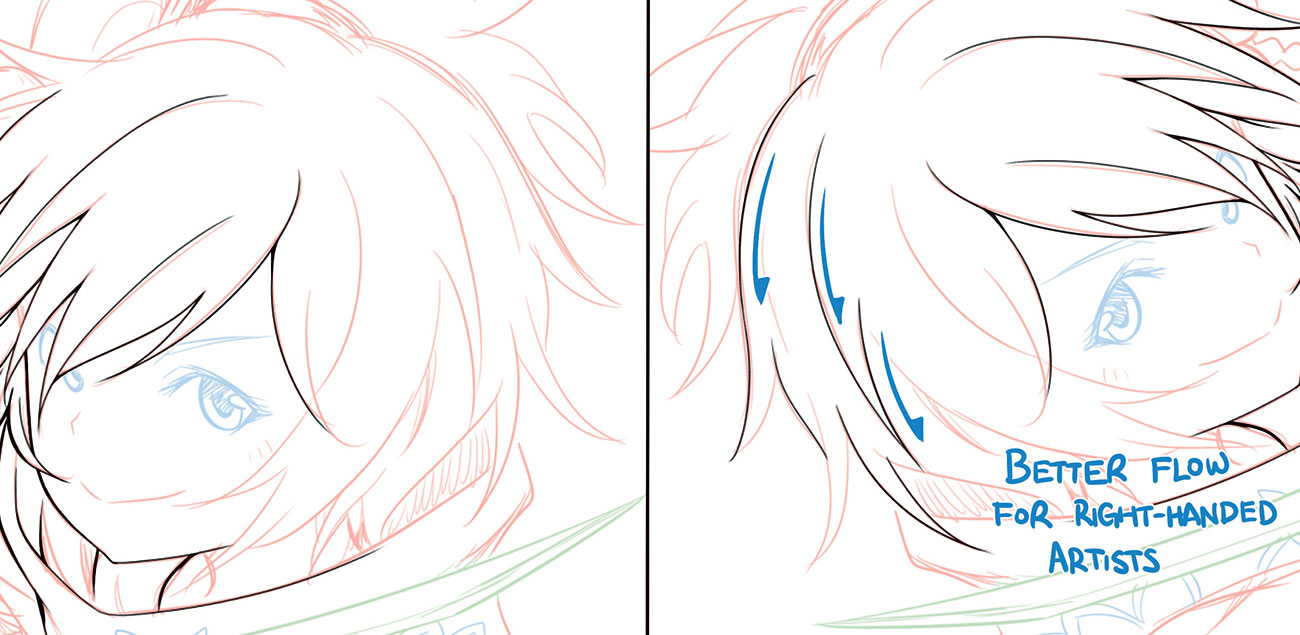
To achieve clean and smooth-flowing lines, it’s usually better to clean up curves correctly in a single stroke. Most painting software enables you to rotate and flip the canvas freely to adjust the angle at which you tackle those curves. Flipping the canvas as you draw is also a good way to check the balance of the image if you’ve been staring at your artwork for too long.
05. Check the developing artwork
As mentioned earlier, during cleanup we tend to zoom in and focus on the finer details of the artwork. We end up taking localised decisions on how certain strokes would be cleaned without bearing in mind context of the whole image. This might result in, for example, a well-drawn hand that’s clearly out of proportion when compared to the rest of the body. Therefore, it’s important to zoom out occasionally to check everything’s still on track as you clean up your sketch.
Apply colour theory to your figures
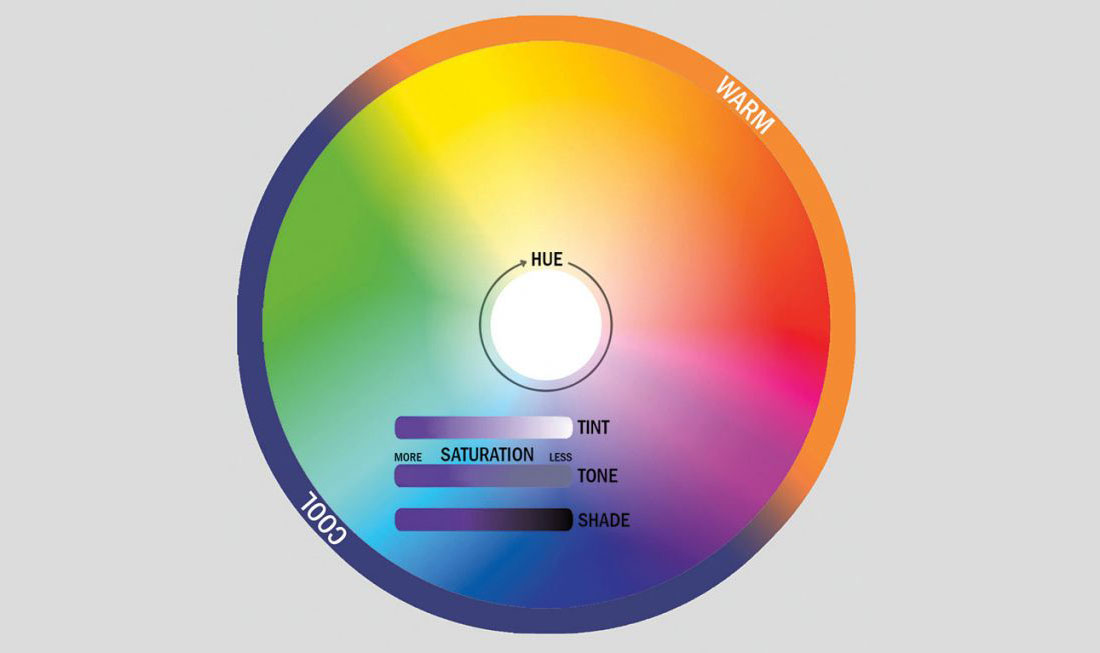
06. Think about the colours you use
Colours convey mood and meaning, and you can use it to direct or misdirect the audience. At its most effective, just the colour palette can bring to mind the object. It also serves as a bond when different objects share the same palette, such as the historical significance of the red, blue and white stripes in Pan-slavic flags.
Beyond basic colour theory, the science of colours and its everyday usage can be useful information. For instance, knowing that in European culture, royalty is represented by purple, while in India, deep red and ochre symbolise grandeur and wealth, can be useful in creating culturally specific characters.
07. Concept and usability
When I create a character design, form follows function. A hierarchy of information applies to colour design, too. Areas of high contrast will attract more focus, and bright colours can indicate narrative significance. I try to go from a macro overview before tackling details.
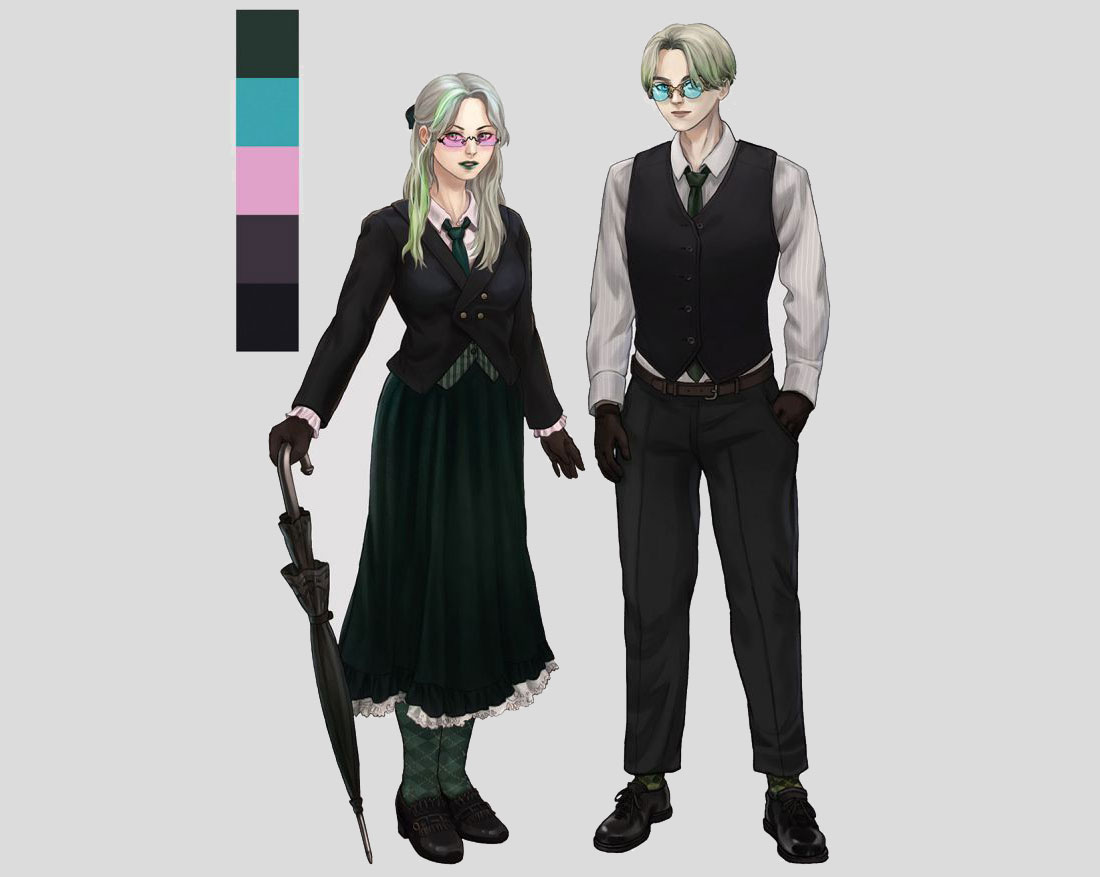
Here, the characters are twins working as bodyguards. They share a black, green and white palette, but also have spots of pink or cyan to differentiate them. I also try to ensure that no other in-universe characters have a similar palette. The narrative theme is dark, and therefore the general colour palette reflects that and is muted.
08. Build a palette
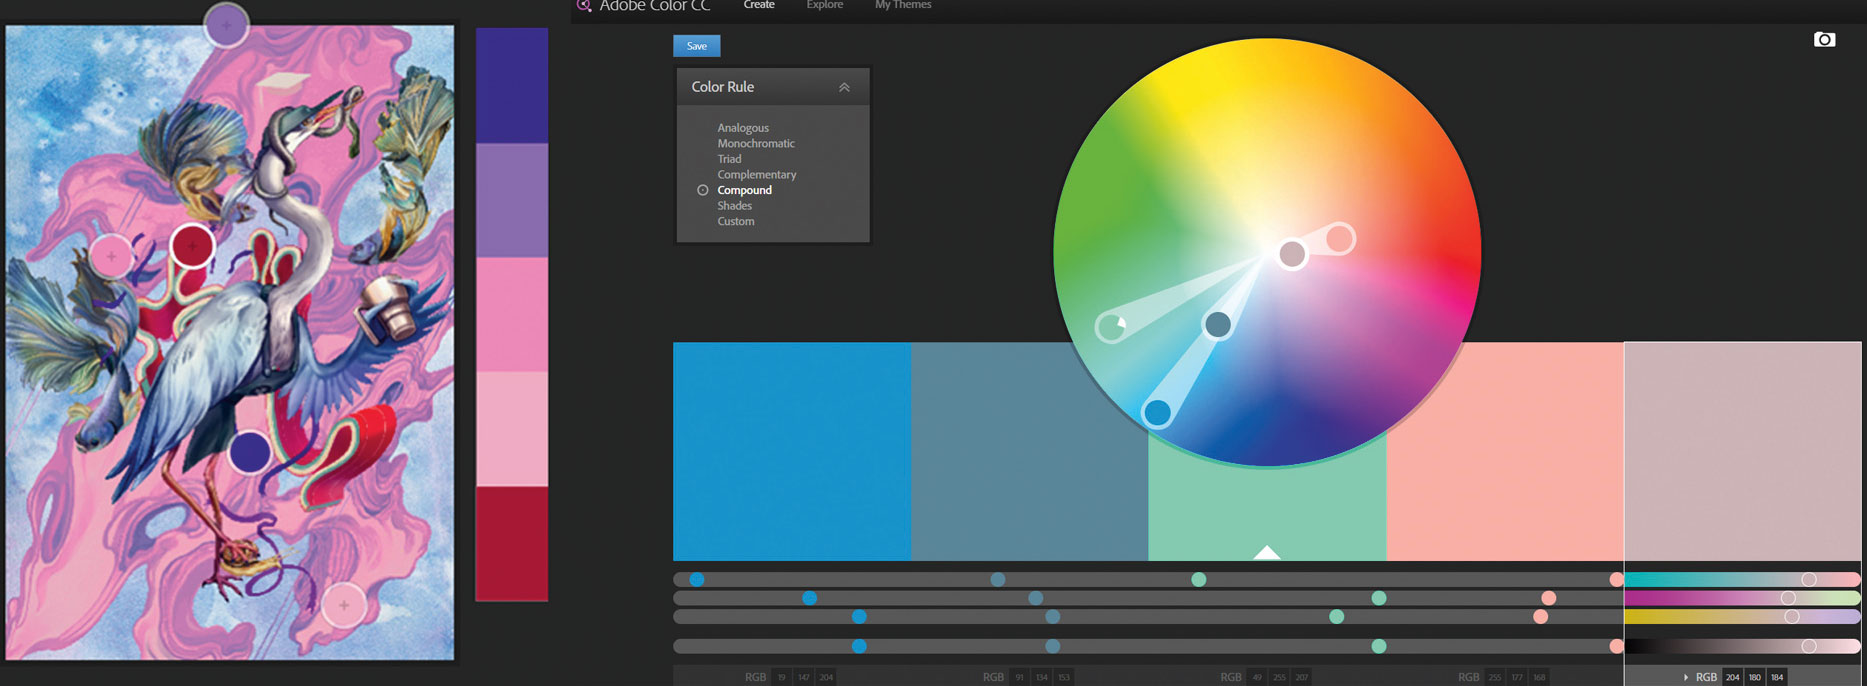
I use tools like Adobe Kuler and ColourLovers for inspiration – you can use Kuler to create a palette from an existing image. Before deciding on a palette, explore options with a character colour sheet (usually with flat colours). Also, keep in mind the usage and context of the image. If, say, it’s meant as a final asset in an environment, make sure it contrasts against the main environmental colours. I tend to use a neutral white light for shading, so that it’s easy to adjust the character art in different lighting conditions afterwards.
09. Colour psychology and symbolism
People perceive colours differently (think of viewers who might suffer from chromophobia or experience colour blindness). But there are general meanings and physiological effects associated with colours. For instance, I tend to avoid fully saturated colours such as CMYK magenta, because it gives me a headache! There are some exceptions when a ‘pop’ aesthetic may be preferred.
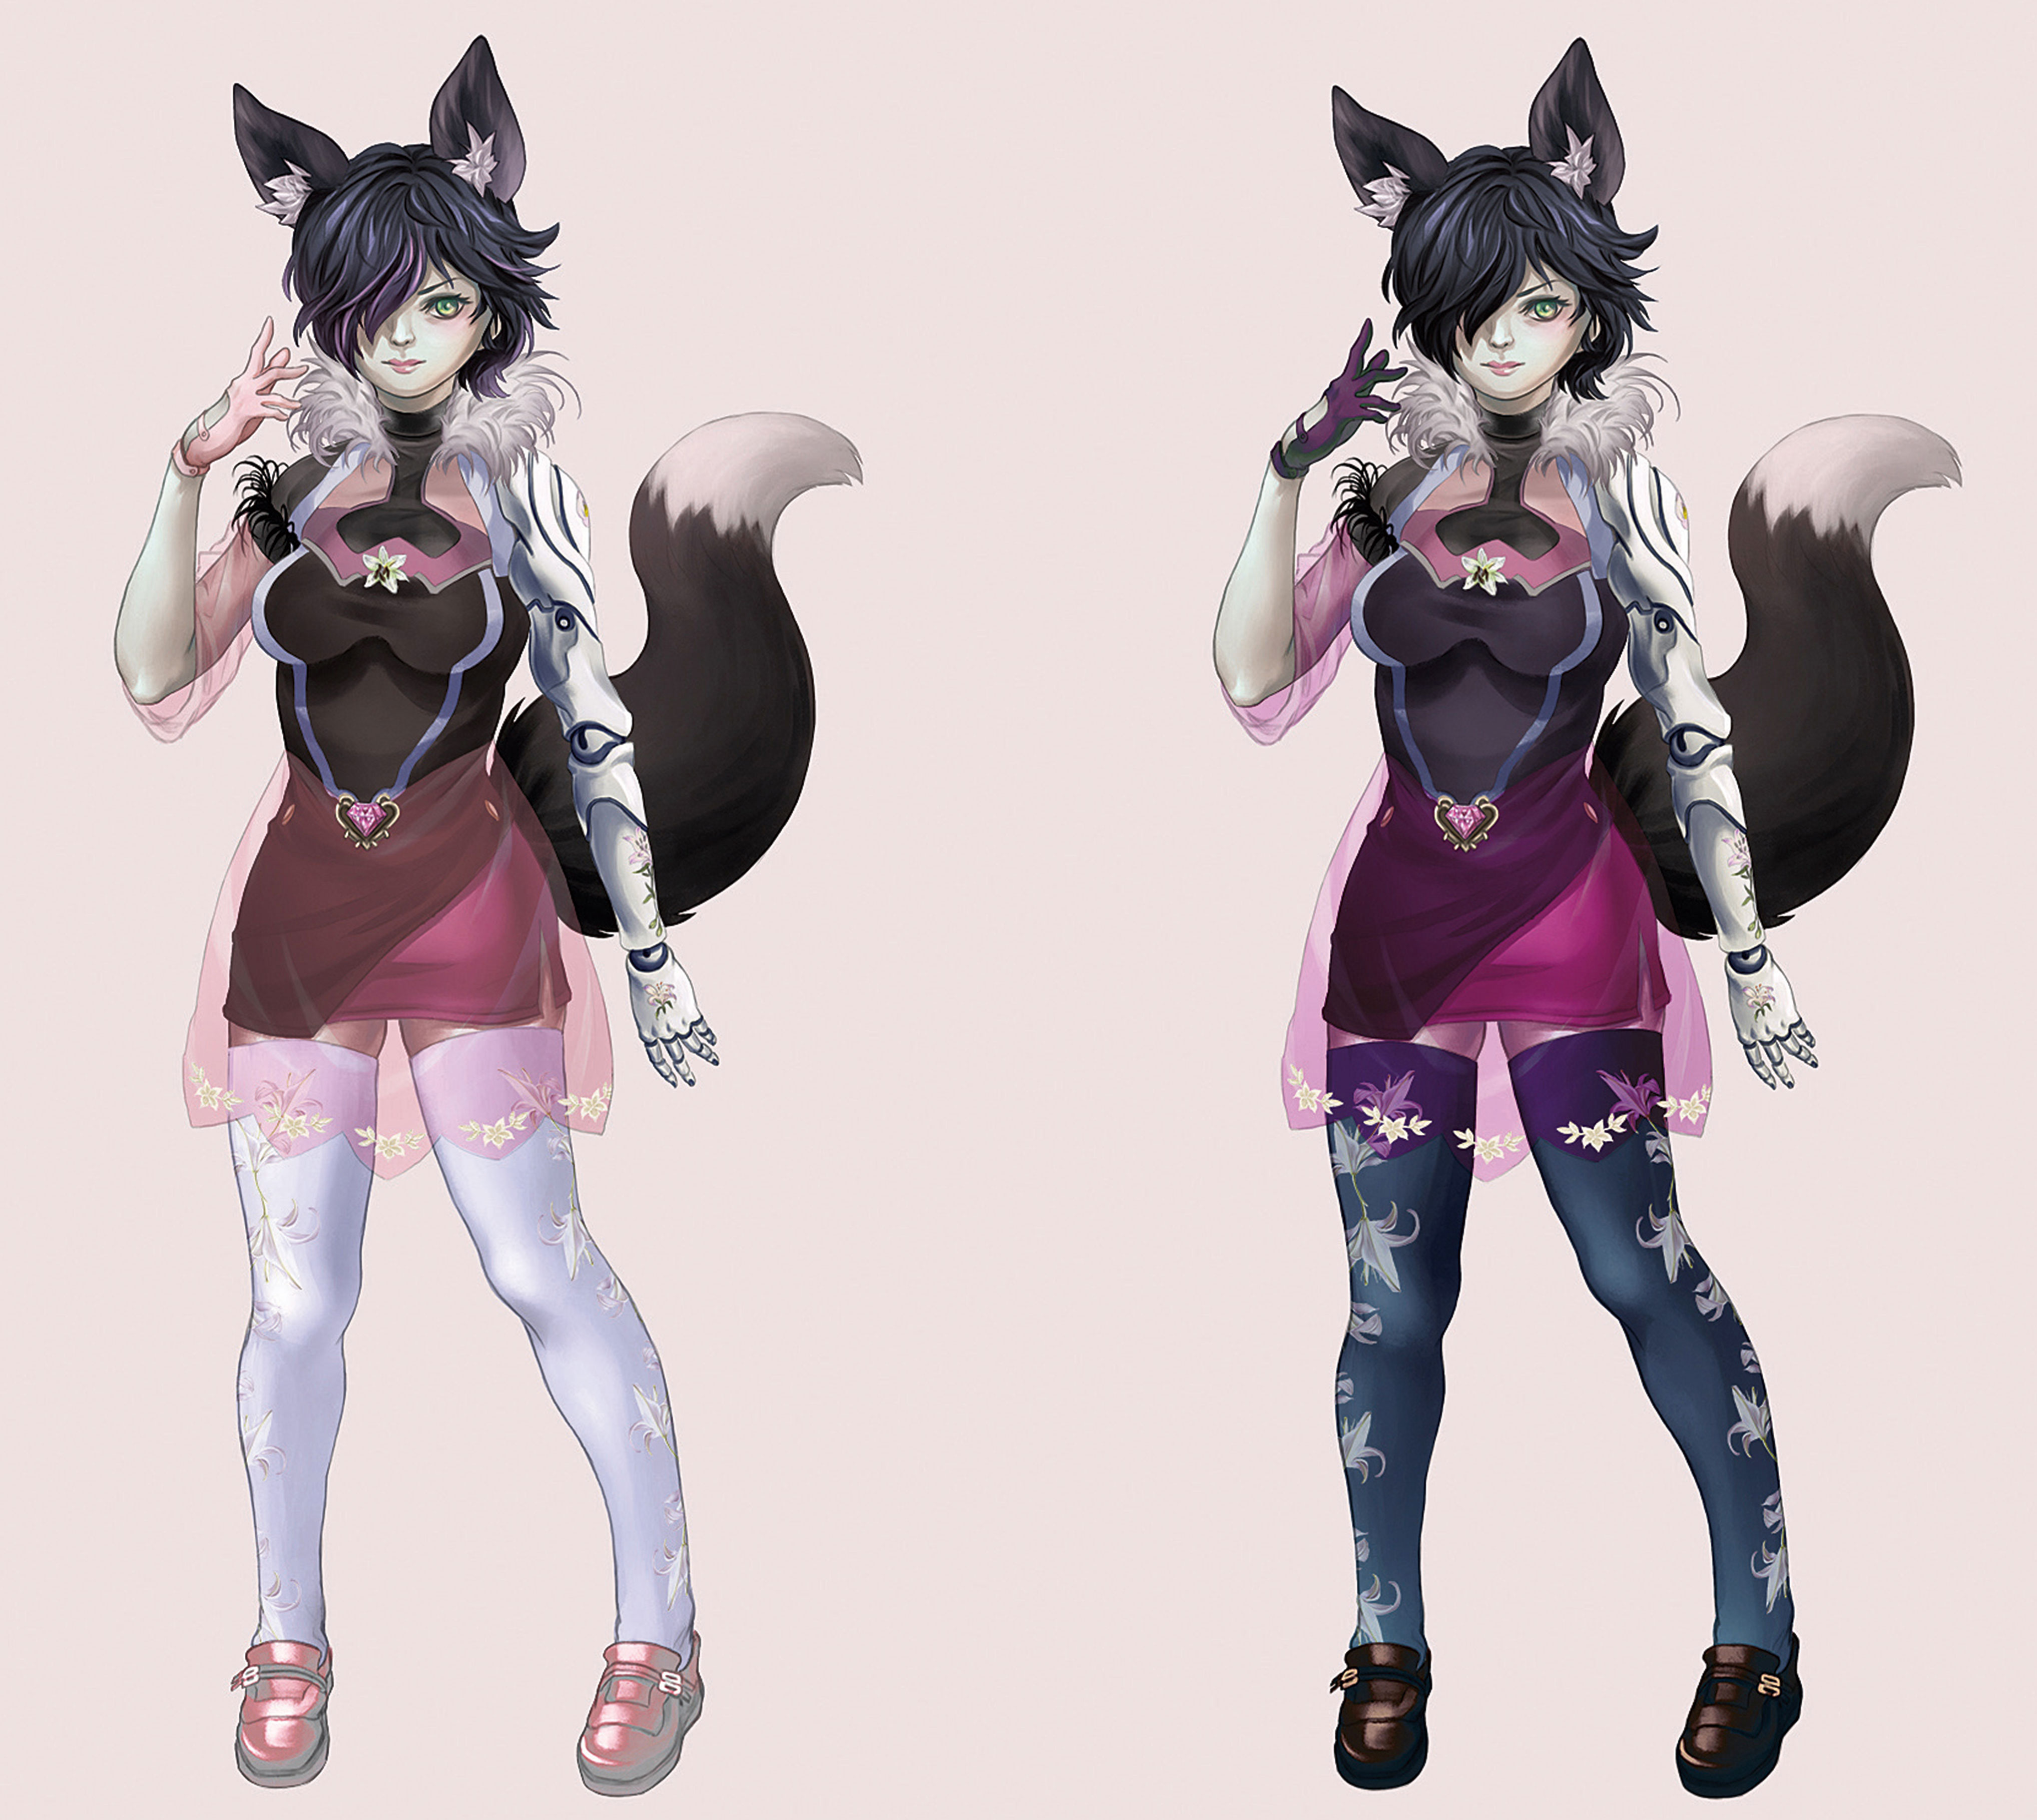
In my example, the character is a heiress who’s revealed to be the main villain of the game towards the end. Her smaller stature and weak body makes her an unexpected villain, but the impression of vulnerability is further enforced with a predominantly pink and white palette, which signifies innocence. Whereas, the impression of inner darkness is supported by the presence of a darker palette.
10. Change your colours
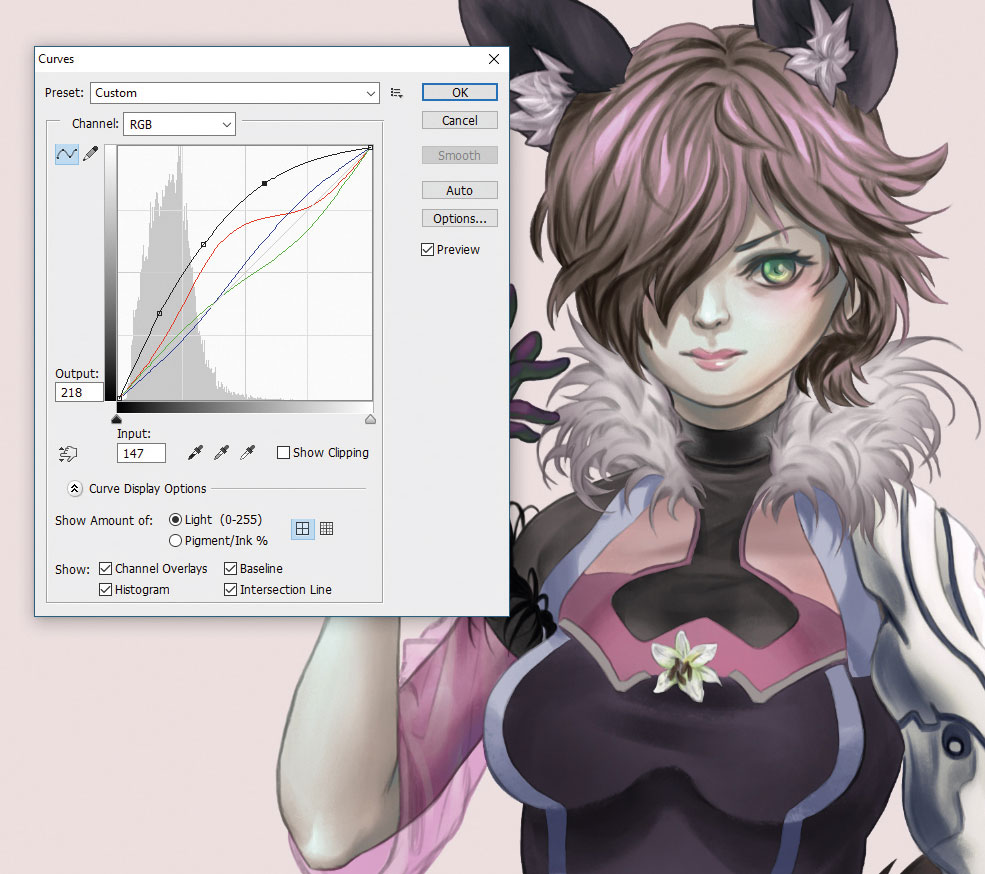
If you want to change the colour on an element that's already rendered, first, separate out the elements. Make sure all the different parts of the character are on individual layers for ease of editing. If I want to change a character’s hair from black to pink for instance, I’ll use Photoshop’s Curve tool to brighten it first.
To do a gradient colour on her hair, ctrl-select the hair layer, and then place a solid gradient on a new layer. Duplicate the gradient layer multiple times, and play around with Color, Overlay and Screen blending modes.
To make other adjustments, I use Color Balance, as well as a separate layer set in Screen mode, to finalise the colour change. Sometimes, when there isn’t enough tonal information for the colour change, I’ll paint them in as needed.
Develop a story for your character
11. Create a focus
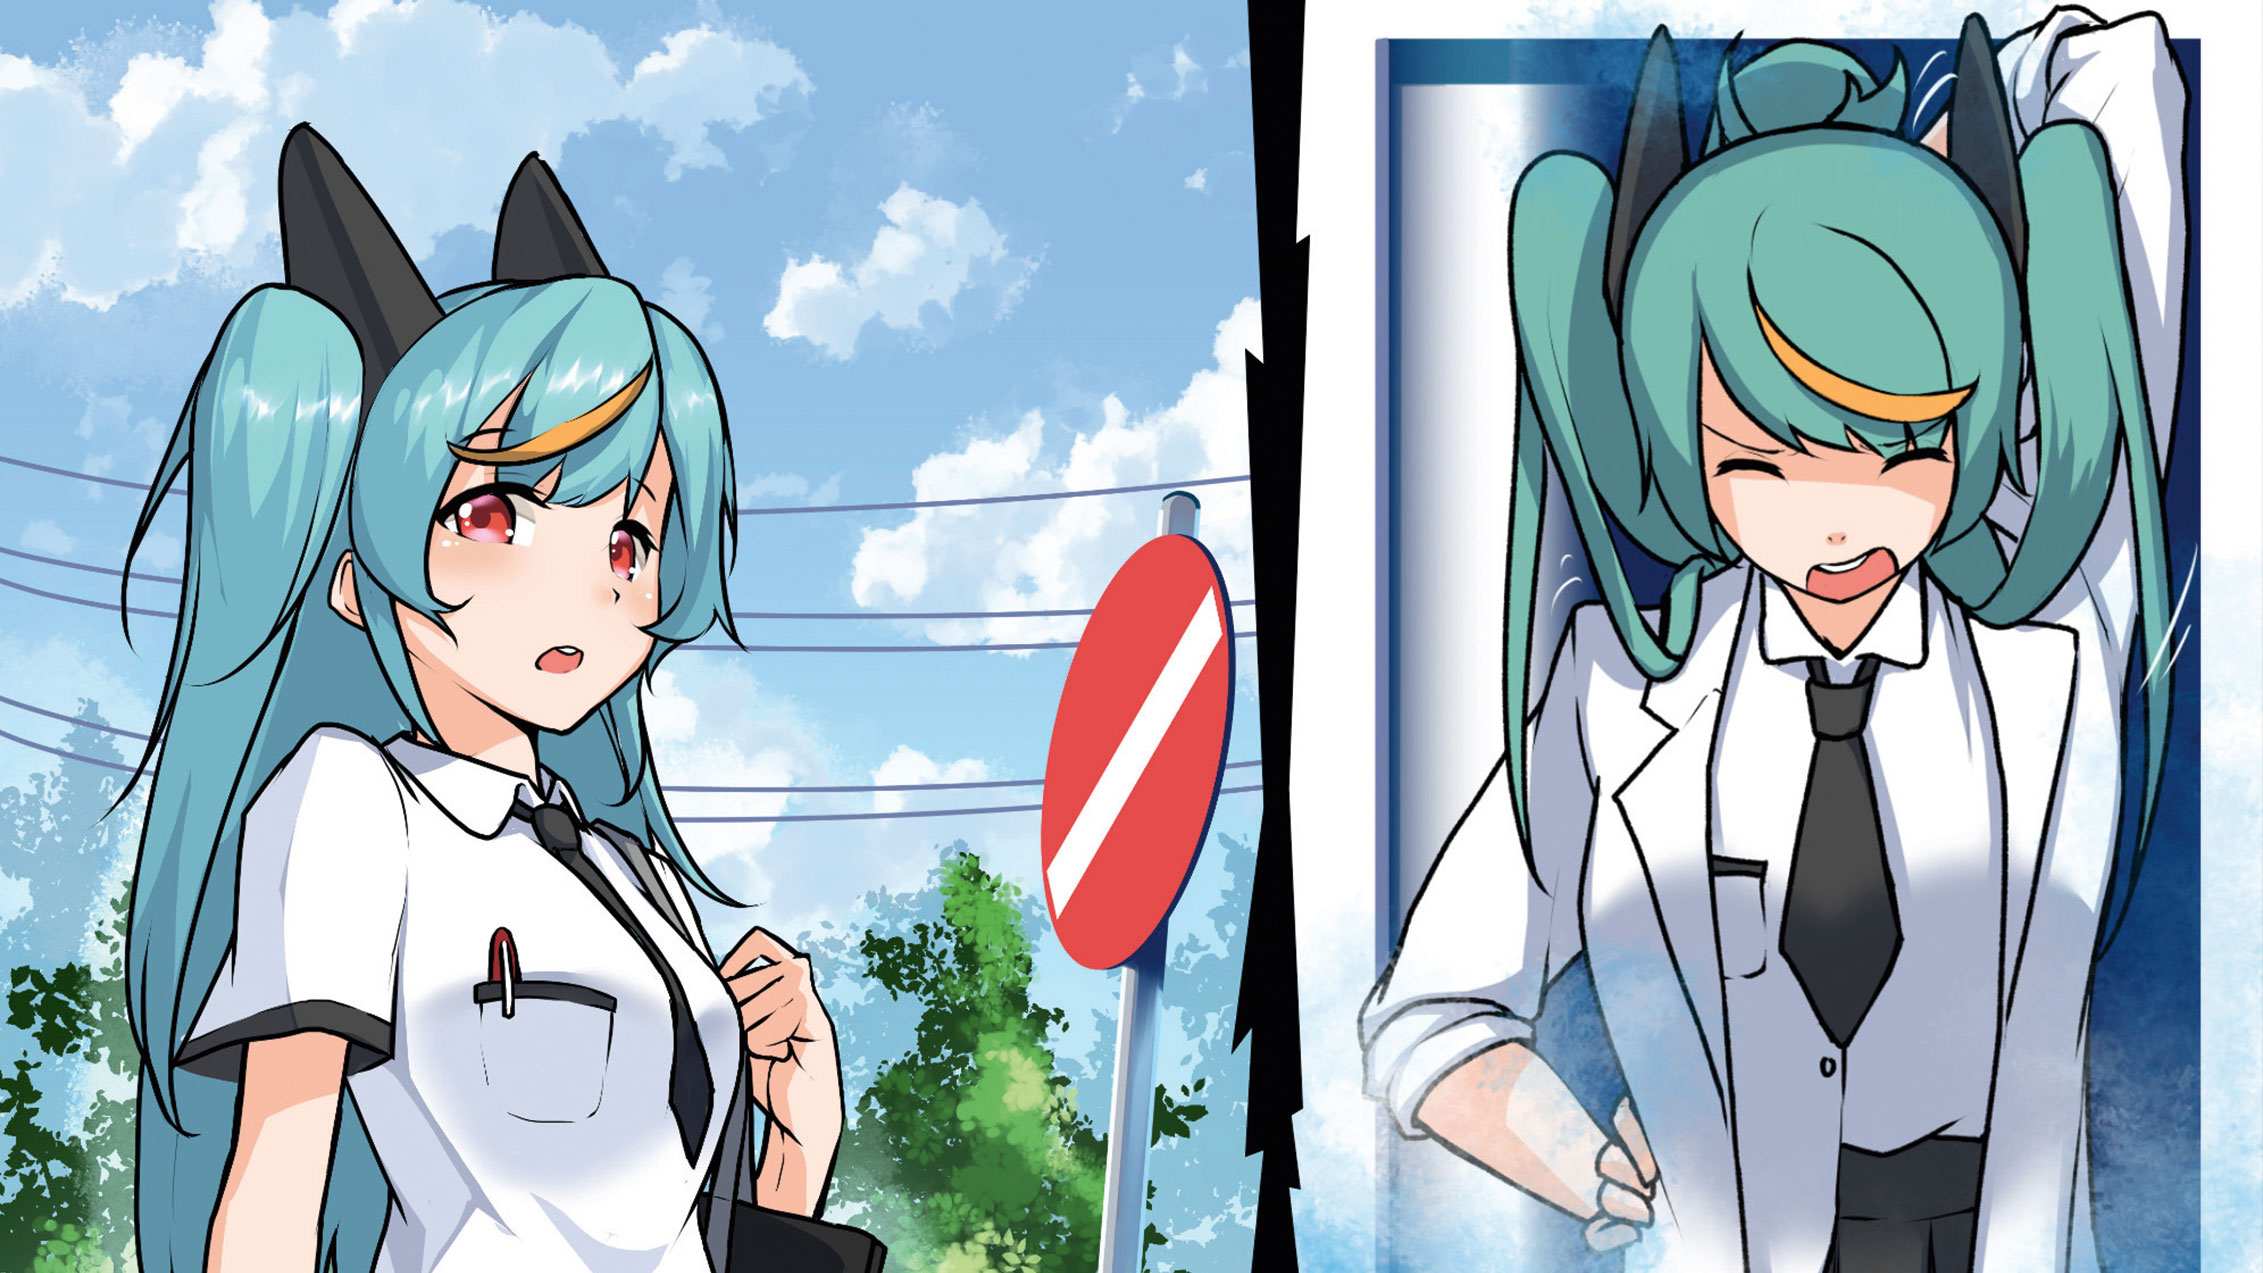
The key to creating a good character story is to have a strong centre to build your story around – the selling point that your readers can instantly recognise. It should be easily described in one succinct line. I use this one-liner to provide direction from which I develop the rest of my character’s story. Something as simple as 'a girl with a love of stationery and humanity thrust into circumstances beyond herself' can be enough to form the base of your character’s story.
12. Colour code characters
When differentiating characters, the quickest and most visible way to do so is by the use of colours. Colours can tell a story on their own, whether through the meaning of individual hues, or the relationship between certain colours.
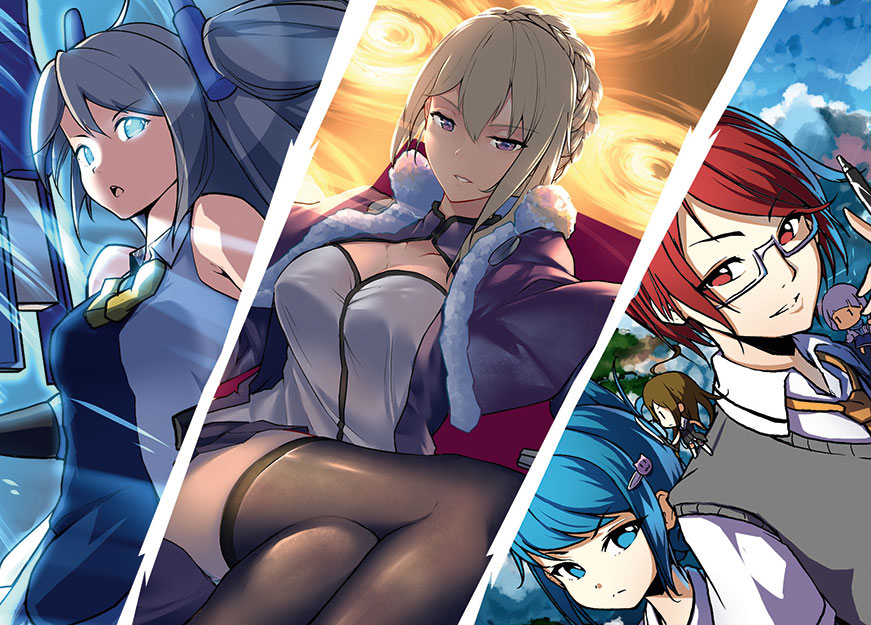
I use purple for a character with royal poise and wit, and red for a go-getter type with a childish lilt. And the contrast between red and blue enables me to create a story of contrasting opinion and values.
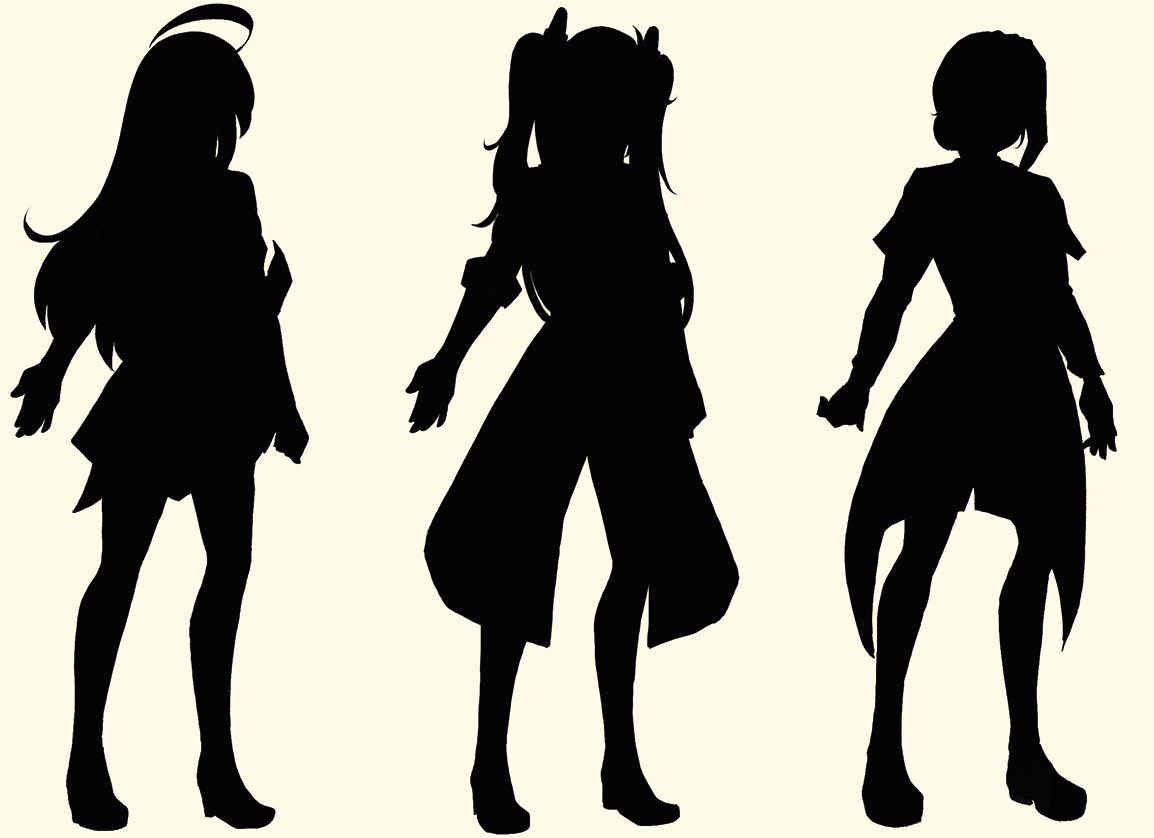
13. Create a distinct silhouette
Bodies come in all shapes and sizes in western comics. However, for manga, most body types and sizes fall within the same general categories, only differentiated by gender. In trying to create a distinct silhouette within the stricter rules of manga, I often fall back on two specific areas: hairstyle and unique design elements. I use contrasting hairstyles for my different characters, which allows for the variation in silhouette demanded for distinction. Where available, I also add unique shapes and objects to my clothing design to further set the silhouettes apart.
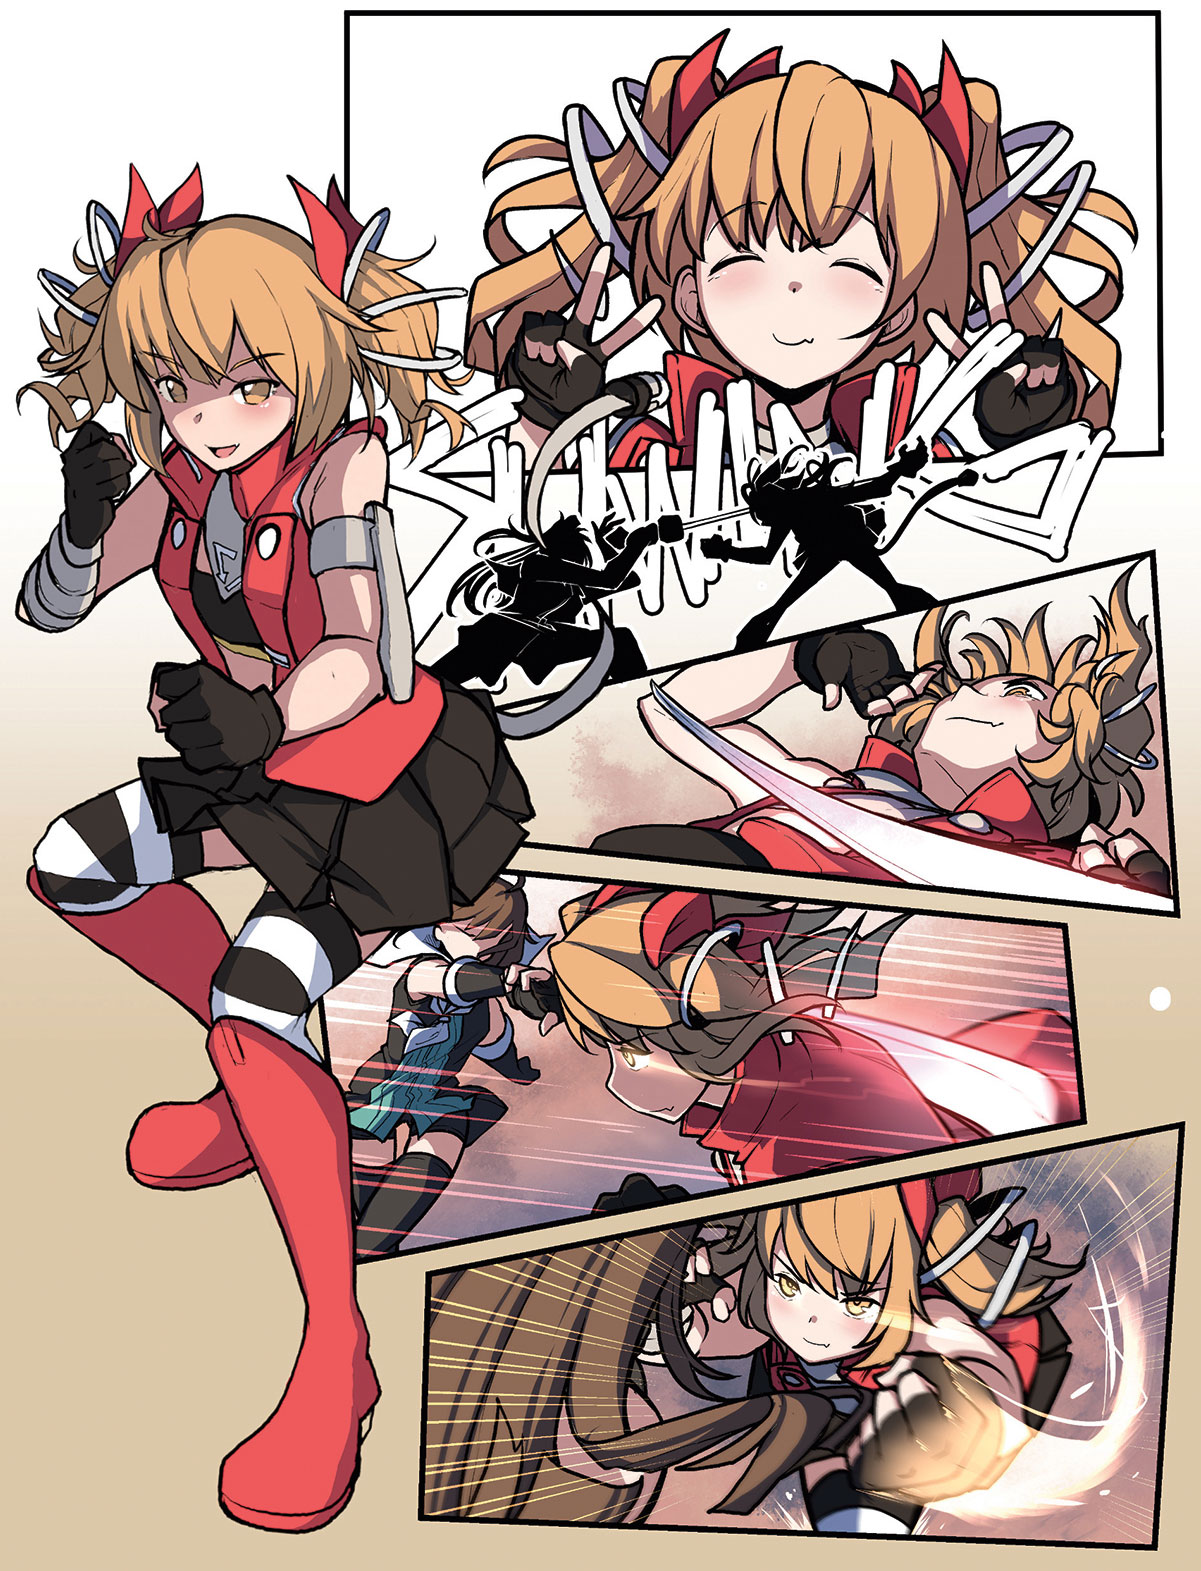
14. Tell a story through visuals
When introducing a character, it’s important that both their personality and abilities are displayed within the first few frames. To that end, in battle comics I ensure that their introductions enable them to fight an enemy.
I use this approach to establish the character’s verbal tics and choice of actions, as well as the powers and capability that they’re able to display. For a comic set in everyday life, I use a mundane daily task or scene for the same function, showing how the character approaches a problem that would be immediately familiar to the readers.
15. Begin with an end in mind
It’s relatively easy to create a character’s personality and traits. What isn’t easy is creating a role for the character. I begin this task by deciding what purpose this character will play in my overall storyline. I use something vague, but directional, like 'background character in the second arc', or 'mid-stage villain boss for the hero’s first battle'. This influences my choice of colours, elements and extravagance of design. After all, a throwaway character who appears in the background of two chapters will be much more subdued in design than one who has a major role in the hero’s development.
This article originally appeared in ImagineFX, the world's best selling magazine for digital artists. Subscribe here.
Read more:
