Age a photograph in Photoshop CC
Turn any photo into an aged, sepia-toned image in Photoshop.

Sign up to Creative Bloq's daily newsletter, which brings you the latest news and inspiration from the worlds of art, design and technology.
You are now subscribed
Your newsletter sign-up was successful
Want to add more newsletters?
Ageing a photograph in Photoshop is a classic technique that can turn even a ho-hum, full colour image into something striking. If your design work requires a vintage look, replicating the look of a distressed old photo digitally can work wonders.
However, it’s more than merely converting a photograph to sepia tones and calling it a day. In this article, we’ll explore how to age a photograph using the duotone technique in Photoshop CC. Simply follow these nine steps.
01. Choose a start photo

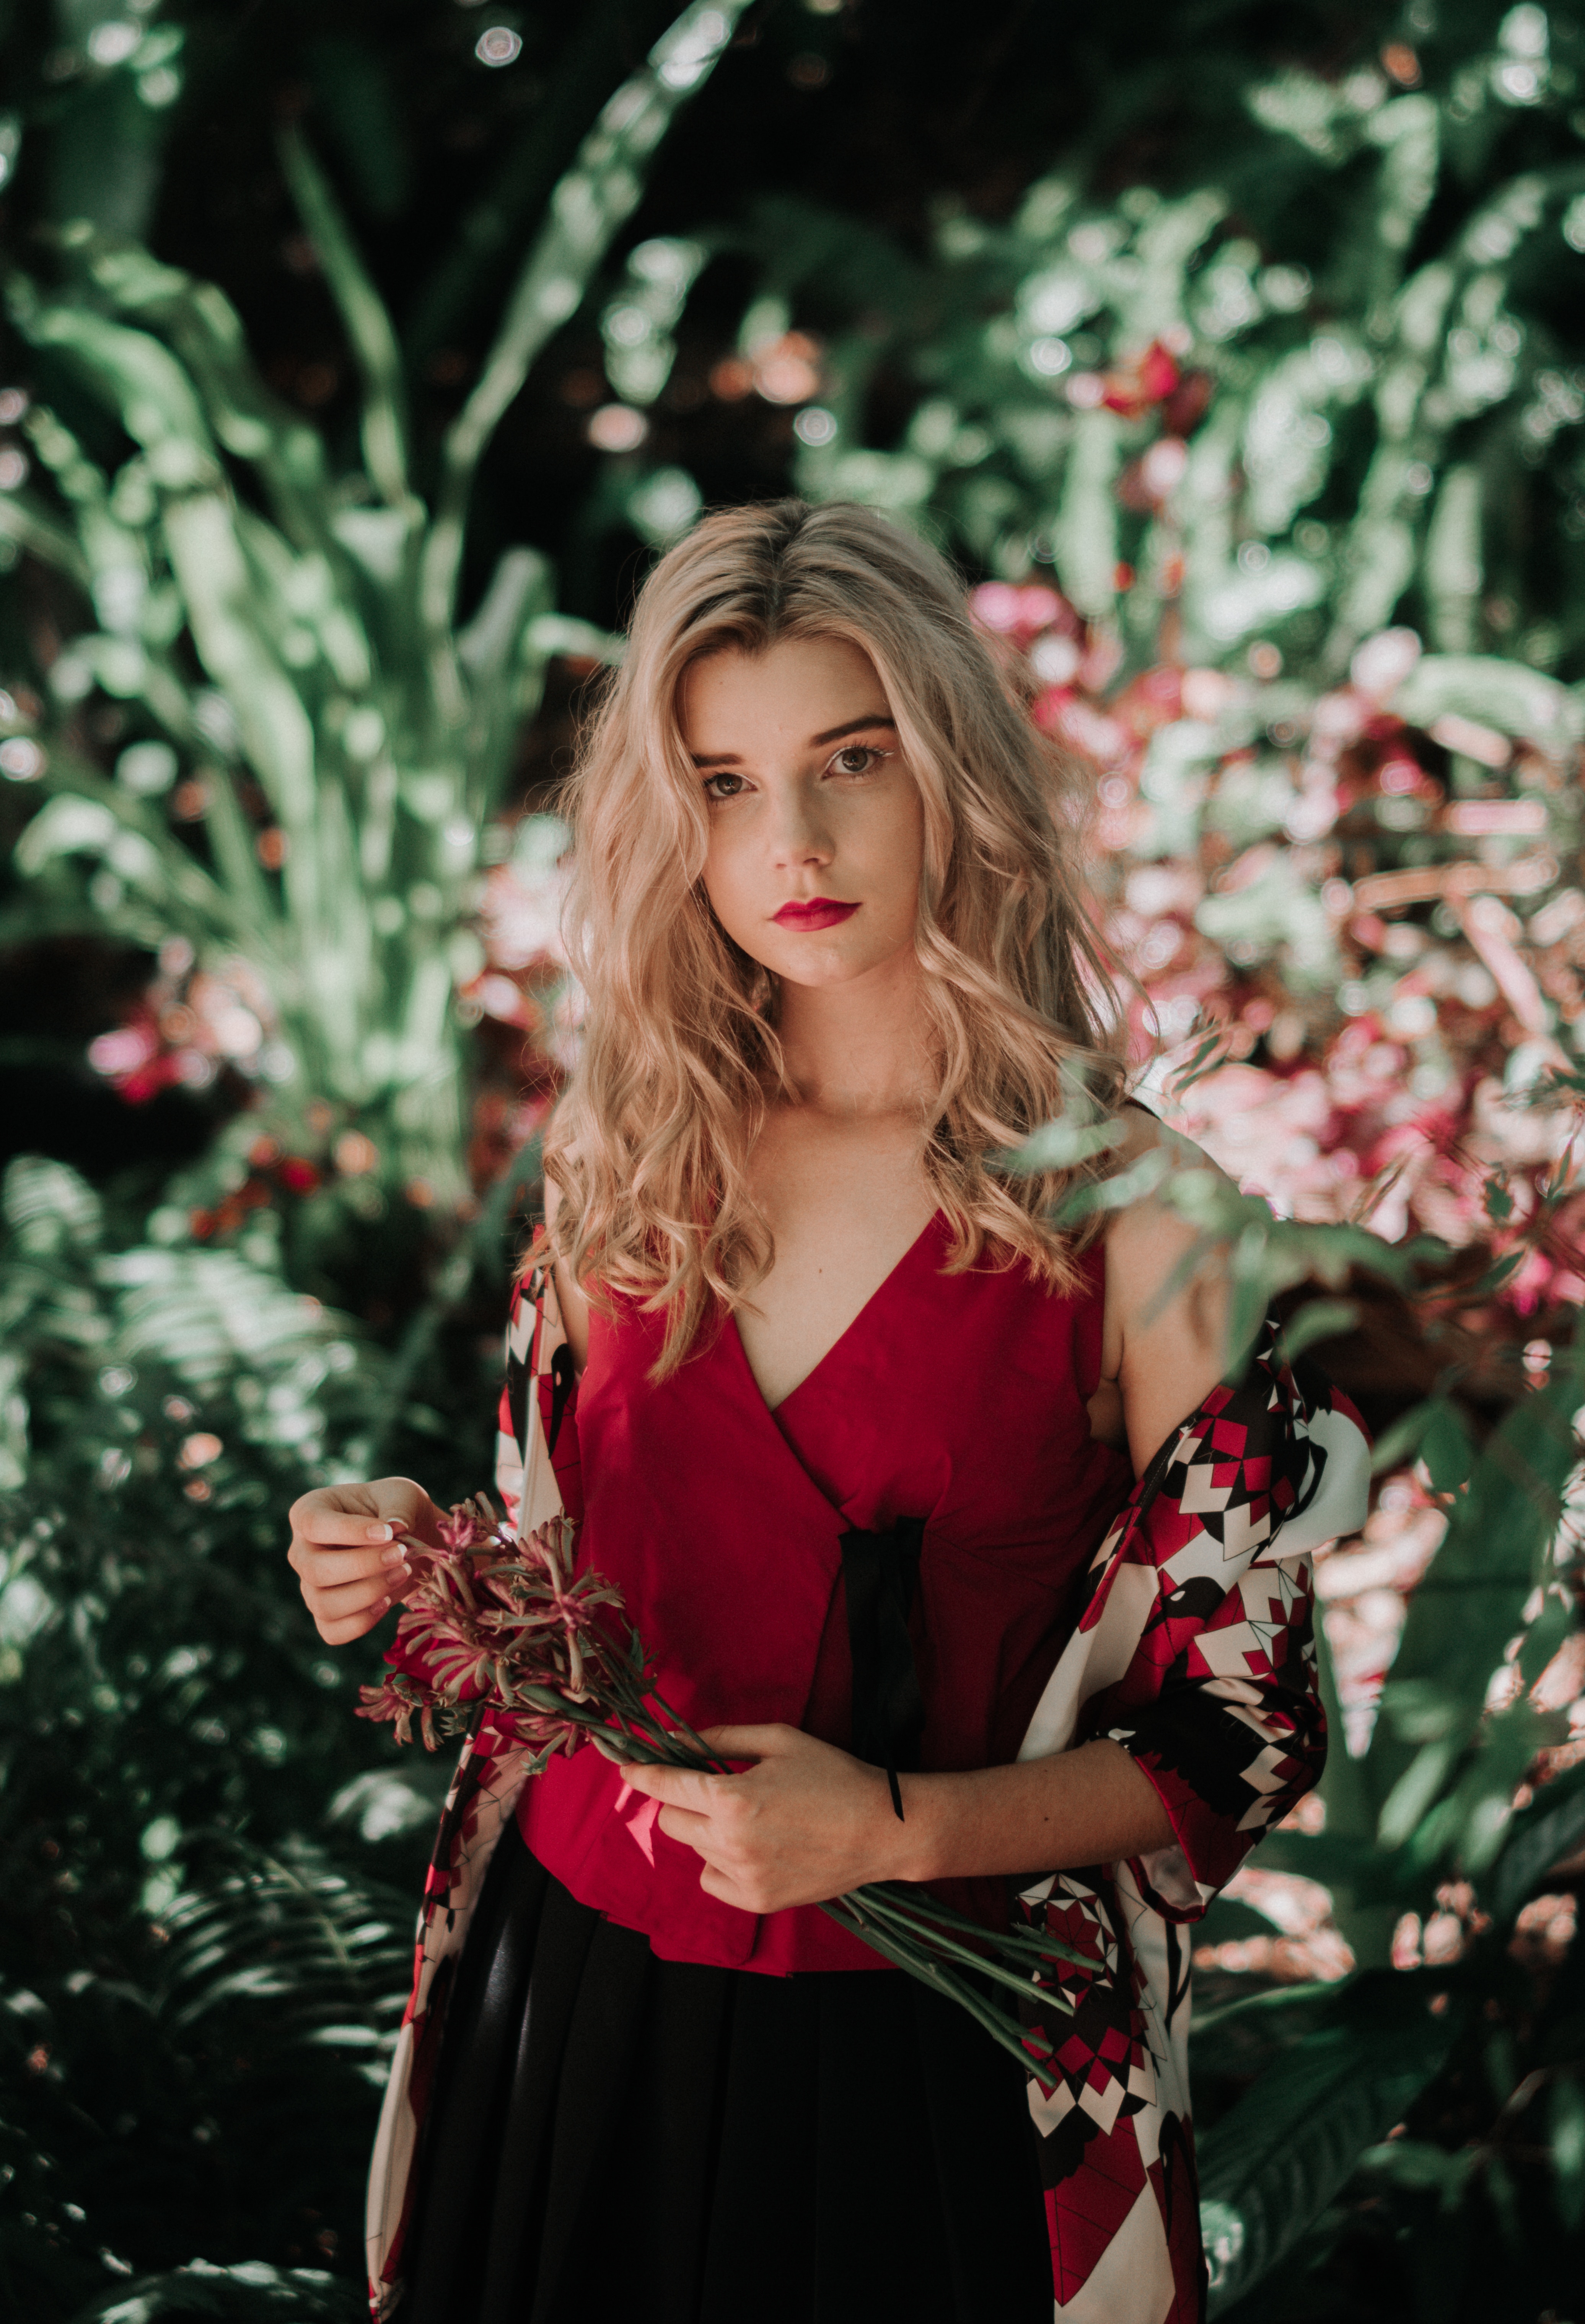
I’m going to start with this beautiful photograph from photographer Rowan Chestnut, available for free on Unsplash. Alternatively, you can of course work with your own photograph.
Article continues below02. Convert to greyscale
In order to convert a photo to sepia, it must first be made greyscale. Photoshop offers a number of ways to convert an image to greyscale, but let’s go with the least destructive choice and use an adjustment layer.
At the bottom of the Layers panel you’ll find a Create New Fill or Adjustment Layer button, along with a black-and-white icon. Click that icon and choose Black & White to add a black and white adjustment layer. The colour image will instantly turn greyscale, but without altering the original image, which can be found on the Background layer.
03. Apply a gradient map
Sepia tones occur when a greyscale photo has faded – the black ink shifts towards brown, while the paper, which is reflected in the whites and light shades, turns yellow. Therefore, to artificially age our photograph we want to replace the black and dark grey tones with a brown hue and substitute the lighter tones with a pale yellow or cream. We can easily do this using another adjustment layer.
Click again on the Create New Fill or Adjustment Layer button at the bottom of the Layers panel, but this time choose Gradient Map. As you can see in the image below, red replaced the black in this image, but your results may be different. We’ll fix the colours next.
Sign up to Creative Bloq's daily newsletter, which brings you the latest news and inspiration from the worlds of art, design and technology.
04. Convert to sepia
Open the Properties panel from ‘Window > Properties’. With the Gradient Map 1 layer selected in the Layers panel, the Properties panel will display the gradient map.
In the Properties panel, click on the gradient itself to open Photoshop’s Gradient Editor. At the top are presets – defaults and ones you create – and dominating the dialog is the gradient ramp itself. We’ll use this to turn our image into sepia tones.
05. Replace dark tones with brown
Double-click on the left colour stop beneath the gradient colour ramp (the red one in the image above) and a colour picker will appear. Here we need to choose a colour to replace the black and dark tones. You want to mix a muted brown – we’ve chosen RGB 58, 41, 11.
Click OK to return to the Gradient Editor.
06. Replace light tones with yellow
We need to change the colour stop on the other end of the gradient, too. Double-click it, and in the colour Picker dialog, select a shade to replace the whites of the image and tint all the lighter tones in the photograph. We used RGB 242 ,431, 209, but feel free to use a different colour.
With that done, you should see something similar to the image above.
07. Make it grainy
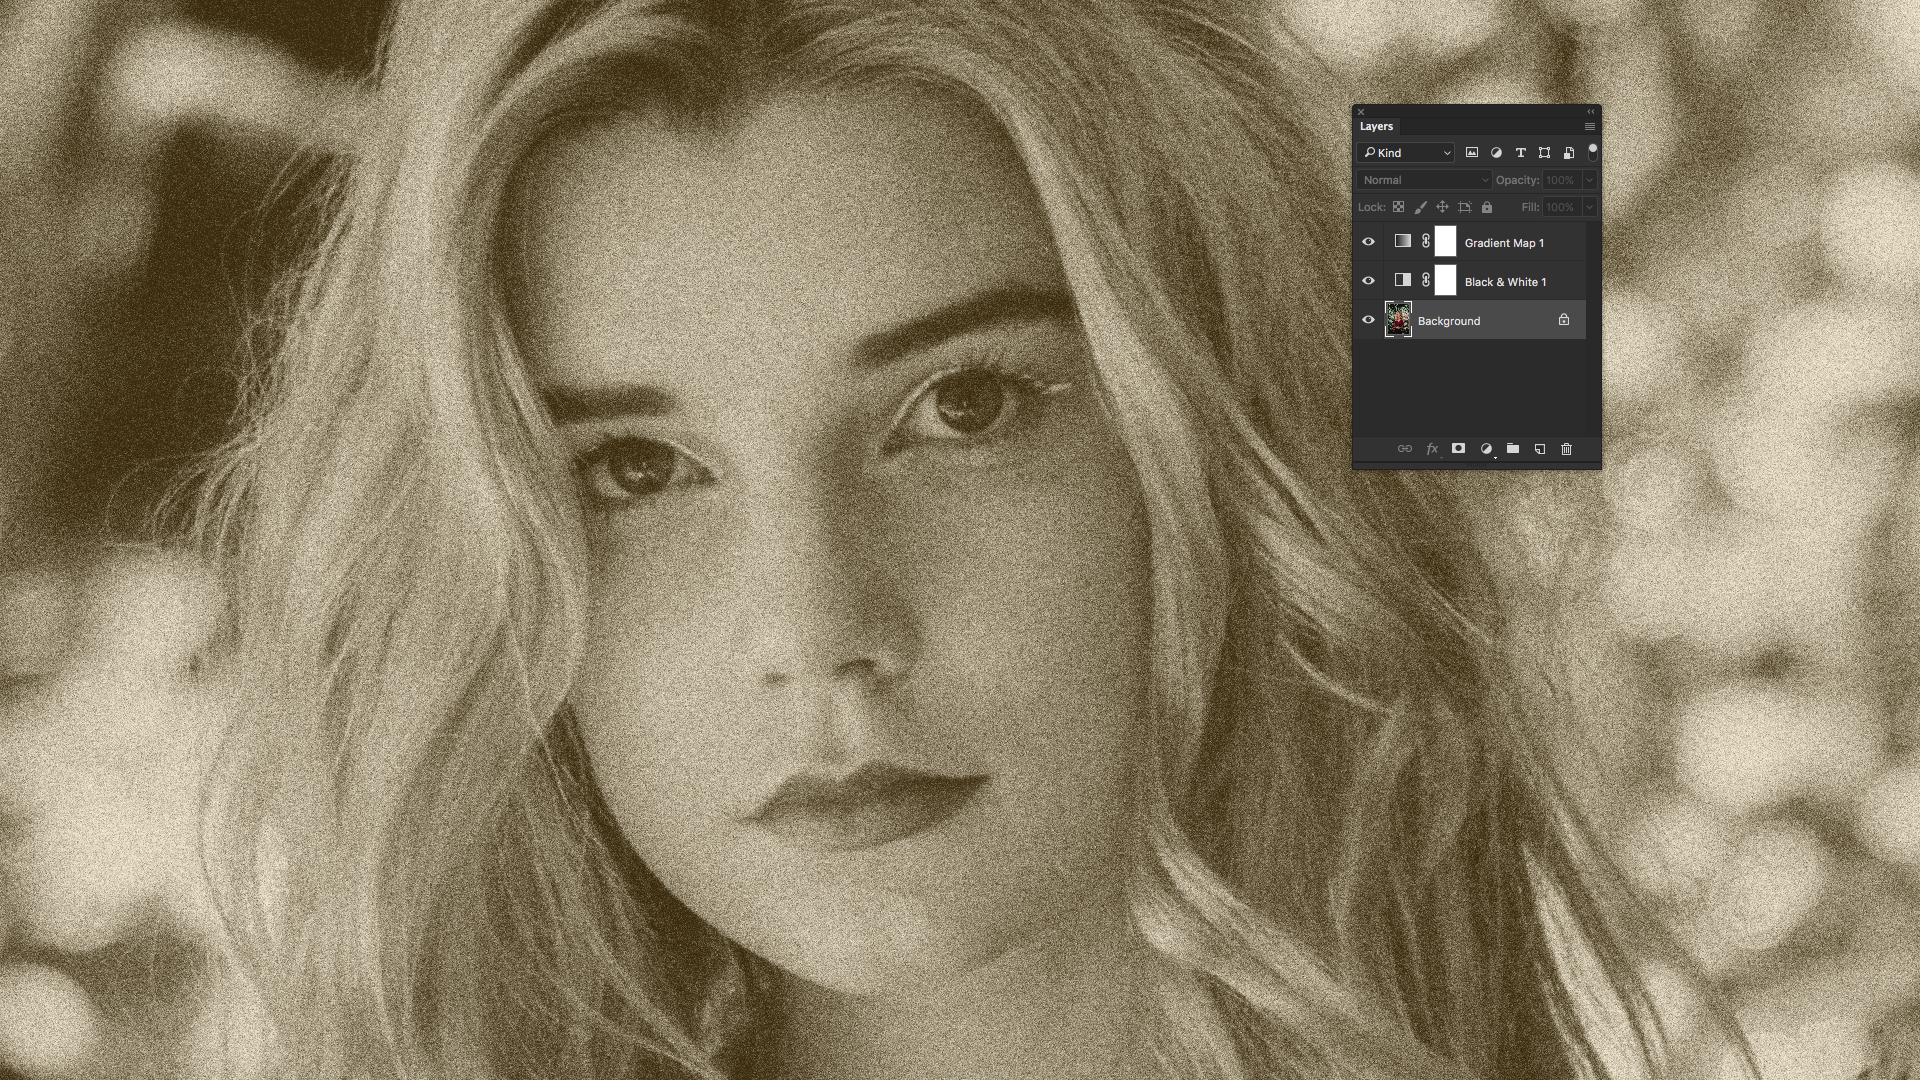
![The Add Noise filter can simulate film grain [click the icon to enlarge the image]](https://cdn.mos.cms.futurecdn.net/QUbhMR4yKHfyjxegU4ooAD.jpg)
One of the most important – and beloved – aspects of shooting black and white film photography is the film grain visible in the photographs. So if you want a realistically aged-looking photo, you’ll need to add film grain.
In the Layers panel, click on the Background layer to select it. This step will permanently alter the original photograph, so you may want to create a copy of the Background layer first. From the Filter menu choose ‘Noise > Add Noise’ and the Add Noise dialog will appear.
Note that with the full-colour Background layer (or a copy of it) selected, the preview window in the Add Noise dialog box will show in full-colour, excluding the two adjustment layers – don’t worry about this.
08. Add Gaussian blur
Still in the Add Noise dialog, make sure Gaussian is selected under Distribution and that the box beside Monochromatic is checked. Now adjust the Amount field or the slider beneath it to set the right amount of noise. We went with 10 per cent for this photograph.
When you’re satisfied, click OK to apply the film grain noise to the photograph. If your results aren’t ideal, you can always undo the application of Noise and then use the Add Noise filter again.
09. Push things further
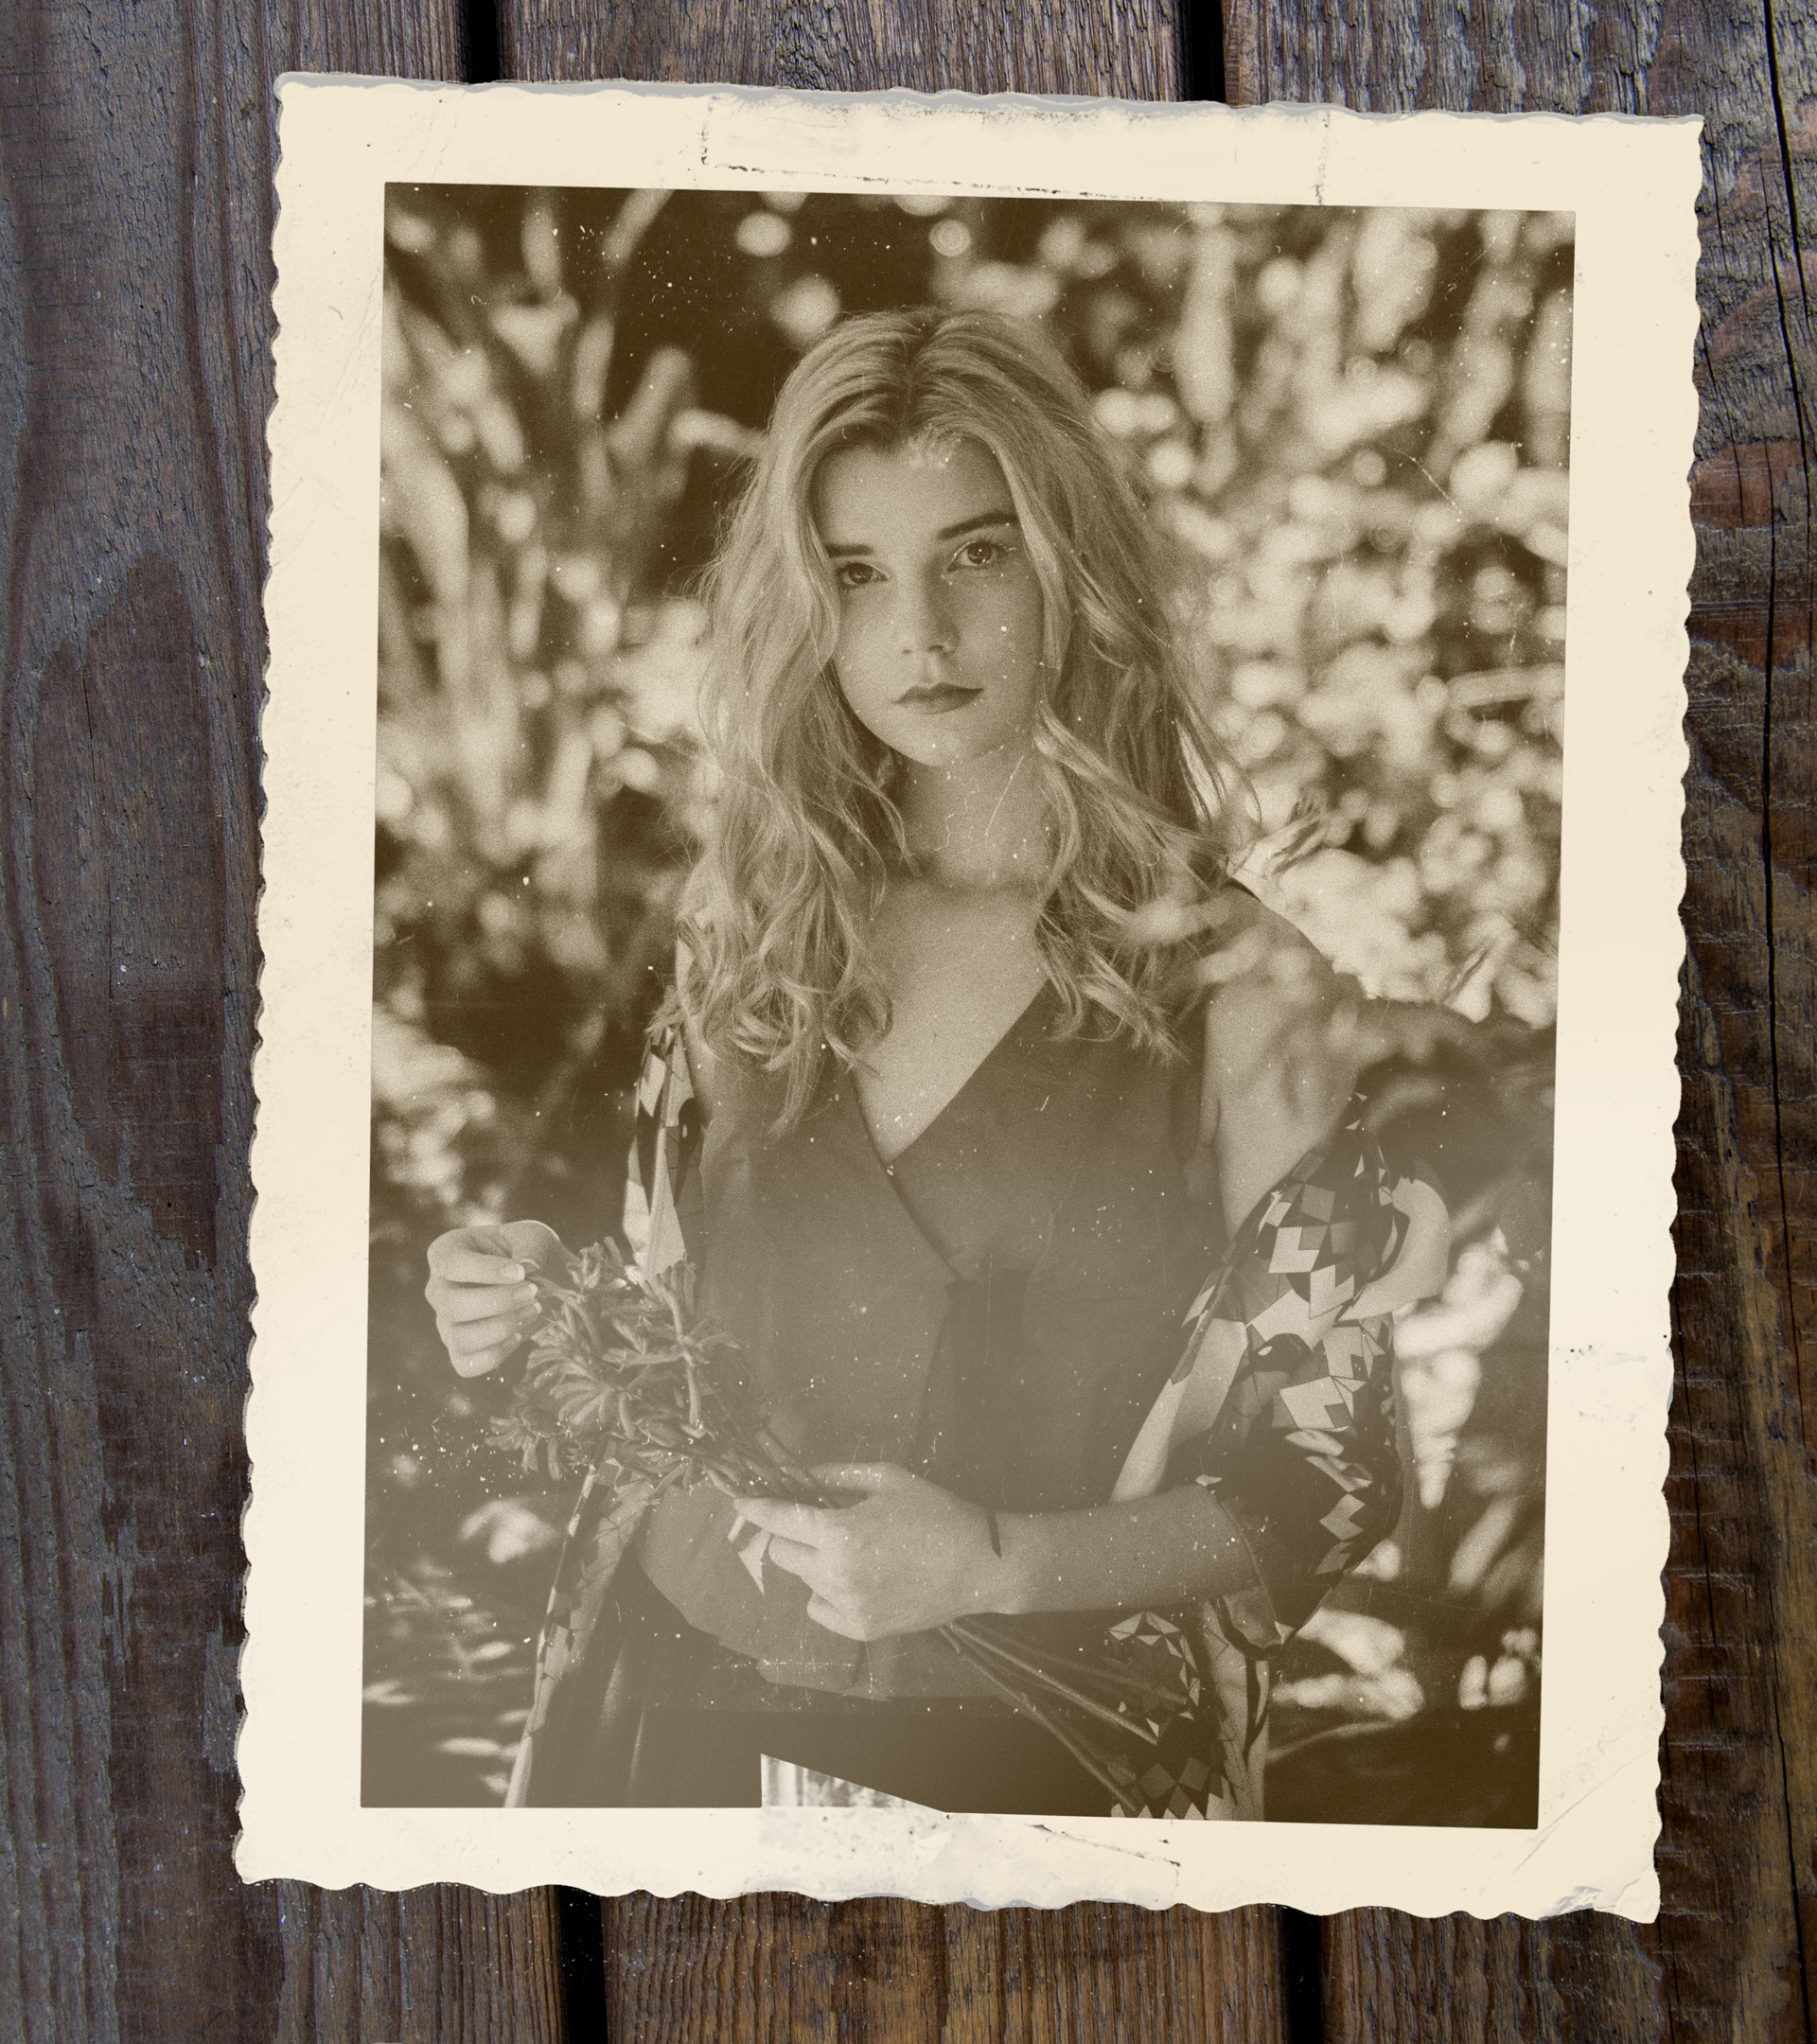
You now have a sepia-toned image that looks like it really is old. From here, you can use the image as is, or work with it a little further. You might want to consider adding some scratches, nicks, and dust to further age the photograph.
You can do that yourself with a simple round paintbrush, or using one of the numerous sets of special Photoshop brushes – for inspiration, take a look at the ‘grunge’ section of our round-up of free Photoshop brushes.
You might even want to add a frame and background to the image, which we’ve done in the final image above using a different set of free brushes by MiloArtDesign (download them here) and another stock photo.
If you’d like to learn more techniques and tricks for working with gradient maps in Photoshop or with monotone, duotone, and tritone in Photoshop or InDesign, take a look at the two-in-one Pluralsight video course, Designing in Duotone in Photoshop and InDesign.
About Pluralsight
Pluralsight is an enterprise technology learning platform that delivers a unified, end to end learning experience for businesses across the globe. Through a subscription service, companies are empowered to move at the speed of technology, increasing proficiency, innovation, and efficiency. For a free trial and more information, visit www.pluralsight.com.
Related articles:
![Add a Black & White adjustment layer to turn the full-colour image greyscale [click the icon to enlarge the image]](https://cdn.mos.cms.futurecdn.net/hVCmK2NzKAP9eAN9L7w2DD.jpg)
![A Gradient map adjustment layer converts the tones of the greyscale image to something else [click the icon to enlarge the image]](https://cdn.mos.cms.futurecdn.net/QHdVvQzTfdRSHPVuj5wU7D.jpg)
![The Gradient Editor lets you modify the colours in the Gradient Map adjustment layer [click the icon to enlarge the image]](https://cdn.mos.cms.futurecdn.net/LMmVQEJs3HbxhyjFafVS8D.jpg)
![Pick a muted brown shade to represent faded blacks [click the icon to enlarge the image]](https://cdn.mos.cms.futurecdn.net/php2Dxj8npe3KD5n7hdsBD.jpg)
![Replace light tones with a pale yellow [click the icon to enlarge the image]](https://cdn.mos.cms.futurecdn.net/hE76j3rYL9vZay3YMzHXBD.jpg)

![Before and after compared [click the icon to enlarge the image]](https://cdn.mos.cms.futurecdn.net/pf6NheKXpNLYso7viJygza.jpg)
