Create a meteor shower in 3ds Max
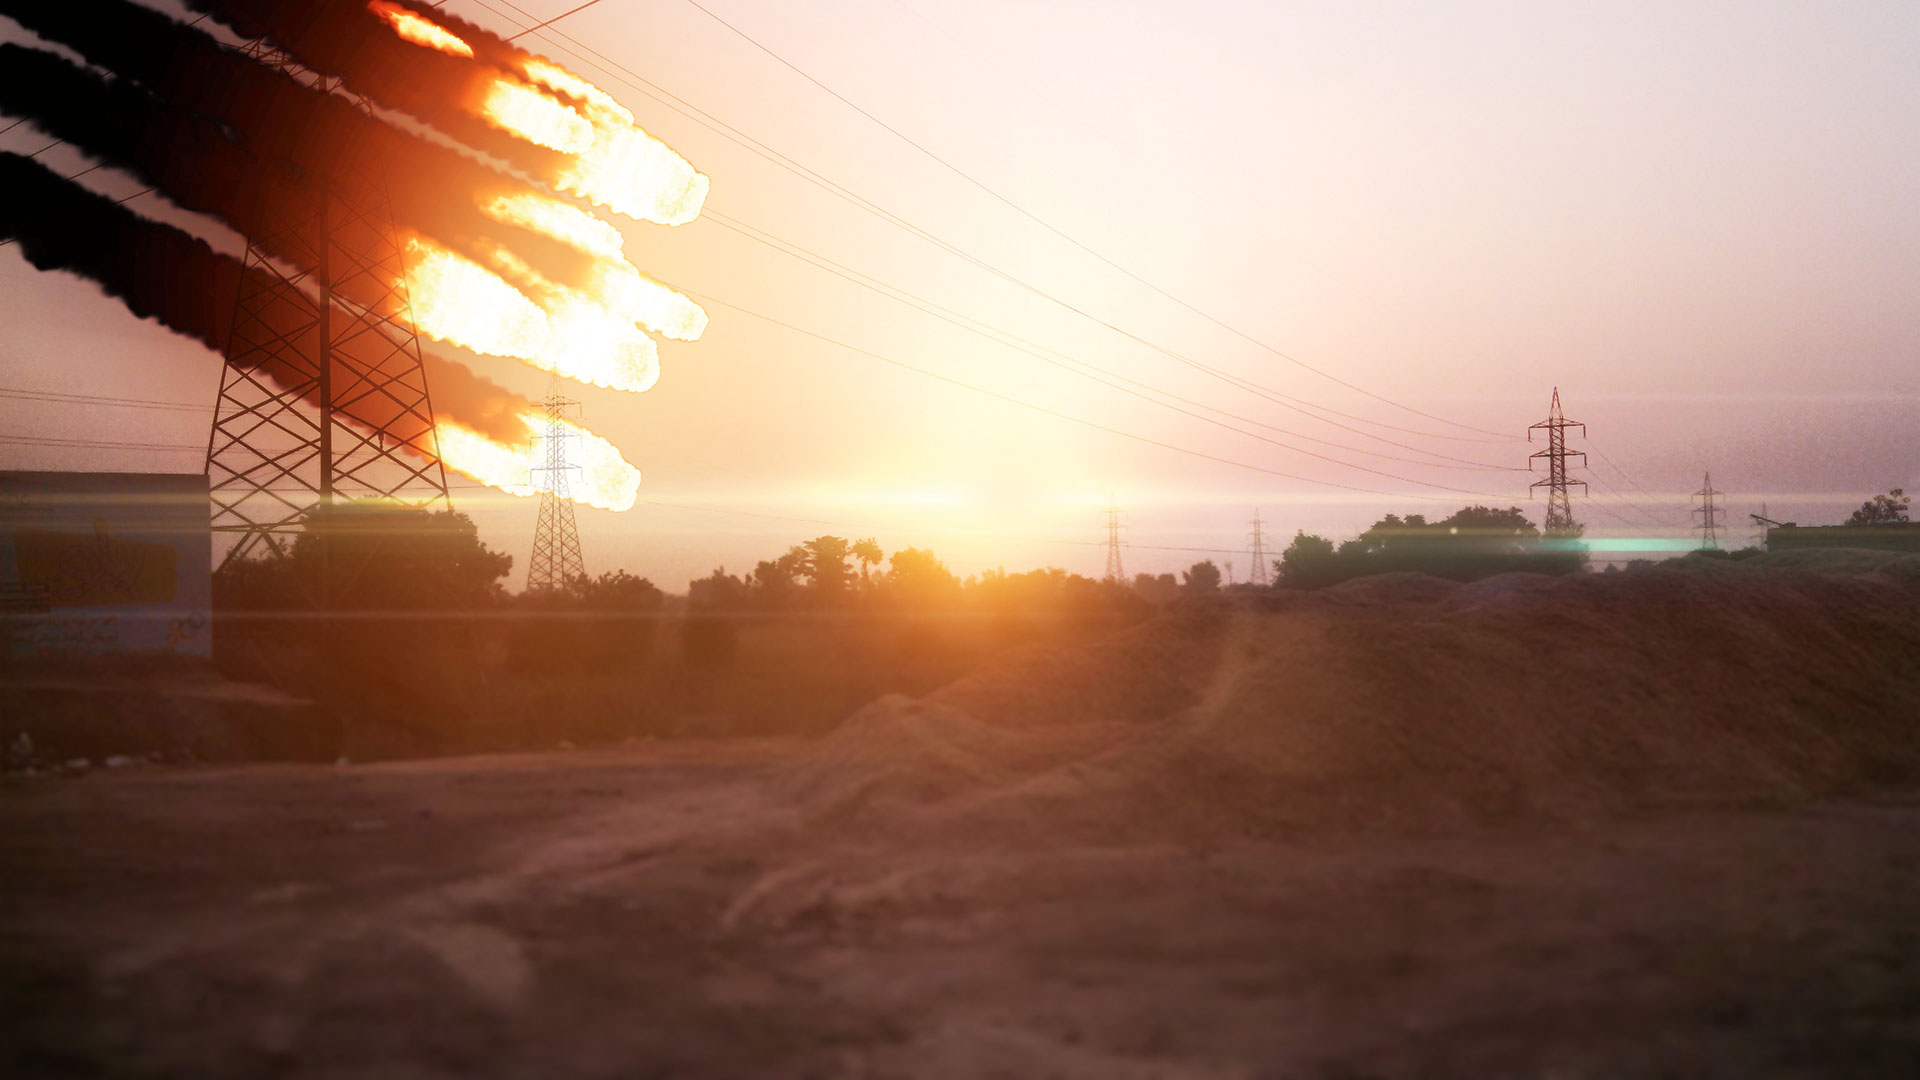
Light up the sky with realistic fiery meteors using 3ds Max and FumeFX.

If you want to make a 3D meteor shower for a scene or project, you can easily render a photorealistic meteor shower in any 3D design application, such as 3ds Max and Sitni Sati's FumeFX, which we'll use here.
It's a less deadly and far quicker approach than having to get a doctorate in theoretical physics, to invent a time machine to go forward in time to when humans are advanced enough to control the paths of meteors and space debris, to create a real meteor shower.
In this tutorial, we'll make 3D meteors that are as realistic as possible – for example, as soon as meteors enter the atmosphere, they start burning, so the effect of friction means the front of the meteor becomes smoother than the back over time. Also, when we animate the rocks, using a straight path of travel will add to the realistic feel.
Starting the simulation is easy, but you have to keep on tweaking in order to get the right look. Settings like Burn Rate and Turbulence really affect the overall look of the simulation. Keep tweaking these settings to get the right look for your simulation and simulate after every tweak to make sure nothing goes bonkers and ruins your simulation.
Let's get started in 3ds Max and FumeFX...
01. Create some rocks
Once you've got the basics of 3ds Max and FumeFX, start by creating some rocks. Start by creating some spheres and applying some displacement maps to them. In 3ds Max, there's a modifier that can do that really nicely, and there are some really cool noise generation modifiers. Alternatively, you can use the free script online called Rock Generator, which is really good.
You can also sculpt your rocks, smoothing the front with the Smooth Sculpting Brush. It's not very important to get it exactly right because it will be on fire, so a low-poly version will be fine. You just need to have something to burn in the scene.
Daily design news, reviews, how-tos and more, as picked by the editors.
02. Animate the rocks
Once you have the rocks set up, animate them to go on your desired path. I find that animating them diagonally doesn't work, since the FumeFX container gets too big and that requires a lot of processing power. So instead, just animate them going from a high altitude to a path straight down. This will make the container smaller and speed up the simulation.
The next step is to set up a FumeFX container. Then, set up an Object Source, add that to the container and start the simulation. We'll go over this in detail in the steps that follow.
03. Set up the simulation
Set up a FumeFX container (go to Create>Geometry>FumeFX>FumeFX) and an Object Source (go to Create>Helpers>FumeFX>Object Src). Add the rocks to the Object Source.
Go to the FumeFX container and open the FumeFX UI. Under the obj/src tab, add the Object Source and you're good to go. Click the Play button to start.
04. Render settings
Once the simulation is done, go to the FumeFX UI and under the Rend tab, edit the colours and textures of the simulation. Under the Fire group, go to Color, right-click the colour swatch and click Keyless Mode.
Now, you can set up a gradient. From left to right, the colour of the particles is set. Often, going from dark brown to black works best.
This article originally appeared in 3D World issue 223. Buy it here!
Related articles:

A motion graphics and VFX artist from Pakistan with nine years' experience, Syawish loves motion graphics and making video tutorials.
![Use the Rock Generator script to quickly sort some rocks out [click the icon in the top-right to enlarge the image]](https://cdn.mos.cms.futurecdn.net/fRXvsfu4SKfDoSFQYtwyXZ.jpg)
![Animate your rocks going straight down to speed up the simulation [click the icon in the top-right to enlarge the image]](https://cdn.mos.cms.futurecdn.net/Qmh6PbP84nrzQSY7Yc2NVZ.jpg)
![Use FumeFX to set up the simulation [click the icon in the top-right to enlarge the image]](https://cdn.mos.cms.futurecdn.net/Z3PyEkMKbAJduK97bYocVZ.jpg)
![Sort out your colours and gradients and you're ready to render [click the icon in the top-right to enlarge the image]](https://cdn.mos.cms.futurecdn.net/RuybFSNH5wXD3ix2GLTQVZ.jpg)
