Get to grips with the wet-in-wet painting technique
Painting wet-in-wet can create beautiful effects but can be hard to get right; here's how to hone your technique.

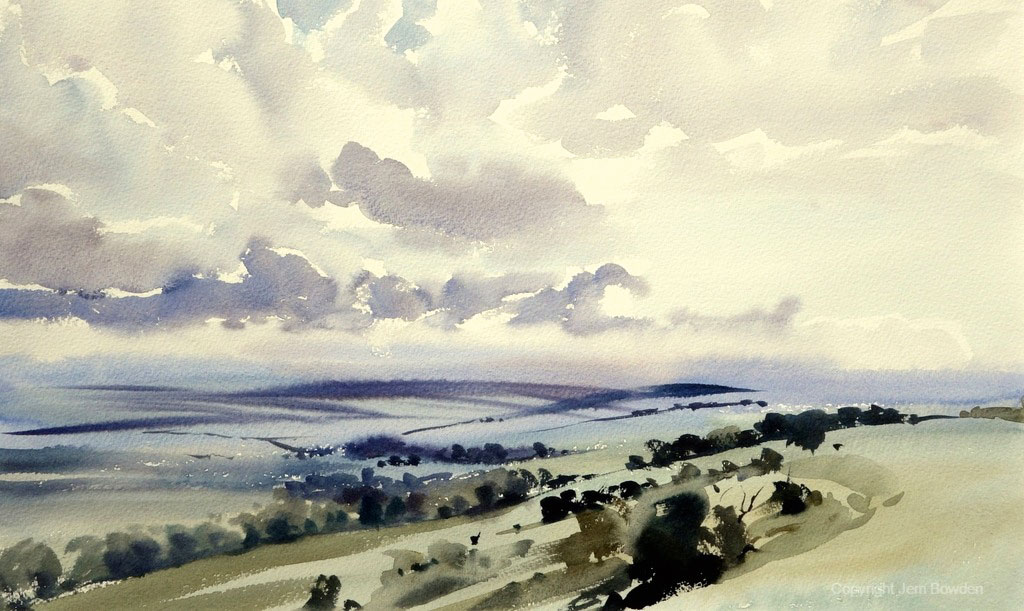
Wet-in-wet is a painting technique that can often cause frustration. This method is where additional paint is added into a wet section of the paper. Problems usually arise from an inconsistent amount of water in the combined mixes. Paint may disperse too wildly, or irregularities such as runbacks – when a wetter part of the paper pushes pigment at the edge of a dryer part into a characteristic wavy line – may result. These effects can be desirable, but often they're not wanted!
Once an area of paper has been dampened by paint or water, usually not much extra water will be needed in any paint that is added into it. If the paper isn't heavy, or pre-stretched onto board, it may form bumps. Experiment by adding different dilutions into different wetnesses of paper. Timing is important. Adding undiluted tube paint into a wet area helps you gain control with the method, so it's a good starting point. The three-step example illustrates this.
Need some new resources? Try our best watercolour paints guide, and explore the best watercolour paper, too.
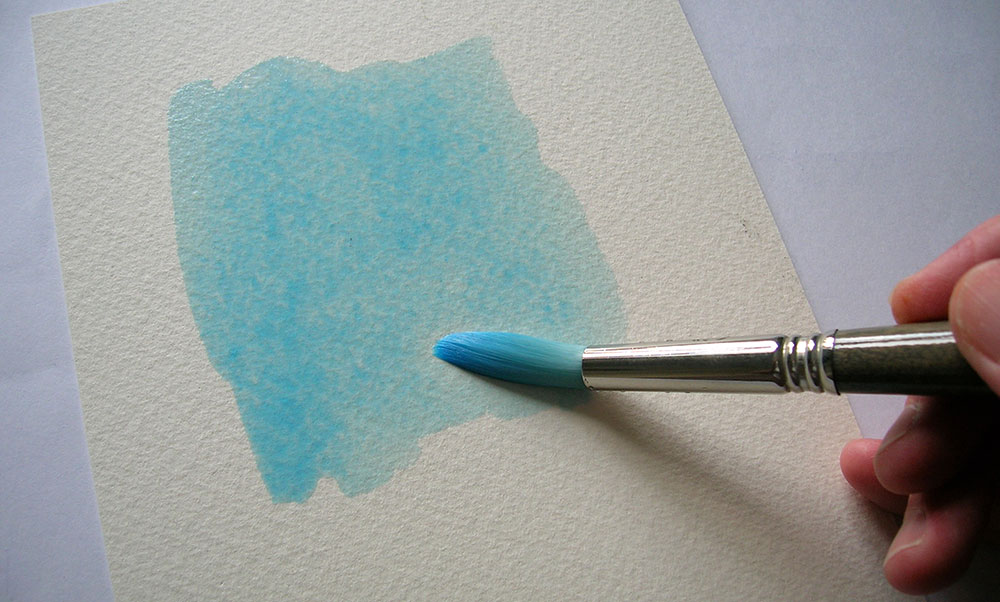
01. Lay down your wash

To create soft-edged but controlled marks, the paint that is added must have a lower water content than the area it is added into. As a quick exercise, you can squeeze out a small blob of tube paint. Mix and quickly lay down an area of wash (a few inches square), using a very diluted mix of paint and a fully loaded brush.
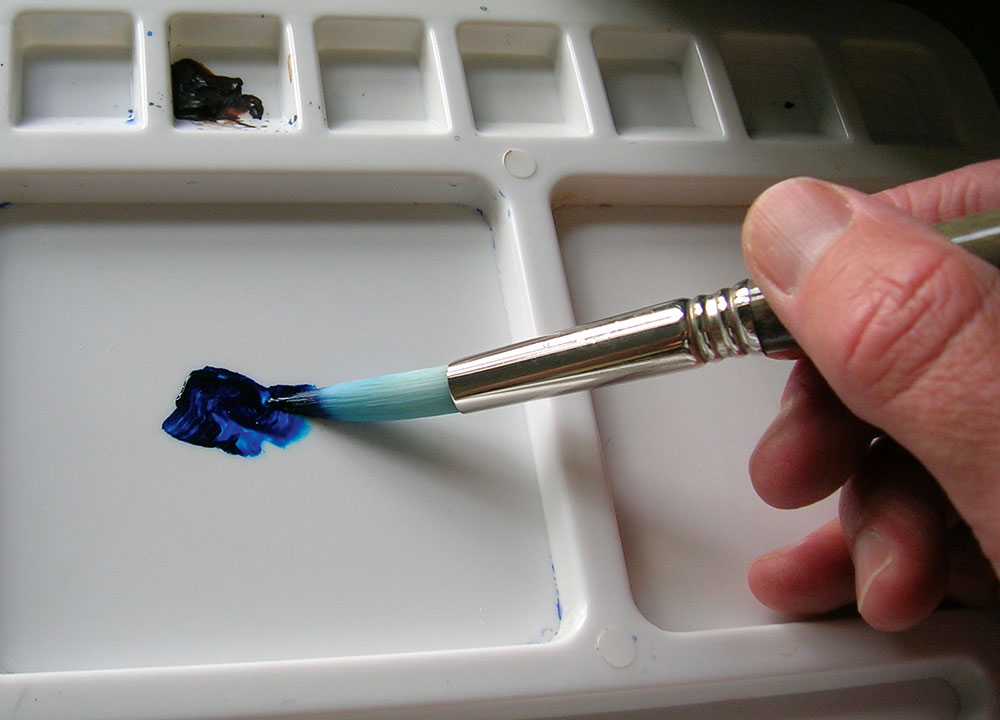
02. Prepare your paint

Straight away, hold your brush against an absorbent rag or kitchen paper, so almost all moisture is taken out of it. Then, onto the tip of your brush pick up a generous amount of paint and work it evenly into the tip using a dry section of your palette.
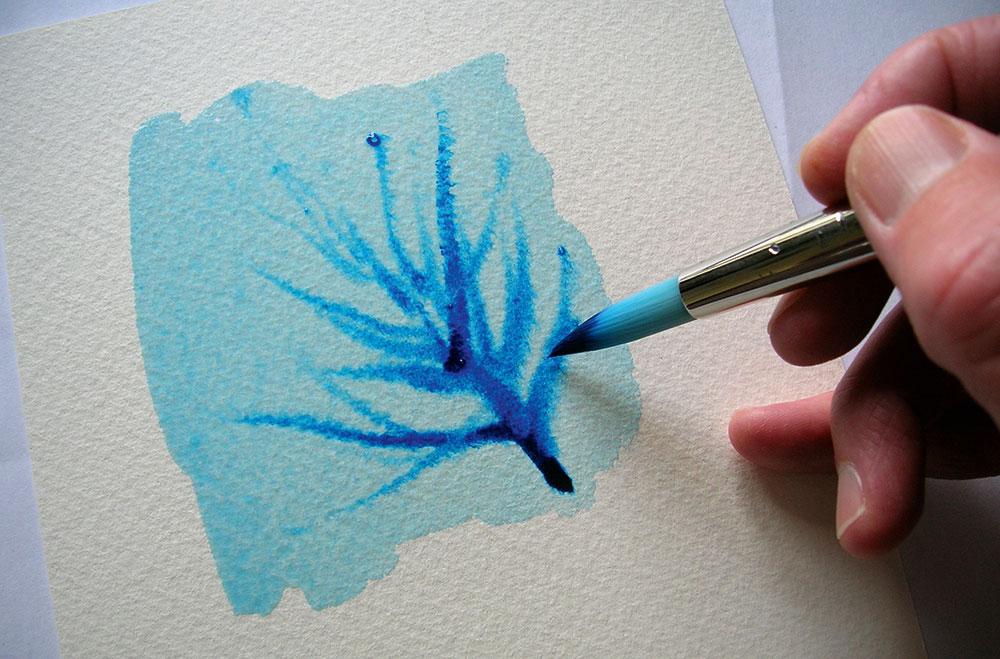
03. See how it works

Now, while the wash is still wet, paint some marks into it and see how the paint reacts. Here I've painted a tree shape – the effect is that it blurs, as if out of focus. However, the paint dispersal is minimal, the shape holds up and the effect is therefore controlled.
This article originally appeared in Paint & Draw issue 2; buy it here!
Daily design news, reviews, how-tos and more, as picked by the editors.
Related articles:
