Make grass in Unreal Engine
Creating 3D vegetation can be a time-consuming business - here's how to make it less painful.
Sign up to Creative Bloq's daily newsletter, which brings you the latest news and inspiration from the worlds of art, design and technology.
You are now subscribed
Your newsletter sign-up was successful
Want to add more newsletters?
When creating architectural visualisation you need to represent a lot of details, and one of the most time-consuming is vegetation like grass, trees and bushes.
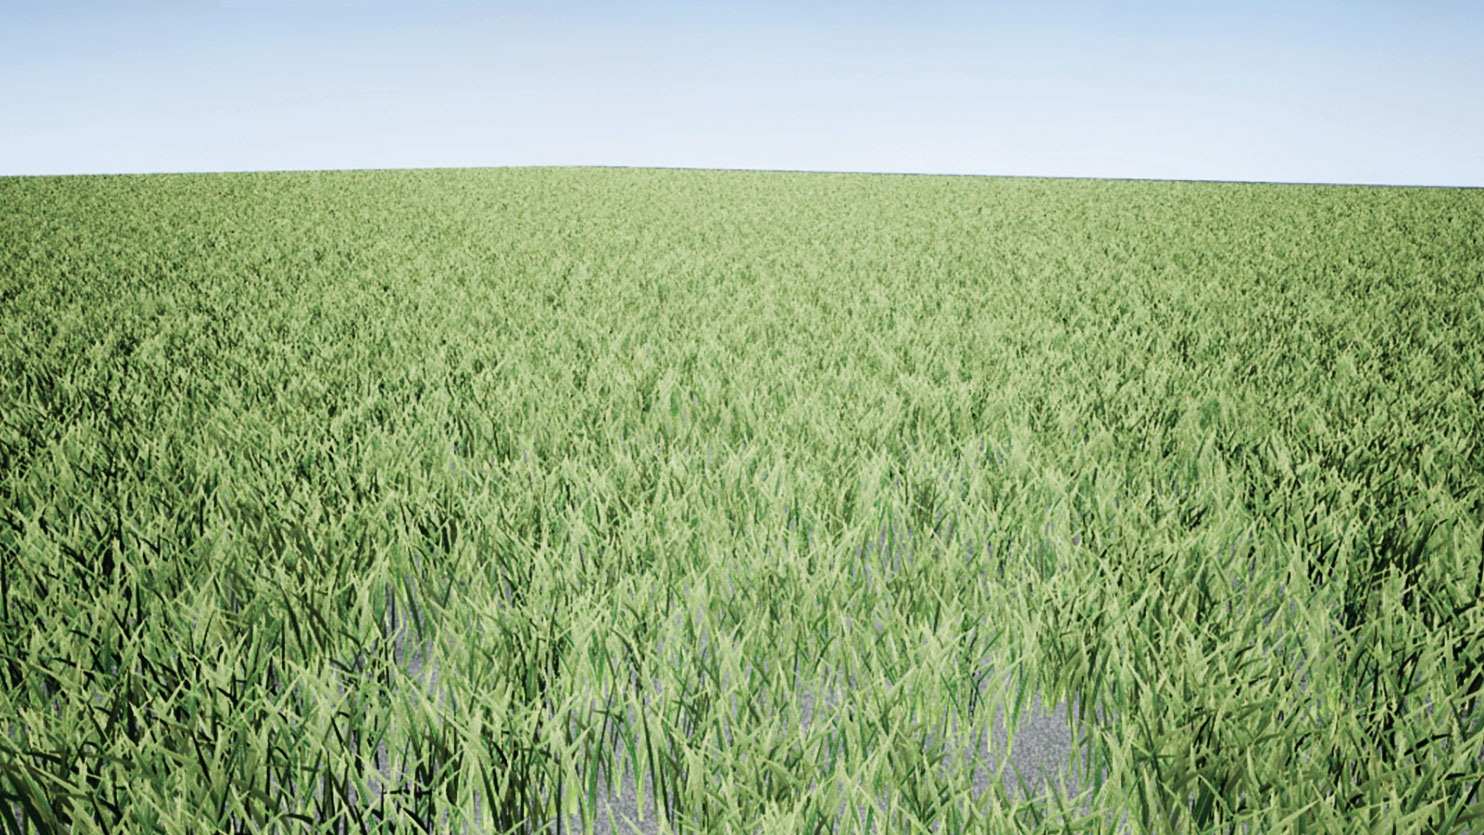
In this simple tutorial I will show how to quickly create grass in Unreal Engine using a low-poly mesh. Let's get to it.
Download the accompanying video and images.
Article continues below01. Import base low-poly FBX and texture
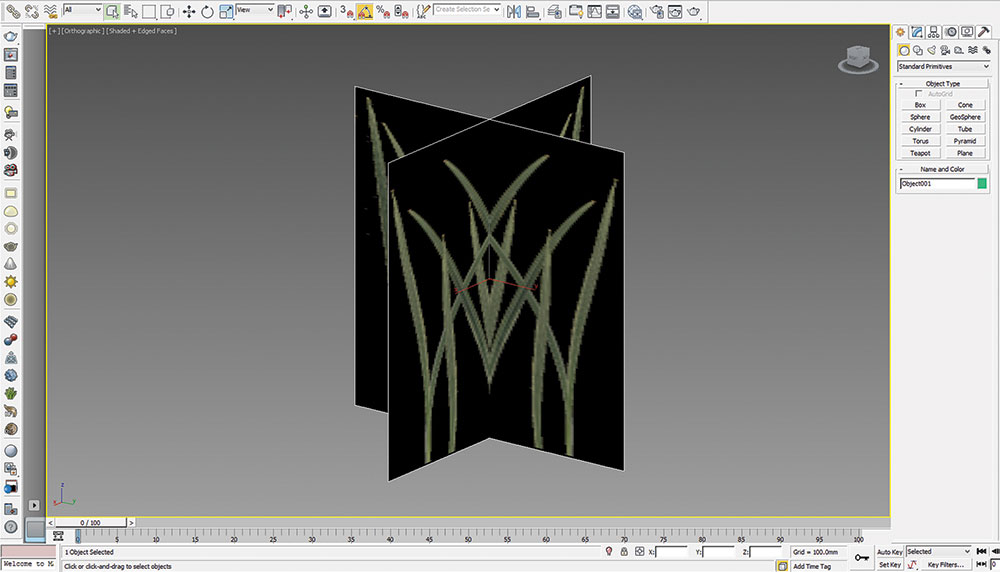
Our first step will be importing our low-poly base mesh. I used just two planes here. It's so important that you map them first and then export, as this will make things so much easier later, and as usual remember to set units to mm so we can export the correct size. Once imported we will have our FBX and a material sphere; when importing materials in this way, we just have to add the texture (PNG) and it will then be applied to our FBX base mesh.
02. Set material and texture
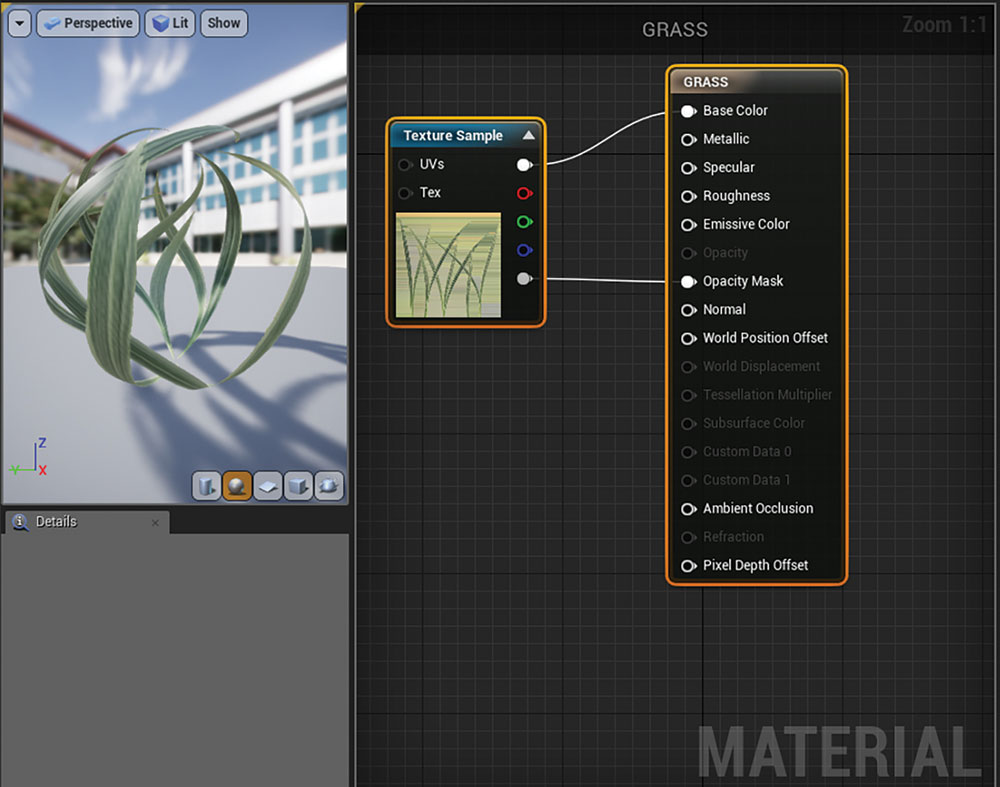
Once we have our texture imported we will have to apply it to the material and do some tweaking. First of all let's erase the empty texture element and set the material as Masked so we can use the texture PNG's alpha channel, then add the texture and connect in Base Color. Change the preview from sphere to a plane, as this way we will be able to see the grass. The issue here is that we can only see one side and if we try to rotate it disappears; to avoid this we have to check the Two Sided option, which will enable us to rotate it.
03. Scatter our grass
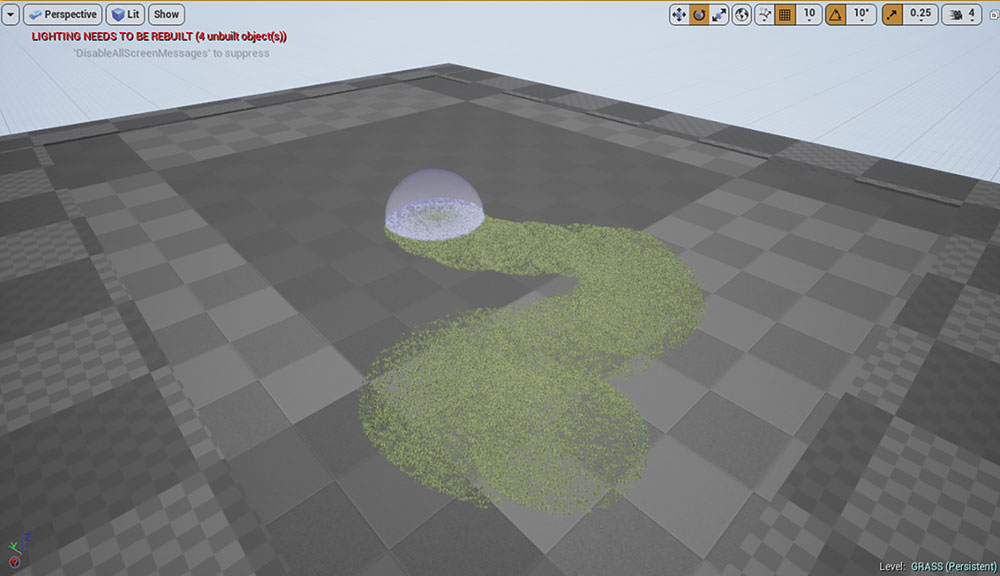
Now with our FBX base model ready we have to select Foliage in the Modes panel. Drag and drop our FBX base mesh, as this way we will have our mesh ready to scatter. Go to its settings and in Density let's set it to 120,000 and leave all the other settings as they are. We will see a sphere that is like our brush. Now we can scatter it, so click and paint over the area where we want the grass to be placed.
We have now placed some grass, but there is a problem: it does not cover the entire area we need. How can we cover the full area? First, erase the grass we just placed. Now, in Foliage there are four tabs: on the left, the Paint tool is the one we will use. Uncheck BSP and then click in the area where we need, and it will be all covered with our grass. Now we have our foliage working, we can change several options like scaling, scale x, radius and others. We will leave it all as it is for now.
Sign up to Creative Bloq's daily newsletter, which brings you the latest news and inspiration from the worlds of art, design and technology.
04. Wind and final settings
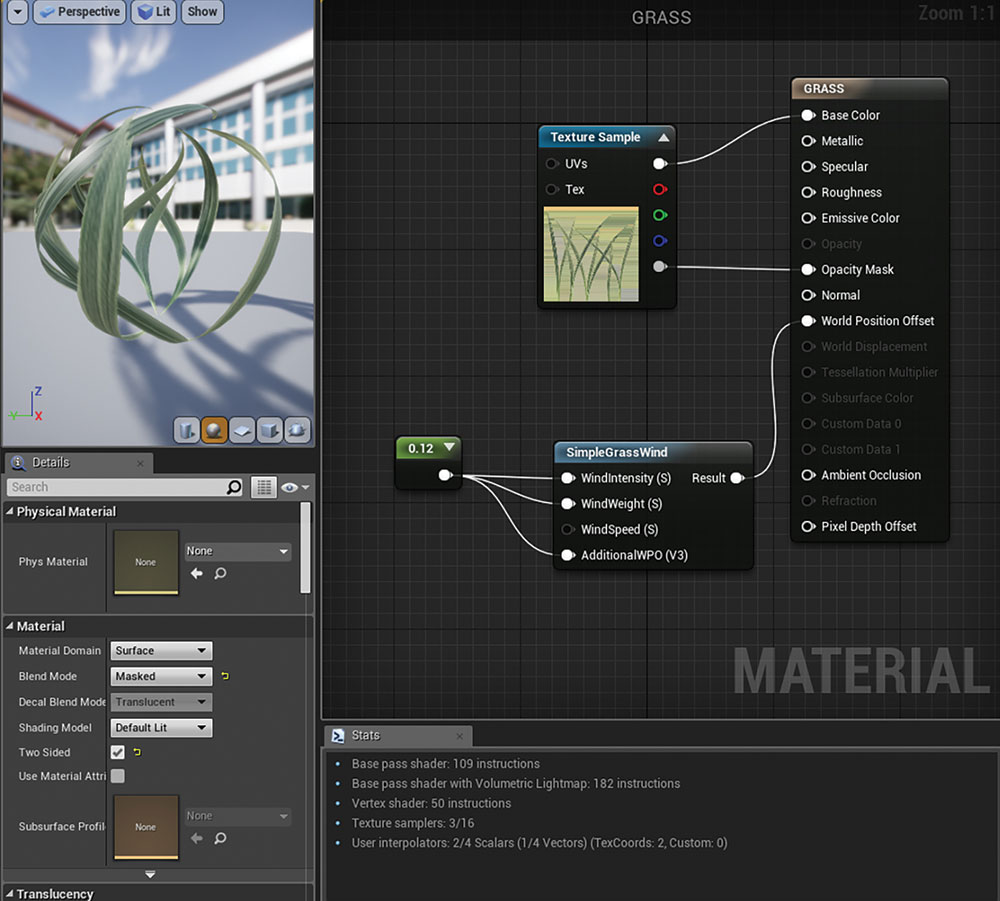
We now have some working grass, but let's give it some wind. Head inside the grass material, type Grass in the grid and select SimpleGrassWind. Connect it to World Position Offset, then press 1 and click on the grid. This will create a Material Expression Constant, so now let's connect it to WindIntensity, WindHeight and finally to AdditionalWPO and set its value to .055. This will help us add movement to our grass, and you can test it with different values according to your needs. Always keep in mind that we can use one Material Expression Constant for each variable. Once we have the result we like we can keep testing new variables.
This article was originally published in 3D World, the world's best-selling magazine for CG artists. Buy issue 230 here or subscribe to 3D World here.
Related articles:
