The secret to painting like Monet
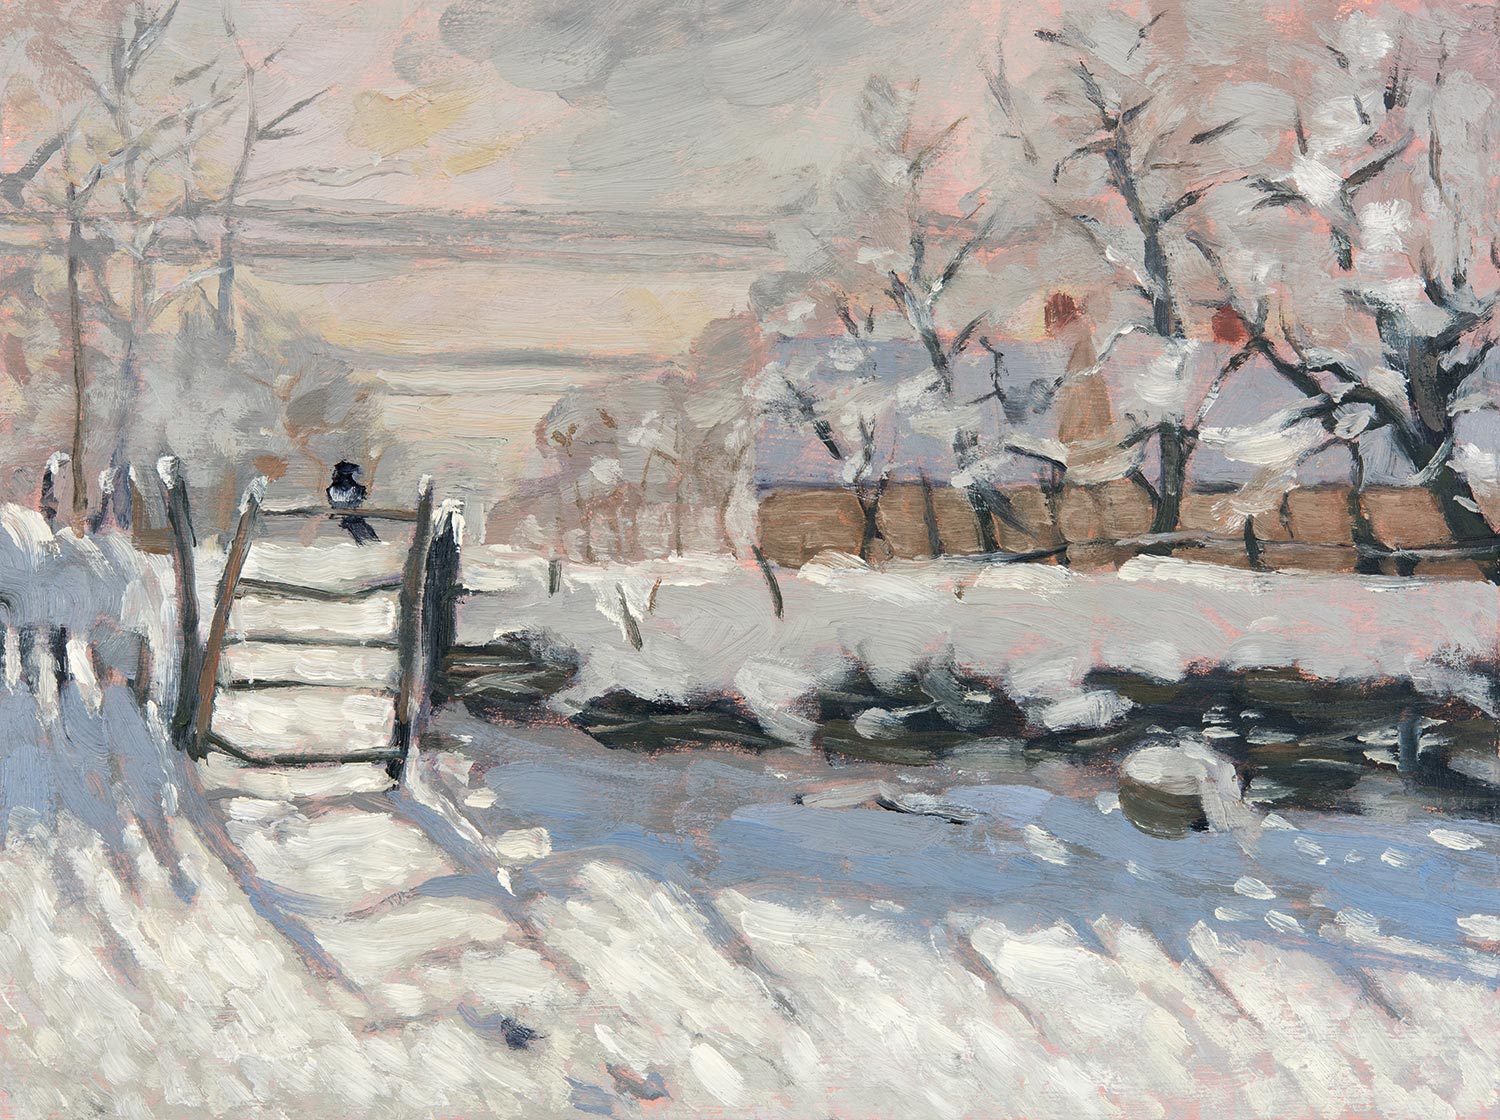
With this masterclass we will attempt to get inside the head of Monet a little, so we can think and paint in his style. But, don't worry, we're not trying to fool the Wildenstein Institute (the family that decides what is and what isn't an authentic Monet original). However, there are still painters working today who can trace their taught method right back to Monet himself, so we still have a good idea of his approach and and can work out how to paint like him.
Saying that, don't forget that even though we're using a masterpiece as our inspiration, it's important to let your own marks shine through. Here, we're going to dissect and analyse Monet's painting techniques, looking at how he applied his paint – but because you are the one painting it, there's no need to get bogged down by trying to replicate every single brushstroke. Observe and evaluate, but don't miss the bigger picture.
We'll start by setting up our workspace and equipment. Then we'll work our way through the painting step-by-step, breaking the process into digestible chunks. The long drying times of oils (and also its sculptural qualities) gives the paint huge advantages over other mediums, but the workshop could also be adapted for acrylics, watercolour, pastels or even pencil art.
One last tip – try not to think too much about the finished painting and try to see each stage as an end in itself. Enjoy the moment of creating each one. Expectation and pressure can often affect creativity and confidence, especially when faced with the daunting task of recreating a famous work of art. For now, let's enjoy experimenting with the beauty of Monet's style.
Materials needed
The colours used offer a good representation of the colour spectrum while retaining the most saturation when mixing.
- Michael Harding Oil Paints: Ultramarine Blue, Blue Lake, Green Lake, Bright Green Lake, Bright Yellow Lake, Yellow Lake, Yellow Lake Deep, Permanent Orange, Scarlet Lake, Alizarin Crimson, Magenta, Ultramarine Violet, Titanium White
- Acrylic-primed 3mm MDF board, 6x8in
- Rosemary & Co. Ivory short-handled Filberts, sizes: 0, 1, 2, 3, 4, 5
- The Masters Brush Cleaner and Preserver
- Bartoline Brush Cleaner
- Kitchen roll
01. Laying your ground
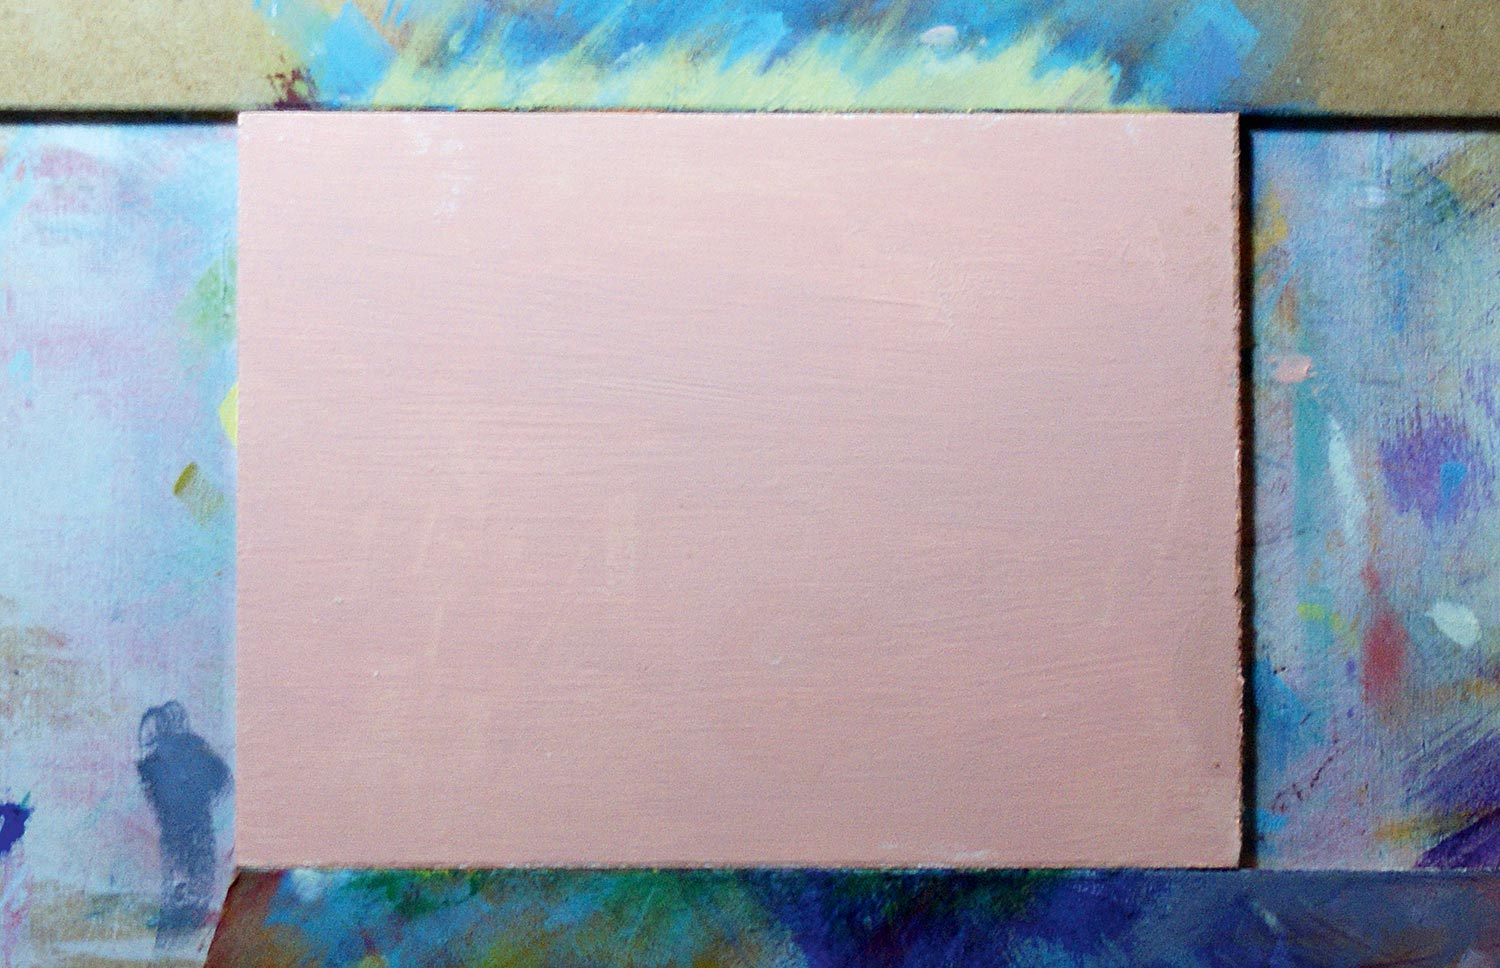
Spend a bit of time getting everything you need close to hand. Working from a photograph (or an original) saves on some of the set-up, but you still need to plan ahead. The Impressionists famously worked directly onto white canvas, but they also used grounds when necessary. As there are so many chilly blues and greens in Monet's The Magpie, I've chosen a pink acrylic ground that will add a bar or two of warmth, and will especially help boost that magnificent winter sunlight.
02. Gesture drawing
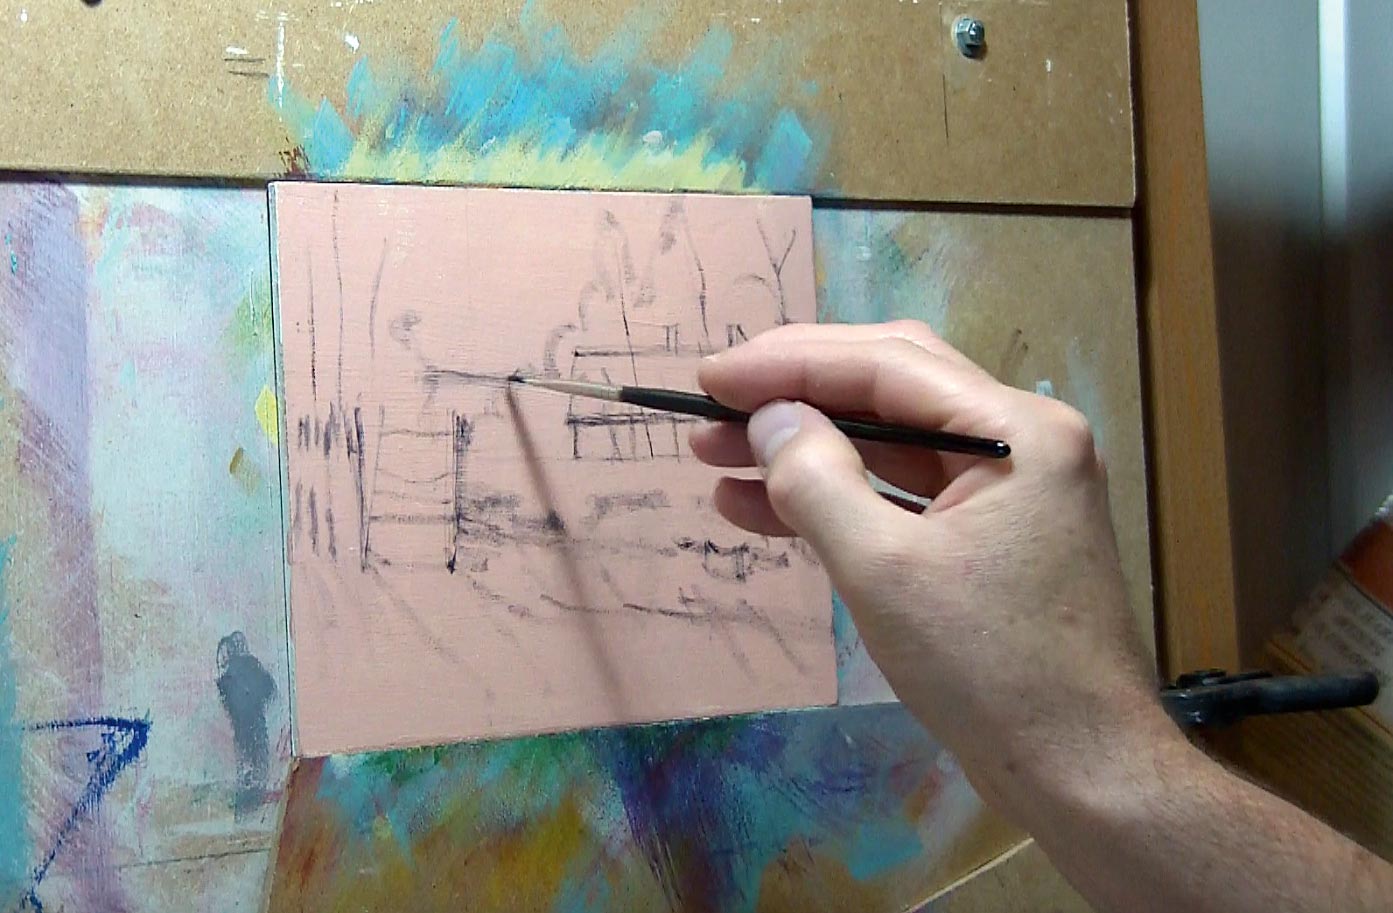
Once your ground is dry, you can start on the gesture drawing. We're testing and getting a feel for Monet's composition with this simple charcoal sketch, much like a dress rehearsal. Don't forget that even though we're copying Monet's painting you're still free to change elements if you wish. Now is the time to test your inspiration! Once you're happy with your gesture drawing, you'll be wiping it all off ready for the next stage.
Daily design news, reviews, how-tos and more, as picked by the editors.
03. Construction
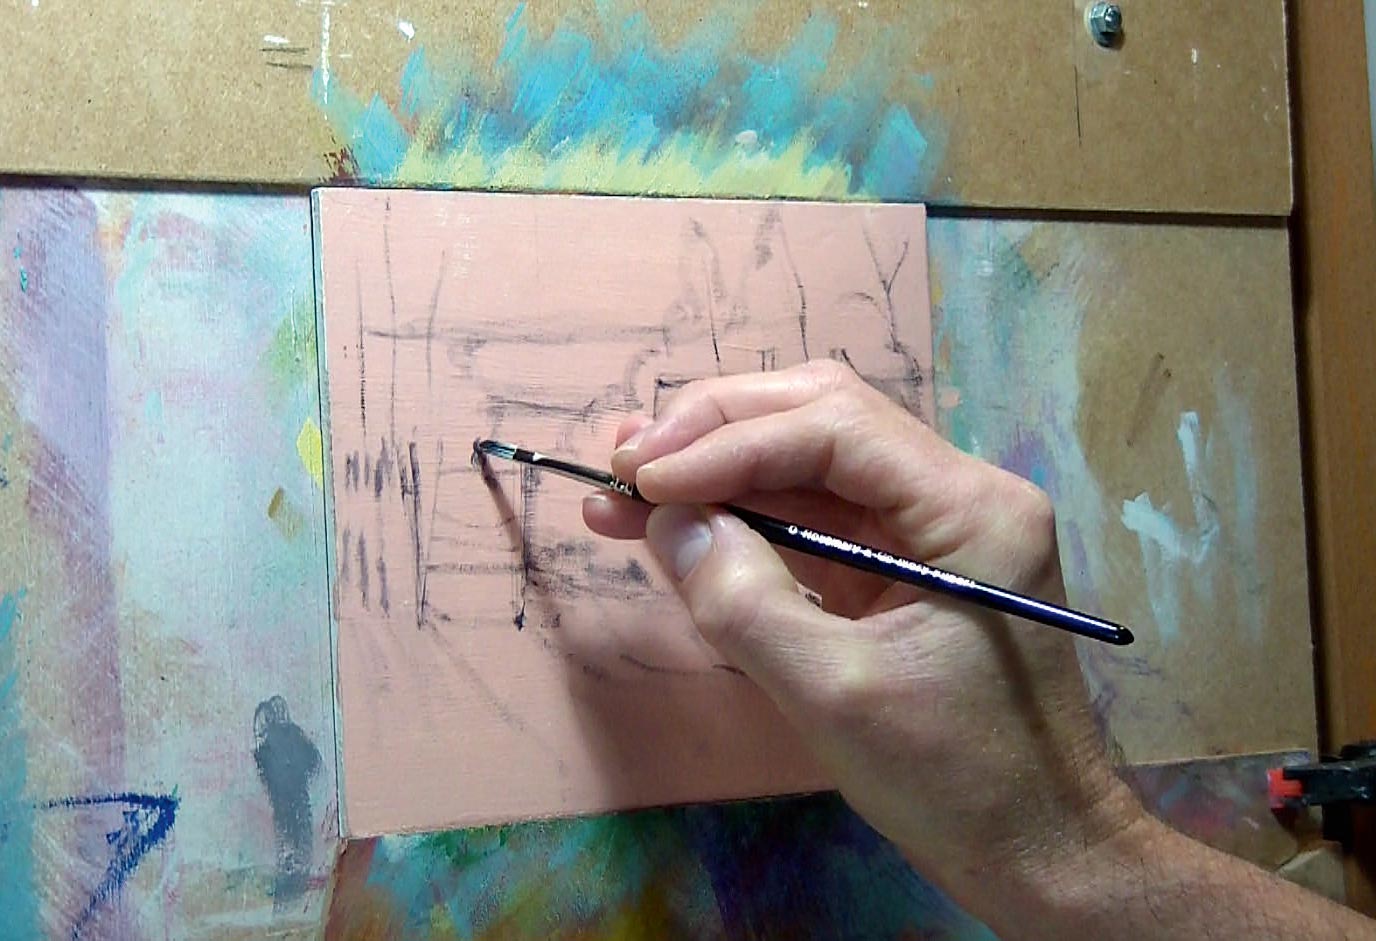
Now use a dry-brush technique (take a little paint on your brush and wipe it a few times on some kitchen towel – you want it to be as dry as possible) to construct over your gesture drawing. I've gone for a very cool black that I've mixed myself from Alizarin Crimson, Blue Lake and Bright Yellow Lake. Remember that every new brushstroke should be from fresh observation. Quick, simple and full of life is key to this stage, just try and identify the main elements in your composition.
04. Pre-mix colours

It's not an exaggeration to say that at least half of your painting will be done in this stage. If you don't believe in premixing then I urge you to give it a go. It can be frustrating at first, but it gets quicker with practice and it prevents any notion of 'it'll do', which is common when your colour scheme is not prepared. Spend time getting your colours right and you'll reap the benefits later. You won't mix every colour, but you'll be starting off on the right foot.
05. Build up darks and mid-tones
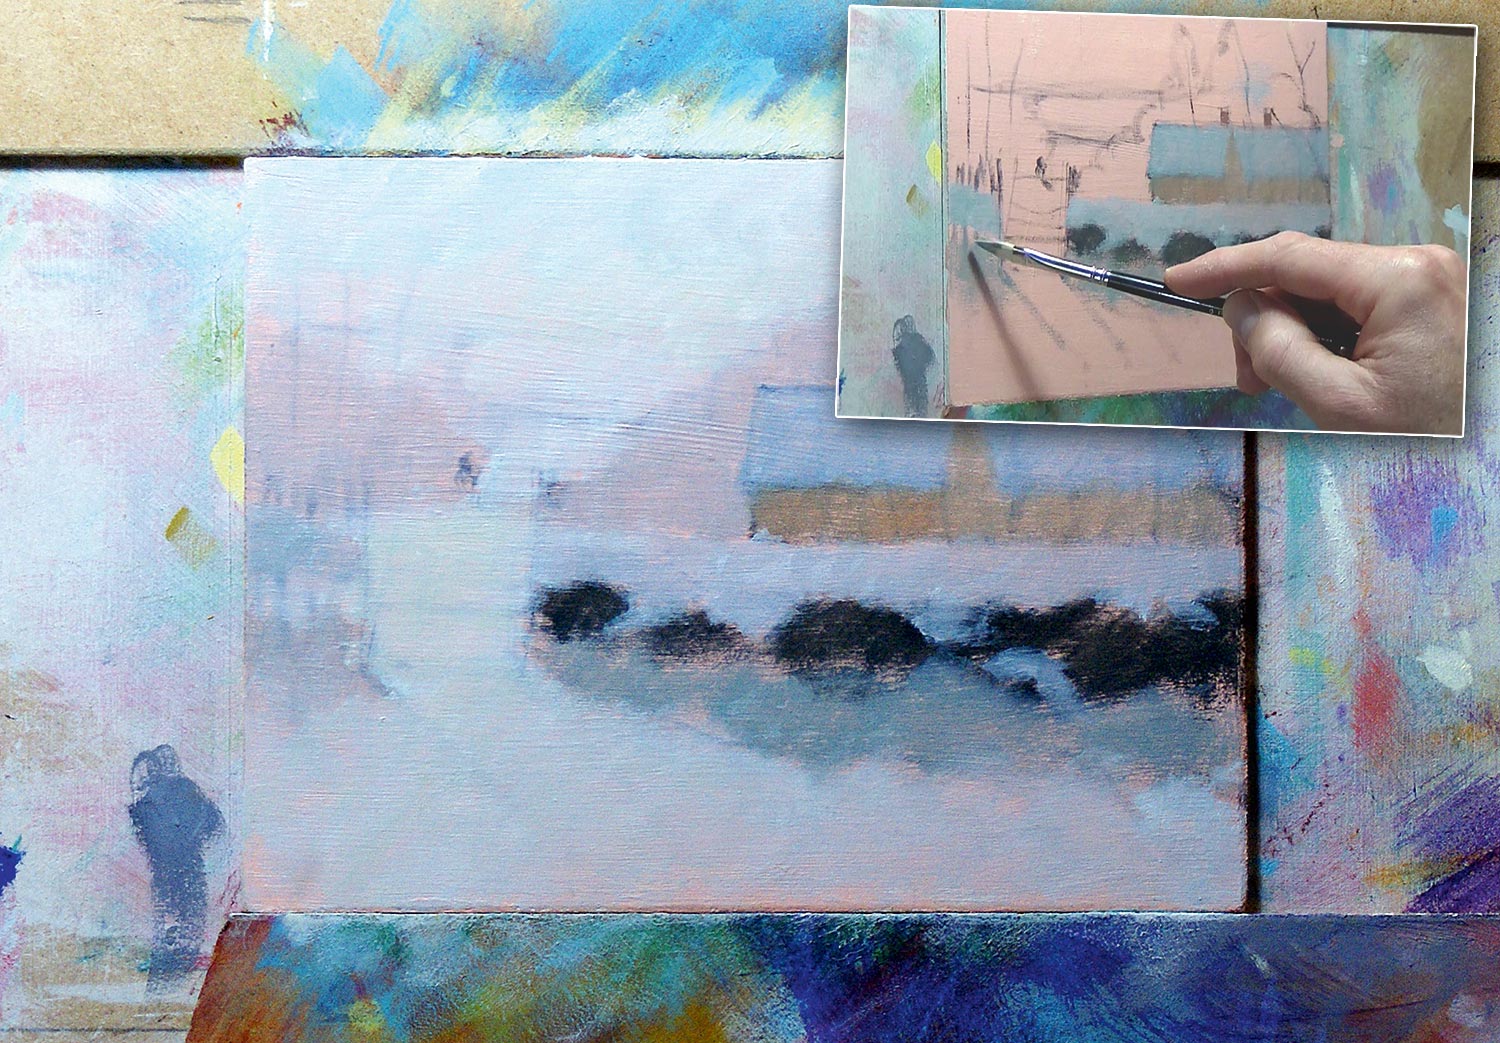
Using the dry-brush technique again, start to add your darks and mid-tones with a scrubbing action (forefinger on top of the ferrel with the end of the brush running under your wrist). It's tricky in a painting such as The Magpie because there's so much snow, but try your best to plan out your tonal range. Keep squinting to simplify the tonal range you see and start with the larger areas. Tweak your colours if necessary and play around with the balance of light, dark and mid-tones until you're happy.
06. Reconstruction stage
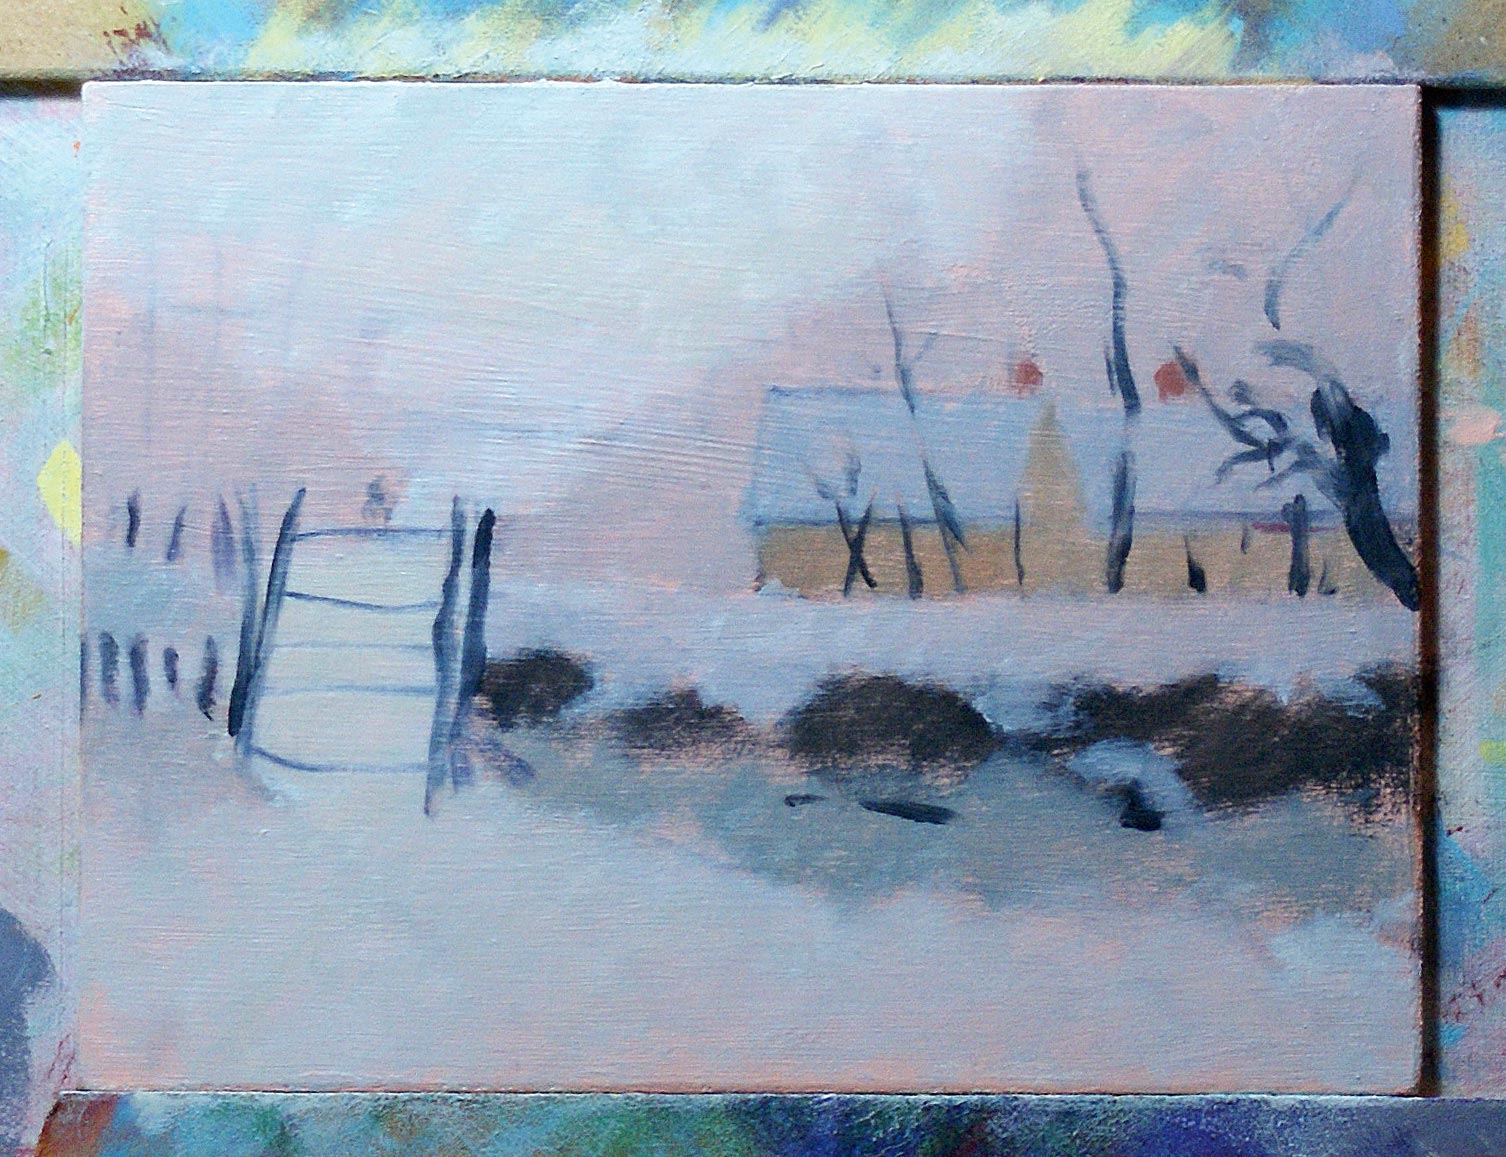
With so much light (0–35% tone) in our painting, there aren't many tonal differences to define with the reconstruction stage, and so planning out the composition can be tricky. Nevertheless, keep your lines quick and full of energy and keep them fun. See this as bringing back a bit of definition to your foundations. Always take the opportunity to observe again and measure again – don't be scared to correct if needed!
07. Release the colour
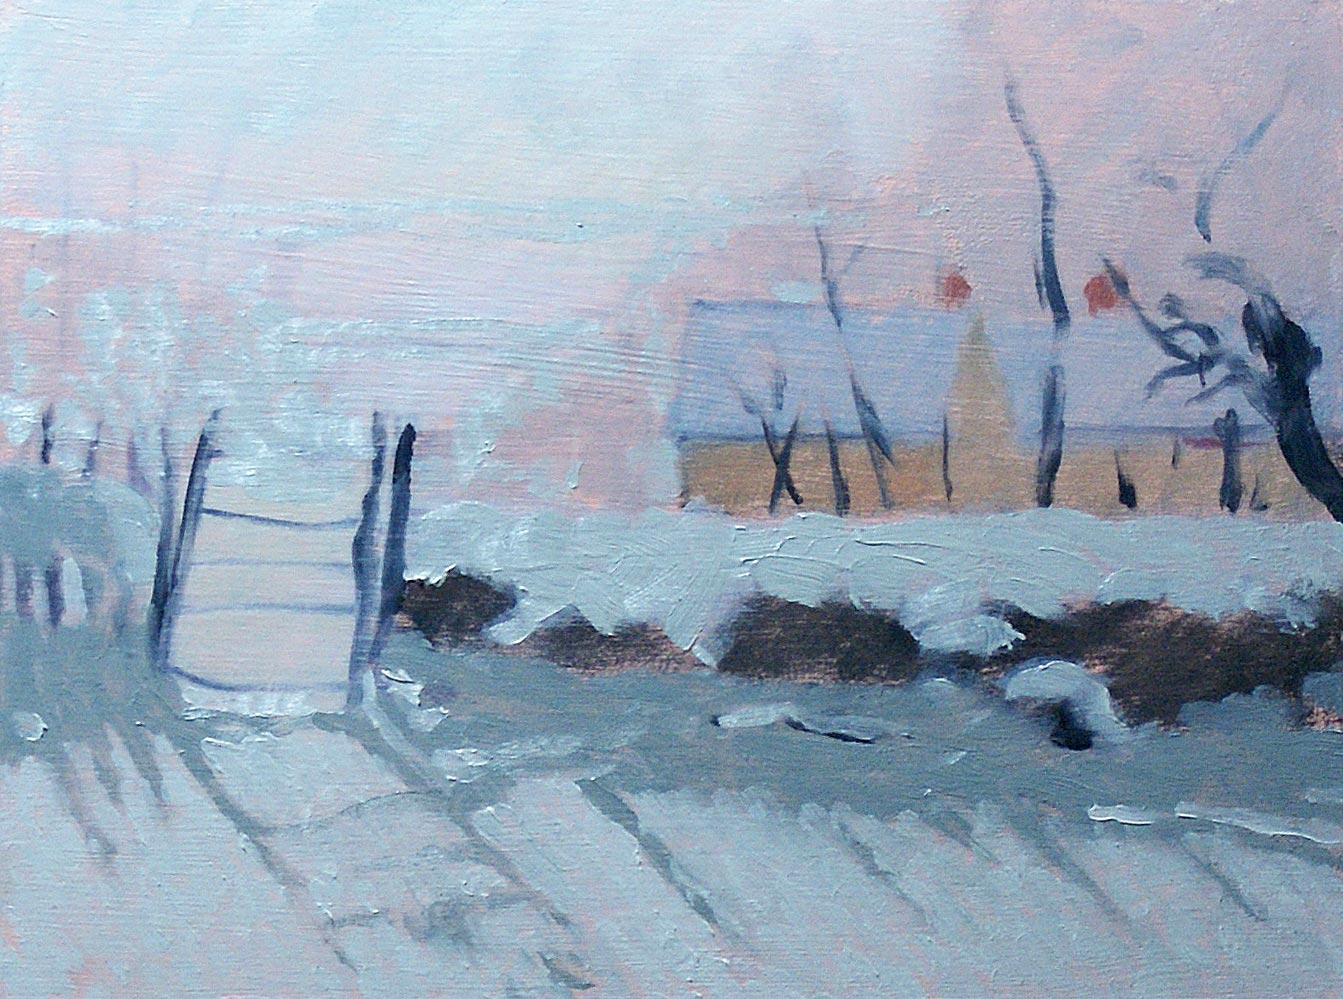
Using fuller and more loaded brushstrokes, release the pre-mixed colours onto your painting. You've done plenty of prep, so it's time to trust the process and gorge on some colour! Keep observing your source and keep checking your tonal scale, but take time to enjoy the simple pleasure of applying all that lovely paint. Don't be worried if your painting doesn't 'appear' straightaway – keep to the large shapes to begin with and once they're all in place you can start adding more layers of detail.
08. Think tonally
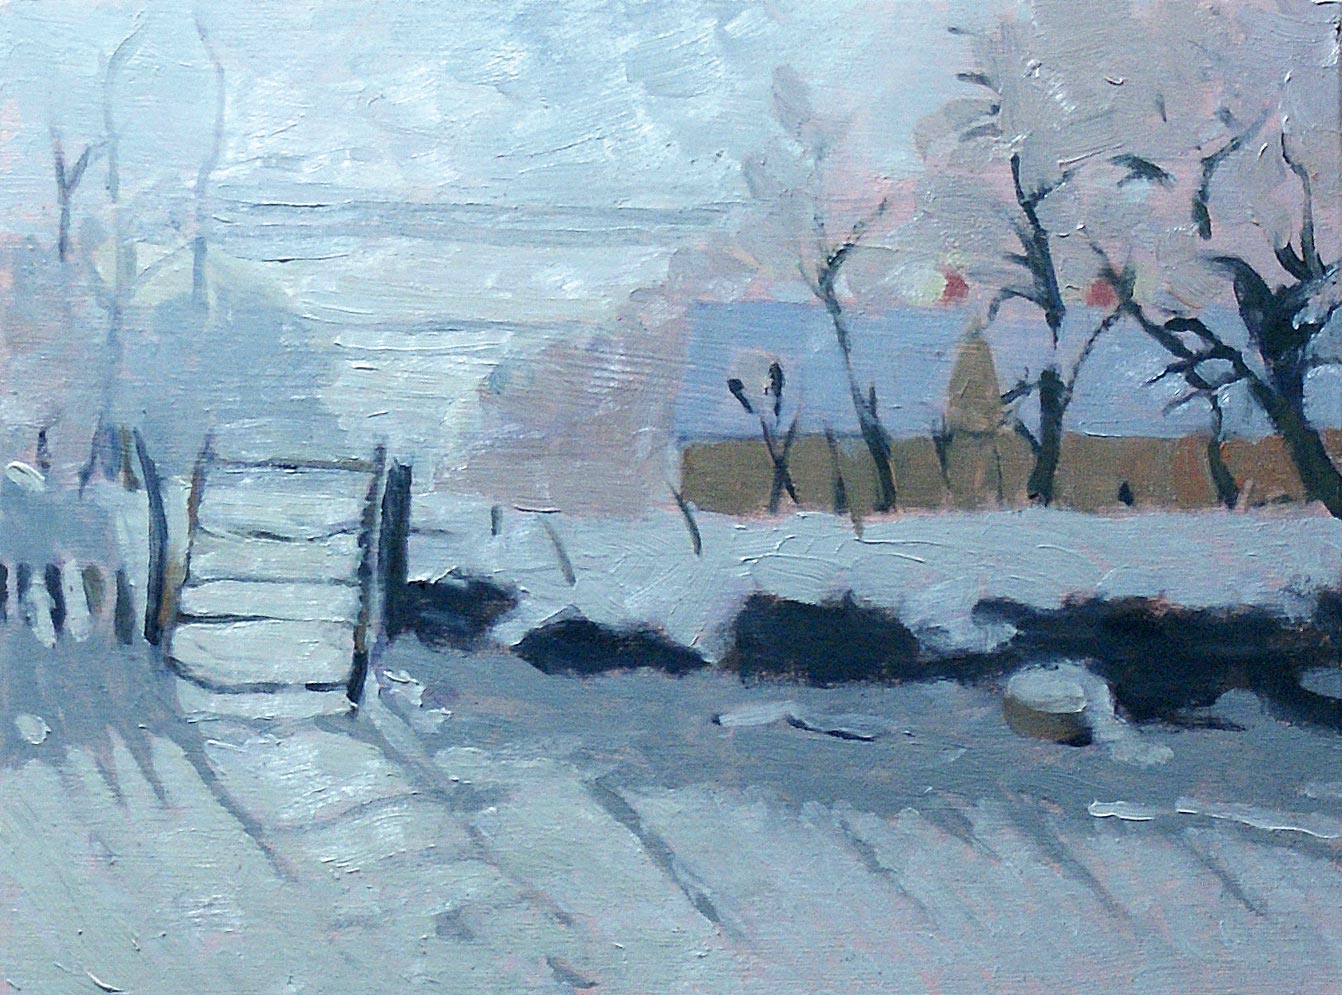
Monet spent a lot of energy observing tone and laying it down brushstroke by meticulous brushstroke. To follow in his footsteps, use a tonal scale to measure and test the tones you're viewing, mixing and painting. Squinting helps breaks down the range of tones you're able to see and so simplifies the image. Start with the large shapes and add more observed detail as you go. The Magpie is mostly light (0–35%) with a secondary bias to mid-tone (35–65%) and just a small amount of dark (65–100%). It creates an airy and almost magical feel to the painting.
09. Observing Monet's brushwork
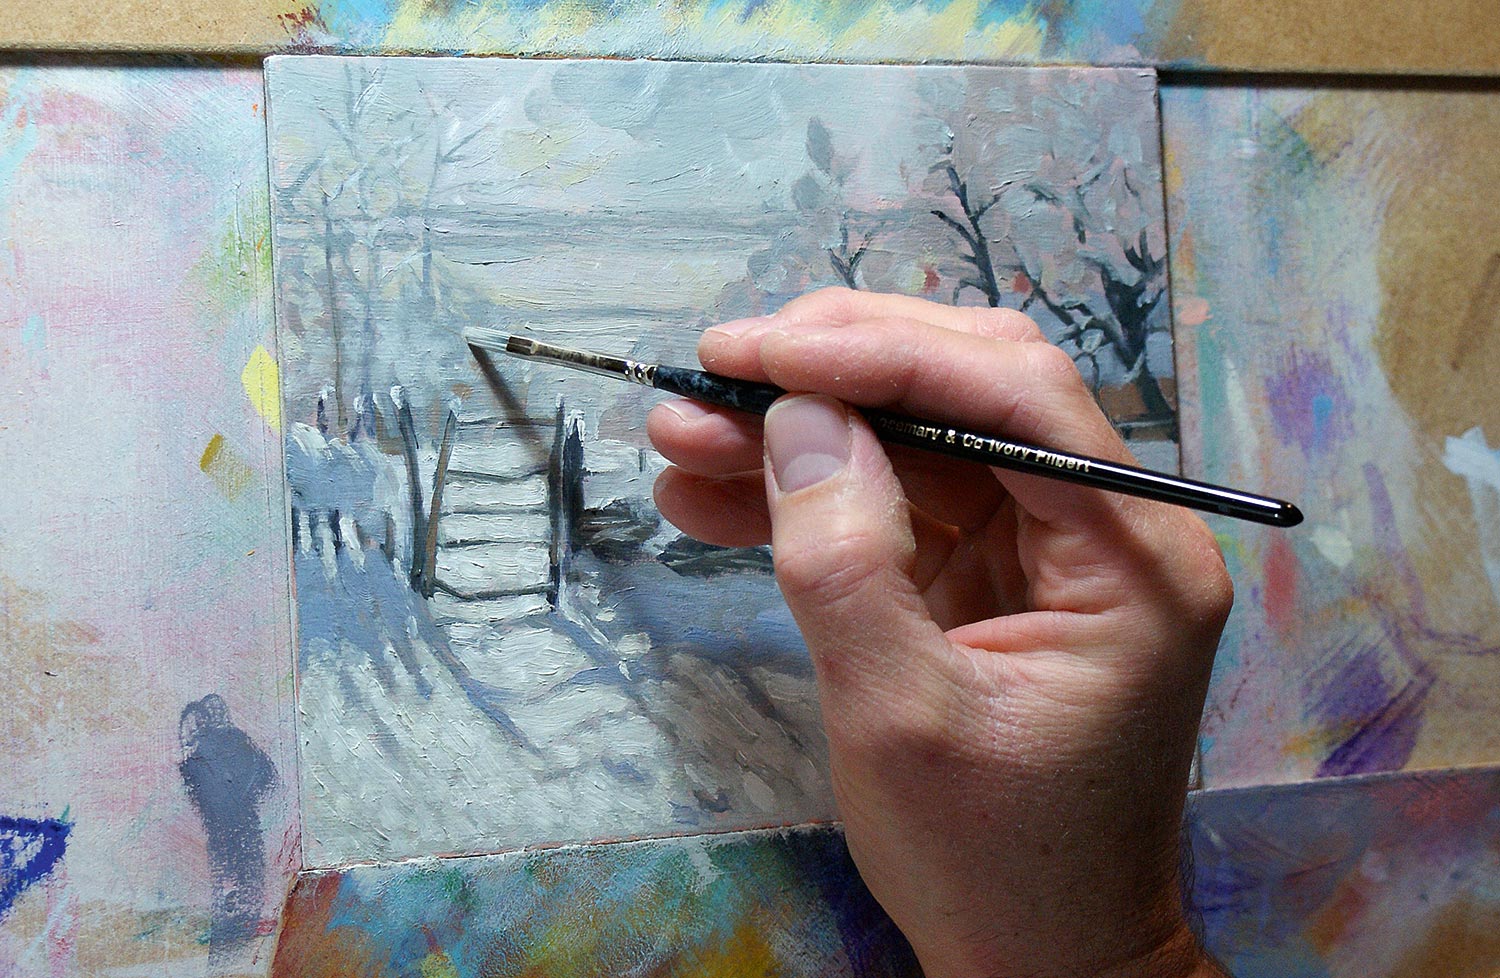
Monet described himself as just 'an eye'. Viewing his paintings was intended to be a personal experience – you were not just seeing the gate, tree or haystack that Monet saw, you were seeing the atmosphere, the air and space between his eye and his subject. He applied his colours as dapples of light streaming across his paintings. They were fleeting moments that sometimes took weeks to capture. Follow where your light is travelling through your painting and describe it with your own dappled strokes. Have fun and experiment.
10. Begin to fine-tune
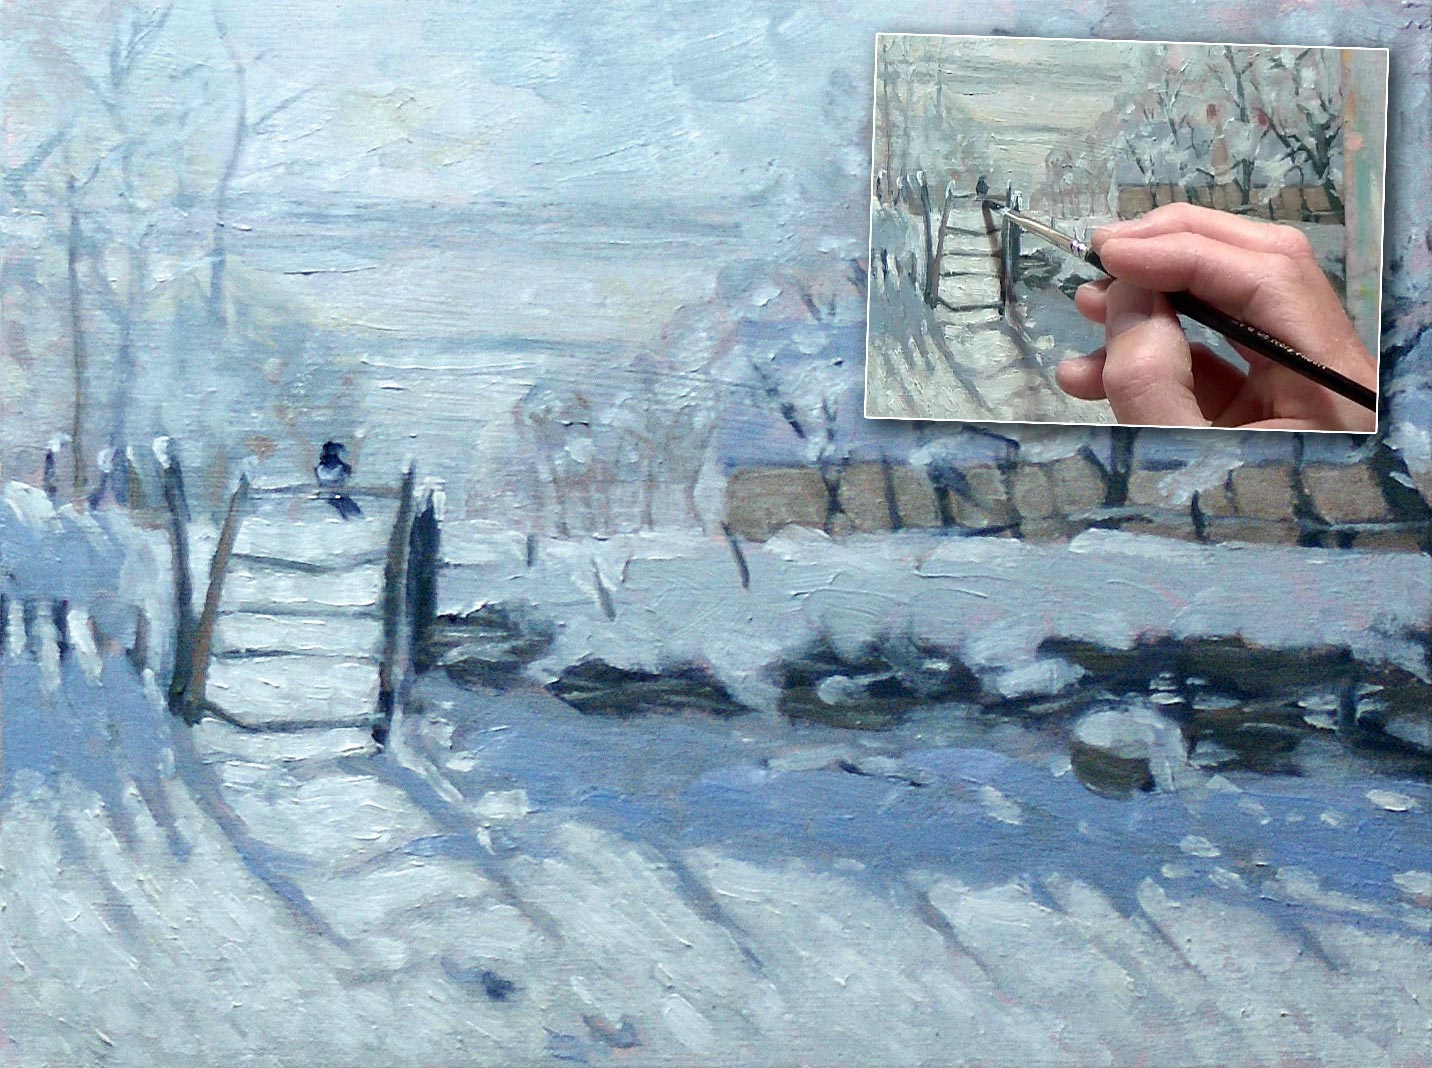
Once your larger areas are in place, you can start to add layers of increasing detail. Try not to get lost in the repetition of brushstrokes, keep looking back at your source and checking your tones and colours. Try to look for repeating colours (colours that share each other's spaces) that create harmonies throughout the painting. Try and hold off applying any really fine detail until last – and remember knowing when to stop is an art in itself!
This article originally appeared in Paint & Draw issue 2; buy it here!
Related articles:

Rob Lunn is a self-taught painter, and loves to paint in oils. His influences are Vincent van Gogh, Caravaggio and Ilya Repin. He has taught art workshops since 2012 and gets a real buzz from teaching people to draw and paint. He has contributed to Paint & Draw magazine and bookazines, and has also provided traditional art tutorials for Creative Bloq.
