How to use Adobe Capture CC
Use Adobe Capture CC to find colours, identify fonts, and create vector shapes from photos.
Adobe Capture CC is a fantastic app that enables you to find fonts and colours simply by taking a photo. You may be wondering what fonts have been used in your favourite magazine, for example, or you may wish to take colour references from an object or scenery. In this article we'll run through three ways to get the most from Capture CC. You can find the app on the iOS App Store or Google Play.
Gathering fonts and colours for a new site? You might want to use a website builder, and you'll need to explore your web hosting options.
01. Find colours from a photo

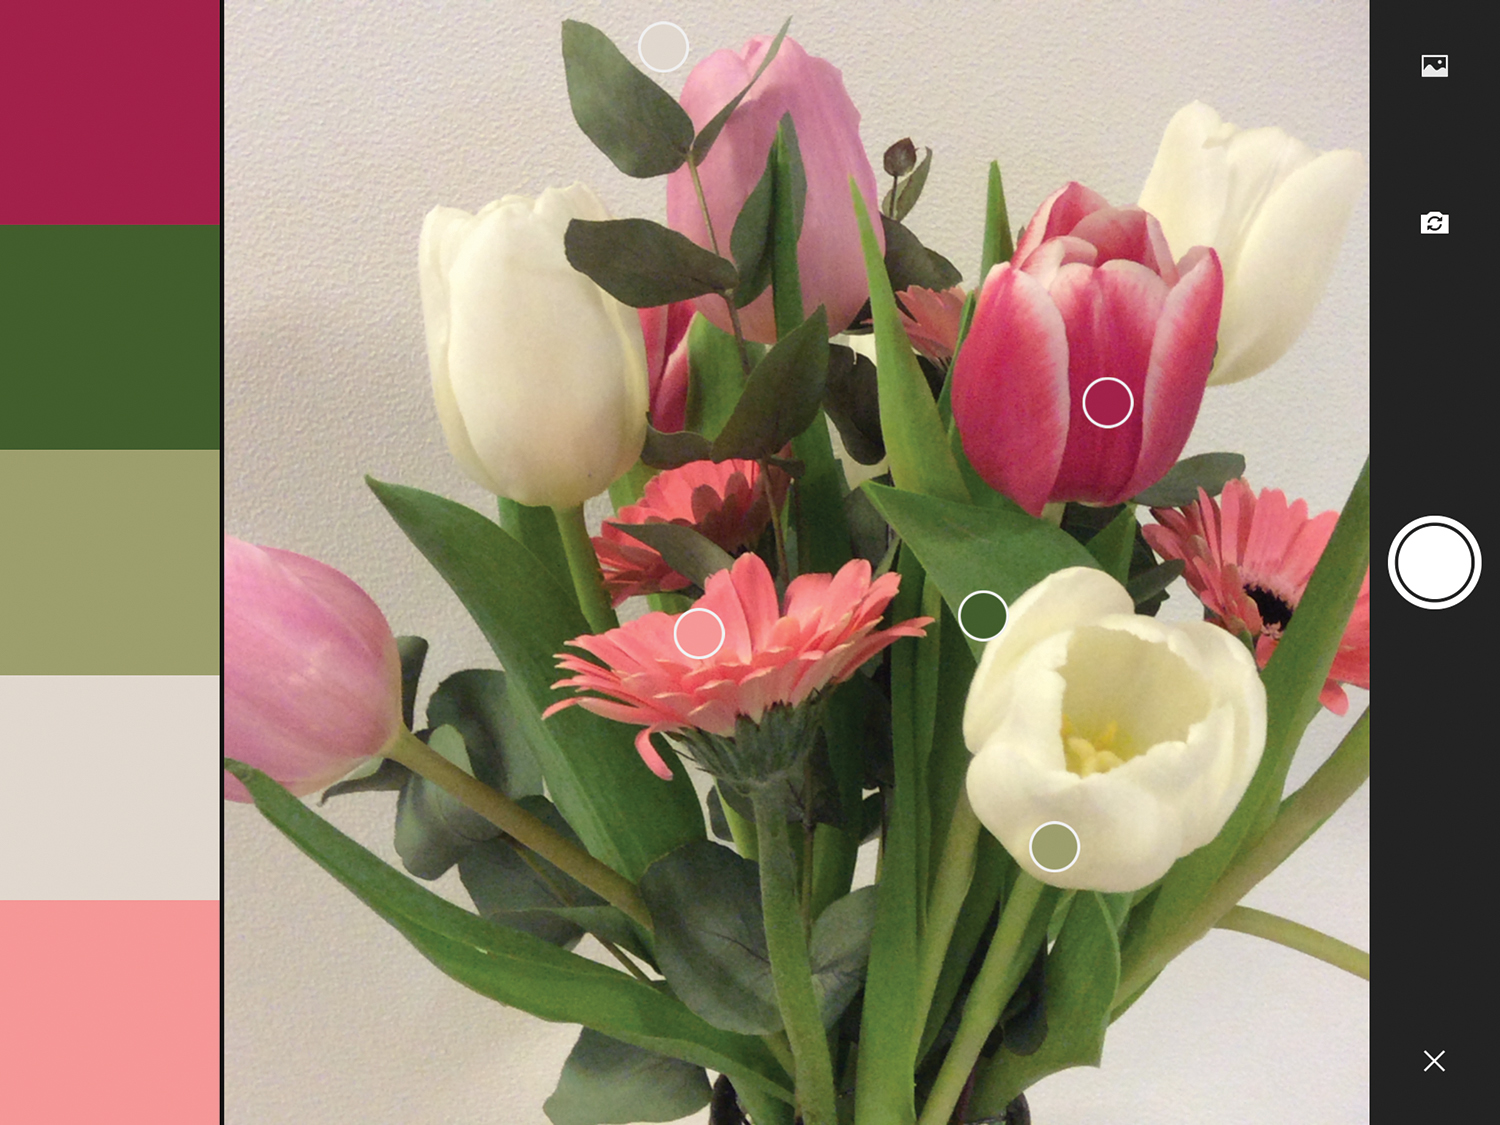
From the Colors tab within the app, simply tap the ‘+’ button and point the camera towards the object or scenery you wish to capture. You will see that the app is already working at finding popular colours. Once you’re happy with your arrangement, take the photo and refine it further.
You can proceed to save your captured colours to a library (such as a top cloud storage platform), picking them back up and using them in other Adobe tools.
02. Identify fonts

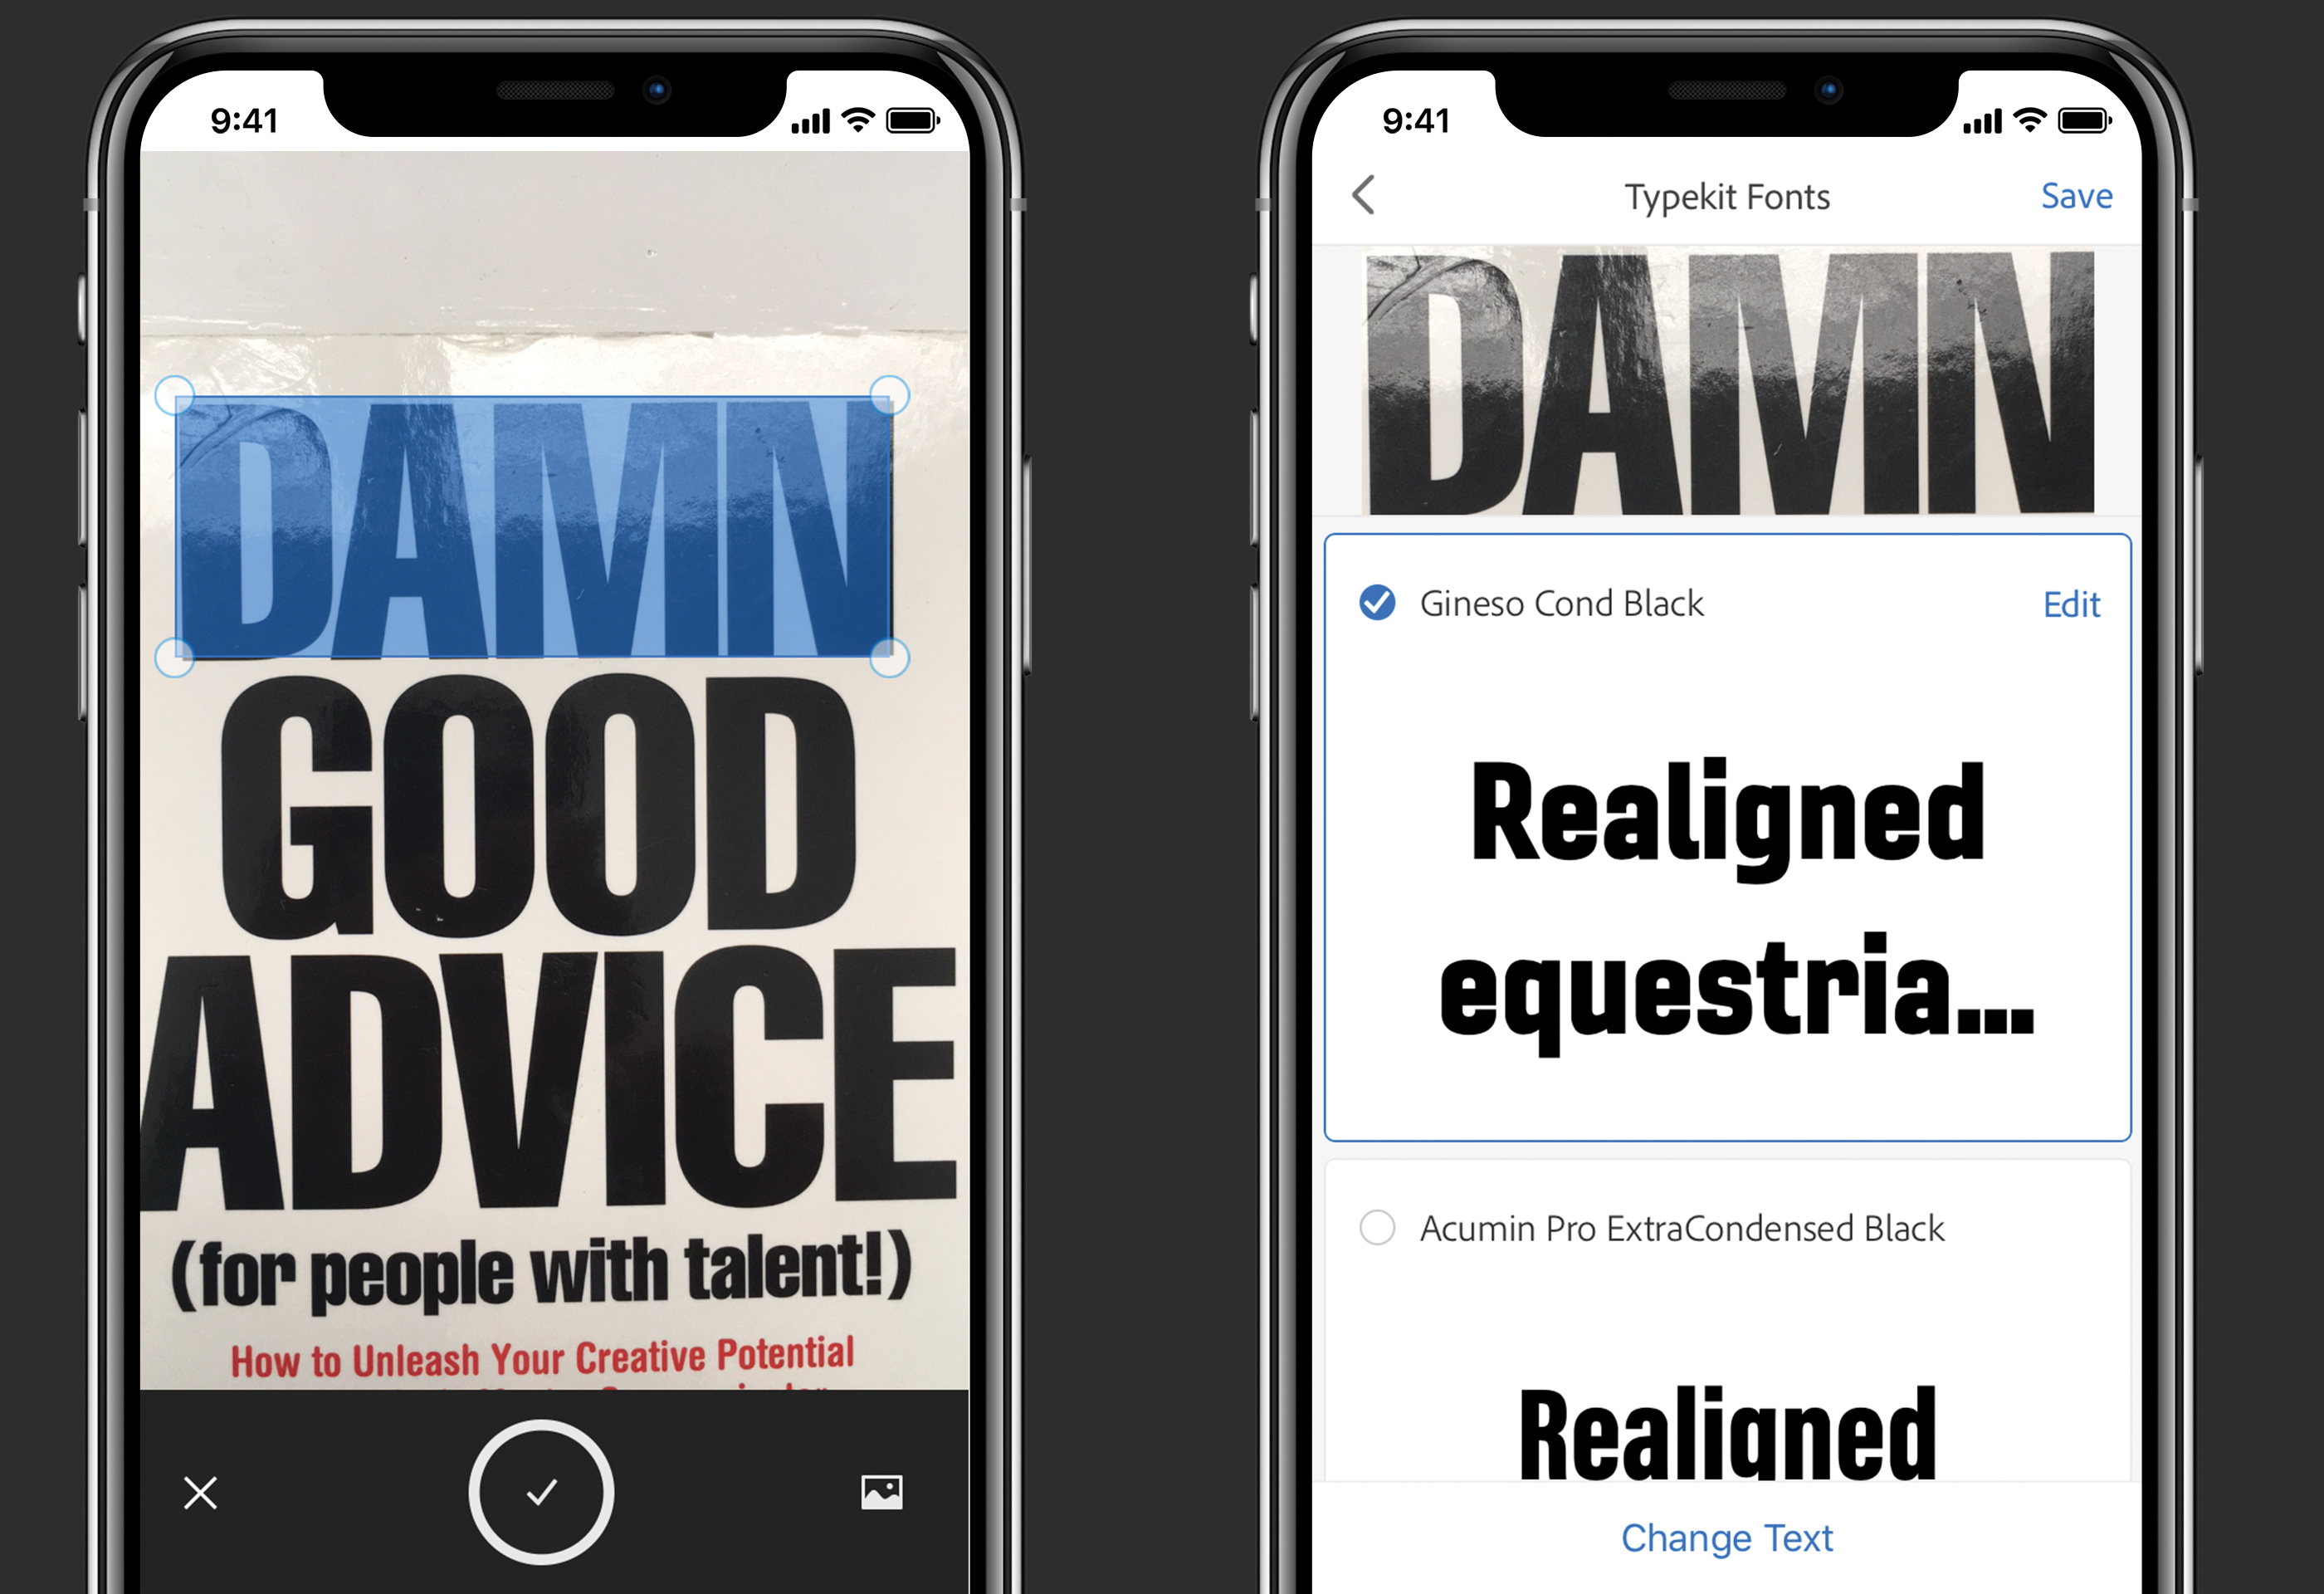
You can also use Capture CC to identify the fonts that have been used in a printed design, or find closely matched fonts. Head over to the Type tab within the app and direct the camera over the typography you wish to capture. There will be a blue line to help you with alignment.
Once you have the typography in view, take the photo and then make sure the app has cropped the text correctly. Press the big tick and let Adobe analyse the image. Once it has finished analysing, it will provide you with a list of best matched fonts within Adobe Typekit that you can then go on to use.
03. Create a shape

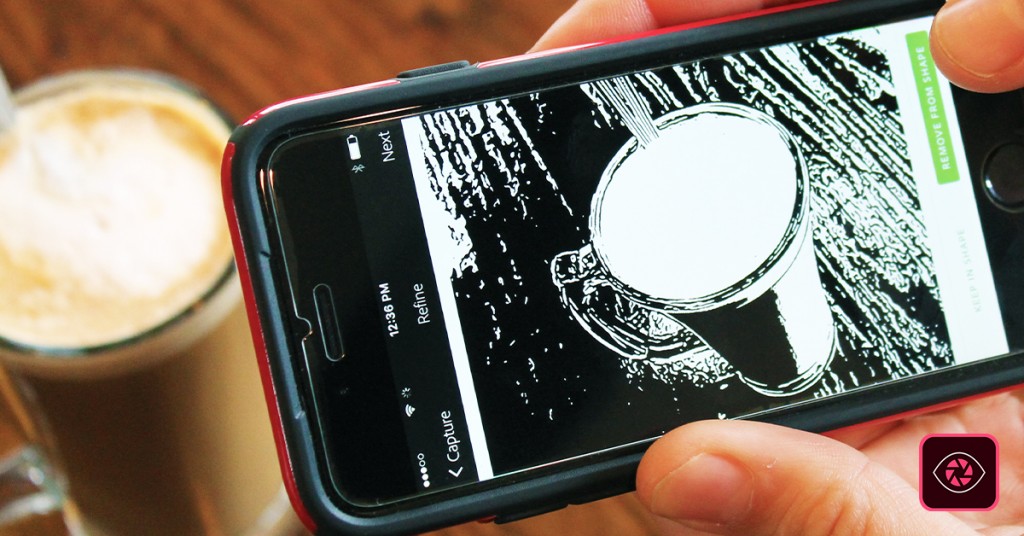
Finally, you can use Capture CC to create vector shapes. Shape is a very useful feature for a number of reasons. It’s a great way of vectorising an object so that you can play around with it further in Illustrator. For example, you may wish to vectorise a signature or perhaps some freehand typography. It’s great for capturing elements that are just easier to draw with pen and paper.
Daily design news, reviews, how-tos and more, as picked by the editors.
Read more:

Carl is a creative who has been in the web industry for more than 14 years. Blessed with a passion for UX/UI design, Carl has been awarded Creative of the Year for his contribution to the industry. His diverse portfolio of past clients includes Facebook, Twitter, Unity Technologies, Ordnance Survey, and beauty brand Lush. He has written features for Web Designer magazine, and currently heads up the Salo Creative agency, which he also founded.
