How to sculpt a detailed 3D hand
3D artist Titouan Olive guides you through the techniques needed to realistically sculpt a human hand.
Sign up to Creative Bloq's daily newsletter, which brings you the latest news and inspiration from the worlds of art, design and technology.
You are now subscribed
Your newsletter sign-up was successful
Want to add more newsletters?
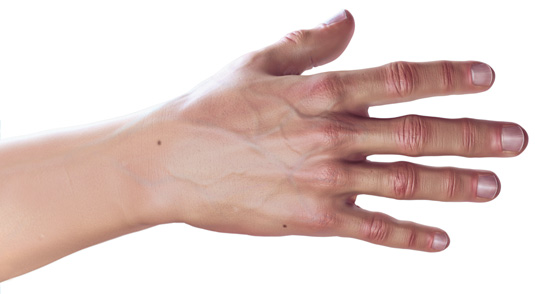
After the face, hands are possibly the most important part of a character's creation. They express a large variety of emotions, opinions and choices. We move them about when we speak to make our point more clearly and eloquently.
The first thing you need to consider before sculpting hands is what type of character you are creating. Are they going to be stylised? Are they male or female? How old are they, and what’s their profession? In this tutorial, we will create realistic male hands, strong with classical proportions, of someone about 30 years old.
- Download the source files for this tutorial here
01. Block out shapes
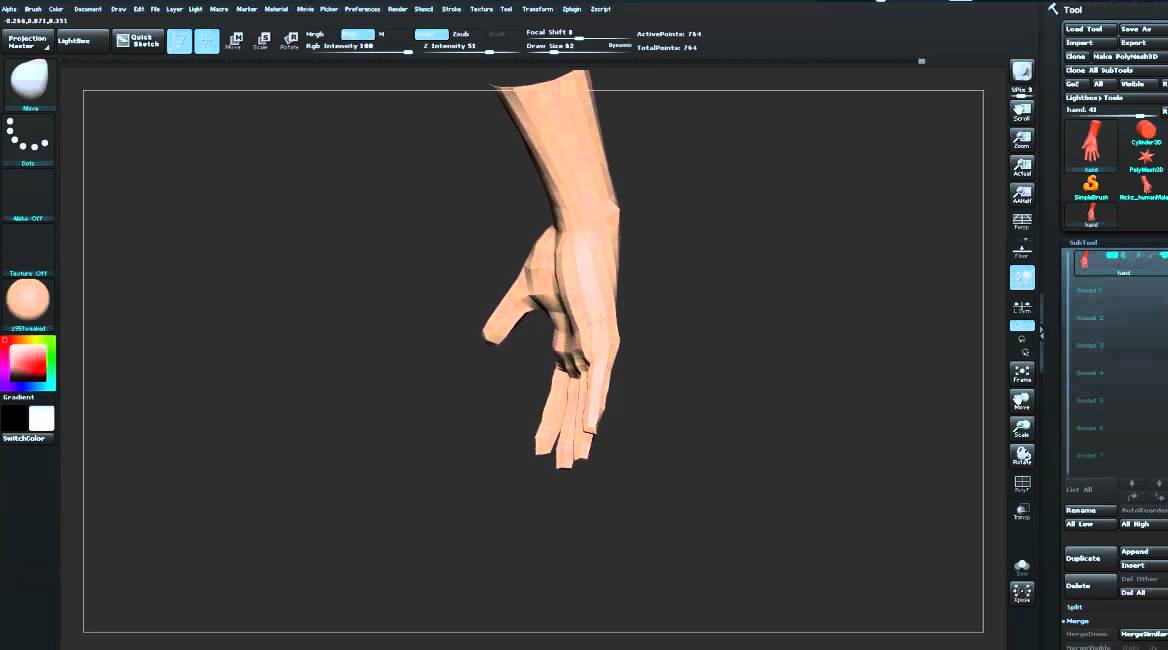
Open ZBrush (or your preferred sculpting application) and load the base mesh, hand_low.obj, from the source files folder. The basic proportions are already in place, so this is a good model to use as a base for our sculpting work.
Article continues belowChoose the Move brush from the Brushes menu and use it at the base between each finger to try to give them a better direction. Rough out the underlying bones on the wrist and divide your model twice (Geometry > Divide).
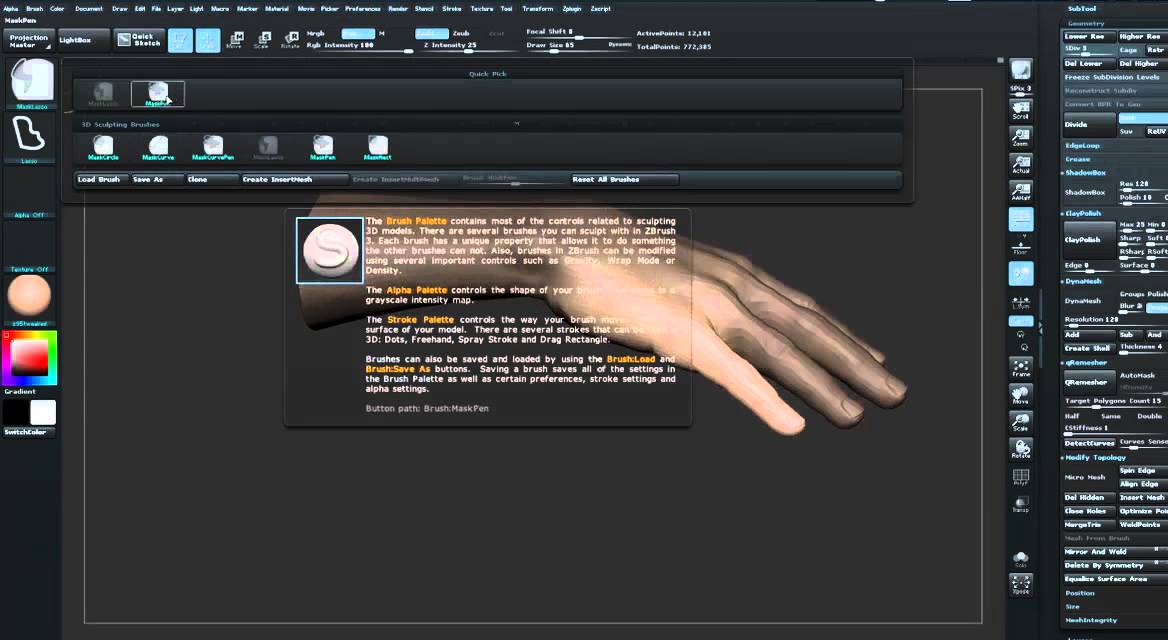
Now select the Standard brush and roughly draw lines on top of the hand to simulate the bones and tendons located there. Once that's done, click on the Rotate button (or press [R]) then hold [Ctrl] and click and drag on the fingers to draw a mask. Hold [Ctrl] again, and click on the canvas to invert your selection. Keep [Ctrl] pressed and choose Mask Lasso in the Brushes menu. Hold [Ctrl]+[Alt] to draw a selection around the thumb and to erase the mask on it. This means all the fingers are masked.
02. Enlarge the fingers
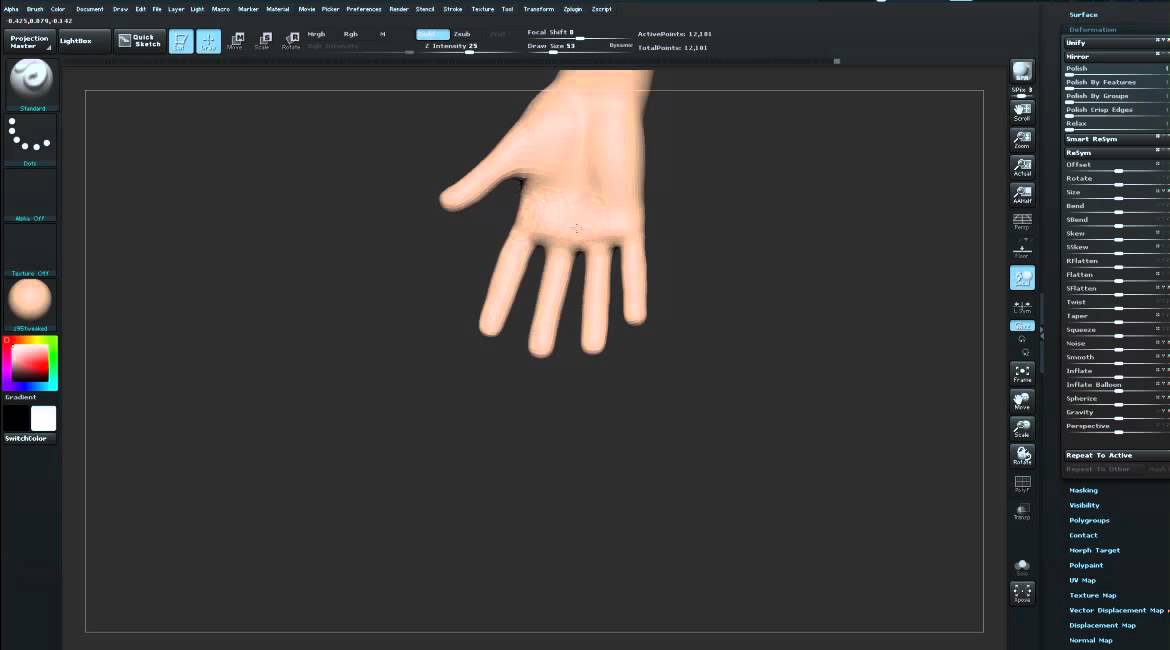
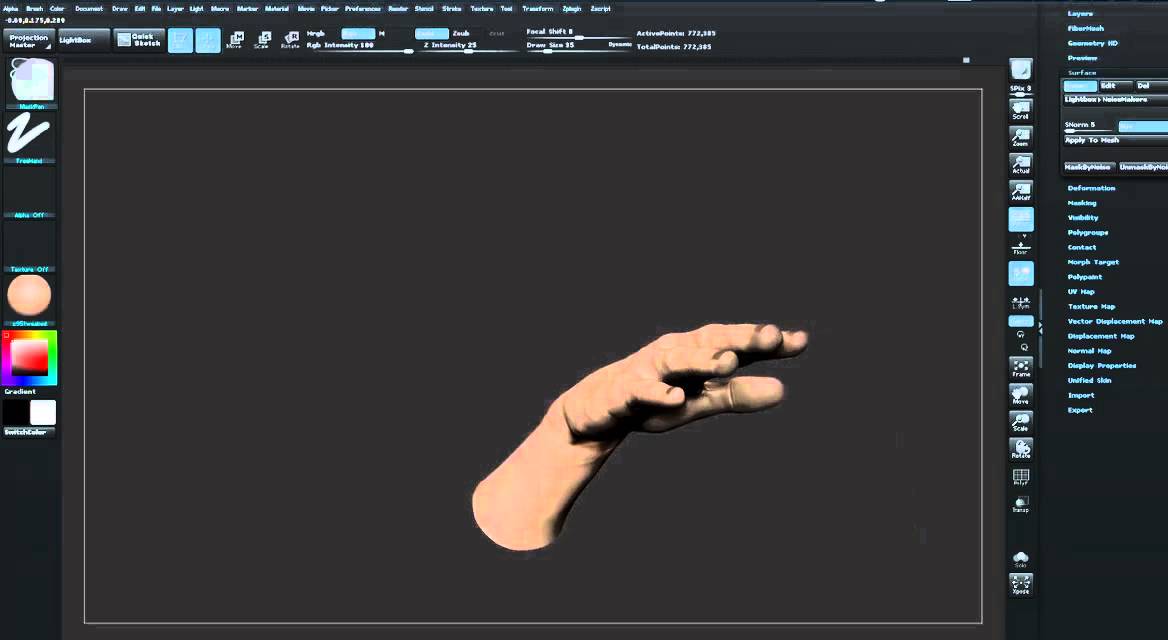
At this stage the fingers look too thin, so the next step is to make them bigger and stronger. To do this, open the Deformation menu in the Tool palette and play with the Inflate slider to beef them up. Hold down [Ctrl] and click and drag on the canvas to unmask the whole hand. Smooth the fingers if you feel they need it by using the Smooth brush. Try to improve the main shapes as well, using the Move brush.
03. Correct the thumb
The thumb is not correctly orientated and we will need to move or rotate it. Mask the whole hand except the thumb in order to place it correctly. Divide your mesh by clicking on the Divide button and try to give the thumb a better shape. Roughing out the fingernail at this step is helpful to see how the thumb is orientated. You should also sculpt the space between each finger with the Move brush.
Sign up to Creative Bloq's daily newsletter, which brings you the latest news and inspiration from the worlds of art, design and technology.
04. The wrist and knuckles
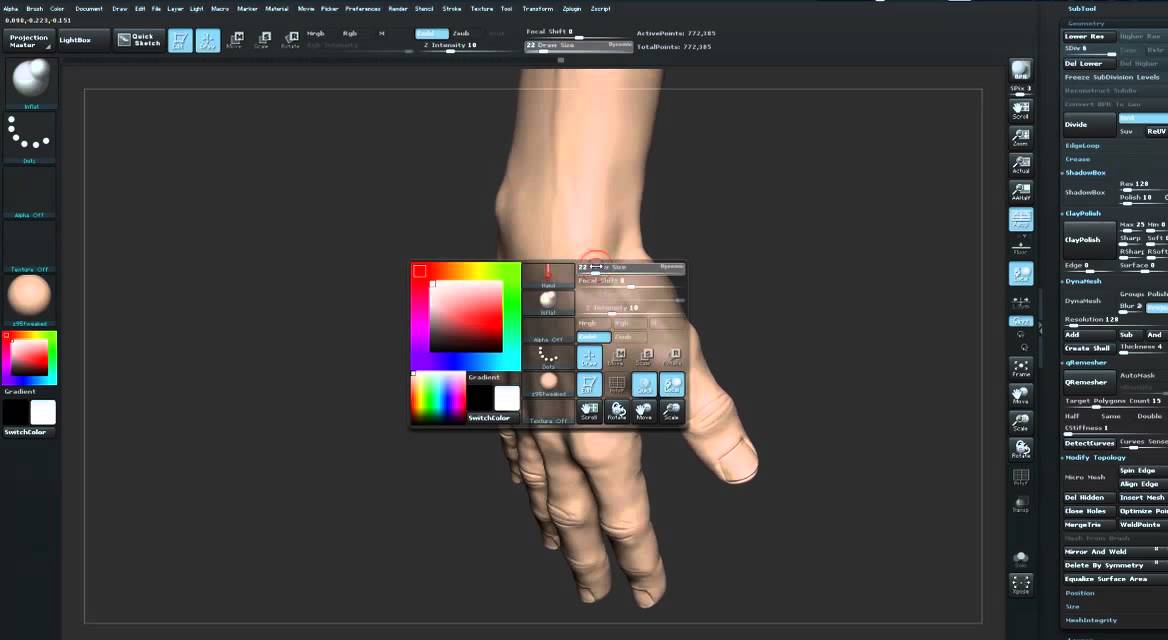
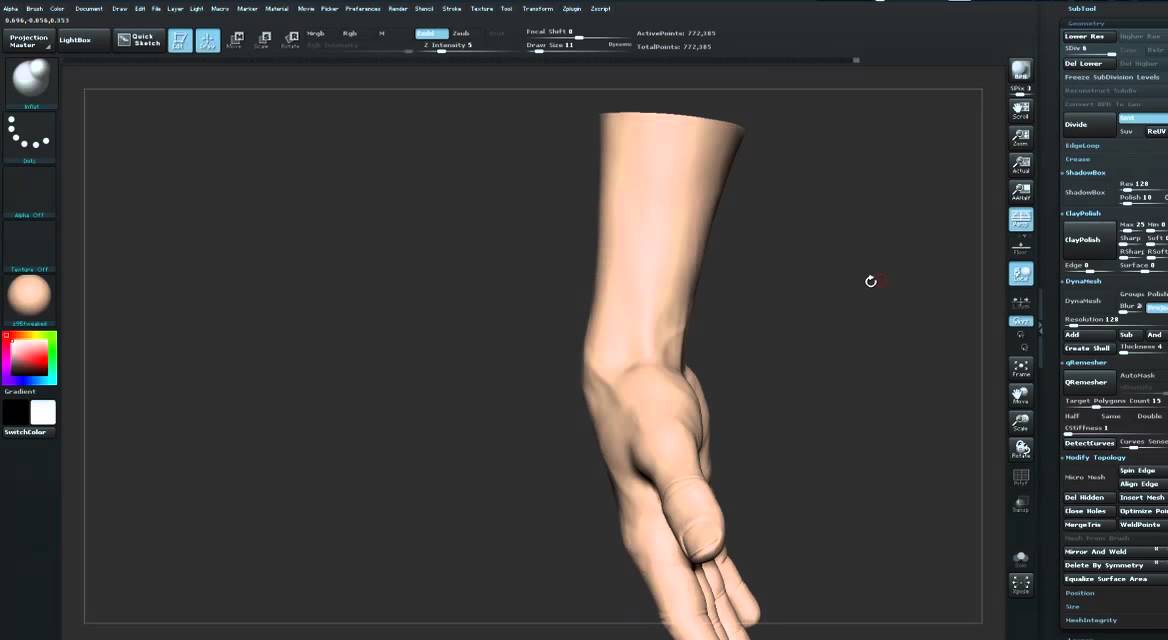
Next we need to work on the wrist. Try to observe how the hand is attached to it, and how the bones, cartilage and tendons will look here. At this point it is also a good idea to work on the skin between the thumb and the palm of the hand; this area has the ability to really distend, since the thumb is able to move freely in all directions.
Don't hesitate to divide your mesh again if you feel you lack polygons. Sculpt each knuckle on the fingers, remembering that bones are bigger in this area. Don't take too long over any of this because we are working very roughly at this stage.
Don't forget to use references to stay on track while you sculpt, and don’t spend time yet adding details. Finish this step by trying to improve the whole hand, working on one area at a time.
05. Adding fingernails
Next we'll create the fingernails: start with the Standard brush to build the shape around the fingernails. Once that's done, hold down [Ctrl] and draw a mask on each finger to shape the nails. Then invert your mask and use the Move tool to extrude the fingernails. You can now erase the mask because you don't need it any more – hold [Ctrl] and click and drag on the canvas to do so.
06. Improve nail shape
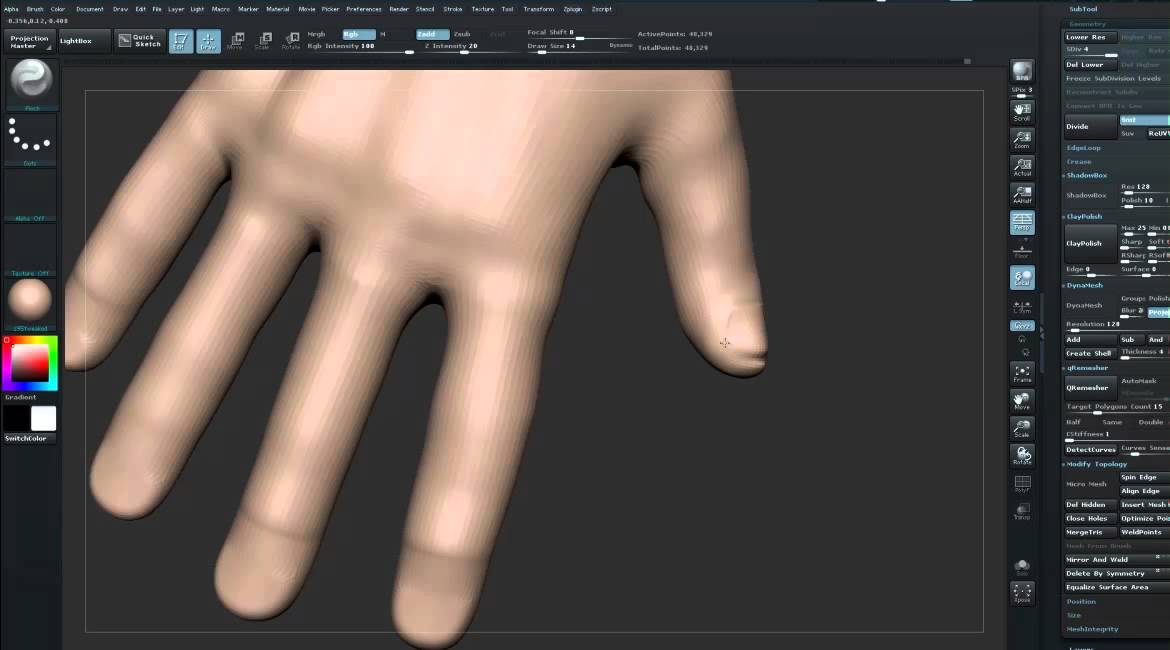
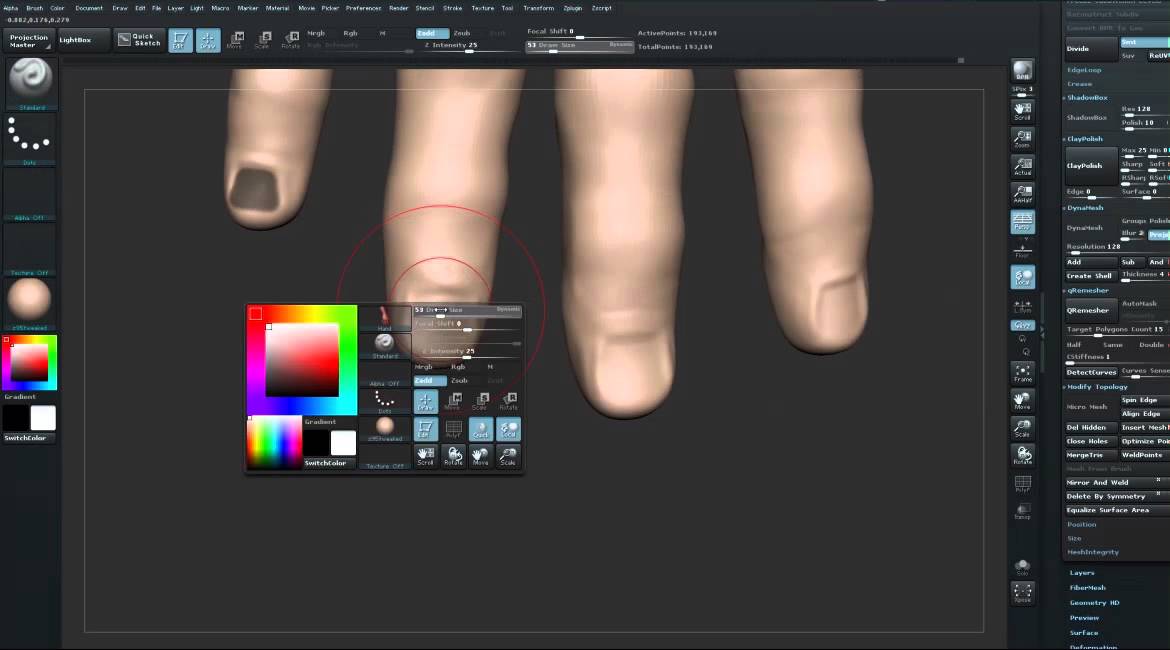
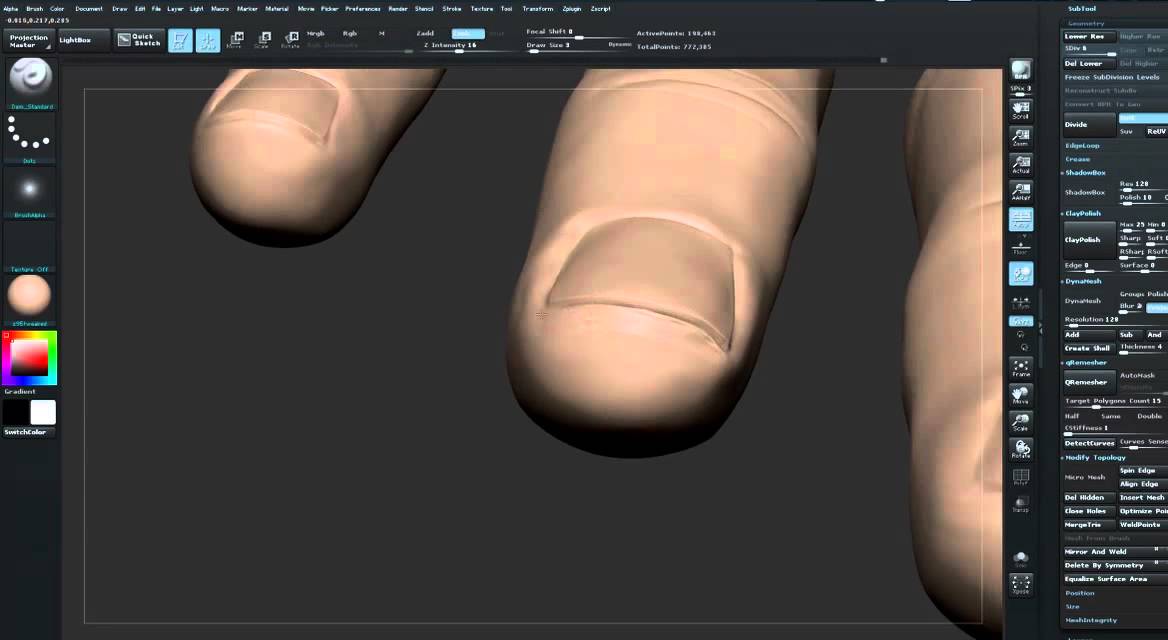
Take some time to improve the shape of the fingernails using the Move brush and give them a nice rounded look, since nails are never completely flat. Use the Smooth brush to soften your lines. You'll also have to make some adjustments on the fingertips as well.
Choose the Pinch brush from the Brushes menu and use it on the borders of the five fingernails, including the thumb. Switch to the Standard brush to try to frame the nails correctly, using a low radius figure to get an accurate result.
07. Fold and creases
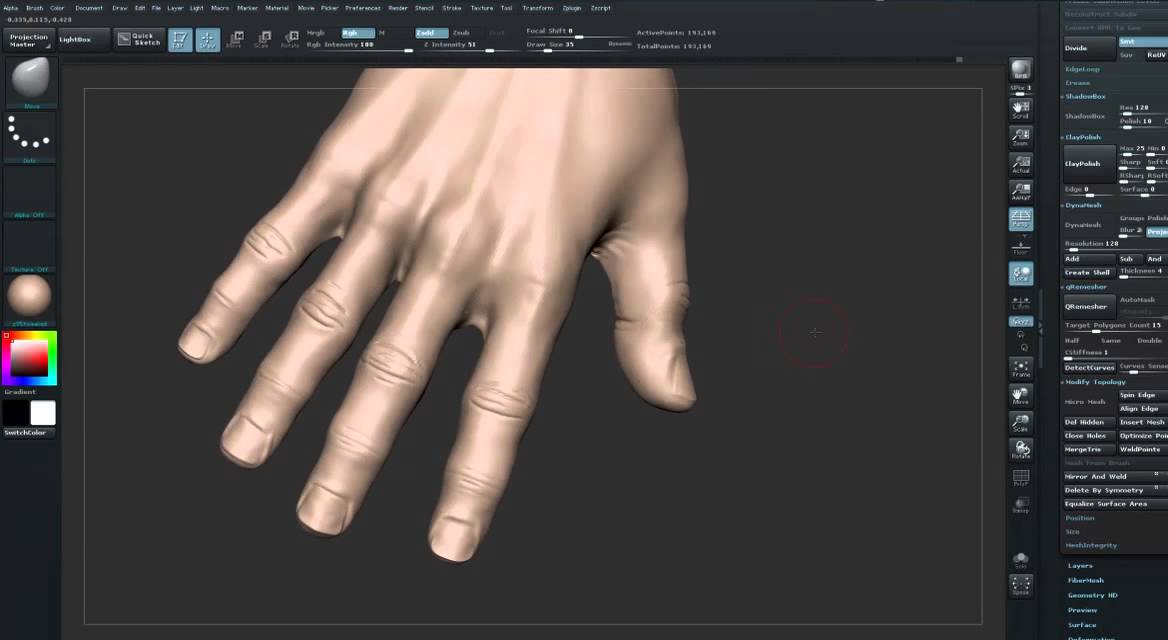
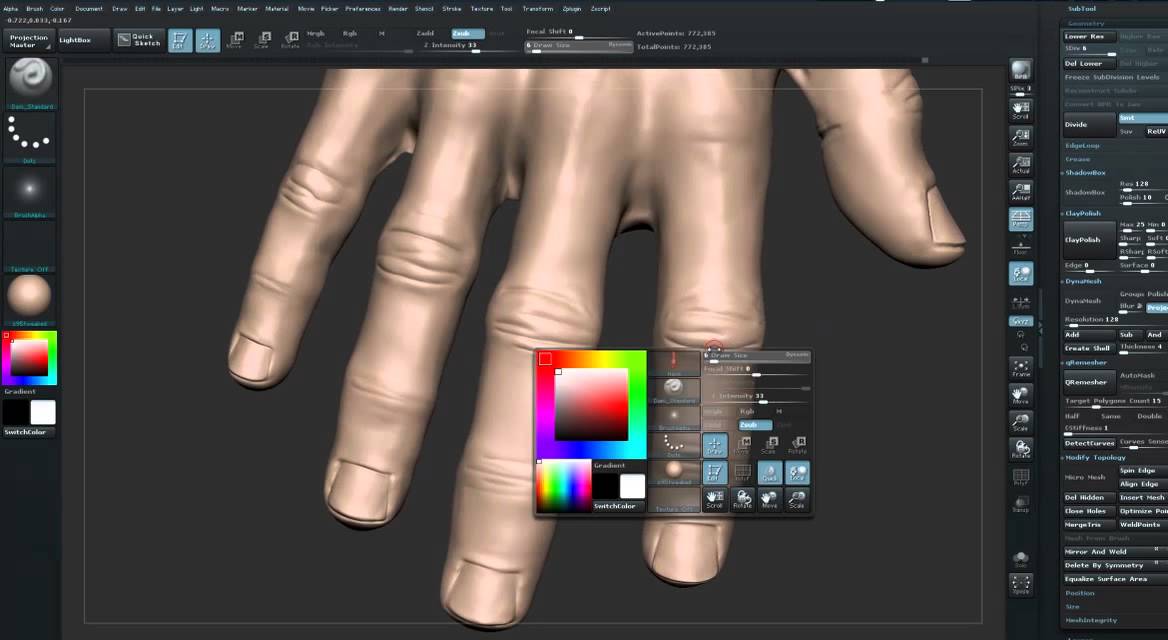
Keep working on the fingers and create the folds and creases on the knuckles. You can use a brush of your choice to do this; personally I use the Dam Standard brush, from the Brushes menu. If possible draw the creases using references on the back and on the other side of the hand. Don't spend too much time at this stage, since we'll do another sculpting pass on them later.
08. Refining the details
Next we will very roughly sculpt the creases on the palm of the hand and reinforce the tendons on the back of it. Refine the wrist, and also the muscles and tendons on the forearm.
As you work, take time to step back and look at the sculpt as a whole to discern what is and isn’t working, making sure to view your model from all angles, and make any small tweaks that are necessary to keep your work on track. The bones in the hand are very close to the skin in many
09. More detailing
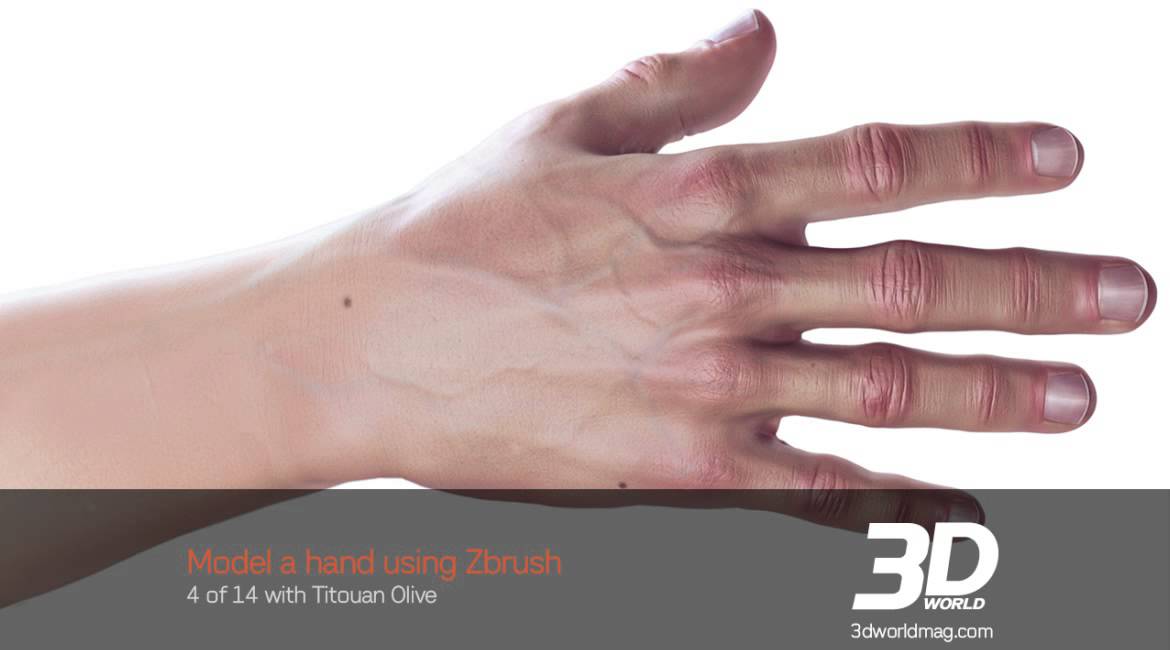
Next we are going to focus our attention on the smaller details, so divide your model one last time and start to draw lines on the back of the hand to create the veins. Try to respect their particular flow and take also into account their different sizes.
At this stage we will use the Standard and Inflate brushes to get a nice realistic result, and use the Smooth brush if you feel your work is too sharp, or to erase details such as a vein. Don't hesitate to redraw one or more of the veins if you feel that they aren’t working.
10. Use LazyMouse
Continue to compare your work with your references as you sculpt and draw some subtle veins on the wrist. A good tip for drawing regular lines is to use LazyMouse, a feature within ZBrush that is used to sculpt more accurately. Simply press [L] to activate it (and use the same key to deactivate it).
11. Improving creases
Now we will work on the area between the thumb and the palm
of the hand, trying to refine the look, before switching to the knuckles, where we will focus particularly on the creases. We are going to do another sculpting pass on them, using the Inflate brush at first and the Pinch brush afterwards. Redraw and sharpen any crease that you think is lacking definition, then use the Dam Standard brush with a low radius to create fine details around the knuckles and on the fingers.
12. The palm and nails
Once you're done, focus your attention on the palm to improve the detail. Draw the main folds first and then spend some time sculpting the finer details. Use the Pinch brush to sharpen and thin down the fingernails, as they are too thick and need to be refined. This step may be quite time-consuming, since you need to sculpt each fingernail in turn, but it is necessary in order to achieve a realistic result.
13. Set finger position
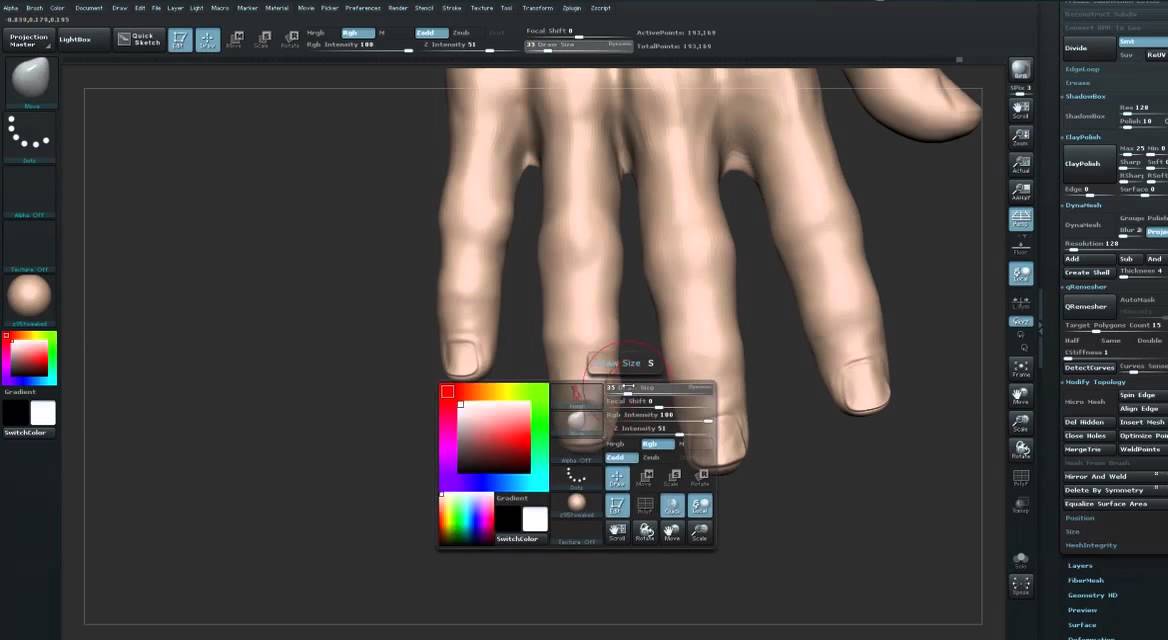
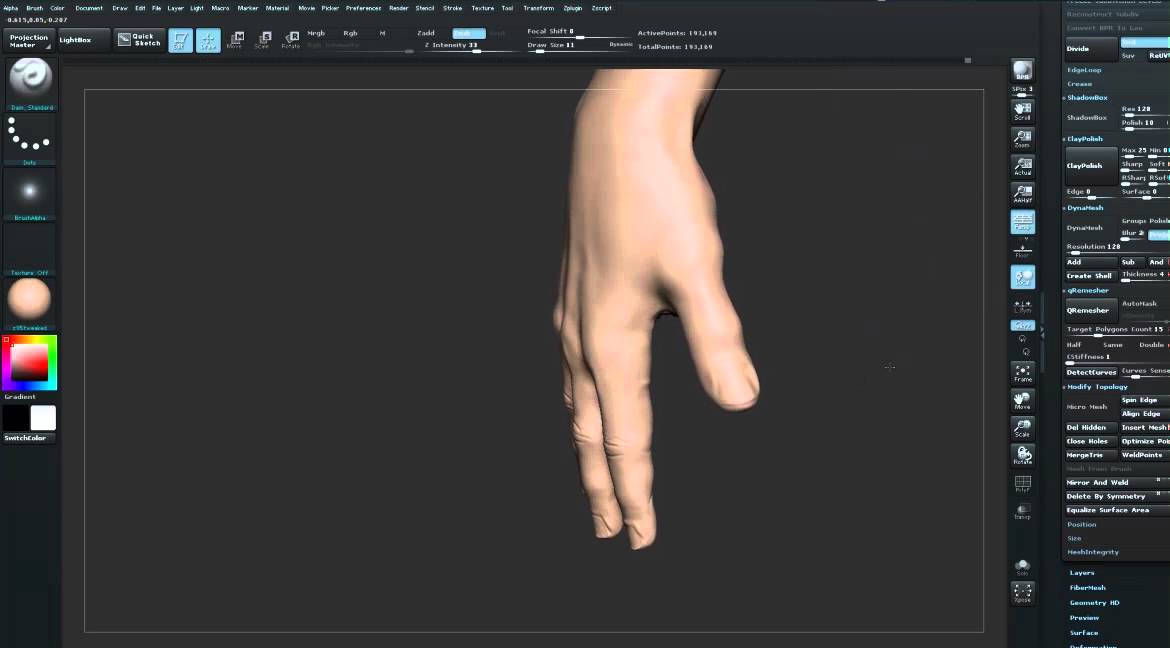
Add very fine details on both sides of the hand and on the back of the wrist, using the Dam Standard brush with a small radius. Once that's done, check the whole hand by turning it around; as you might notice, the hand is still too flat. You can see this most clearly in the front view. Fortunately this is really easy to correct, but you need to switch to a lower resolution level first so you don’t break the detail on the higher levels.
Put the SDiv slider at level 3 and mask both the little and third fingers. Invert your mask and move the two fingers down. Correct the elevation of the other fingers if needed, then erase your mask and restore the higher detail level using the SDiv slider (or press [D] on your keyboard several times).
14. Adding surface texture
We're almost done! The last step is add some texture and fine details. To do this, open the Surface menu in the Tools palette and click the Noise button. A simple bump is automatically applied everywhere on the hand, which adds more definition and simulates skin pores on the back of the hand. At this point, the noise is not actually applied to the geometry – it's a simple 3D bump texture that you can see in real time.
We don't want to add this noise to the palm or fingernails, however, so mask out those parts to erase it and then click the Apply To Mesh button in the Surface menu. The noise will only appear on the appropriate areas, adding a realistic skin texture to the correct parts of the sculpt.
Congratulations, your realistic sculpt of a hand is now complete. You can go further, if you're brave enough, by adding more colours and a bump texture to create fingerprints, as well as rendering your model with lighting to create a photorealistic render. The level of detail is up to you.
Words: Titouan Olive
Titouan Olive is a freelance 3D artist who works in the entertainment industry on video games, films, ads, toys and figurines and architecture. This article originally appeared in 3D World magazine issue 175.
Like this? Read these!
- The best 3D movies to look forward to in 2014
- Click here for brilliant 3D artists to follow on Behance
- Top free 3D models

The Creative Bloq team is made up of a group of art and design enthusiasts, and has changed and evolved since Creative Bloq began back in 2012. The current website team consists of eight full-time members of staff: Editor Georgia Coggan, Deputy Editor Rosie Hilder, Ecommerce Editor Beren Neale, Senior News Editor Daniel Piper, Editor, Digital Art and 3D Ian Dean, Tech Reviews Editor Erlingur Einarsson, Ecommerce Writer Beth Nicholls and Staff Writer Natalie Fear, as well as a roster of freelancers from around the world. The ImagineFX magazine team also pitch in, ensuring that content from leading digital art publication ImagineFX is represented on Creative Bloq.
