Changing the colour of your footage can be tricky if the light and dark values are particularly dissimilar. A challenge that I recently faced was to make the toys in a film switch colours, despite the blue being much darker than the pink.
The Channel Mixer in After Effects is a tool for creating drastic and creative colour adjustments, and here I’ll show you how. There is no specific formula, but the more familiar you become with the program’s tools, you’ll realise that there is always a solution.

01 First apply the Channel Mixer effect and use it to bring up the red-blue channel. Turning that up to about 140% means we increase the value of the Red channel (our output channel) for each pixel by 140% of the value of the Blue channel (the input channel). Turn down the constant blue value (-15) and bring up the constant red (20).

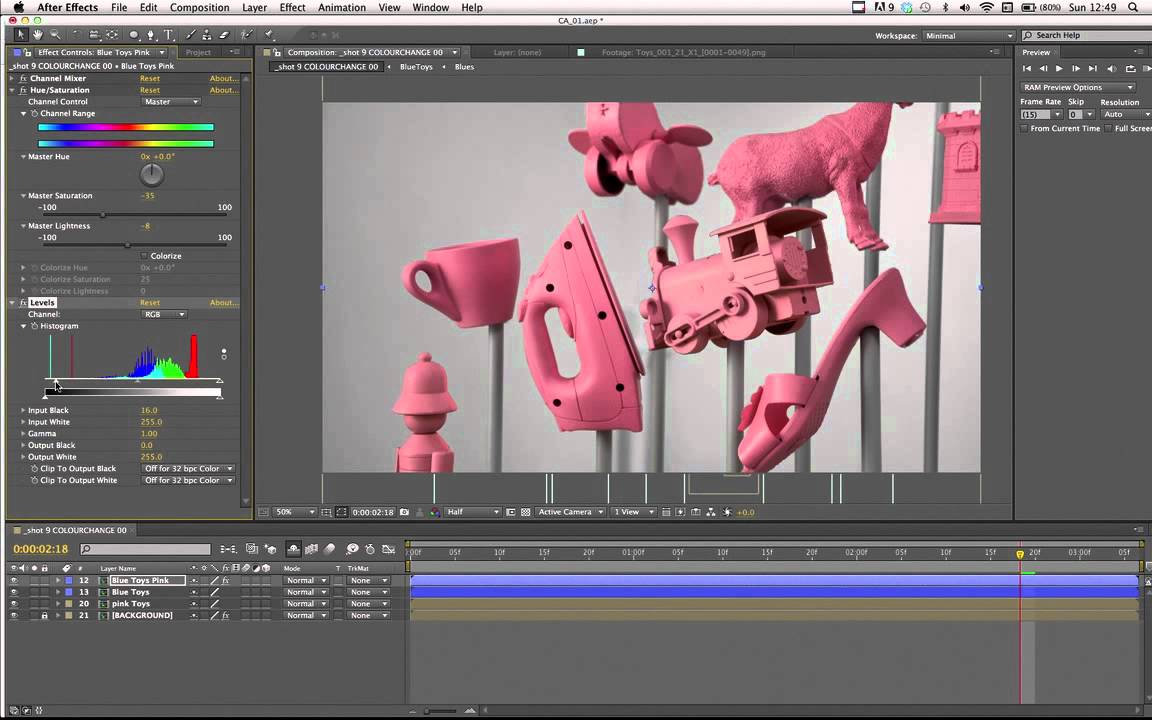
02 Add the Hue/Saturation effect and turn down both Saturation (-40) and Brightness (-8) to match our newly bright pink train to the nude/flesh colour of the original pink toys.

03 Use the Levels adjustment to get back some of the lighter and darker details that have been lost in the process of applying the previous effects.

04 Add the same combination of effects to a duplicate layer of the pink toys in order to turn them blue. As it is easier to darken (rather than lighten) images or footage, we’ll be able to do the main colour shift with the Hue/Saturation effect and then apply the Channel Mixer afterwards for subtle tweaks.

05 Bring the layers with our different variations in and out along the timeline, to create the impression that the objects change colour while moving.

