Following on from my pattern swatch tutorial a couple of months ago, I’m going to show you in just five steps how easy it has become to create new patterns using the new CS6 Pattern Creation mode.
With this new tool, measuring, cropping and aligning have become things of the past and you can create complex patterns in a fraction of the time. Easy to use, and bringing immediate results, this is one of my favourite features of Adobe’s new Creative Suite 6.

01 First open the objects that are used for the base of the pattern, then go to Object>Pattern>Make. This puts Illustrator into a new Pattern Creation mode and opens up the Pattern Options panel. The original object is still there, but with copies that give a preview of the pattern.

02 Dim copies to see the original artwork more clearly, and get ready to add some elements to the pattern. You still have access to all the transformation tools in this mode, so you can copy objects and change the colours until you are happy. You’ll notice that the parts of the object that extend outside of the tile automatically wrap back in on the other side.

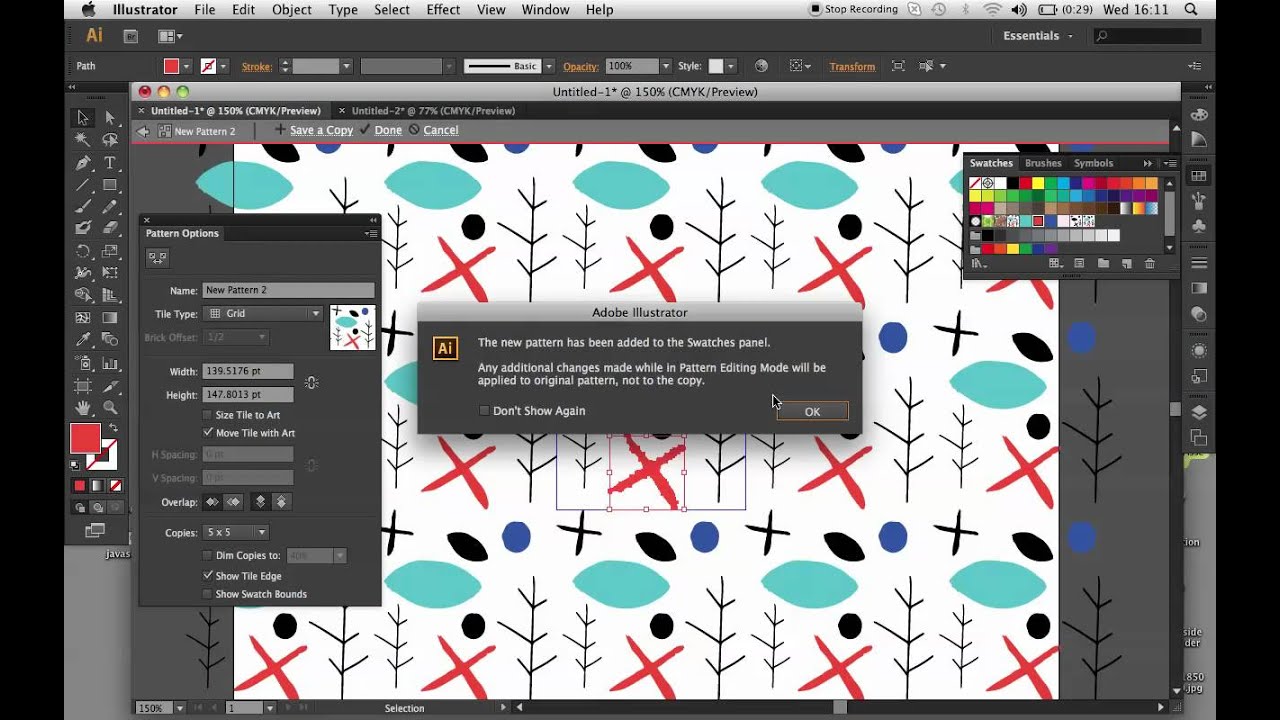
03 When you are happy with the pattern, turn off Dimmed Copies to get a quick preview of how the pattern will look. When you are happy, you just need to click Save a Copy and name the swatch to see it added to the Swatches panel.

04 Try out the pattern on some blank product examples to see if you are happy with the way it looks. If at any time you want to make any changes, just double click on the swatch in the Swatches panel and this will bring you back into the Pattern Editing mode.

05 Everything in the pattern can still be edited. You can add objects, change their colours, size and position or create new objects. To apply the changes click Done, and this will automatically change the swatch and bring you back to your page and out of Pattern Editing mode.

