If a shot is completely blurred, it can’t be rescued. But there are many shots that look a little too soft. Rather than leaving them out of your final edit, you can sharpen them. Unfortunately, sharpening filters tend to add artefacts, which can make the image look fake or even appear crystalised.
The solution is to make subtle adjustments to contrast and colour, and apply them to the most important parts of your image. By increasing contrast, restoring exposure and reducing saturation, you increase the apparent sharpness of an image. The final trick is to add an Unsharp Mask filter at a high strength but at a low opacity. This tiny hint of artificial sharpness can be the finishing touch your footage needs to look perfect.
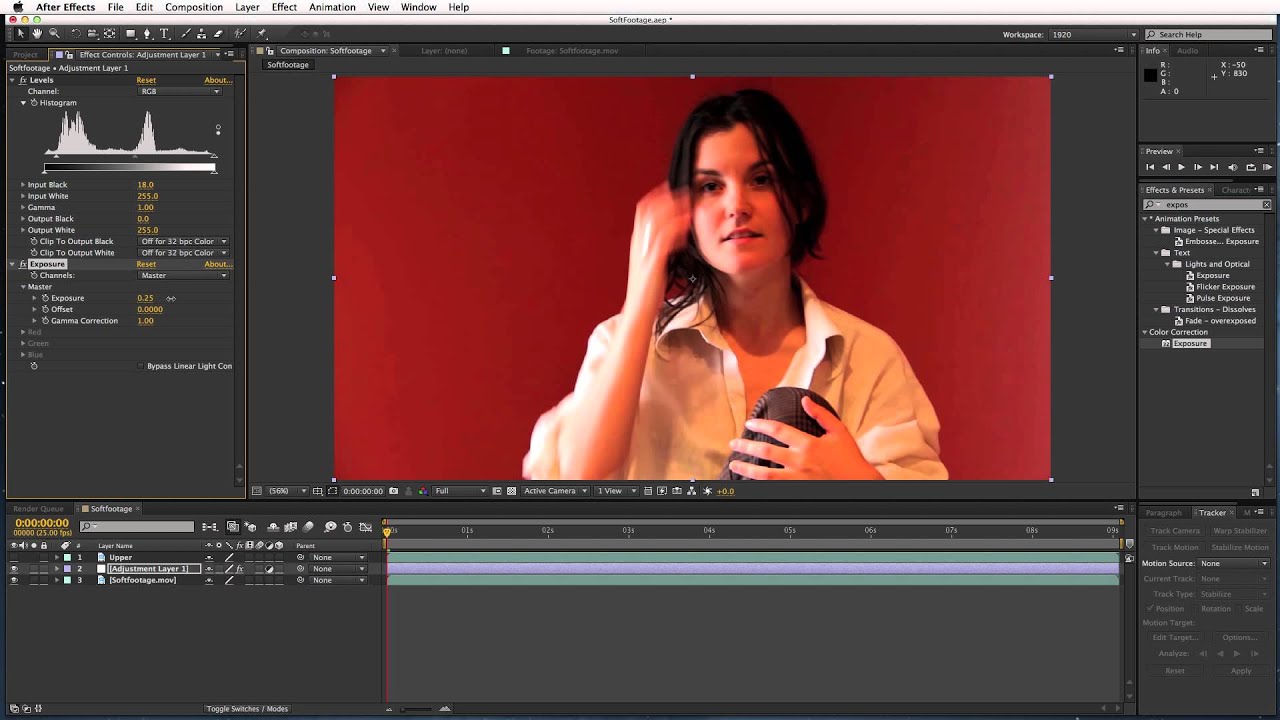

01 Drag your footage to the Create New Composition button. Go to Edit>Duplicate, and rename the upper layer to ‘Upper’. Turn off the eye icon to make the Upper layer invisible. Go to Layer>New>Adjustment Layer and drag it down so it’s between the other two.

02 Apply the Levels filter to the adjustment layer. To increase apparent sharpness, click on the triangle on the far left of the histogram and drag it slightly to the right. You only need to make a small adjustment, so be careful not to crush all the shadows and make this too contrasted.

03 Apply the Exposure filter to the adjustment layer and increase the exposure to about 0.30. A small adjustment to the gamma might help as well. Apply the Hue/Saturation filter, and drag the master saturation down. You’re trying to recreate the original colour and brightness of the image while retaining the new sharpness.

04 Use the Pen tool to draw a mask around the subject. Hit the F key and feather the mask. This approach enables you to make more refined adjustments to the subject without losing the original background colour. Go back and adjust filter settings to get the exact look you want for the subject.

05 Click the eye icon on the upper layer to make this visible, and apply the Unsharp Mask filter – set to 200. Next hit the T key to bring up the layer’s opacity, and reduce this to 30%. At such a low opacity, this doesn’t look fake, but adds a tiny hint of detail.
After Effects CS6 - reviewed over at Creative Bloq.

