Create a time-lapse movie
Lizzie Mary Cullen explains how to use stop-motion and time-lapse techniques to make your illustrations move
Daily design news, reviews, how-tos and more, as picked by the editors.
You are now subscribed
Your newsletter sign-up was successful
Want to add more newsletters?

Five times a week
CreativeBloq
Your daily dose of creative inspiration: unmissable art, design and tech news, reviews, expert commentary and buying advice.

Once a week
By Design
The design newsletter from Creative Bloq, bringing you the latest news and inspiration from the worlds of graphic design, branding, typography and more.

Once a week
State of the Art
Our digital art newsletter is your go-to source for the latest news, trends, and inspiration from the worlds of art, illustration, 3D modelling, game design, animation, and beyond.

Seasonal (around events)
Brand Impact Awards
Make an impression. Sign up to learn more about this prestigious award scheme, which celebrates the best of branding.
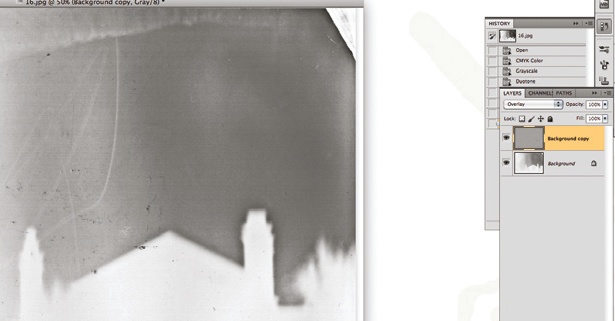
06 Now you’ve got your movie in Premiere. If you hit the play icon in the little box above the project name on the left, you’ll be able to see your movie.
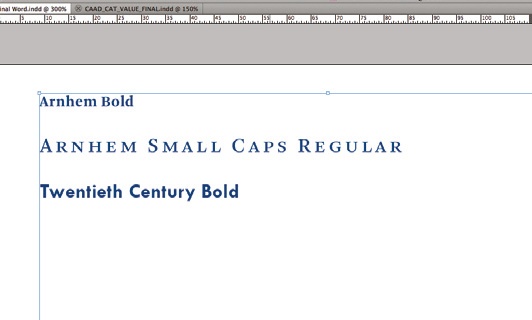
07 It’s time to adjust the frame rate. Go to File>Interpret Footage. Here you can adjust the frame per second – the higher the number, the faster the film. I’m going for 6fps. Now it’s time to export your movie. Go to File>Export>Media.
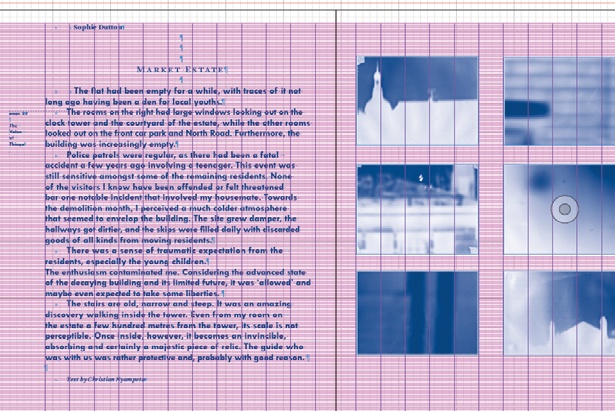
08 I’m saving my movie as a QuickTime file. Make sure your movie is within the safe margins by clicking on the Output tab and checking how it looks.
09 Depending on your software, your file will be put in an encoder queue. I have Adobe Media Encoder CS4. Add your file to the queue and click Start Queue. The encoding speed will depend on the size of your project file.
10 Now for the best bit: open your movie in QuickTime and watch it run. After the encoding process you get a true picture of what your film looks like. If you’re finding it too slow or fast, it’s a simple process to change the frames per second. The more you practice using time-lapse techniques in your work, the more you can create with them, so experiment and see what you can do.
Daily design news, reviews, how-tos and more, as picked by the editors.

The Creative Bloq team is made up of a group of art and design enthusiasts, and has changed and evolved since Creative Bloq began back in 2012. The current website team consists of eight full-time members of staff: Editor Georgia Coggan, Deputy Editor Rosie Hilder, Ecommerce Editor Beren Neale, Senior News Editor Daniel Piper, Editor, Digital Art and 3D Ian Dean, Tech Reviews Editor Erlingur Einarsson, Ecommerce Writer Beth Nicholls and Staff Writer Natalie Fear, as well as a roster of freelancers from around the world. The ImagineFX magazine team also pitch in, ensuring that content from leading digital art publication ImagineFX is represented on Creative Bloq.
