Create a rapport with your illustrations
Alex Sheeny pieces together the process of creating your own pattern from scratch with Photoshop and Illustrator CS5.
Patterns nowadays can consist of much more than simple repetitions. With the growth of digital textile printers, Illustrator and Photoshop have become some of the most powerful tools available for developing complex and colourful designs. They also give creatives the ability to experiment and achieve a large range of results in a very short time.
In this tutorial, I will present the process from scratch, selecting a theme, illustrating the elements that will be on the canvas, then building the repetition pattern (called 'rapport' in the fashion industry). As well as on fabrics, your pattern can be used in many other ways; such as within web designs and interfaces and as wrapping paper or posters.
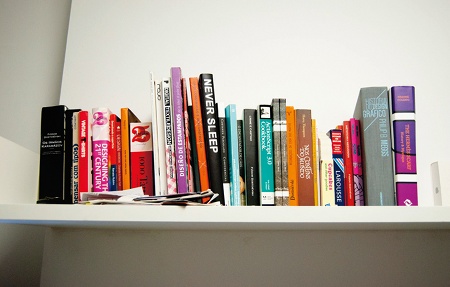
01 Before you do anything, first look for a theme for your pattern and find some reference images. This is the most important step because the elements and how they will be displayed on your canvas will depend on it. In this case, I've chosen a space exploration theme and found some great related images to use as reference material.
Article continues below 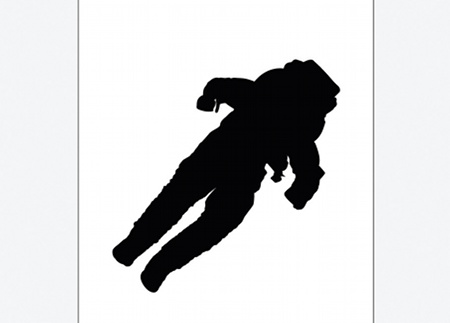
02 After selecting your reference images, choose the elements that you want to use in your pattern and start to sketch them, either on paper or in Illustrator. The number of elements can range from three to however many you like. I've chosen to use an astronaut, spaceship and satellite.
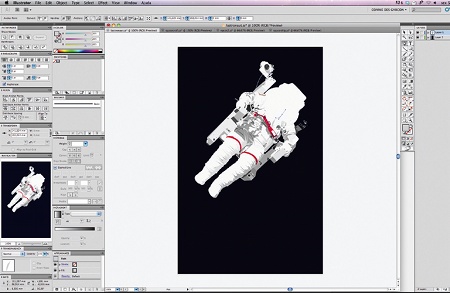
03 Once you have your basic form drawn, start adding some depth and details. I've done this by painting with different tones of grey, using the Pen and Blob tools for smaller details.
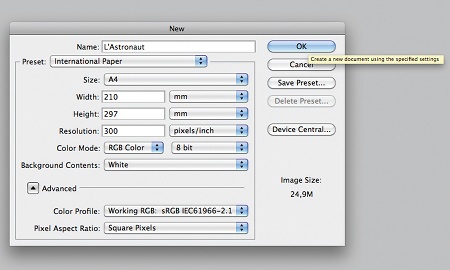
04 When you've finished the elements, open Photoshop and create a new file (File>New). The size doesn't really matter, but in this case I've created an A4 file at 300dpi.
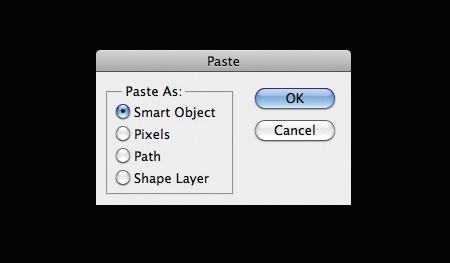
05 In Illustrator, select the image, click Copy, then click Paste to paste it in Photoshop. You'll see a dialog box with some options, choose Paste As: Smart Object. This way, you can play around with your illustration size without losing resolution before you rasterise it.
Sign up to Creative Bloq's daily newsletter, which brings you the latest news and inspiration from the worlds of art, design and technology.
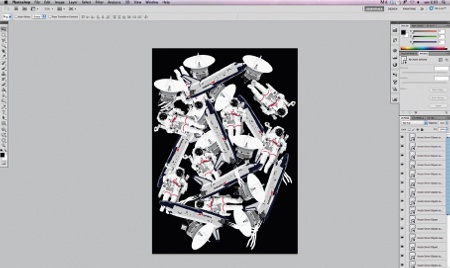
06 After copying all the elements into Photoshop, start arranging them. Make sure your elements don't touch the side of the canvas, otherwise the repetition will be compromised.
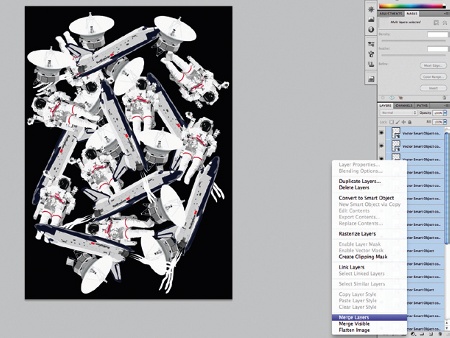
07 Once you're done with this first arrangement, merge your elements in order to apply the filter that we're going to work with. You can do this either by selecting all the layers and pressing Cmd/Ctrl+E, or selecting the layers, and Ctrl/right-clicking, then choosing Merge Layers.
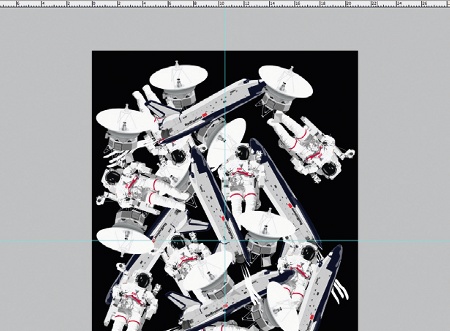
08 Press Cmd/Ctrl+R to show your rulers, then place two guides in the vertical and horizontal centres.
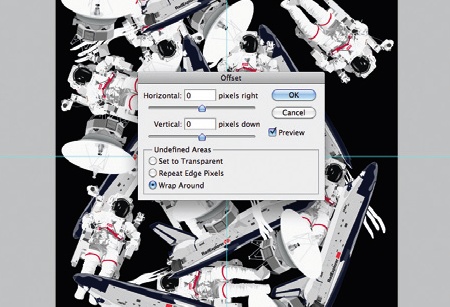
09 Now that the layers are merged, navigate to Filter>Other>Offset. A dialog box will open showing a range of options. Select Undefined Areas: Wrap Around, and let the values remain at 0.
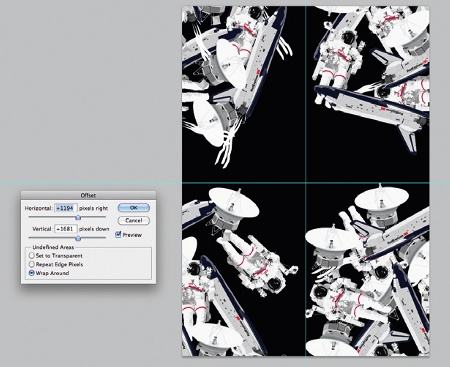
10 Drag the dialog box outside the canvas, click in the centre of the canvas (marked with the rulers), and then drag it to any corner. You'll only see the image placed on the corners once you release the mouse button.
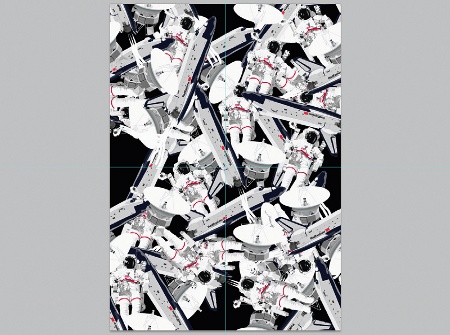
11 You can see what was previously the blind spot of the pattern. Fill this area with the objects in order to make the pattern seamless.
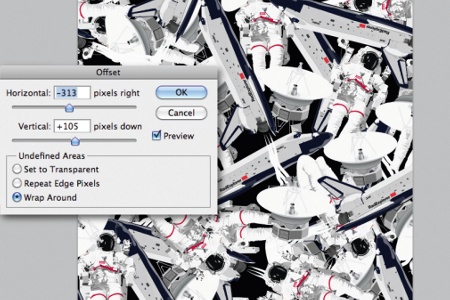
12 You'll have noted the 'cross' shape of blank space that has appeared. To fill the holes that will appear in our repetition, offset (Filter>Other>Offset) some other single elements at the sides.
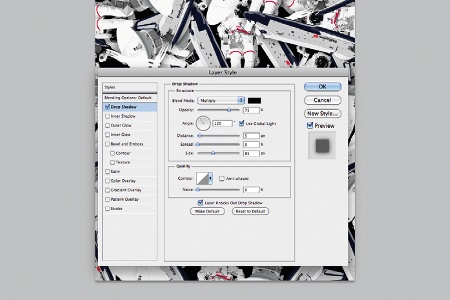
13 The placing of the elements is now complete, so it's time to give the piece a bit of depth. Select the layer you merged in step 7, and add a smooth drop shadow.
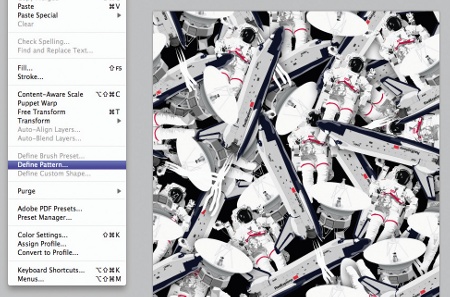
14 Now that the design is done, let's define a pattern (Edit>Define Pattern) and test its repetition. First you need to merge all the layers, so go to Layers>Merge Visible. Next, go to Edit>Define Pattern, give your pattern a name, and click OK.
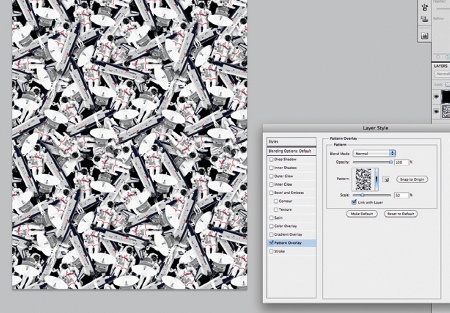
15 Once the pattern is defined, it will appear in the Layer Styles list. To display the pattern, create a new layer, fill it and then go to Layer Styles> Pattern Overlay. Choose the pattern in the list, drag it from the canvas, and move and scale it for the percentage you want. Remember that the lower the percentage, the more it repeats.
Alex Sheeny 22-year-old Rio de Janeiro-based designer Alex graduated with a graphic design degree, but has worked with fashion and textiles since the age of 15. Alex is a member of the worldwide design collective Keystone Design Union, and you can check his portfolio out at www.alexsheeny.com

The Creative Bloq team is made up of a group of art and design enthusiasts, and has changed and evolved since Creative Bloq began back in 2012. The current website team consists of eight full-time members of staff: Editor Georgia Coggan, Deputy Editor Rosie Hilder, Ecommerce Editor Beren Neale, Senior News Editor Daniel Piper, Editor, Digital Art and 3D Ian Dean, Tech Reviews Editor Erlingur Einarsson, Ecommerce Writer Beth Nicholls and Staff Writer Natalie Fear, as well as a roster of freelancers from around the world. The ImagineFX magazine team also pitch in, ensuring that content from leading digital art publication ImagineFX is represented on Creative Bloq.
