8 CodePen features you didn't know about
The hidden gems in web design’s favourite frontend playground.

Daily design news, reviews, how-tos and more, as picked by the editors.
You are now subscribed
Your newsletter sign-up was successful
Want to add more newsletters?

Five times a week
CreativeBloq
Your daily dose of creative inspiration: unmissable art, design and tech news, reviews, expert commentary and buying advice.

Once a week
By Design
The design newsletter from Creative Bloq, bringing you the latest news and inspiration from the worlds of graphic design, branding, typography and more.

Once a week
State of the Art
Our digital art newsletter is your go-to source for the latest news, trends, and inspiration from the worlds of art, illustration, 3D modelling, game design, animation, and beyond.

Seasonal (around events)
Brand Impact Awards
Make an impression. Sign up to learn more about this prestigious award scheme, which celebrates the best of branding.
CodePen and frontend development have become synonymous with each other. As an early user and early hire at CodePen, I had the benefit of learning and growing with the platform as it went from online editor and web playground to a lively community for testing and showcasing HTML, CSS and JavaScript code snippets – which is only set to expand with the addition of CodePen Projects.
CodePen is like a Swiss Army knife for frontend developers, offering inspiration, a clean environment to experiment in and more. Everyone has a different approach to development, and there are a few key CodePen features that sometimes go unnoticed and could use a shout out. Here are eight features that you may have overlooked:
01. Preprocessors
CodePen is a great place to build small components in isolation, without having to set up a development environment. You can design and experiment with a small piece, and when you’re happy, bring it into your larger application.
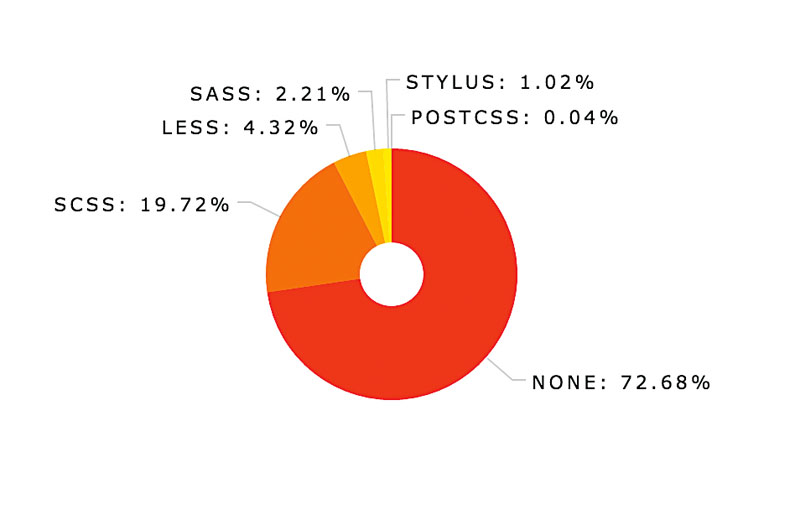
What might not be immediately obvious is that to make isolated development much easier and quicker for everyone, CodePen gives you instant access to a lot of great preprocessors. There are four different HTML preprocessors you can use while creating and editing Pens: Markdown, HAML, Slim and Jade. These can be useful in writing more terse code; or perhaps you are working on projects in these languages and want to keep your examples consistent.
Users also have access to JavaScript preprocessors (CoffeeScript, LiveScript, TypeScript and Babel), as well as CSS preprocessors (Less, Sass and SCSS, Stylus and the newer PostCSS). These can be invaluable in helping you get going quickly, but are also a great resource if you’re looking to learn a new language. The ‘View compiled’ option enables you to write with a preprocessor and then see how it translates out once it has been preprocessed.
02. Embed features
When it comes to including code in your blog posts, articles and presentations, CodePen embeds are incredibly versatile, and have a few special features.
All embeds have a theme that controls the style of the CodePen header, tabs and other details. There are two built-in themes: light and dark. Every CodePen member also gets a customisable personal theme, which you can edit to match your blog’s theme or your heart’s desire. The special thing here is that if you change your theme, CodePen will retroactively update all your previous embeds. So there’s no need to go back to edit each post individually.
Daily design news, reviews, how-tos and more, as picked by the editors.
If you’re a Pro member, you can unlock a few extra features in the world of embeds. Firstly, you have unlimited themes, so you can choose something special for your blog, something different for your slides, and something different again for one-off posts. You can also add your own custom CSS to the entire embed, altering the text styles, fonts and literally anything else.
Secondly, Pro users can make their embeds editable. At every conference you head to (or watch online), you’ll end up seeing a few embedded Pens within slides. They’re a great way to showcase your code, as well as its resulting markup and styles. You can show something off while still allowing the code to be tweaked and tuned. Editable embeds are also great for interactive blog posts and tutorials – the author can embed a Pen on the page, and visitors will be able to edit and explore the code and see their changes take effect in real time.
Finally, if you’re really going for full customisation, the CodePen iframe has a custom PostMessage API you can use to change the tabs dynamically. First, we get the iframe instance and send it the tabs we want to appear:
var embedIFrame = document.querySelector('.codepen-embed-iframe');

embedIframe.contentWindow.postMessage({
    activeTabs: "css, result"
}, "*");
The above message would set the active tabs on the embed to a split view showing the CSS alongside its result.
This feature, combined with a custom theme, enables you to create your own interface and layout through which others can interact with your Pen. In this live example, a Pen cycles through its code to show each tab over time.
03. Live View and live sync
Live View is a full-page view of your Pen that updates in real time, as you edit the code. It’s just like the preview in the editor, except that this URL can be open in another window or tab, in a different browser, or even on a completely different computer or device.
This means, for instance, that you can use Live View to test your code in Firefox, Safari, Chrome, and on your phone all at once. There’s no limit to how many different browsers you can use.
As an added perk, events are also synced across these views, so when you scroll on one screen, they will all scroll with you. When you click a checkbox on one, it will be checked on all the screens. It really does make cross-device and cross-browser testing a breeze. And to make things even easier, CodePen also offers a feature that allows you to text yourself the current live URL, so there’s really no excuse not to get testing.
04. The Pattern Library
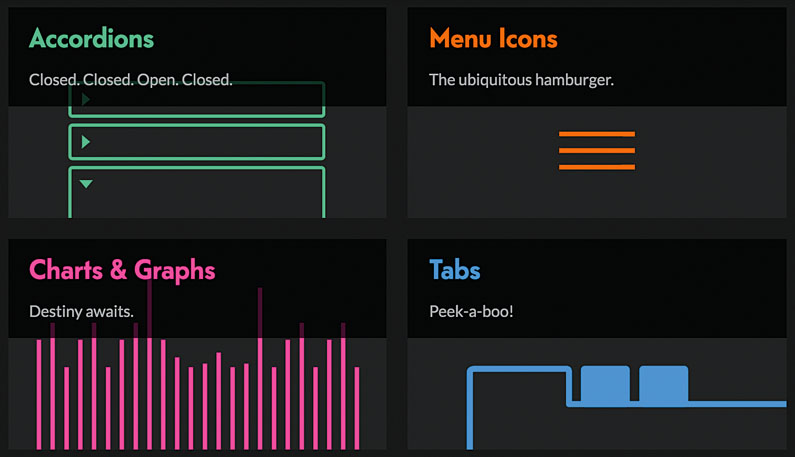
As CodePen has grown, we’ve been able to see so many Pens and collections built out by the world. When you have so much code coming in, it’s hard not to see a few patterns emerging, as well as people solving similar problems in different creative ways. So if you’re in the mood for a little inspiration, or need some ideas to kick off a new project, the CodePen Pattern Library is where you should head.
The Pattern Library is an incredible resource filled with hundreds of Pens, all sorted according to specific needs. Looking to add a rating system to your site? There’s a pattern collection for that. Researching different breadcrumb patterns? There’s a collection for that. Submissions for the library are open to the public, so if you’ve made something fun or fitting, you’ll be a shoo-in.
In a similar vein, there are some great user-made pens that acts as a live demonstration of a certain JavaScript or CSS feature. I find these incredibly informative and useful as resources:
- Flexbox Playground: This playground Pen by Gabi Siquès demonstrates interactively how each Flexbox property behaves, making it easy to find the specific properties you’re looking for
- Easing Playground: This Pen by Craig Roblewsky lets you edit and customise GreenSock easings in real time, so you can get those interactions silky smooth
- Loaders and Spinners: This collection supports over 500 unique loaders and spinners. If you’re ever in a rut, this will be the single point of contact that can take you out of it.
05. Pens as resources
Although CodePen was initially built to show smaller, more isolated code demos, it became apparent that some users wanted a little more structure and obfuscation. The solution was to make it possible to use Pens as resources for other Pens.
In its most basic form, this is done by exposing the raw, compiled JavaScript and CSS from each Pen. This way, you can build out a really large project structure with individual components. You can do this for any Pen: so for codepen.io/team/codepen/pen/EVdVpQ you would add the suffix .js to view the JavaScript, or .css to view the CSS.
You can link up CSS or JavaScript from one Pen and use it in another to form a ‘dependency’ in the looser sense of the word. However, if you use a preprocessor, it is possible to create a ‘real’ dependency. So if you define a set of variables and mixins for one Pen and link it up to another Pen as an external resource, you’ll be able to use those same variables and mixins in the second Pen, where they would otherwise fail or error.
06. CodePen TV
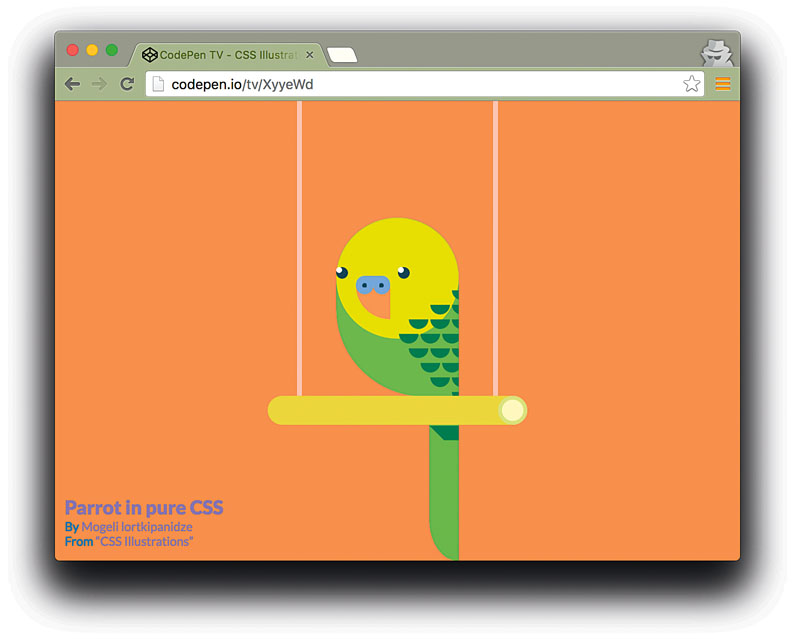
Born on a random hack day in 2015, CodePen TV demos Pen collections in an endless loop on a full screen. So if you’re presenting at a conference, this would be a great way to show off what people are making on the big screen in the background.
There’s also a little Mac screensaver you can use to display all of your favourite Pens on your idle screens. This works really well with more visual CSS and Canvas Pens.
07. Prefill API
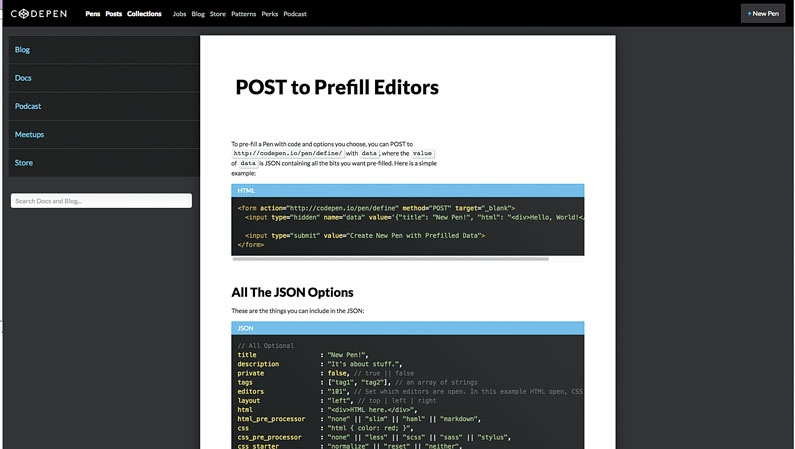
One of the most powerful and useful features of CodePen is its Prefill API, which enables you to add links and demos to your documentation and demo pages without having to actually code anything in CodePen. This feature has led to CodePen becoming a large part of the Mozilla Developer Network, as well as a number of other great resources.
It works by passing specific parameters to a defined URL. To prefill a Pen with the code and options you choose, you can POST to codepen.io/pen/define/ with data, where the value of data is JSON containing all the bits you want prefilled. For example, here is a simple Hello World:
<form action="codepen.io/pen/define" method="POST" target="_blank">
  <input type="hidden" name="data" value='{"title": "New Pen!", "html": "<div>Hello, World!</div>"}'>
  <input type="submit" value="Create New Pen with Prefilled Data">
</form>
When you submit this form, you will be taken to the CodePen editor, with the title and HTML of the Pen filled in as per the defined data.
It doesn’t stop here, either. You can define almost all Pen settings from this API, to offer up complete custom editors, with preprocessors included. You can read more about the Prefill API here.
08. CodePen Templates
When you’re saving a Pen, you also have the option to save it out as a template. The template feature lets you create and save a default set of code and settings for Pens, like a reusable starter kit.
Maybe you like to use Markdown and Sass, and have jQuery available – you could make a template for that. Or maybe sometimes you use Jade, Sass and a responsive meta tag in the . You could make a template for that, too. But templates aren’t just settings, they are the actual code in the HTML, CSS and JavaScript editors as well. Anything you write in the editor panels will be included in your template.
These are incredibly useful when you’re working with a company JavaScript library or setup, and want to get a project up and running quickly. These templates are also increasingly being used in specific library setups as well: having react, react-dom and a basic component scaffold rigged up and ready to go in just one click really saves a lot of time.
This article originally appeared in issue 283 of net magazine, the magazine for professional web designers and developers – offering the latest new web trends, technologies and techniques. Subscribe to net here.
Related articles:
