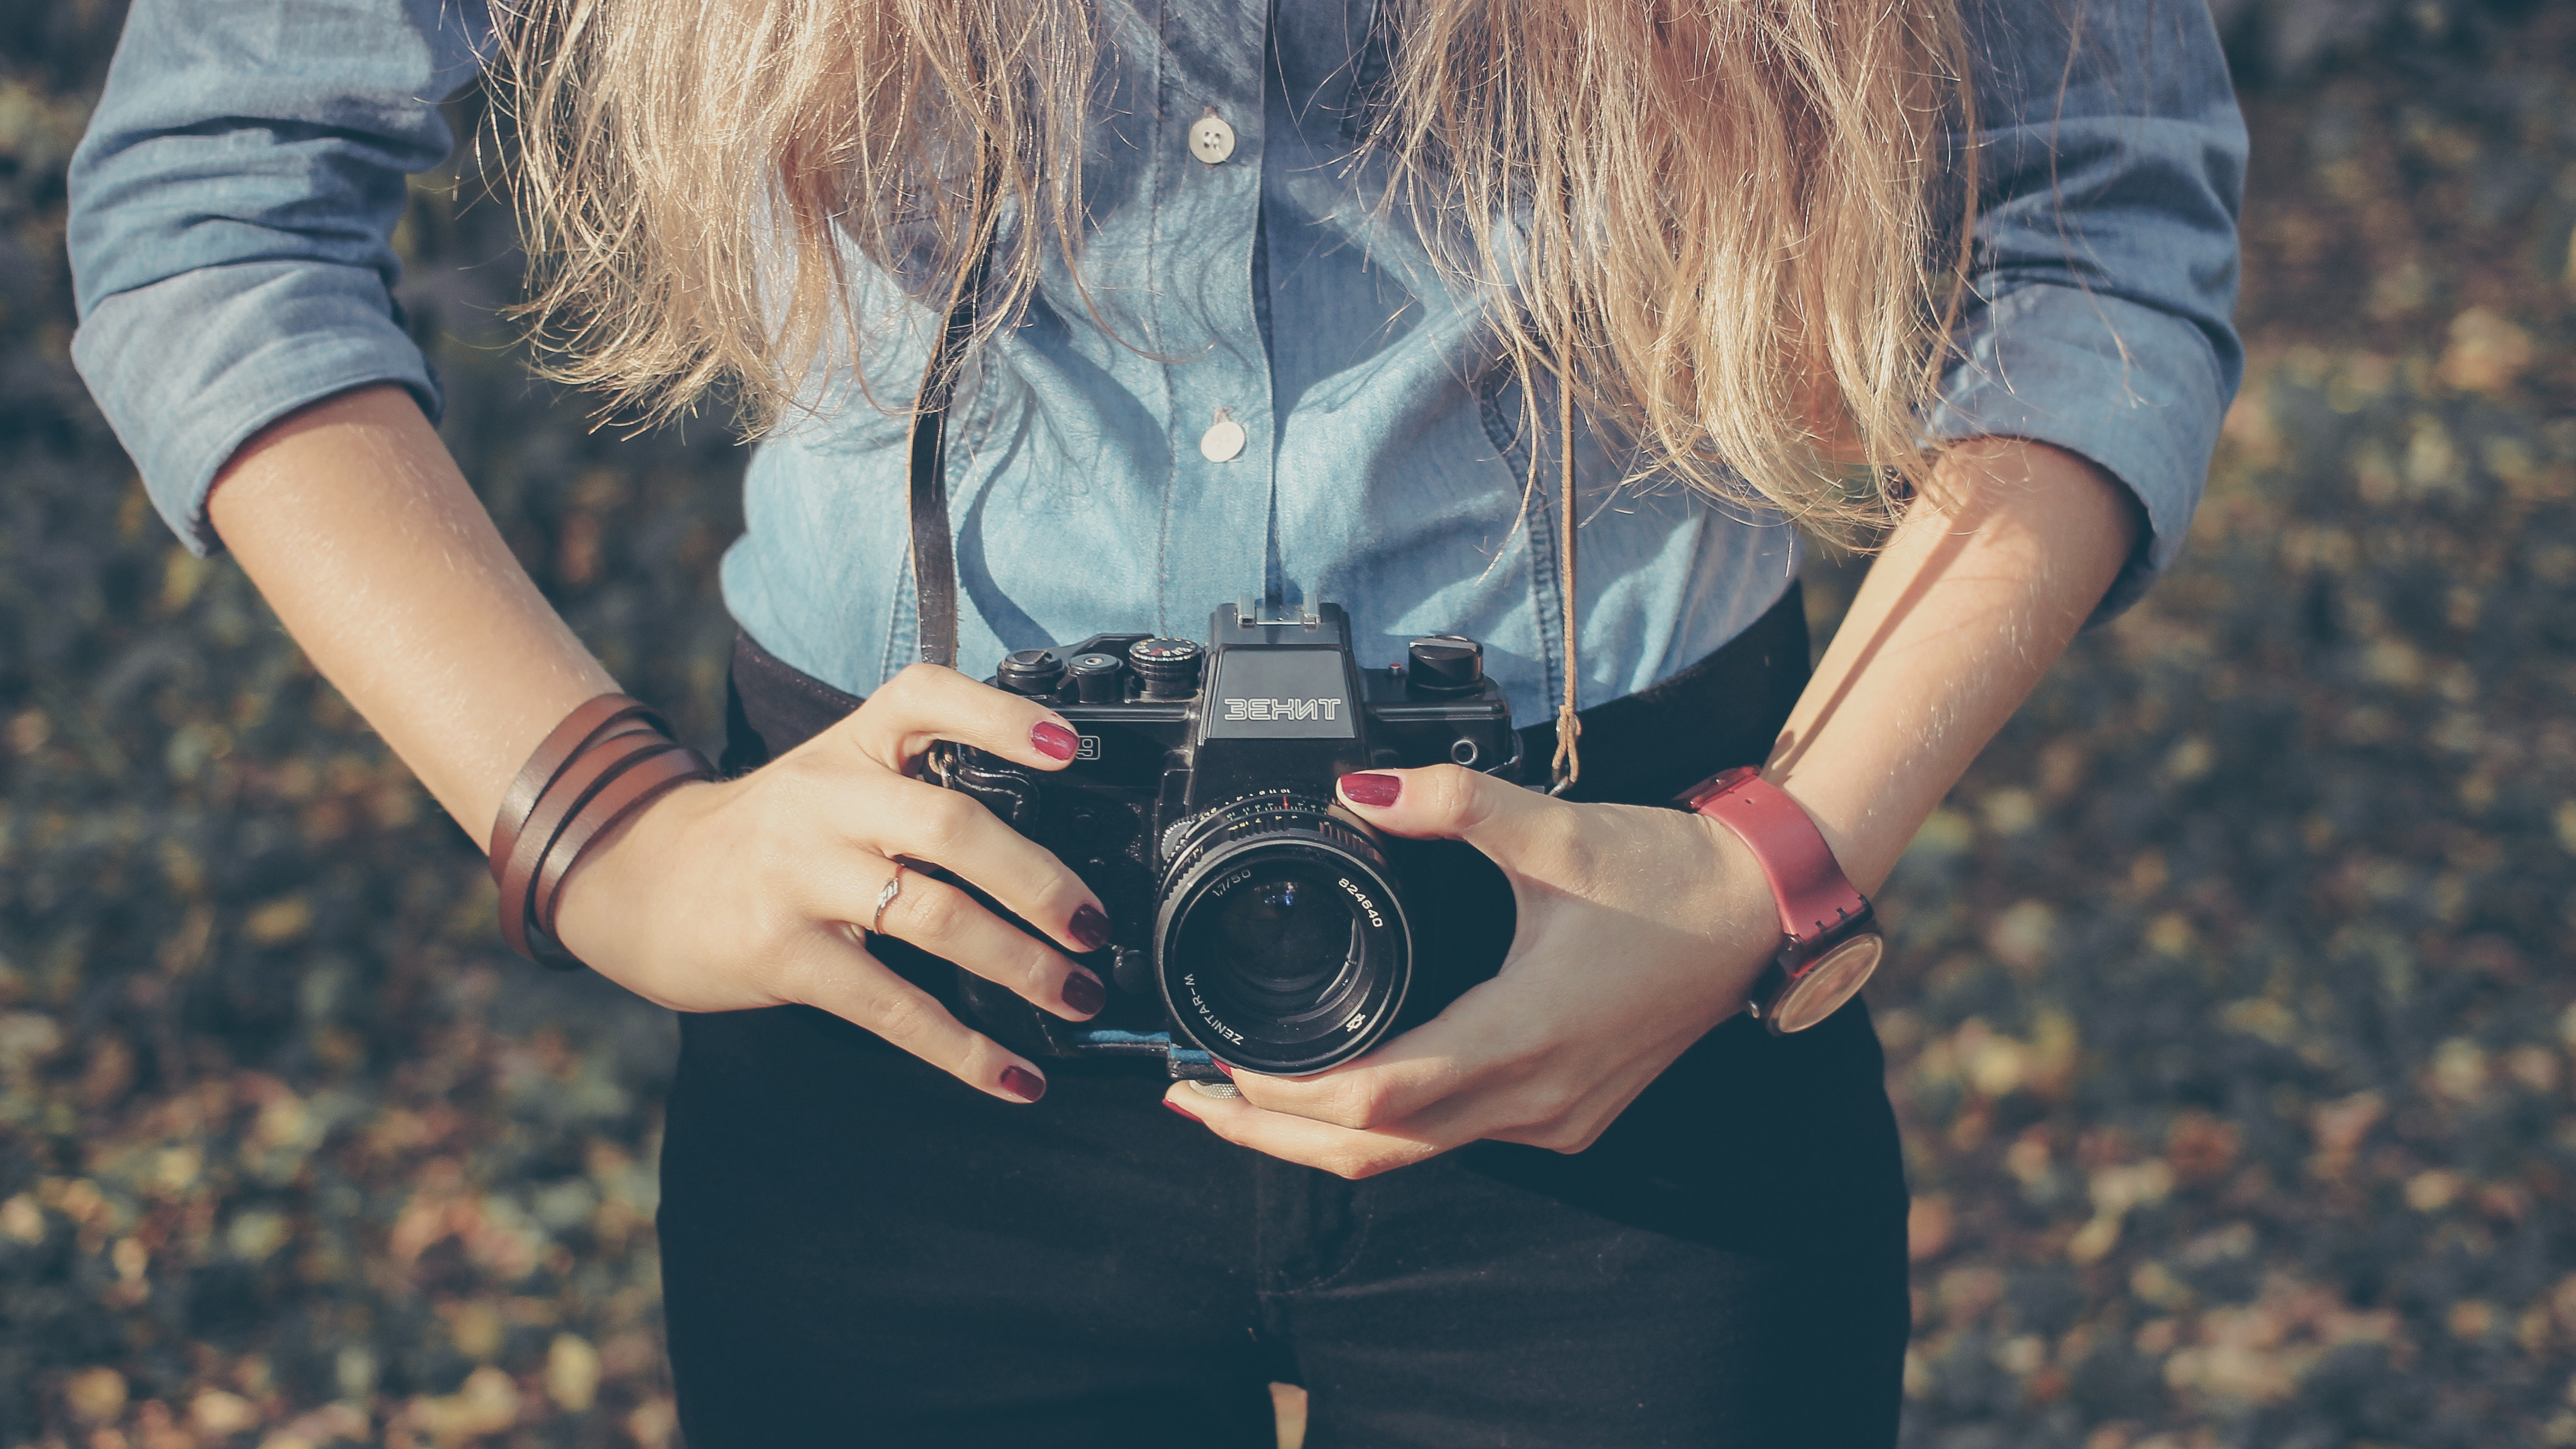
10 expert photography tips for graphic designers
Hot photography tips to help you take the perfect shot.
Sign up to Creative Bloq's daily newsletter, which brings you the latest news and inspiration from the worlds of art, design and technology.
You are now subscribed
Your newsletter sign-up was successful
Want to add more newsletters?

Five times a week
CreativeBloq
Sign up to Creative Bloq's daily newsletter, which brings you the latest news and inspiration from the worlds of art, design and technology.

Once a week
By Design
Sign up to Creative Bloq's daily newsletter, which brings you the latest news and inspiration from the worlds of art, design and technology.

Once a week
State of the Art
Sign up to Creative Bloq's daily newsletter, which brings you the latest news and inspiration from the worlds of art, design and technology.

Seasonal (around events)
Brand Impact Awards
Sign up to Creative Bloq's daily newsletter, which brings you the latest news and inspiration from the worlds of art, design and technology.
While photography isn't core to your work as a graphic designer, being competent with a DSLR is an incredibly useful ability for a designer to have. So much so we picked it as our top way to upgrade your design skills in 2018. For beginners who are brand new to photography (or just need a reminder), this DSLR cheatsheet is a handy resource.
If you can offer your client good photography to supplement the project, that might just be the thing that sets your apart from others pitching for the same work. These 10 hot tips will show you how to get things right.
01. Listen to your client
First of all, always remember the client is king – their happiness is essential to any project. Find out exactly what look and feel they want, and the message that they wish to convey. Then use your design knowledge and skills to transfer that into the images you take.
You're in a great position to keep the photography complementary and in-line with the brand's image, so use all your creative direction to its full advantage.
02. Keep retouching invisible
Retouching can be a fantastic way to iron out imperfections. However, any retouching work should be completely invisible to any future viewer. When it comes to retouching, less is more.
If a heavy amount of retouching is required, make sure you get a good second opinion on the finished outcome. The most powerful images are created with good photography and minimal retouching, so always try and get the result you want in the initial image, rather than relying on later work.
03. Think creatively
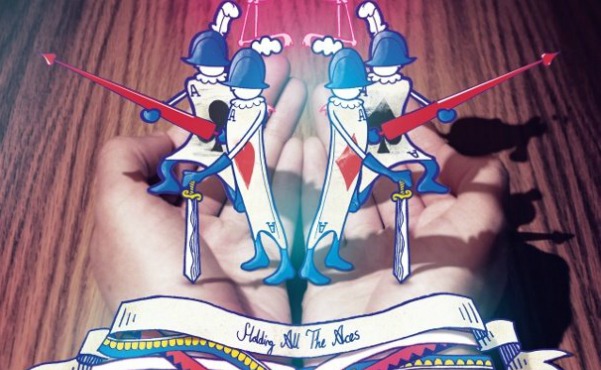
Find your inspiration online or out and about, and decide what you want to achieve. Some projects might require a simple approach, but originality is always a plus for creative work. You're a designer, so play to your strengths.
Sign up to Creative Bloq's daily newsletter, which brings you the latest news and inspiration from the worlds of art, design and technology.
Take your ideas and let them grow: if the project allows, think of twists that you can make to a concept to make it your own.
04. Use the right equipment
Choosing the right camera is key – take a look at our guide to the best cameras for creatives if you need some guidance. Your camera needs to work for you. Make sure it has settings and accessories to compliment the uses you might have for it. Things to think about are: image quality (megapixels and built-in noise reduction), adaptability (lenses and accessories), shutter speed, ISO and tethering.
05. Play with lenses
Experiment and find out which lenses work best for different situations; 28-135mm will cover you for most jobs. As a rule, use 21-35mm for a wide-angle landscape photo; 35-70mm for normal street and documentary shots; and 70-135mm for medium telephoto and portraiture.
06. Create a mood board
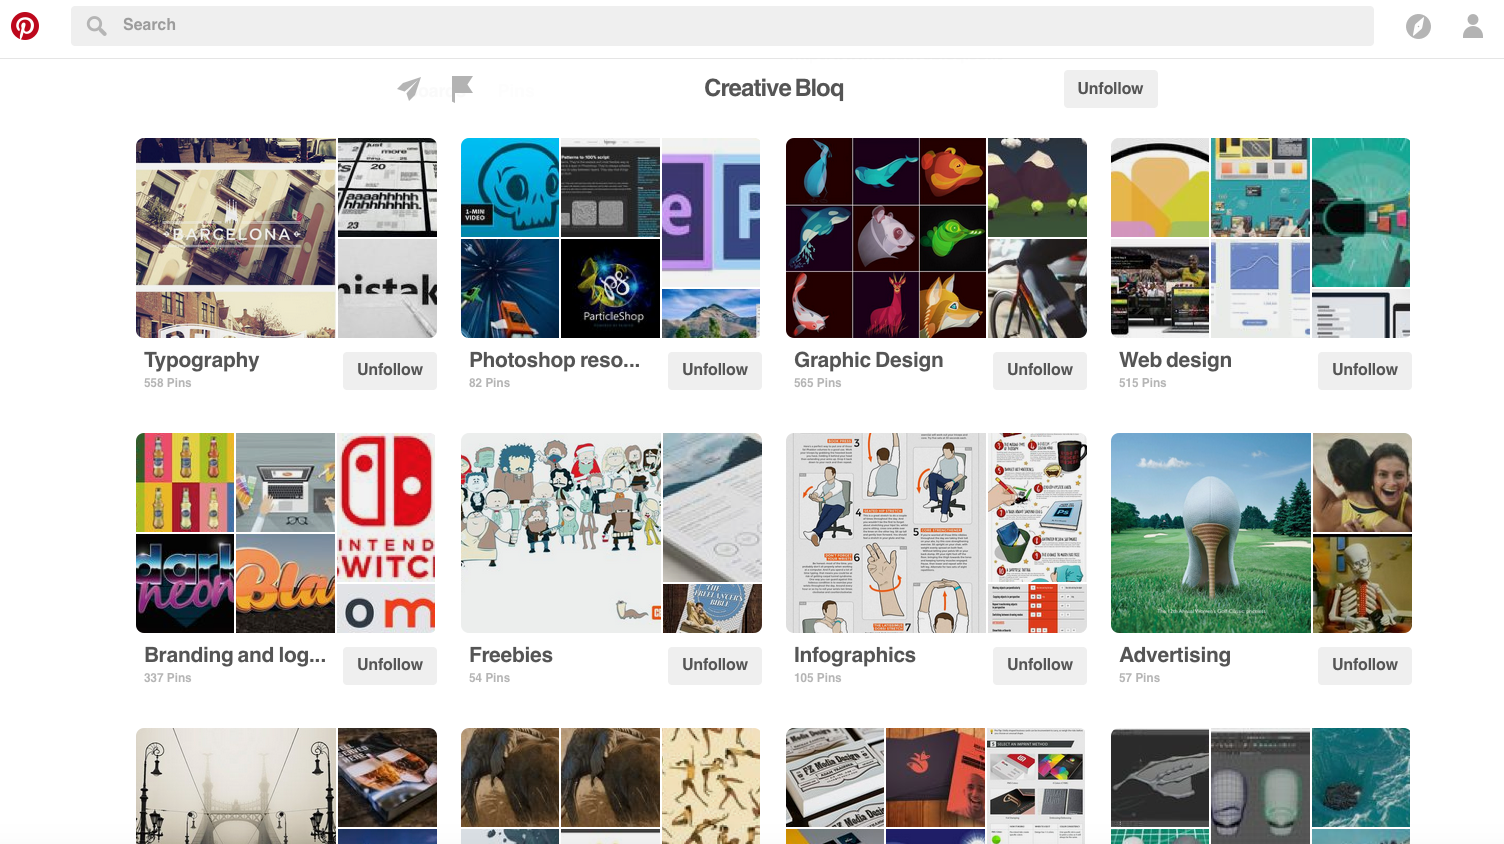
A mood board is a fantastic way to pull your ideas together, solidify and simplify them – as well as a relatively quick and easy way to convey your intentions to your client. Find examples of the kind of photography, lighting and tone that you want in your work.
A mood board will help give structure and direction to a shoot, and will illustrate your ideas and overall concept clearly. Try creating a digital mood board with one of these tools.
07. Plan your shoot
Photography can be time-consuming, so plan out your shoot properly before you start. If you try and wing it on the spot, you'll waste everyone's time. Think about how many shots are needed, the time you have for a project, and if your ideas are feasible and in-budget. Create a shoot schedule that the whole team is aware of, and stick to it as closely as possible. Factor in expenses and whether any licences are required for public shoots.
08. Remember accessories
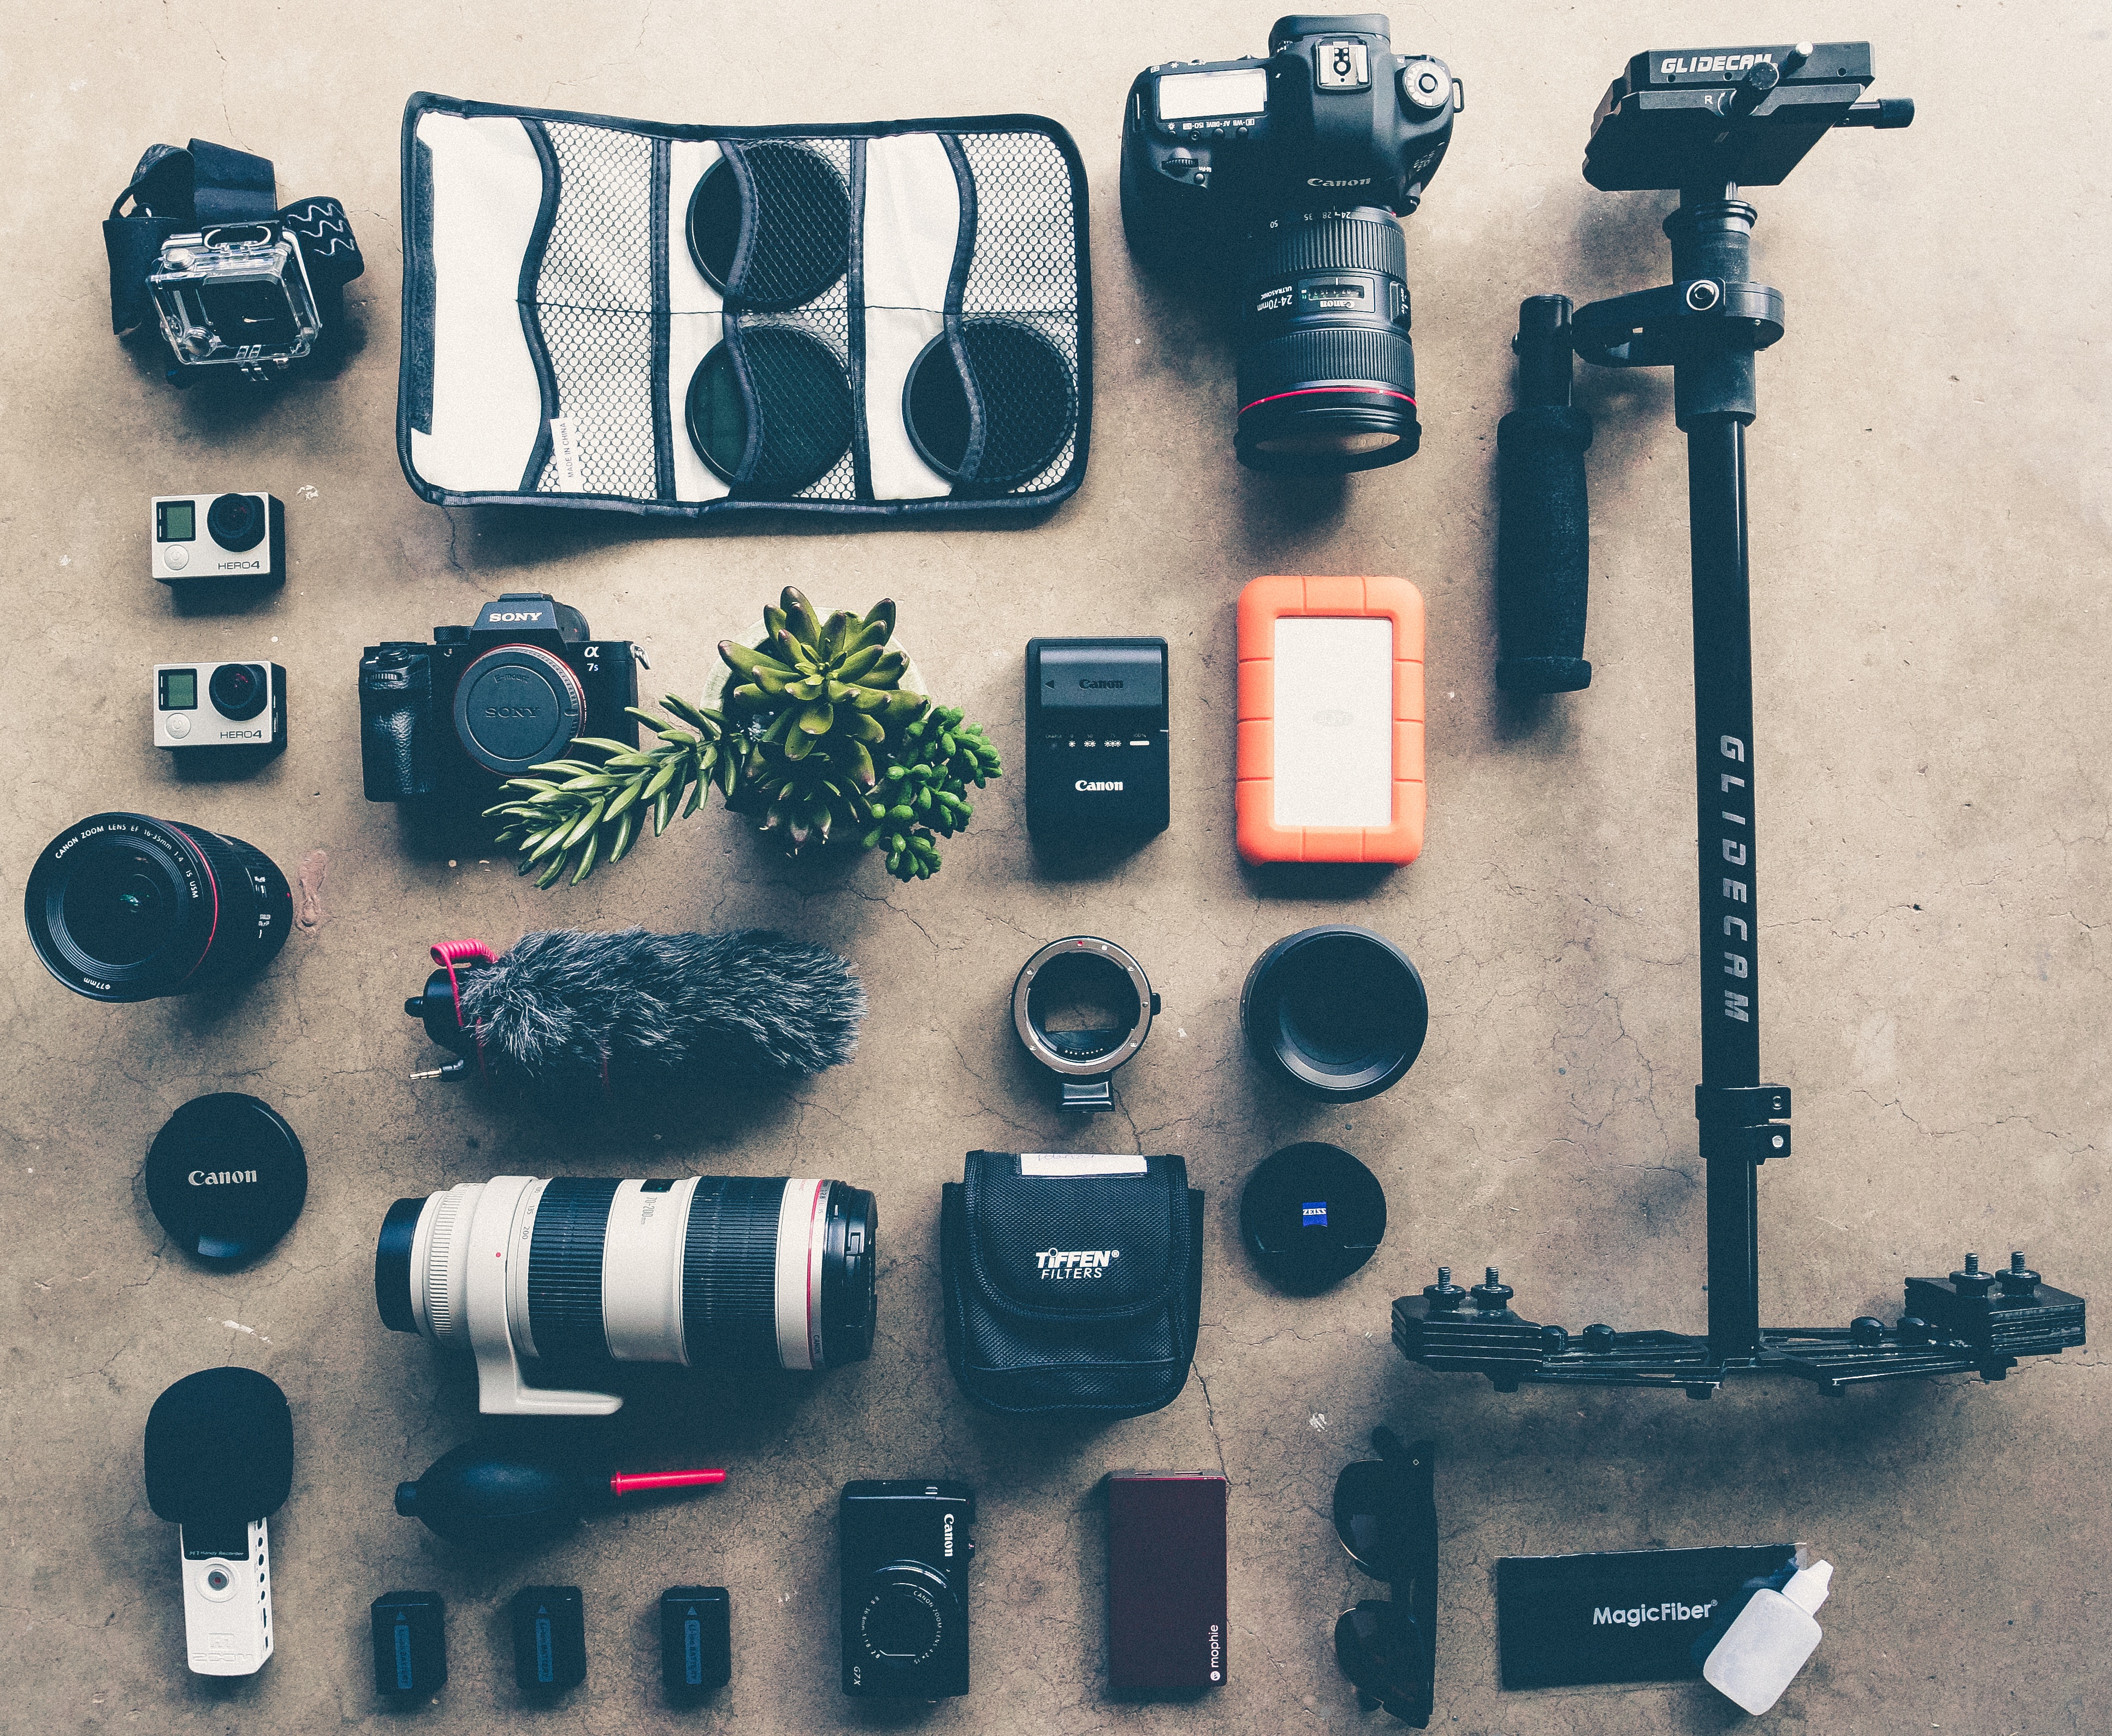
Always be prepared and have spare batteries, a charger and memory cards to hand on your shoot. Think about investing in a tripod and external flash gun, and remember that you can always hire bigger equipment, rather than shelling out at the beginning.
If you're not confident with large-scale main shoot equipment, get an assistant. They can be reasonably priced and incredibly handy.
09. Shoot your own work
Try to give context to your work, shoot on location where possible, keeping it interesting to the eye and always bearing the brand in mind. When shooting still life, shoot somewhere that can be used again at a later date to keep consistency to your portfolio.
10. Familiarise yourself with settings
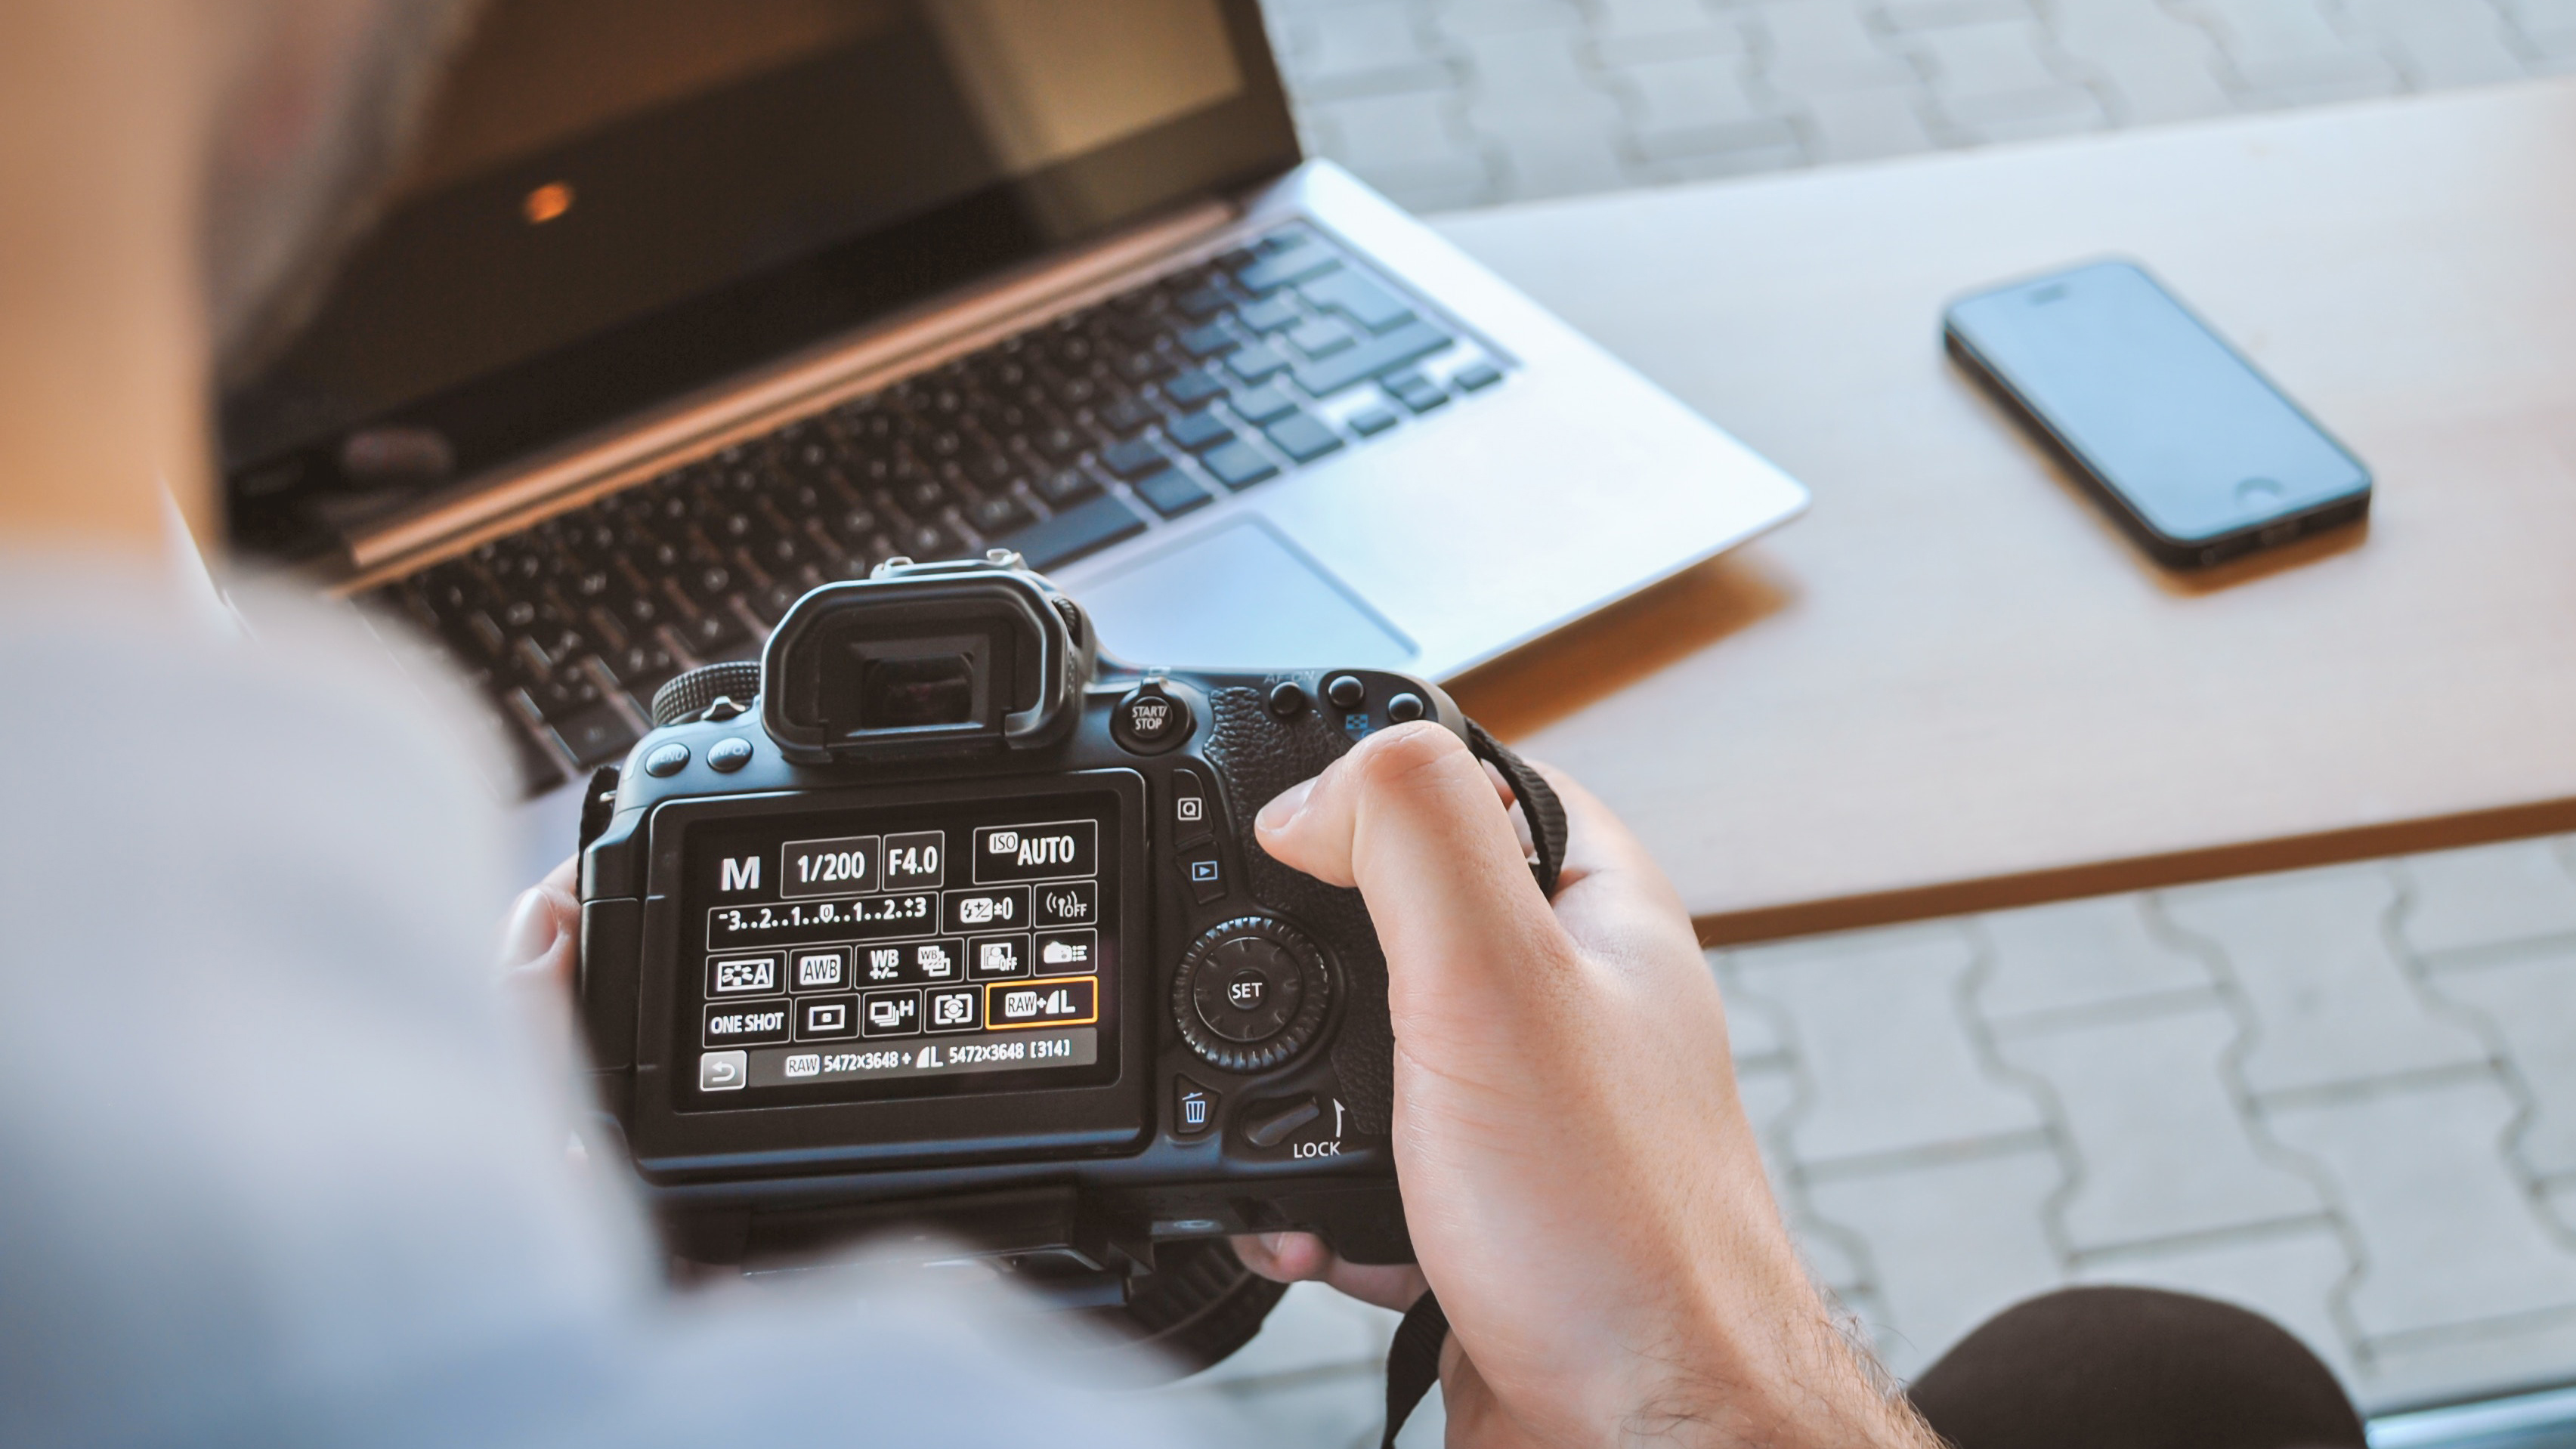
When shooting, consider how much time you have to turn the photographs over to the client, and what you want to achieve. Ensure you're familiar with new settings and post-production software: things like HDR photography are great time-savers and can produce some stunning effects.
Read more:

The Creative Bloq team is made up of a group of art and design enthusiasts, and has changed and evolved since Creative Bloq began back in 2012. The current website team consists of eight full-time members of staff: Editor Georgia Coggan, Deputy Editor Rosie Hilder, Ecommerce Editor Beren Neale, Senior News Editor Daniel Piper, Editor, Digital Art and 3D Ian Dean, Tech Reviews Editor Erlingur Einarsson, Ecommerce Writer Beth Nicholls and Staff Writer Natalie Fear, as well as a roster of freelancers from around the world. The ImagineFX magazine team also pitch in, ensuring that content from leading digital art publication ImagineFX is represented on Creative Bloq.
