10 ways to build better 3D world environments
Experts share the techniques they use to build beautiful 3D worlds.
![A fantasy building o the edge of an enchanted forest [Image: Albert Valls Punsich]](https://cdn.mos.cms.futurecdn.net/usDG53XYpJqGoxFGvseCUH.jpg)
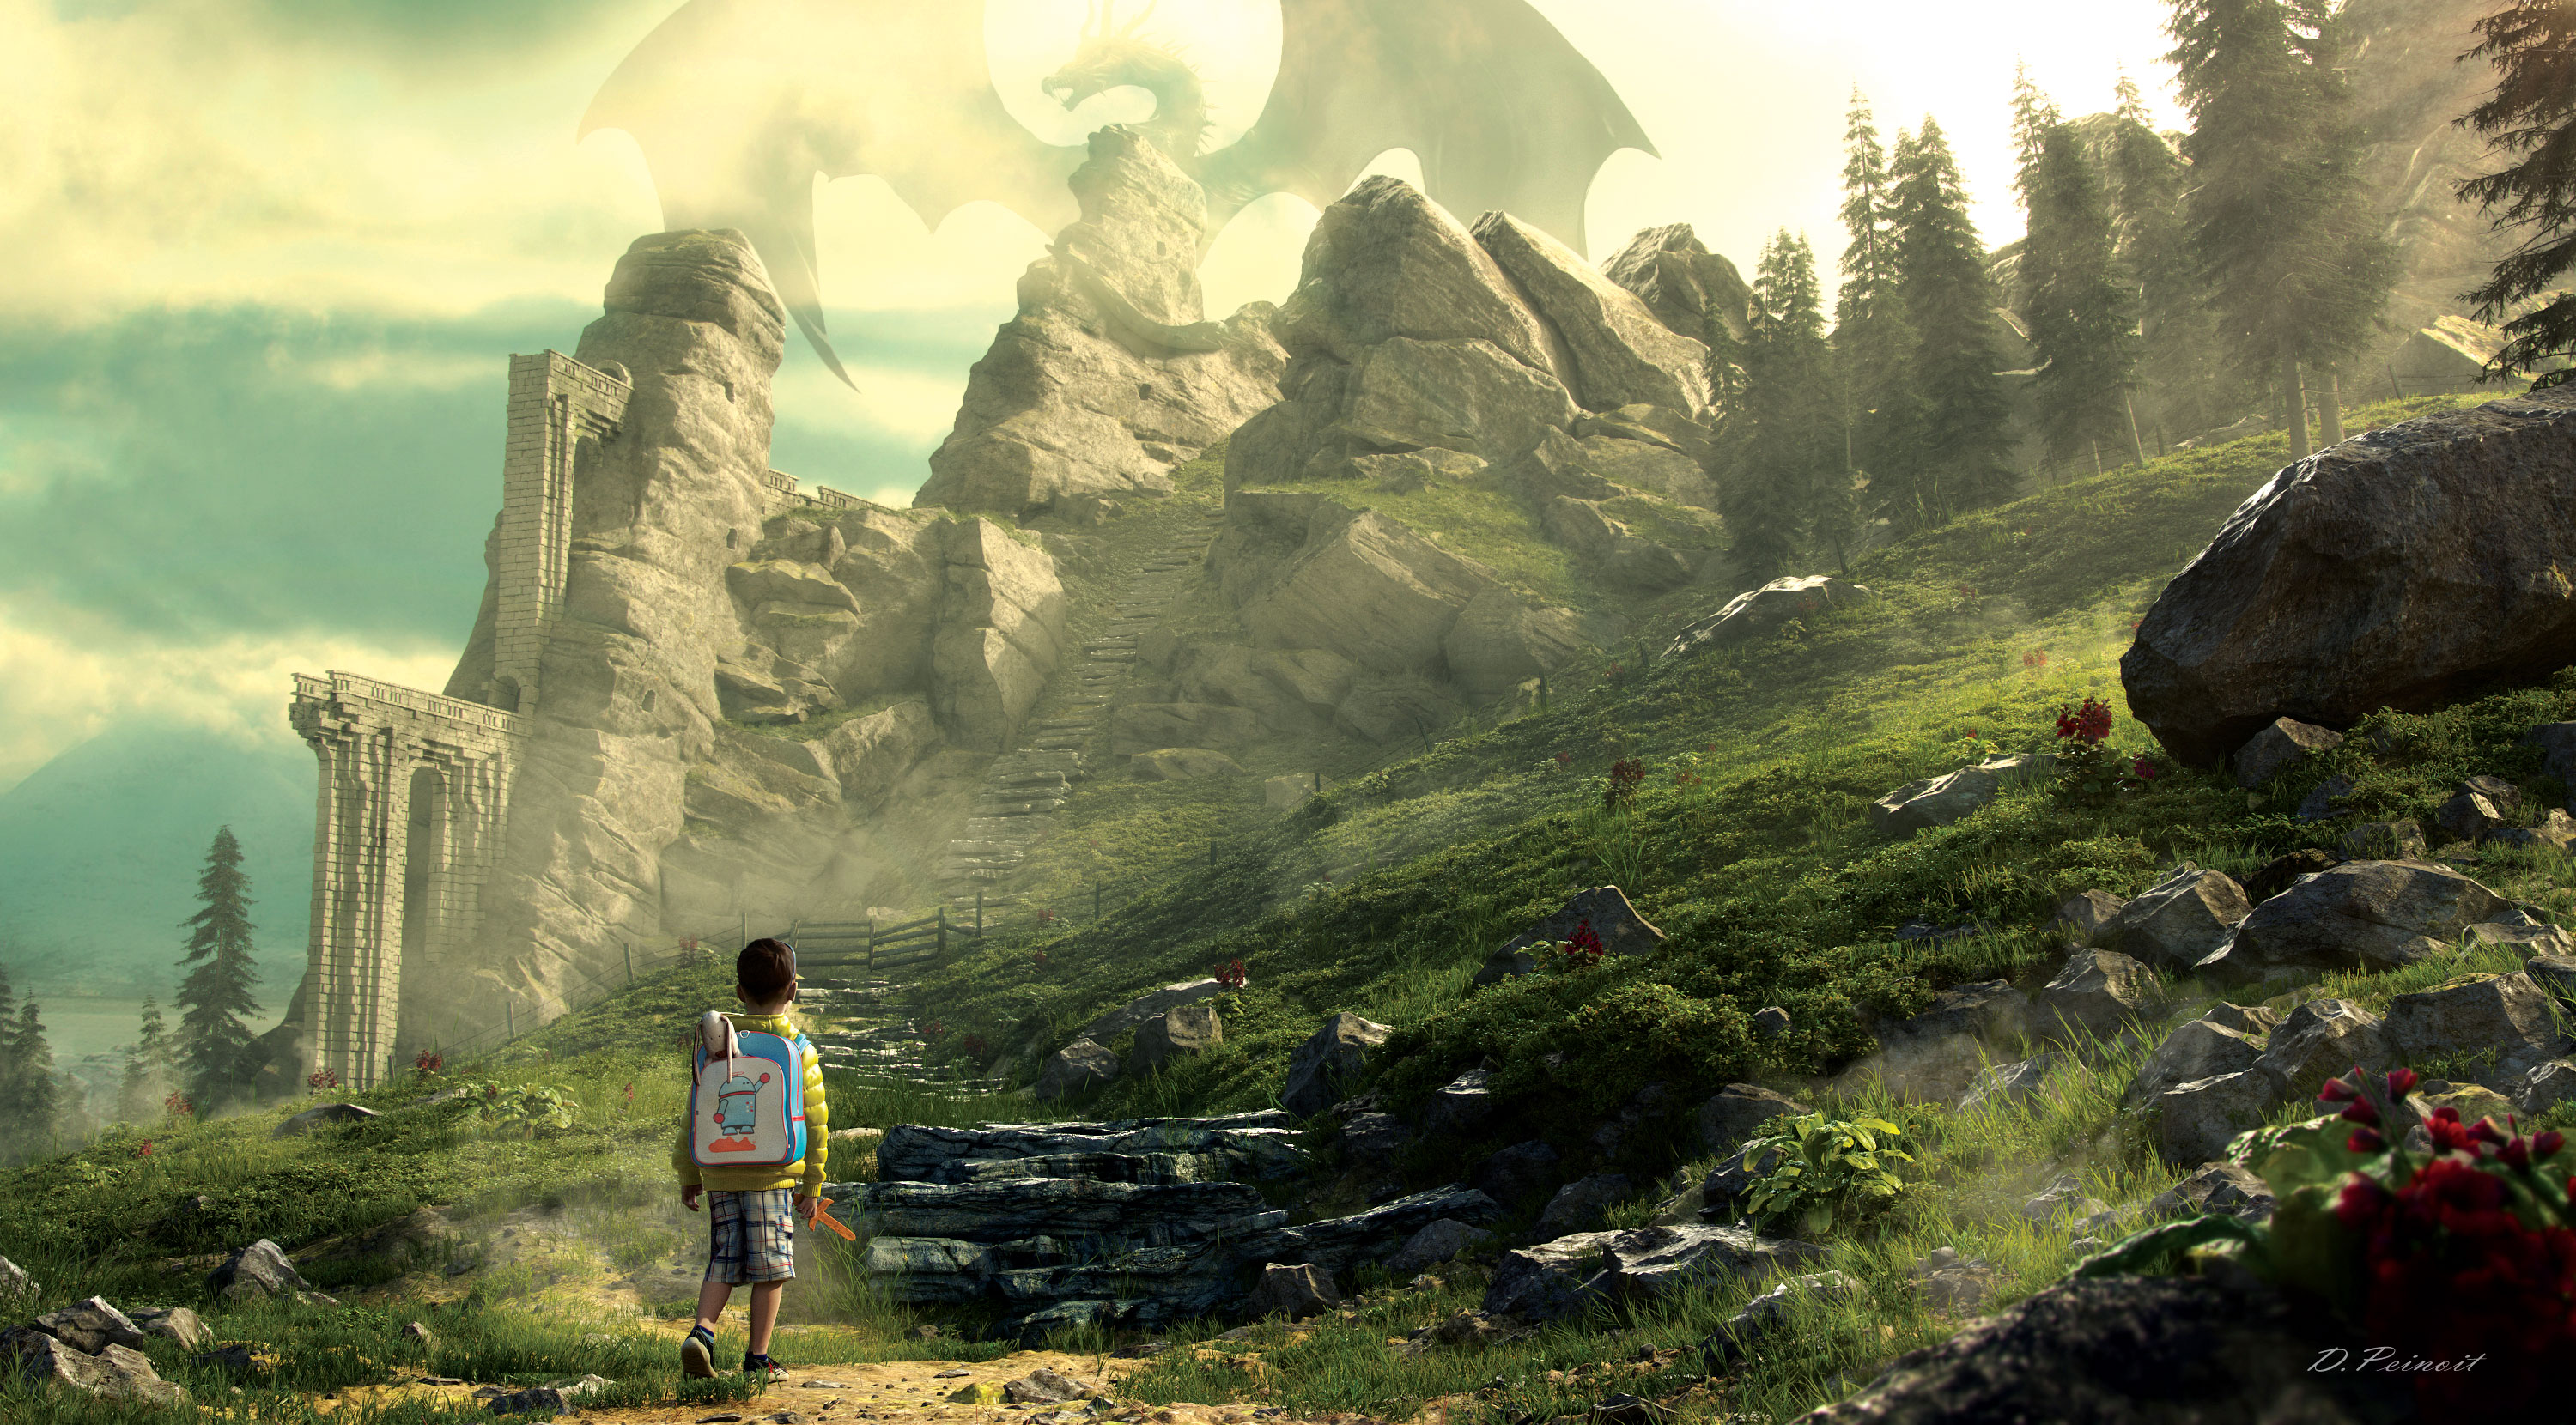
If you want to stay on top of your game as a 3D artist, it's important that you brush up on your skills every now and then. This includes building world environments, an area which has its own criteria to keep in mind.
To help you build better world environments, we caught up with CG environment modeller Albert Valls Punsich and senior generalist at Industrial Light & Magic, Damient Penoit. Together, their expertise will help you create believable worlds packed with character and style.
And if their tips whet your appetite for more 3D inspiration, why not head on over to our round up of the most stunning 3D art.
Article continues below01. Gather references and research
There is no other way to start working on a CG environment. If we skip this step or we try to make it quicker, we will pay for it later in production time by being slower, vaguer and much less focused. Take your time to create a full research library for the project, and the early effort will make all the difference.
02. Consider image composition
Make the image tell the story. Create an illustrative sketch or photo-bashing using all the cinematographic techniques that you have within reach. Work on the silhouette, depth of field, lines of action, camera shot, colours and base lighting. By taking this approach, we make the viewer's eye land where we want it to.
03. Perfect the art of blocking
This is the most important step of the production process. Create primitive models to adjust the proportion and shape of the assets in our scenes. Watch out! It’s a common mistake to start working on final assets before completing this, and then having to redo it later. Make sure you have perfect blocking.
04. Maintain a balance
Keep the modelling, texturing and shading at the same style and level of detail for all the assets of your scene. Always use a hero asset to define these values at the beginning of production, and use it as a guide throughout the process.
Sign up to Creative Bloq's daily newsletter, which brings you the latest news and inspiration from the worlds of art, design and technology.
05. Create a set dressing library
One of the biggest tricks is creating a set dressing library by producing a bunch of reusable assets to decorate and populate your scene, in order to add realism. Simply take your base models and apply small modelling and texture changes to create completely new and different ones to feed your library.

06. Use World Machine
When you're doing the layout of your future project, I strongly recommend using World Machine for open worlds. It’s the easiest way to create fantastic landscapes and bring them into your favourite 3D app. You can find lots of good tutorials on YouTube, and it's nodal, fast and already UV mapped!
07. Lay down quick lighting
I like to link my dome light rotation to the HDRI horizontal rotation for a quick lighting setup. It enables me to quickly change the direction of my lights and upgrade my scene atmosphere. Do it with the Wire Parameters in 3ds Max using the Animation, Wire Parameter dialog. Click Vraylight > Zrotation > SceneMaterials, then HDRI Horizontal Rotation and finally Connect.
08. Use Forest Pack in 3DS Max
If you're using 3ds Max, Forest Pack is your best friend. Create each pack, such as grass, cobble stones, rocks, trees and so on separately, and then copy and paste the ones where you want more density. Being able to tweak them independently will help you to bring much more variation to your scenes.
09. Use brush combos
When you're using ZBrush for environments, the Trim Smooth Border and Mallet Fast brushes are your best combo. Use with a square alpha and a sharp brush (set intensity to 100 and focal shift to -100) and they will enable you to create very nice rock shapes, destroyed walls or damaged ruins.
10. Convert for fast rendering
At the end of your scene assembly, when everything looks good, always convert as much as you can into VRayProxies. Your RAM will thank you for that, and you might be very surprised to see that you divided your render time by 1.5 or 2! But use it with caution, because you’re losing your stack history.
This article was originally published in issue 130 of 3D Artist. Buy issue 130 or subscribe to 3D Artist.
Related articles:
