
With vector and raster tools combined, Affinity Designer is an affordable yet powerful alternative to Adobe CC. It’s available for Mac, PC and also iPad. In this tutorial we're going to run you through the Effects panel, and how to create and use styles to apply effects quickly.
The Effects panel enables you to apply non-destructive effects to your vector objects – you can toggle on and off and tweak elements of the effects. Styles can be used to capture the steps required to create a certain effect. These can be saved as a template to be reused on future objects, ensuring consistency and saving time.
Watch the video tutorial below for a speedy run-through of the basics, or read on for a written guide.
01. Access the Effects and Styles panels

To bring up both panels, go to View > Studio > Effects (or Styles). If you use it often, consider dragging the panels to your sidebar for future use. Affinity makes it super easy to customise your workspace.
02. Use effects

Once the panel is visible you will see there are several effects you can toggle on and off on your selected objects. Click the drop-down on the effects to quickly tweak them. The great thing about Affinity’s effects is that they are non-destructive, so if you wish to undo what you've done you can uncheck the effects at your leisure.
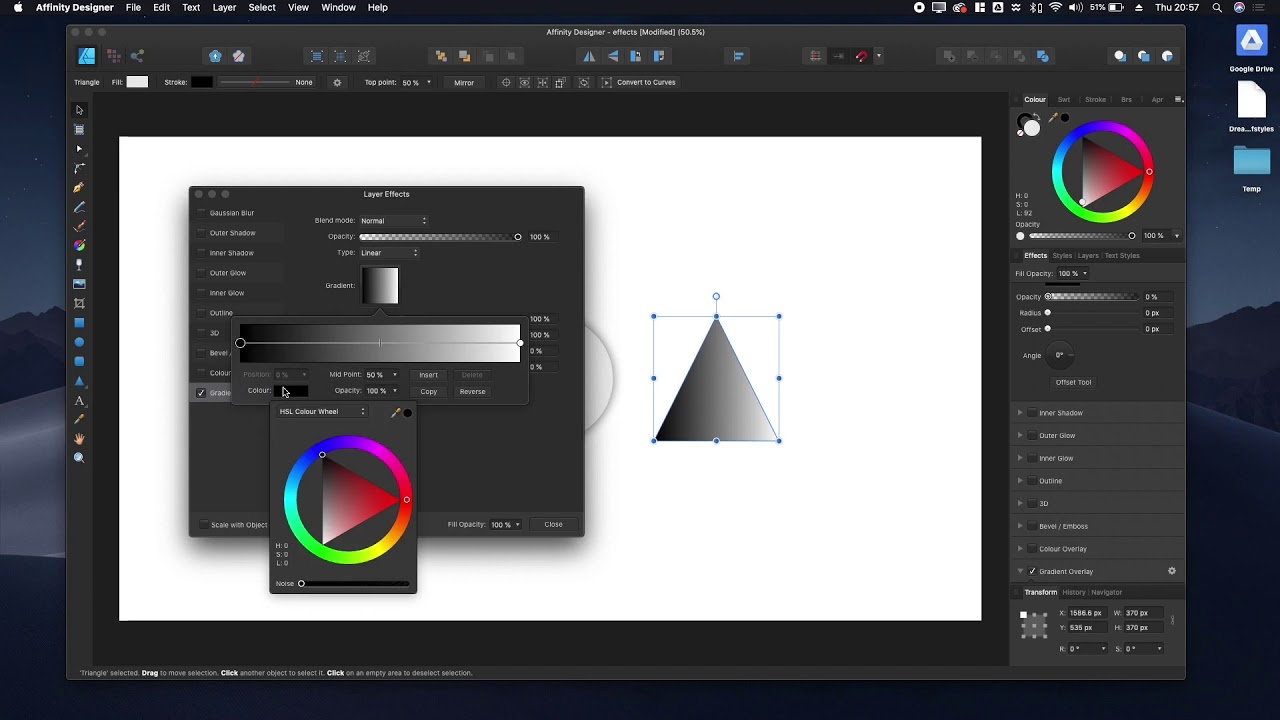
03. Tweak effects

You can quickly tweak effects under the drop-down of an effect. If you want to adjust things further, you can click on the small settings icon to bring up a window with additional sliders, drop-down and checkboxes.
04. Create styles

Once you’ve created your desired effect, you can use styles to create a template of your effect to save yourself the effort of having to recreate it at a later date. With your object selected, click on the options drop-down on the right-hand side of the Styles panel and scroll down to Add Style from the selection.
05. Import and export styles

There is also the option to import and export styles. To import, click on the option menu (where you created your style) upon clicking the import option, a finder window will open from which you can open .afstyles files and use styles that other users have made. You can also export styles to use on other machines or share with other users.
More in the Affinity Designer tools series:

