How to create a 3D werewolf in Unreal Engine
A step-by-step guide to creating a believable werewolf in real time.
Daily design news, reviews, how-tos and more, as picked by the editors.
You are now subscribed
Your newsletter sign-up was successful
Want to add more newsletters?

Five times a week
CreativeBloq
Your daily dose of creative inspiration: unmissable art, design and tech news, reviews, expert commentary and buying advice.

Once a week
By Design
The design newsletter from Creative Bloq, bringing you the latest news and inspiration from the worlds of graphic design, branding, typography and more.

Once a week
State of the Art
Our digital art newsletter is your go-to source for the latest news, trends, and inspiration from the worlds of art, illustration, 3D modelling, game design, animation, and beyond.

Seasonal (around events)
Brand Impact Awards
Make an impression. Sign up to learn more about this prestigious award scheme, which celebrates the best of branding.
The concept, model, texture and material setup for this ferocious image of a werewolf – which was created for Kunoichi, a stealth-oriented game set in a fantasy world – was completed entirely in Unreal Engine 4. “It took me around 12 working days from concept to final model,” says 3D artist Hooman Raad.
He employed industry-standard methods to create the piece, but feels the Unreal Engine 4 material gave it an outstanding quality. “I always make sure to put in hours of hard work to ensure it comes out nicely, because presentation is crucial to selling the model and making all those hours worthwhile,” he explains.
Raad has worked in so many disciplines within the world of 3D art, including rigging and animation. Around five years ago he decided to focus purely on character creation for animation and video games.
“Seeing the work of other artists always encourages me to continue improving my work,” says Raad. “Everywhere I look in nature becomes a source of inspiration.” And now he's ready to inspire you with this real time werewolf workflow.
01. Find the forms of the hair

For hair always try to understand the flow as well as clumps; try to do a quick paint-over in Photoshop CC and then break it down. Then move onto a hair system software (such as XGen). As many artists have said, reference is your best friend.
02. Place the hair

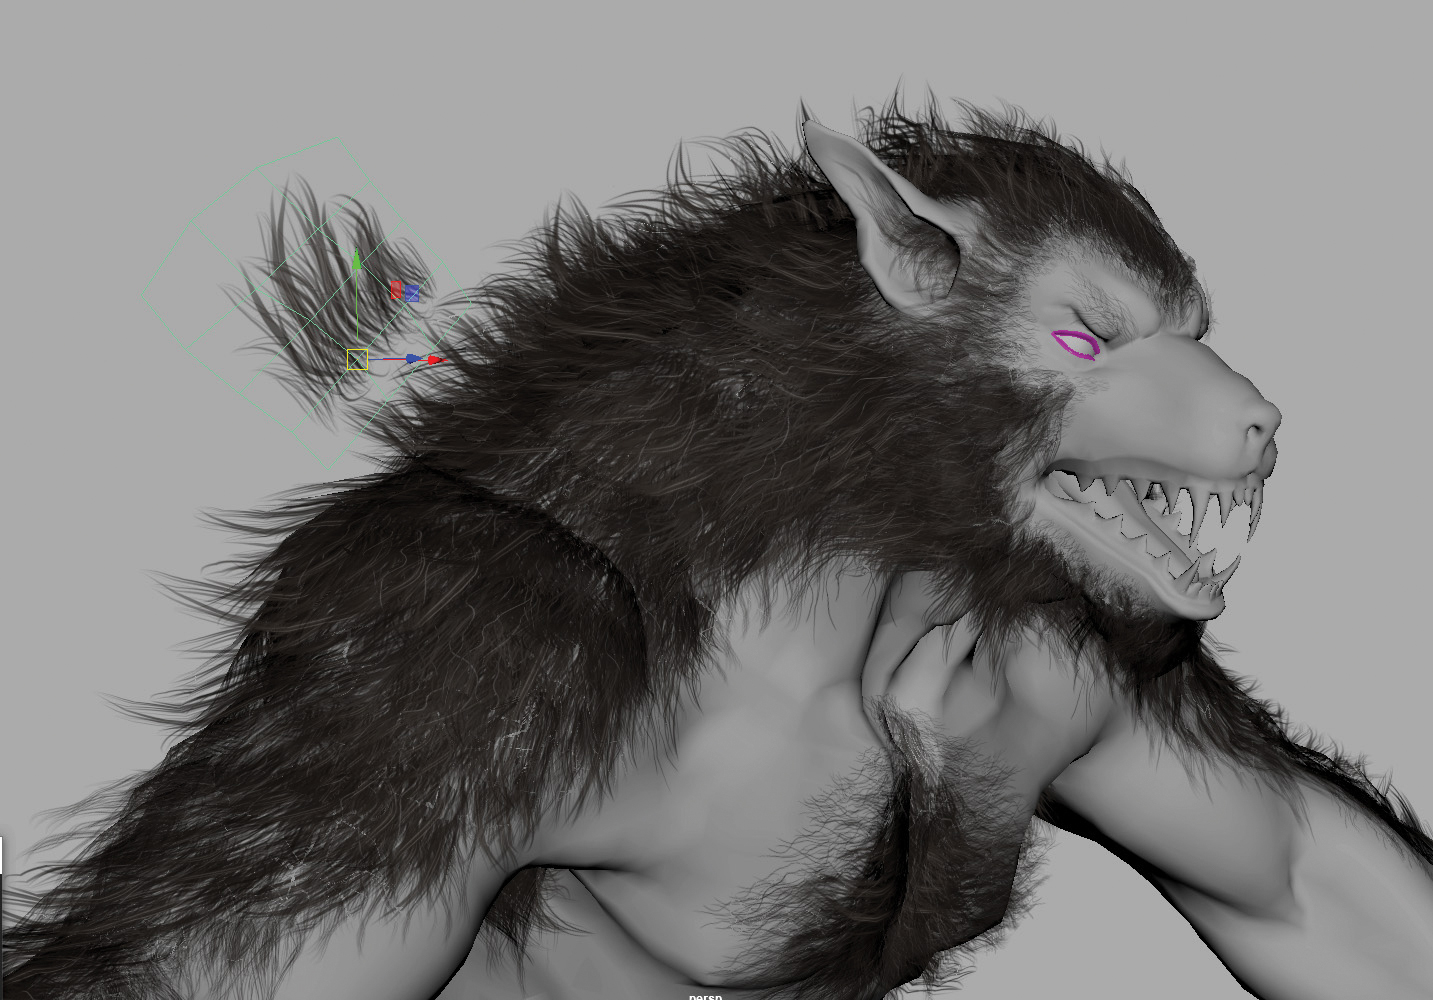
For a creature like this, I prefer to place the hair by hand. Recently I found a useful script for Maya called Hair Grabber, which helps you select the hair card easily and will save you a lot of time. For example, sometimes it’s difficult to select the root or tip of the hair card meshes, but with this script you can do it quickly and easily.
03. Sort the hair types

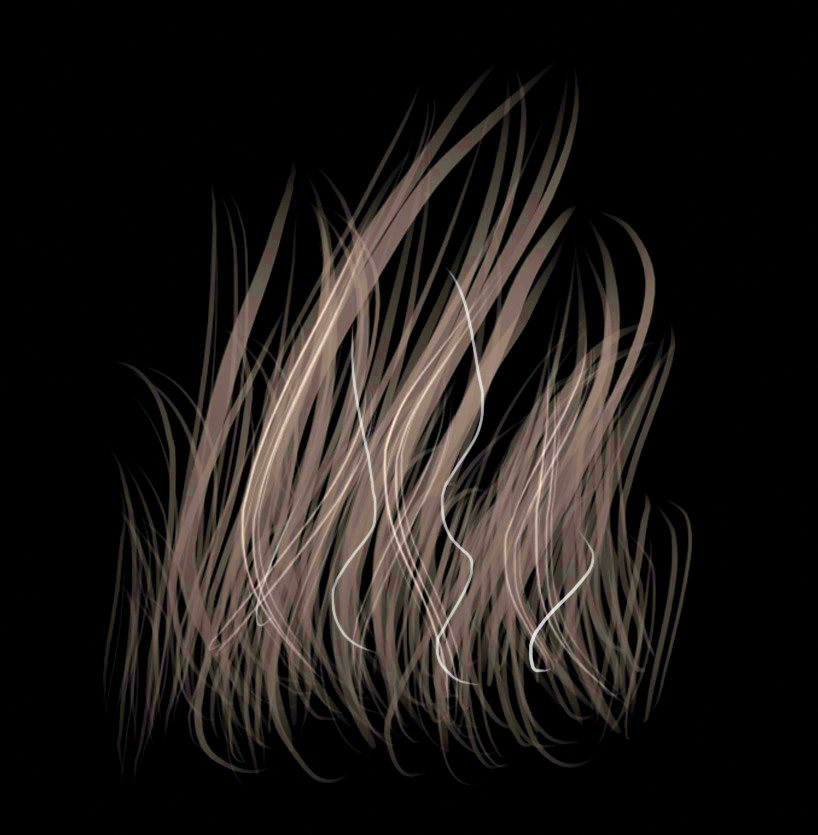
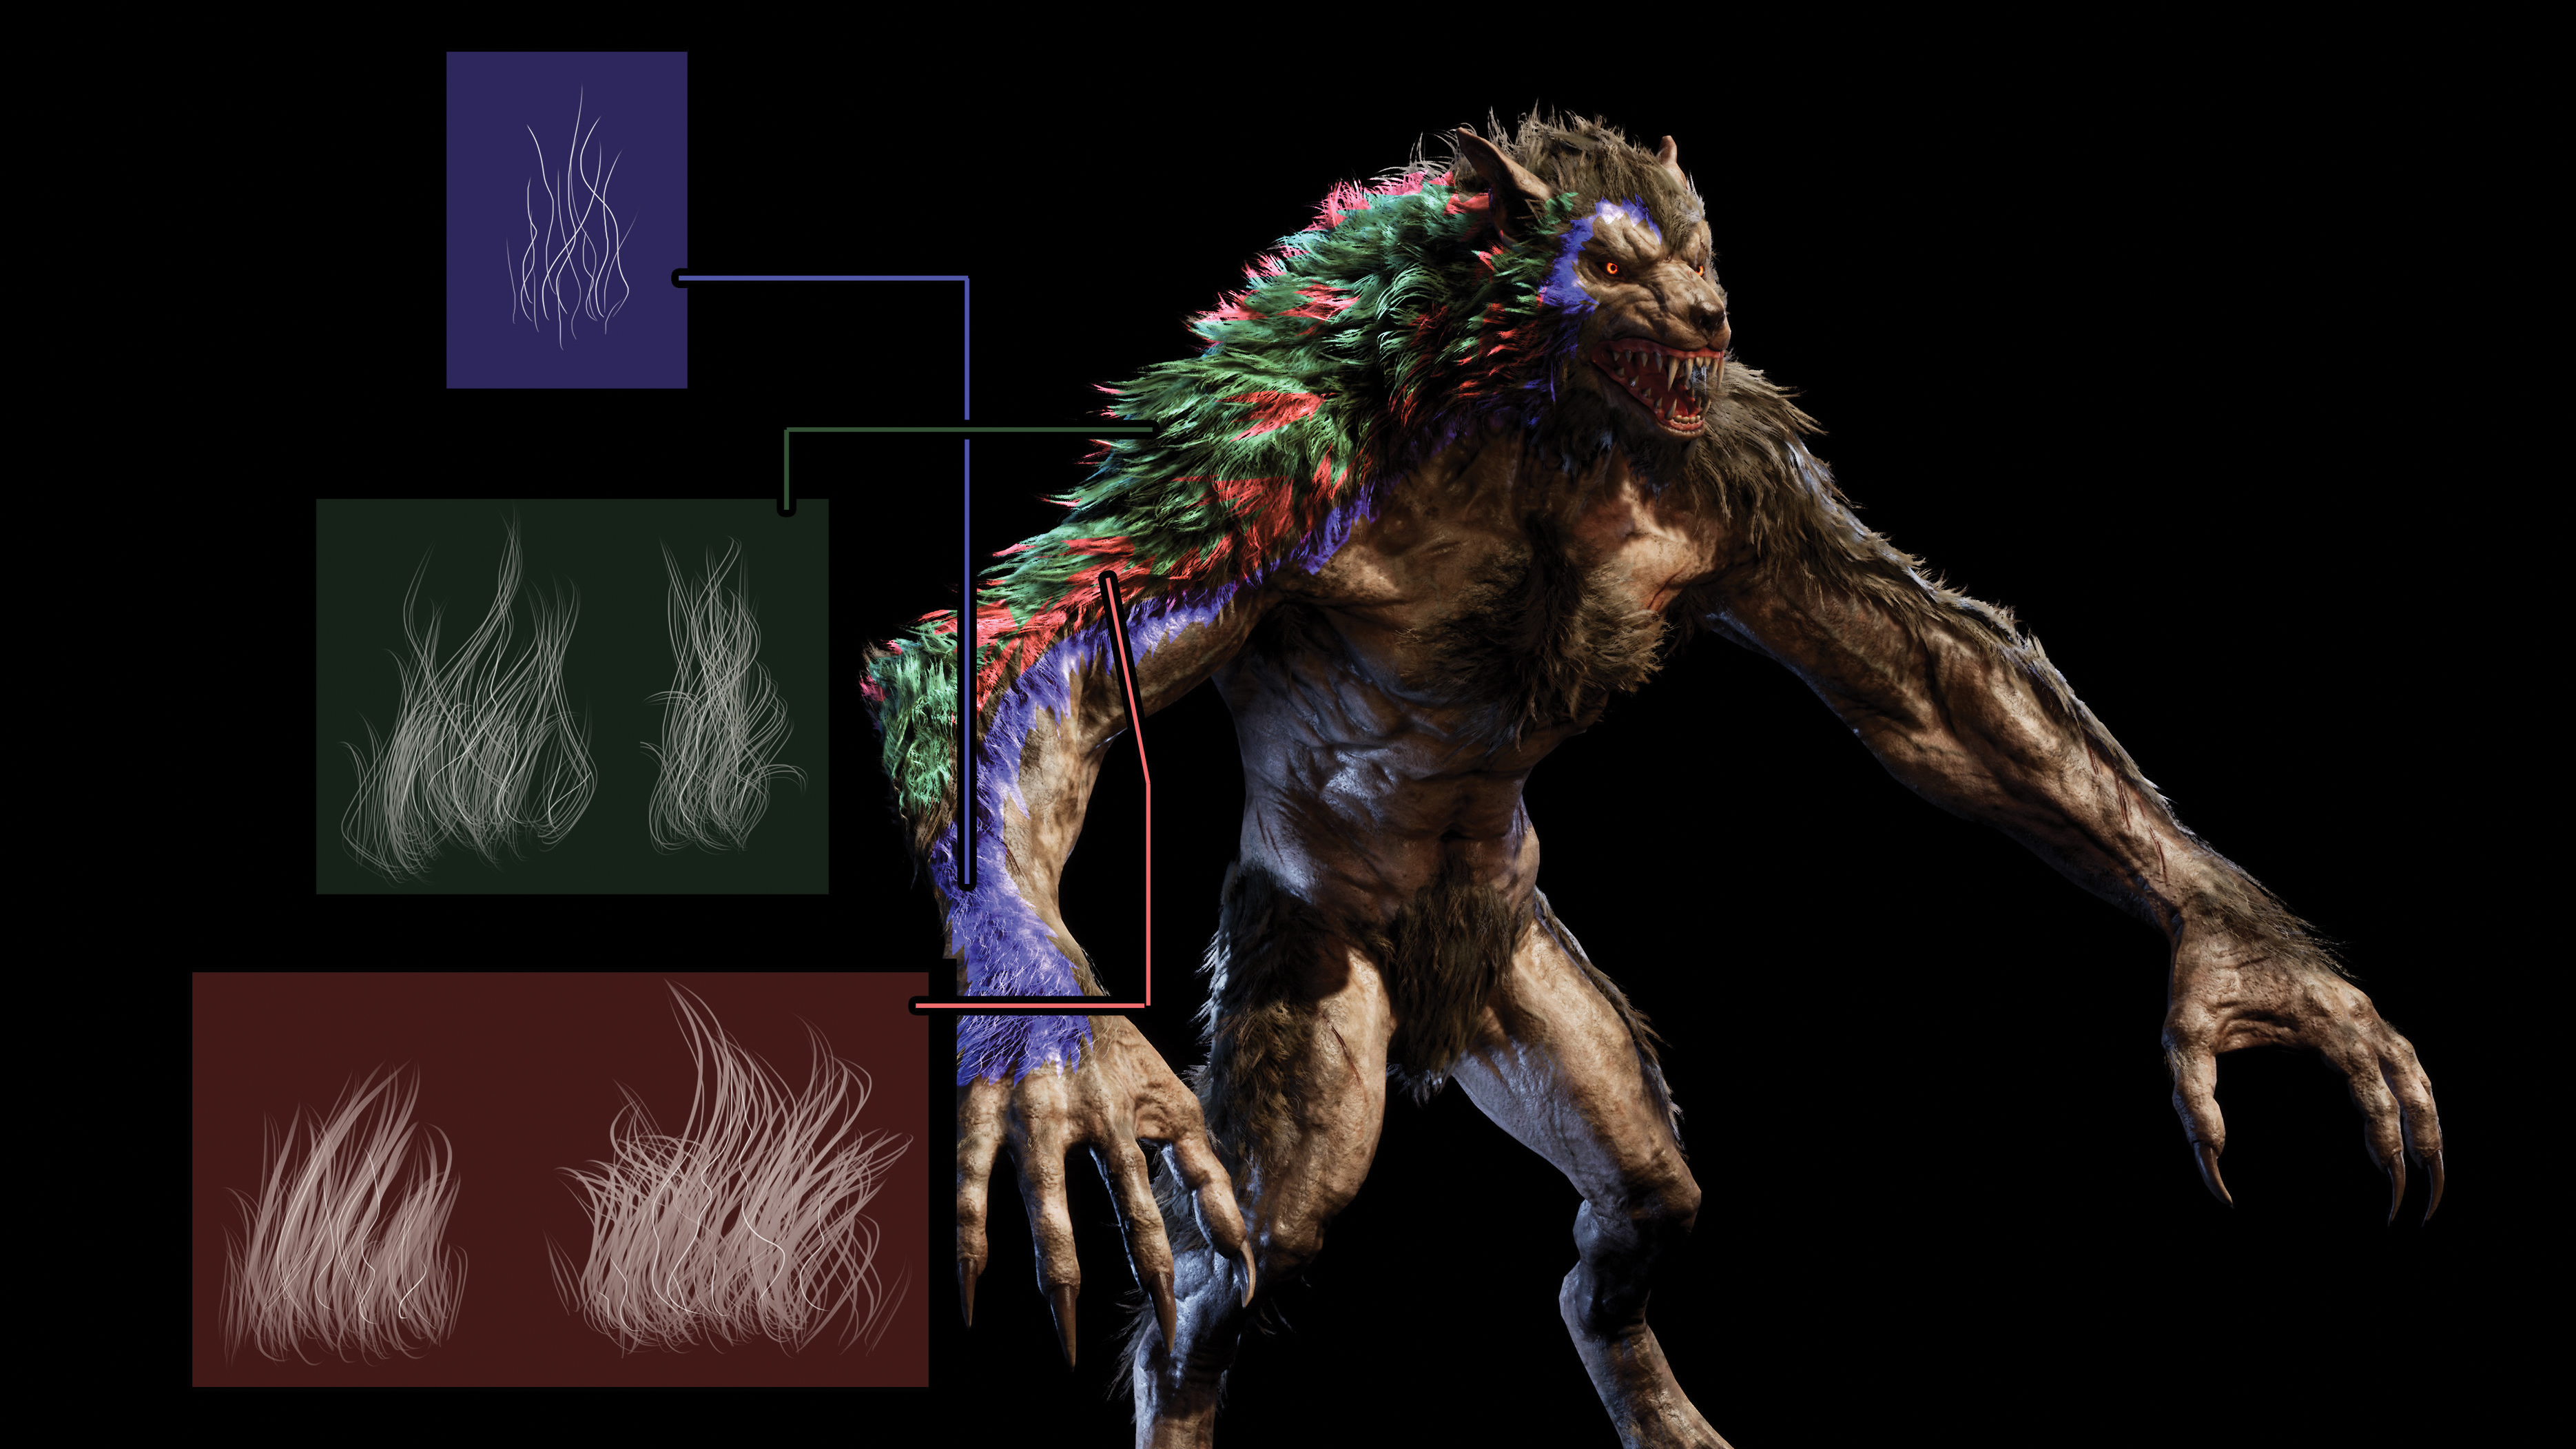
There are a lot of tutorials available on the internet for different types of hair UVs. Some textures are used to fill the surface, some are used for main and upper hair, while others are for strands that are less groomed.
Daily design news, reviews, how-tos and more, as picked by the editors.
04. Cast the silhouette

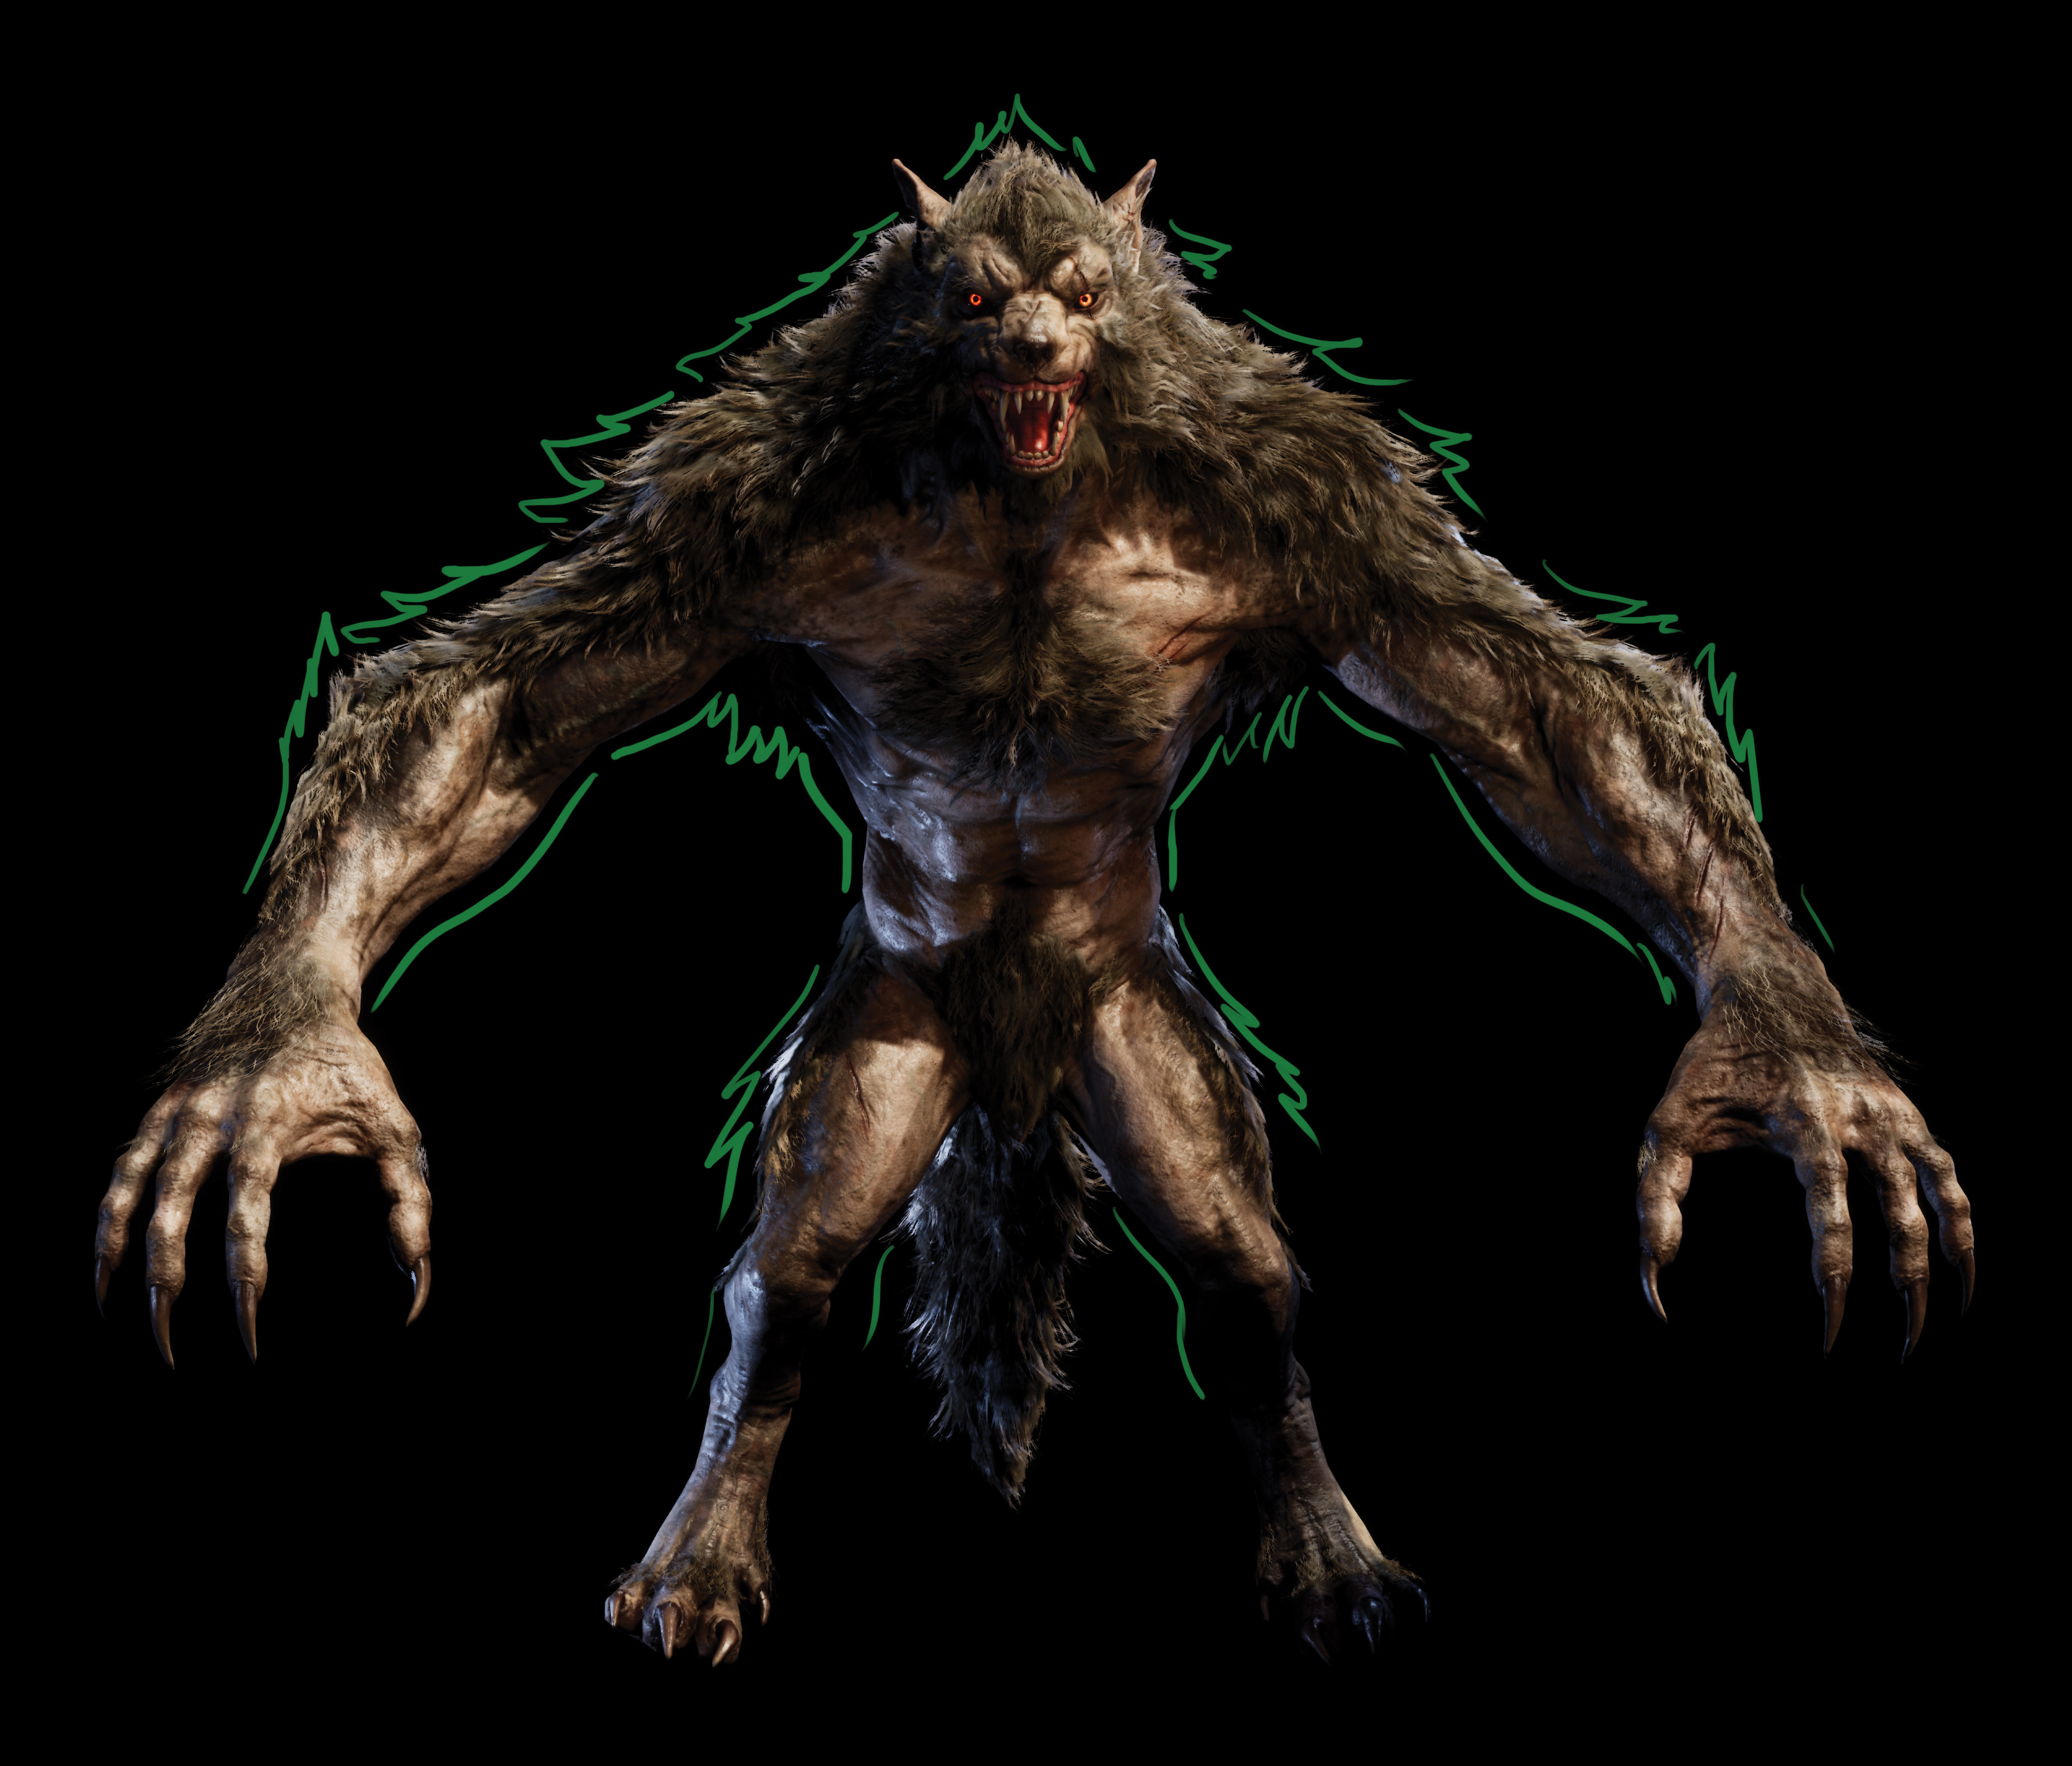
The silhouette is very important because it will really show the personality of the character. During the process of the werewolf’s hair cards, it is very important to check the silhouette after I place some hair. I turn the model around and check the silhouette over and over again to achieve a satisfactory result.
This article originally appeared in issue 243 of 3D World, the world's best-selling magazine for 3D artists. Buy issue 243 or subscribe here.
Related articles:

Brad Thorne was Creative Bloq's Ecommerce Writer, and now works for a PR company specialising in 3D and VFX, Liaison. He previously worked as Features Writer for 3D World and 3D Artist magazines, and has written about everything from 3D modelling to concept art, archviz to engineering, and VR to VFX. For Creative Bloq, his role involved being responsible for creating content around the most cutting-edge technology (think the metaverse and the world of VR) and keeping a keen eye on prices and stock of all the best creative kit.
