You are now subscribed
Your newsletter sign-up was successful
Want to add more newsletters?

Five times a week
CreativeBloq
Your daily dose of creative inspiration: unmissable art, design and tech news, reviews, expert commentary and buying advice.

Once a week
By Design
The design newsletter from Creative Bloq, bringing you the latest news and inspiration from the worlds of graphic design, branding, typography and more.

Once a week
State of the Art
Our digital art newsletter is your go-to source for the latest news, trends, and inspiration from the worlds of art, illustration, 3D modelling, game design, animation, and beyond.

Seasonal (around events)
Brand Impact Awards
Make an impression. Sign up to learn more about this prestigious award scheme, which celebrates the best of branding.
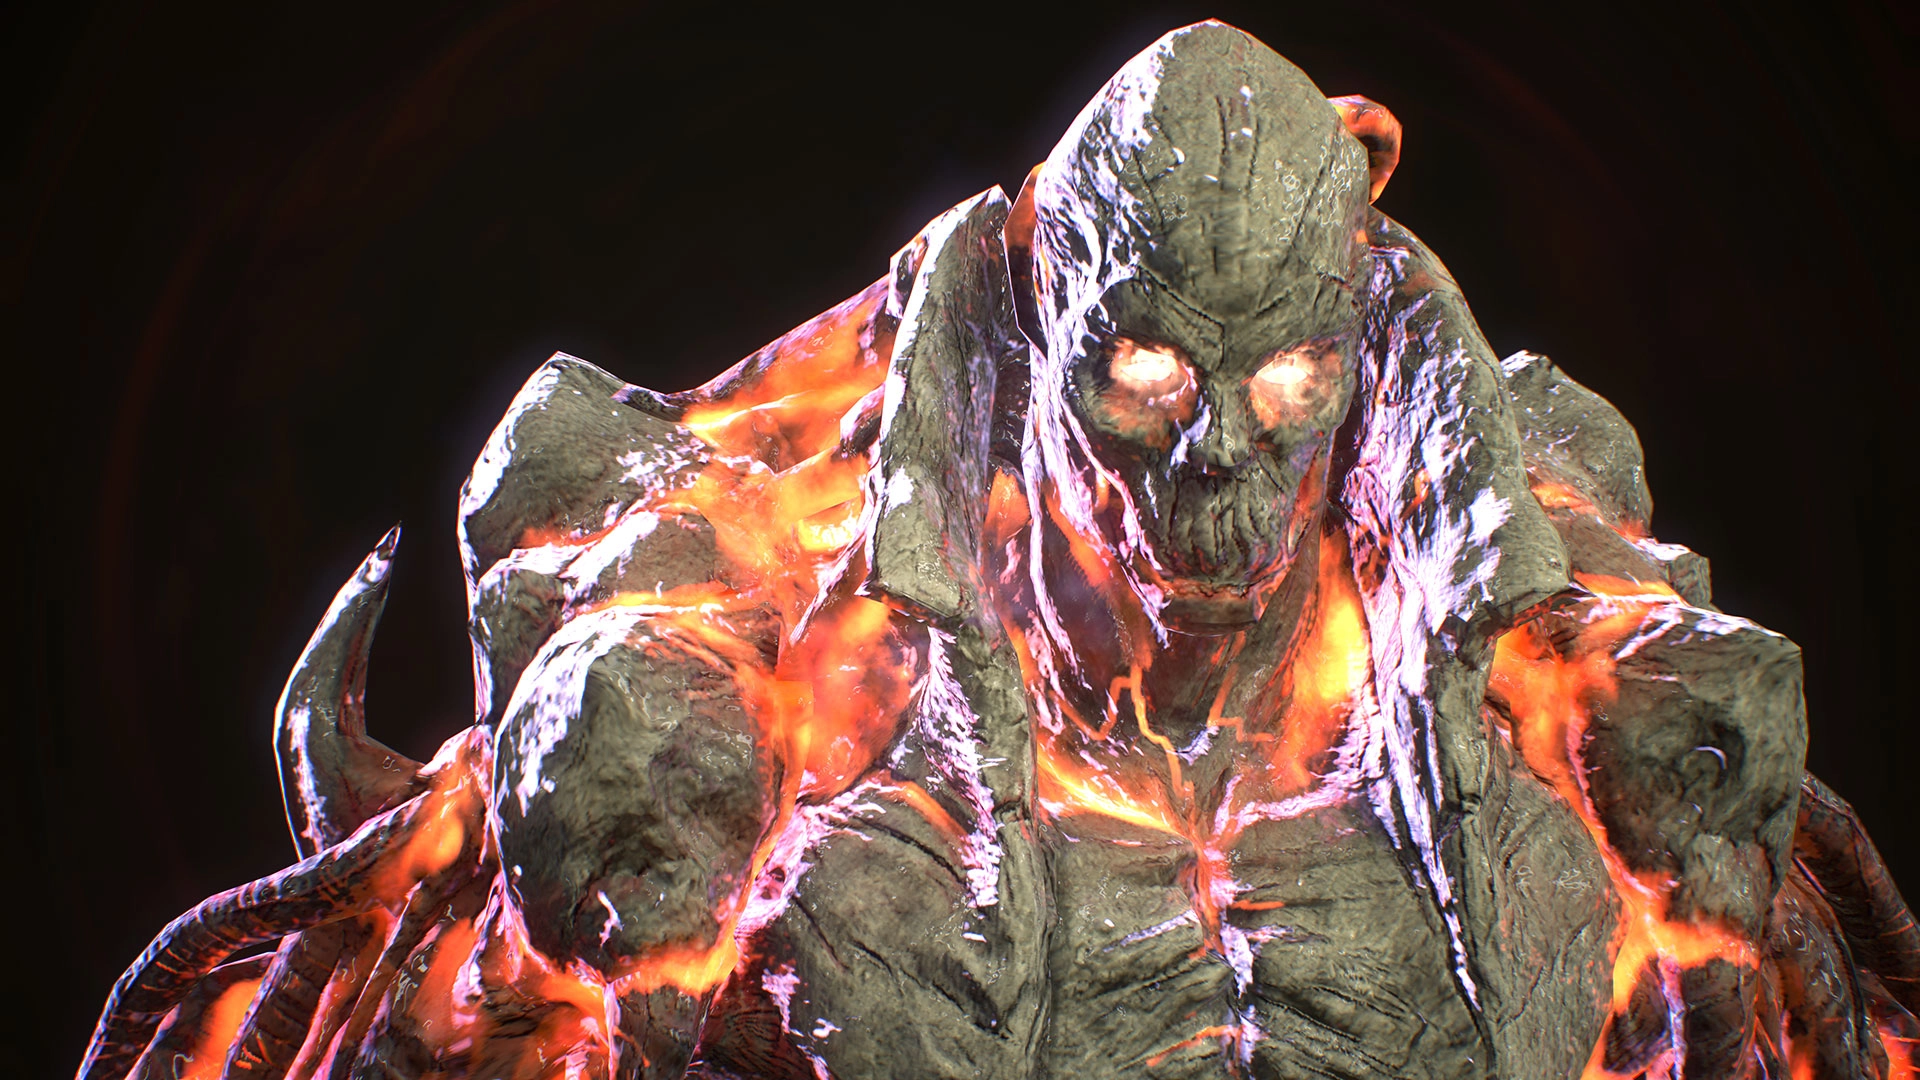
This past year has been a game-changer for the video games industry and for us artists lucky enough to earn a living from making games. The emergence of physically based rendering (PBR) has changed the way we create textures and materials for game engines, and with it, software has emerged that you need to master.
In particular, Substance Painter has become a standard in the industry; it's a terrific software that is a part of the Substance Designer suite. In this tutorial we'll learn the core skills needed to create real-time, game-ready textures in Painter.
One of the mind-blowing abilities of the software is it enables you to texture in multiple channels (albedo, glossiness, metalness) at the same time and then you can reuse this materials' recipe quickly on other 3D models, in seconds.
One of the mind-blowing abilities of the software is it enables you to texture in multiple channels at the same time
Texturing a series of vehicles, props or characters that are part of the same theme or factions with similar material types becomes an easier task as you can reuse the same materials across all of them. Texturing has never been quicker and it's easy to use all of this while maintaining the PBR accuracy.
And it doesn't stop there. One of the many great things with Substance Painter is the ability to use the colour ID map that is generated from ZBrush and baked into Substance Painter. This can be used as a mask for materials/texture applications baked from the high-resolution details in ZBrush.
The other great thing is you can now bake normal maps by name – you don't need to break up your low-polygons (LOD0) in order to bake them. So you can avoid a projection overlap in your normal maps, as the two geometry objects are too close together – even at a low ray distance value. This avoids having to make corrections in Photoshop, which can be a pain.
Download all the assets you need here.
01. Start with decimation

You need to decimate as much of your individual parts as you can. This will accelerate the baking process time and you will have a usable high-res mesh if you need to retopolgise. For decimation, a good rule of thumb is try to aim for 300-350k polygons in ZBrush. If too much of your detail gets washed out during the first pass of decimation try a higher count, or if nothing changes try a lower polygon count. The goal is to get the best result with the fewest decimated polygons.
02. Use different polygroups

For this stage of the process you need to break your ZBrush models into different polygroups. Ideally the same material type and same wear and tear should be on the same polygroup colour. You need to do this from the start of the sculpting phase in order to define which parts will have different materials, and from there try to keep them as different subtools or elements for fast and easy polygroup assignment.
03. Move your model

Once you create your low-resolution model (LOD0) take this into the 3D software of your choice – I would recommend 3ds Max, TopoGun or Maya. Usually your model should combine or attach all of the 3D objects on the same type of texture map. With this done, it will be easier to assign them a name ready for baking the normal maps.
04. Rename your meshes

You need to rename your meshes in ZBrush and in your low-resolution 3D package (3ds Max, Maya, and so forth). This is where most of the problems occur. In ZBrush, by default, the software adds a capital letter to all the names you input in the rename part of the subtools, so be sure to add a capital letter to the first letter of your naming convention. Also avoid numbers, as Substance won't support them and it will cause problems at the baking stage.
05. Renaming continued

By default, Substance Painter baker will look for names with a '_low' and '_high' modifier to link them to each other and bake from there. Once again, it seems in ZBrush you can't input the '_' so you will need to copy and paste the name from the low resolution model, and then copy and paste the name in ZBrush, renaming the subtool and erasing the 'low' at the end to replace it with 'high'. This way you ensure the exact same word carries across.
06. Polypaint from polygroups

We need to prepare the colour ID map that will be really useful in Substance Painter. First you need to assign the correct colours in ZBrush. All your polygroups should already be assigned by material type on each subtool, so the only thing left is to do a Polypaint From Polygroups (found under the Tool palette) on each of the subtools.
07. Assign basic materials

We need to assign the basic materials from Maya/3ds Max. It doesn't matter as long as each material assigned represents a texture map on your model. If you have three textures you should have three materials assigned to them by polygon face or polygon object. Each material needs a specific name that defines which type of part or texture it represents. That name will be your reference in Substance, so you know which texture is what on every texture set.
08. Export to ZBrush

Now that our materials' names and polygon mesh names have been assigned, we can export our ZBrush high resolution model and our low resolution model in the .fbx format. The great thing about ZBrush FBX is that it can export all your separated subtools as one, and when loaded in Substance, the format will remember they are separated. You no longer need to export your .obj subtools and combine them in Maya/3ds Max like the old days.
09. Import to substance

Finally we make it to Substance Painter – this is where the fun begins! Go to File>Start New. Now you need to get the low resolution .fbx that we recently saved out of ZBrush, by pressing the Select button. Now we have our files inside Substance Painter and can start the texturing project in detail.
10. Inside Substance Painter

Now that you've loaded your low resolution mesh, you should see the different texture sets with the names that you wrote before exporting into your 3D software. You can also see the channel that you will be using, and you can add more or remove some, depending on your needs. At any time you can also switch the resolution of your project, and as long as you're using Substance materials and effects, you will never lose detail when upscaling the resolution.
11. The baking menu

Once in the Baking menu you can set the resolution of the baked maps. You can also load your high resolution decimated .fbx file from ZBrush by clicking on the small page icon next to the high resolution meshes square. By default you are in the normal section, so go to Match and switch the default setting of 'Always' to 'By Mesh Name.'
12. Bake your textures

Now go to the ID menu inside of the Baking menu. From here select the Colour Source menu and scroll down the bar until you reach the Polygroup/Submesh ID option. Now you should be all set, so simply press Bake Textures. Now all the textures should be located in the additional maps that you just baked. If you want to modify them in Photoshop, you need to export the textures by selecting them from the Additional Maps menu.
This article originally appeared in 3D World issue 208; buy it here!
