Create interactive 3D visuals with three.js
Boost your three.js abilities by experimenting with this interactive input slider that controls 3D WebGL visualisation.
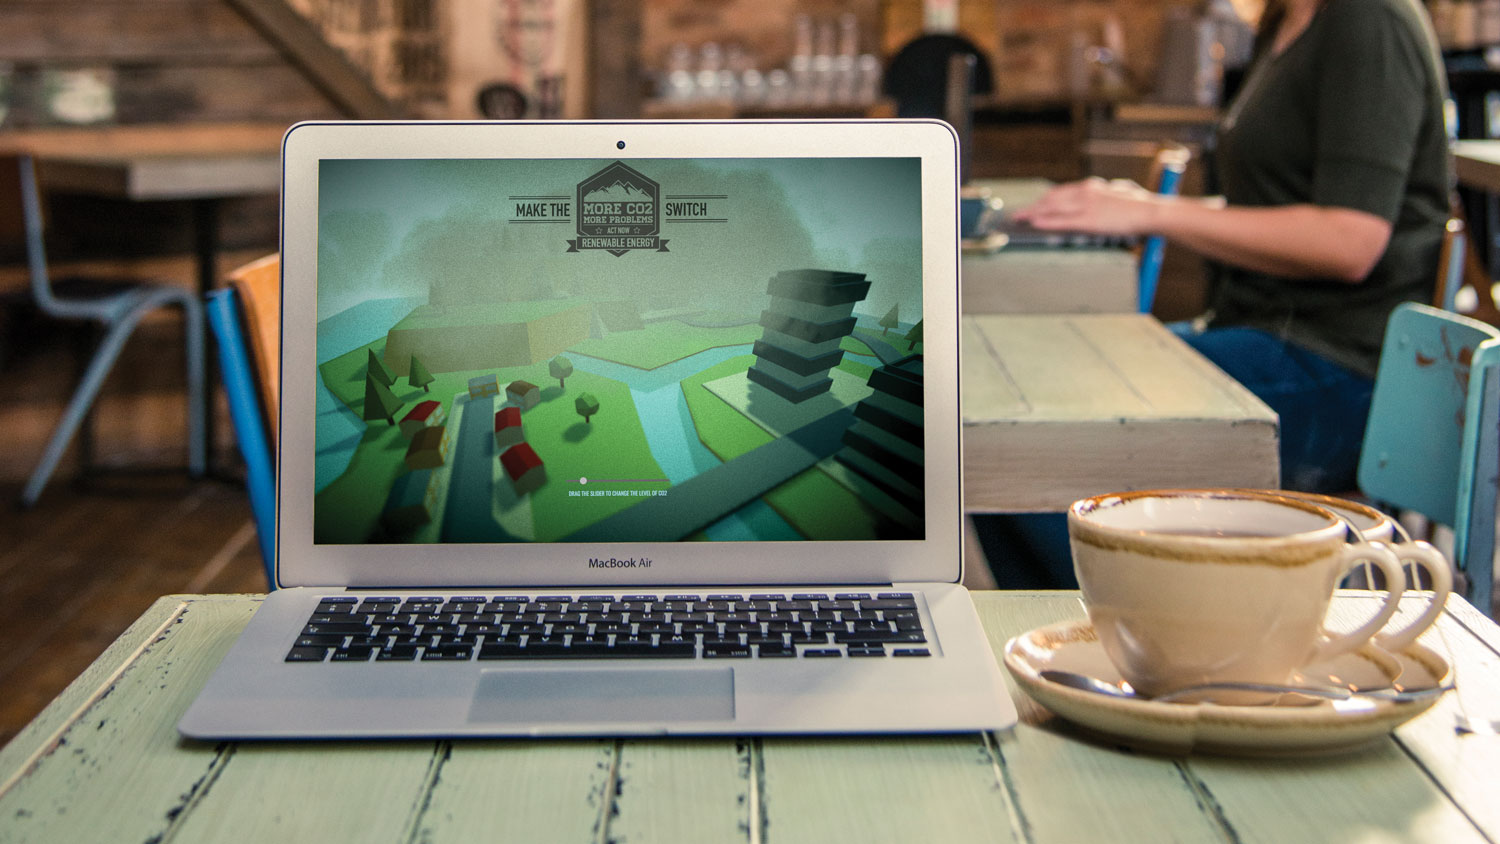
This WebGL tutorial demonstrates how to create a 3D environmental simulation that shows what happens to the world as CO2 levels change. (You can see more WebGL experiments here, and save your inspiration in cloud storage.)
The user controls the levels using a HTML input range slider. As the user adds more CO2, more smog will appear in the scene, the water levels will rise as the increase in temperature melts more polar ice caps, then trees will disappear as they become immersed in water.
The elements are animated in and out using a tween library and dragging the slider in the opposite direction will reverse the effects. If only it was that easy in real life!
Article continues belowNeed a new site to host your visuals? Pick the perfect website builder, and a top web hosting service.
01. Display elements
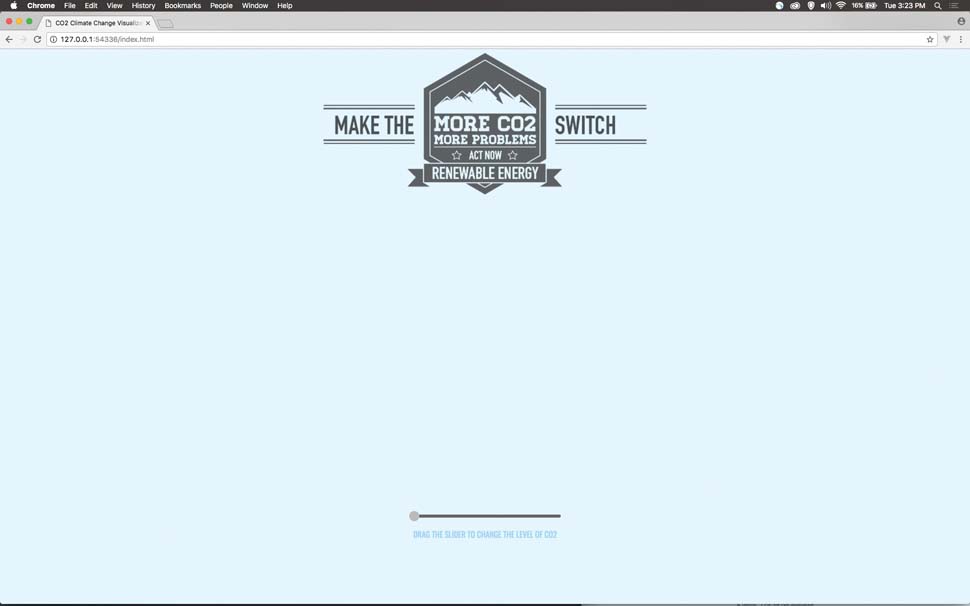
To start the project, open the 'start' folder in your code IDE. Open up index.html and you will see there is a basic page scaffold there with some code already. In the body section, add the display elements here that will be used as the interface to the 3D content.
<div id="header">
  <img src="img/co2.png" id="badge">
  </div>
  <div id="inner">
  <input class="slide" type="range" min="0" max="7" step="1" value="0" oninput="showVal(this.value)">
  <p>DRAG THE SLIDER TO CHANGE THE LEVEL OF CO2</p>
  </div>
02. Linking up the libraries
The 3D content is being displayed through three.js, which is included here. A Collada model will be added to the scene later. The extra library to load this is included, along with a basic tween library. The next lines all link up to post processing effects that will add the finishing polish.
<script src="js/three.min.js"></script>
<script src="js/ColladaLoader.js"></script>
<script src="js/tween.min.js"></script>
<script src='js/postprocessing/EffectComposer.js'></script>
<script src='js/postprocessing/RenderPass.js'></script>
<script src='js/postprocessing/ShaderPass.js'></script>
<script src='js/postprocessing/MaskPass.js'></script>
03. Post processing shaders
After the scene has rendered each frame, a number of post process effects will be added. These are the libraries that empower the film grain effect, a tilt shift blur at the top and bottom of the screen, then finally a vignette to fade out to the edges of the screen.
Sign up to Creative Bloq's daily newsletter, which brings you the latest news and inspiration from the worlds of art, design and technology.
04. Adding the variables
Some of the code has been completed for you. You will see a comment where to add the rest of the tutorial's code. A number of variables are used in this 3D scene, which look after screen resolution, various 3D models and post processing. Two important variables are the waterHt for the water height and the lastVal, which remembers the last position of the slider.
var SCREEN_WIDTH = window.innerWidth, SCREEN_HEIGHT = window.innerHeight,
 mouseX = 0, mouseY = 0, windowHalfX = window.innerWidth / 2, windowHalfY = window.innerHeight / 2, camera, scene, renderer, water, waterHt = 1;
var textureLoader = new THREE.TextureLoader();
var composer, shaderTime = 0, filmPass, renderPass, copyPass, effectVignette, group, lastVal = 0;
05. Initialising the scene
The init function is a large part of the code, ensuring the scene is set up with the right look at the beginning. A container is added to the page, and this is where the 3D scene will be displayed. A camera is added and some background fog to fade out the distance.
function init() {
  var container = document.createElement('div');
  document.body.appendChild(container);
  camera = new THREE.PerspectiveCamera(75, SCREEN_WIDTH / SCREEN_HEIGHT, 1, 10000);
  camera.position.set(2000, 100, 0);
  scene = new THREE.Scene();
  scene.fog = new THREE.FogExp2(0xb6d9e6, 0.0025);
  renderer = new THREE.WebGLRenderer({
  antialias: true
  });
06. Setting the renderer
The renderer is given a background colour and the resolution is set to the same size as the pixel ratio of the screen. Shadows are enabled in the scene, and it's placed on the page in the container element. A hemisphere light is added, which has a sky and ground colour.
renderer.setClearColor(0xadc9d4);
renderer.setPixelRatio(window.devicePixelRatio);
renderer.setSize(SCREEN_WIDTH, SCREEN_HEIGHT);
renderer.shadowMap.enabled = true;
renderer.shadowMap.type = THREE.PCFSoftShadowMap;
container.appendChild(renderer.domElement);
var light = new THREE.HemisphereLight(0xa1e2f5, 0x6f4d25, 0.5);
scene.add(light);
07. Shader variables
The variables that will control the shader post process effects are given their values here. These variables will be used later to add values that will control the look. If you look in the params function you will see this already completed for you.
renderPass = new THREE.RenderPass(scene, camera);
hblur = new THREE.ShaderPass(THREE.HorizontalTiltShiftShader);
vblur = new THREE.ShaderPass(THREE.VerticalTiltShiftShader);
filmPass = new THREE.ShaderPass(THREE.FilmShader);
effectVignette = new THREE.ShaderPass(THREE.VignetteShader);
copyPass = new THREE.ShaderPass(THREE.CopyShader);
08. Composing the effects
The effects have to be stacked up in something called an effects composer. This takes each effect and applies the styling to it. Then it is all displayed as a final scene on the screen, which you will see when the render function is added later.
09. Loading the cloud image
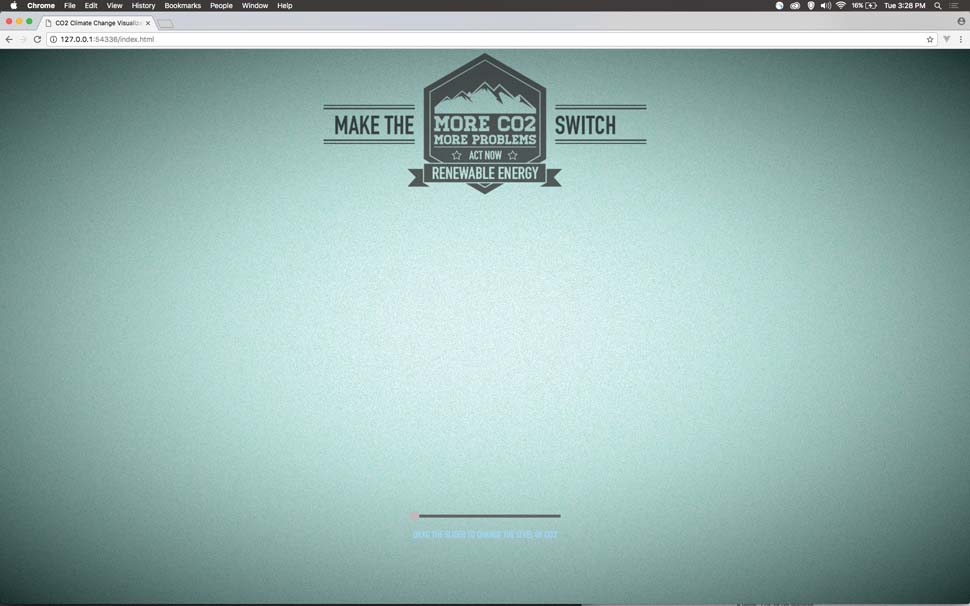
The params function is called and this sets the individual parameters for the post effects. A new group is created and this will hold all of the scene content within it, to make it easy to rotate the group of objects. A transparent PNG image is loaded as a cloud material to be used as a sprite within the scene.
  params();
  group = new THREE.Group();
  scene.add(group);
  var cloud = textureLoader.load(“img/cloud.png");
  material = new THREE.SpriteMaterial({
  map: cloud, opacity: 0.6, color: 0x888888, fog: true
});
10. Double for loop
Eight groups are created inside the first for loop. These eight groups all get 35 clouds added to them in the second for loop. Each cloud is placed in a random location above the scene. The groups will be turned on and off with the slider by the user to show smog being added and removed in the visualisation.
for (j = 0; j < 8; j++) {
  var g = new THREE.Group();
  for (i = 0; i < 35; i++) {
  var x = 400 * Math.random() - 200;
  var y = 60 * Math.random() + 60;
  var z = 400 * Math.random() - 200;
  sprite = new THREE.Sprite(material);
sprite.position.set(x, y, z);
11. Scaling the cloud
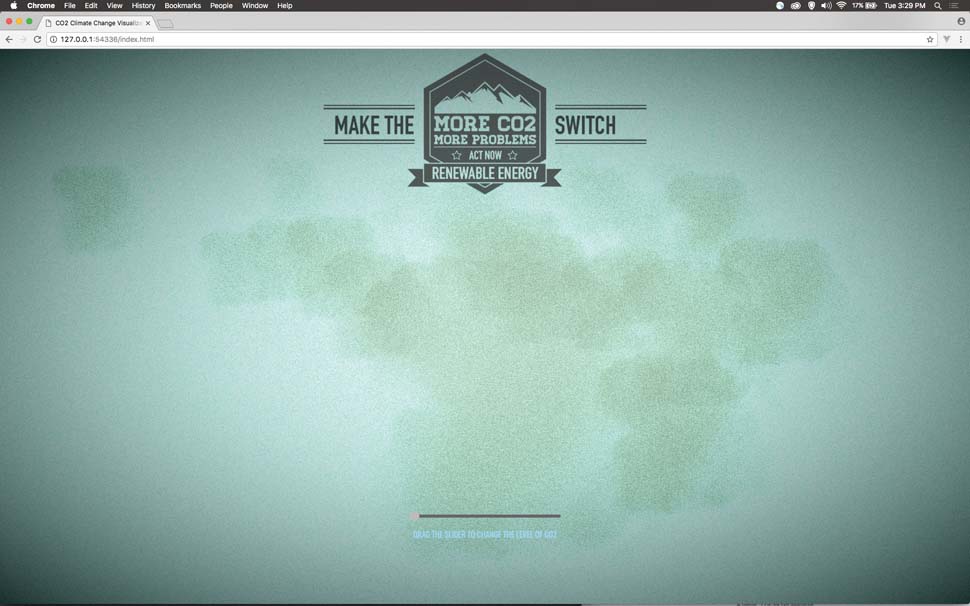
The cloud is scaled up to a size that allows it to be visible in the scene. Every group of clouds after the first group is scaled down so that they are virtually invisible to the renderer. This is how they will be made visible later by scaling them back up to their full size, as this will give a good tweening effect.
12. Loading the model
Now the Collada Loader is set to load the scene.dae model. When it finishes loading, the model is scanned and any object that happens to be a mesh is made to cast shadows and receive shadows to give some extra depth to the scene.
var loader = new THREE.ColladaLoader();
loader.options.convertUpAxis = true;
loader.load('scene.dae', function(collada) {
  var dae = collada.scene;
  dae.traverse(function(child) {
  if (child instanceof THREE.Mesh) {
  child.castShadow = true;
  child.receiveShadow = true;
  }
});
13. Finding specifics in the scene
As the model is now ready for display it is set to the right size to fit the scene. The code needs to specifically control the height of the water so the water model is found in the scene and passed into the global variable. Similarly the main light needs to be found so that it can be set to project shadows.
dae.scale.x = dae.scale.y = dae.scale.z = 0.5;
dae.updateMatrix();
group.add(dae);
water = scene.getObjectByName(“Water", true);
water = water.children[0];
light = scene.getObjectByName(“SpLight", true);
light = light.children[0];
14. Light settings
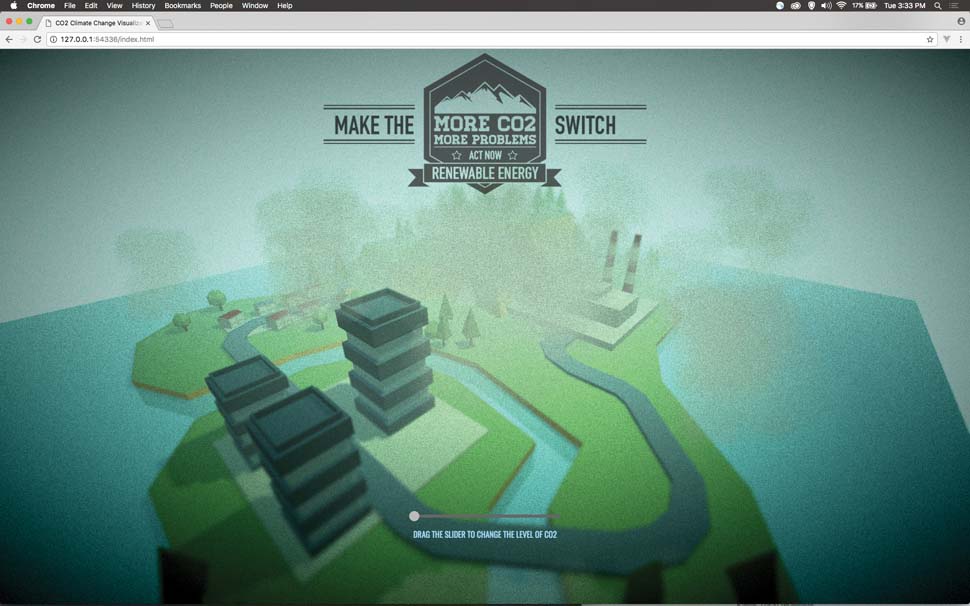
Now as the spotlight is found the specifics that make it cast shadows into the scene are set up. The fading of the light at the edges of the spot is also set here. Finally, as the model is the biggest element to load in, the rest of the scene will be set up before this code is run, therefore the render function can be called each frame.
  light.target.position.set(0, 0, 0);
  light.castShadow = true;
   light.shadow = new THREE.LightShadow(new THREE.PerspectiveCamera(90, 1, 90, 5000));
  light.shadow.bias = 0.0008;
  light.shadow.mapSize.width = 1024;
  light.shadow.mapSize.height = 1024;
  light.penumbra = 1;
  light.decay = 5;
  render();
});
15. Last initialising code
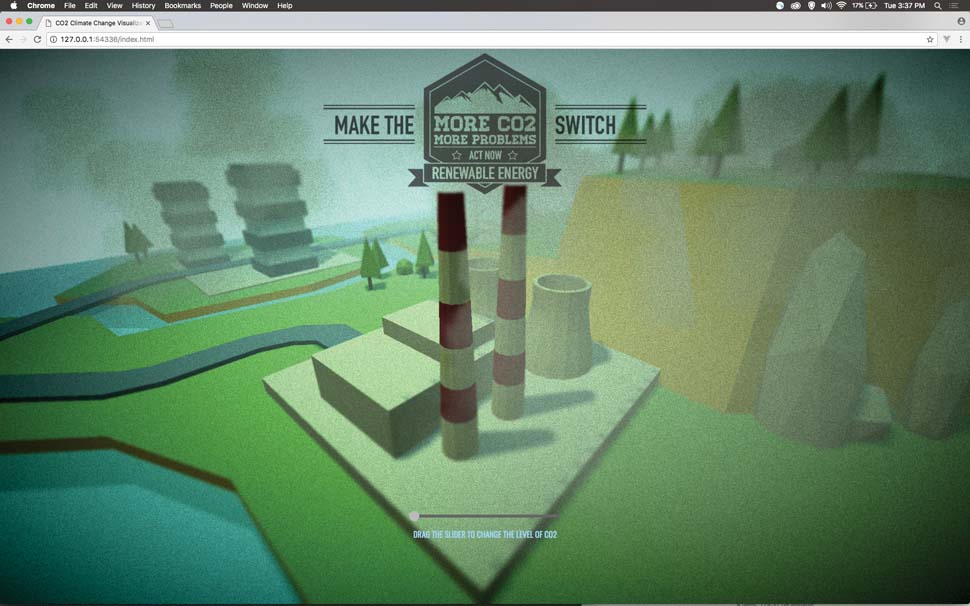
The final part of the init function sets various mouse and touch inputs that will move the camera based on their position. An event is also registered to listen for if the screen is resized and this will update the rendered display.
  document.addEventListener('mousemove', onDocumentMouseMove, false);
  document.addEventListener('touchstart', onDocumentTouchStart, false);
  document.addEventListener('touchmove', onDocumentTouchMove, false);
  window.addEventListener('resize', onWindowResize, false);
}
16. Rendering each frame
The render function is set to be called as close to 60 frames per second as the browser can manage. The group, which contains all the models, is set to rotate by a small amount each frame. The camera's position is updated from the mouse or touch input and it continues to look at the centre of the scene.
17. Updating the display
The shader time is a variable that just goes up by 0.1 each frame and this is passed into the filmPass so that the noisey film grain can be updated. The effects composer is updated and rendered to the screen. Finally the tween engine is updated too.
  shaderTime += 0.1;
  filmPass.uniforms['time'].value = shaderTime;
  composer.render(0.1);
  TWEEN.update();
}
18. Getting user input
The input range slider, added in step 1, calls the showVal function, which is defined here. When the user clicks on this it just checks that the slider has been moved. If it's moved up then the next cloud group is scaled up with a tween over 0.8 seconds. The water height is updated and this is also tweened up to the new height.
function showVal(val) {
  if (val != lastVal) {
  if (val > lastVal) {
  new TWEEN.Tween(group.children[val].scale).to({ x: 1, y: 1, z: 1}, 800).easing(TWEEN.Easing.Quadratic.InOut).start();
  waterHt += 0.07;
  new TWEEN.Tween(water.scale).to({ y: waterHt }, 800).easing(TWEEN.Easing.Quadratic.InOut).start();
19. Grabbing the trees
The temp variable finds the current group of trees it should eliminate from the scene and here it scales them down with a tween on the y axis only. An elastic easing is used so that this springs out of sight on the screen for a pleasing effect. As more water and clouds are in the scene, the trees disappear.
20. Opposite input
The first content checked if the slider was slid upwards, or to the right. Now the code detects the user sliding to the left. The clouds are scaled down with a tween and so is the water level to show a cooling effect on the earth.
new TWEEN.Tween(group.children[lastVal].scale).to({ x: 0.001, y: 0.001, z: 0.001 }, 800).easing(TWEEN.Easing.Quadratic.InOut).start();
waterHt -= 0.07;
new TWEEN.Tween(water.scale).to({ y: waterHt }, 800).easing(TWEEN.Easing.Quadratic.InOut).start();
21. Finishing up
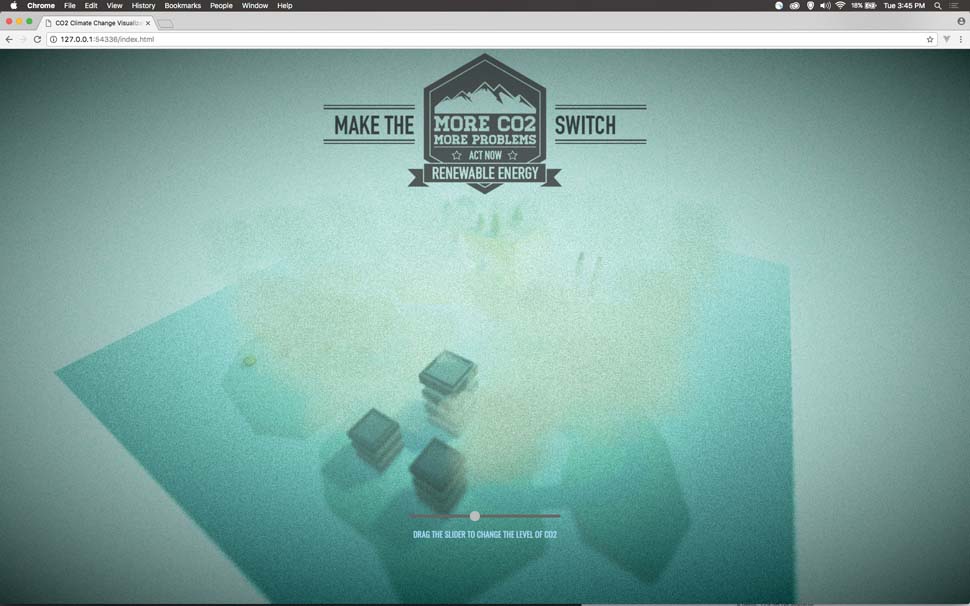
The final step is to bring the trees back, so they are scaled back to their original size with an elastic tween. Save the scene and view the web page from a server either hosted locally on your own computer or on a web server. You will be able to interact with mouse movement and the slider to change the scene display.
This article originally appeared in Web Designer issue 265. Buy it here.
Related articles:

Mark is a Professor of Interaction Design at Sheridan College of Advanced Learning near Toronto, Canada. Highlights from Mark's extensive industry practice include a top four (worldwide) downloaded game for the UK launch of the iPhone in December 2007. Mark created the title sequence for the BBC’s coverage of the African Cup of Nations. He has also exhibited an interactive art installation 'Tracier' at the Kube Gallery and has created numerous websites, apps, games and motion graphics work.
