Get started with Adobe Dimension CC
Adobe Dimension allows new 3D artists and 2D designers to create bespoke 3D scenes quickly and easily.

Adobe Dimensions is part of Adobe's huge push into 3D. However, it can be hard to keep up with the many different offerings Adobe is adding to the 3D space, either as standalone applications or as elements within core applications such as Photoshop.
At the vanguard of this 3D push is Adobe Dimension CC, a rare standalone Creative Cloud application. It creates a 3D environment that can take assets from either 2D or 3D applications, and renders them to a professional level quickly and easily on a wide variety of computer hardware.
For other 3D software options, check out our rundown of the best 3D modelling software around right now.
What is Adobe Dimension?
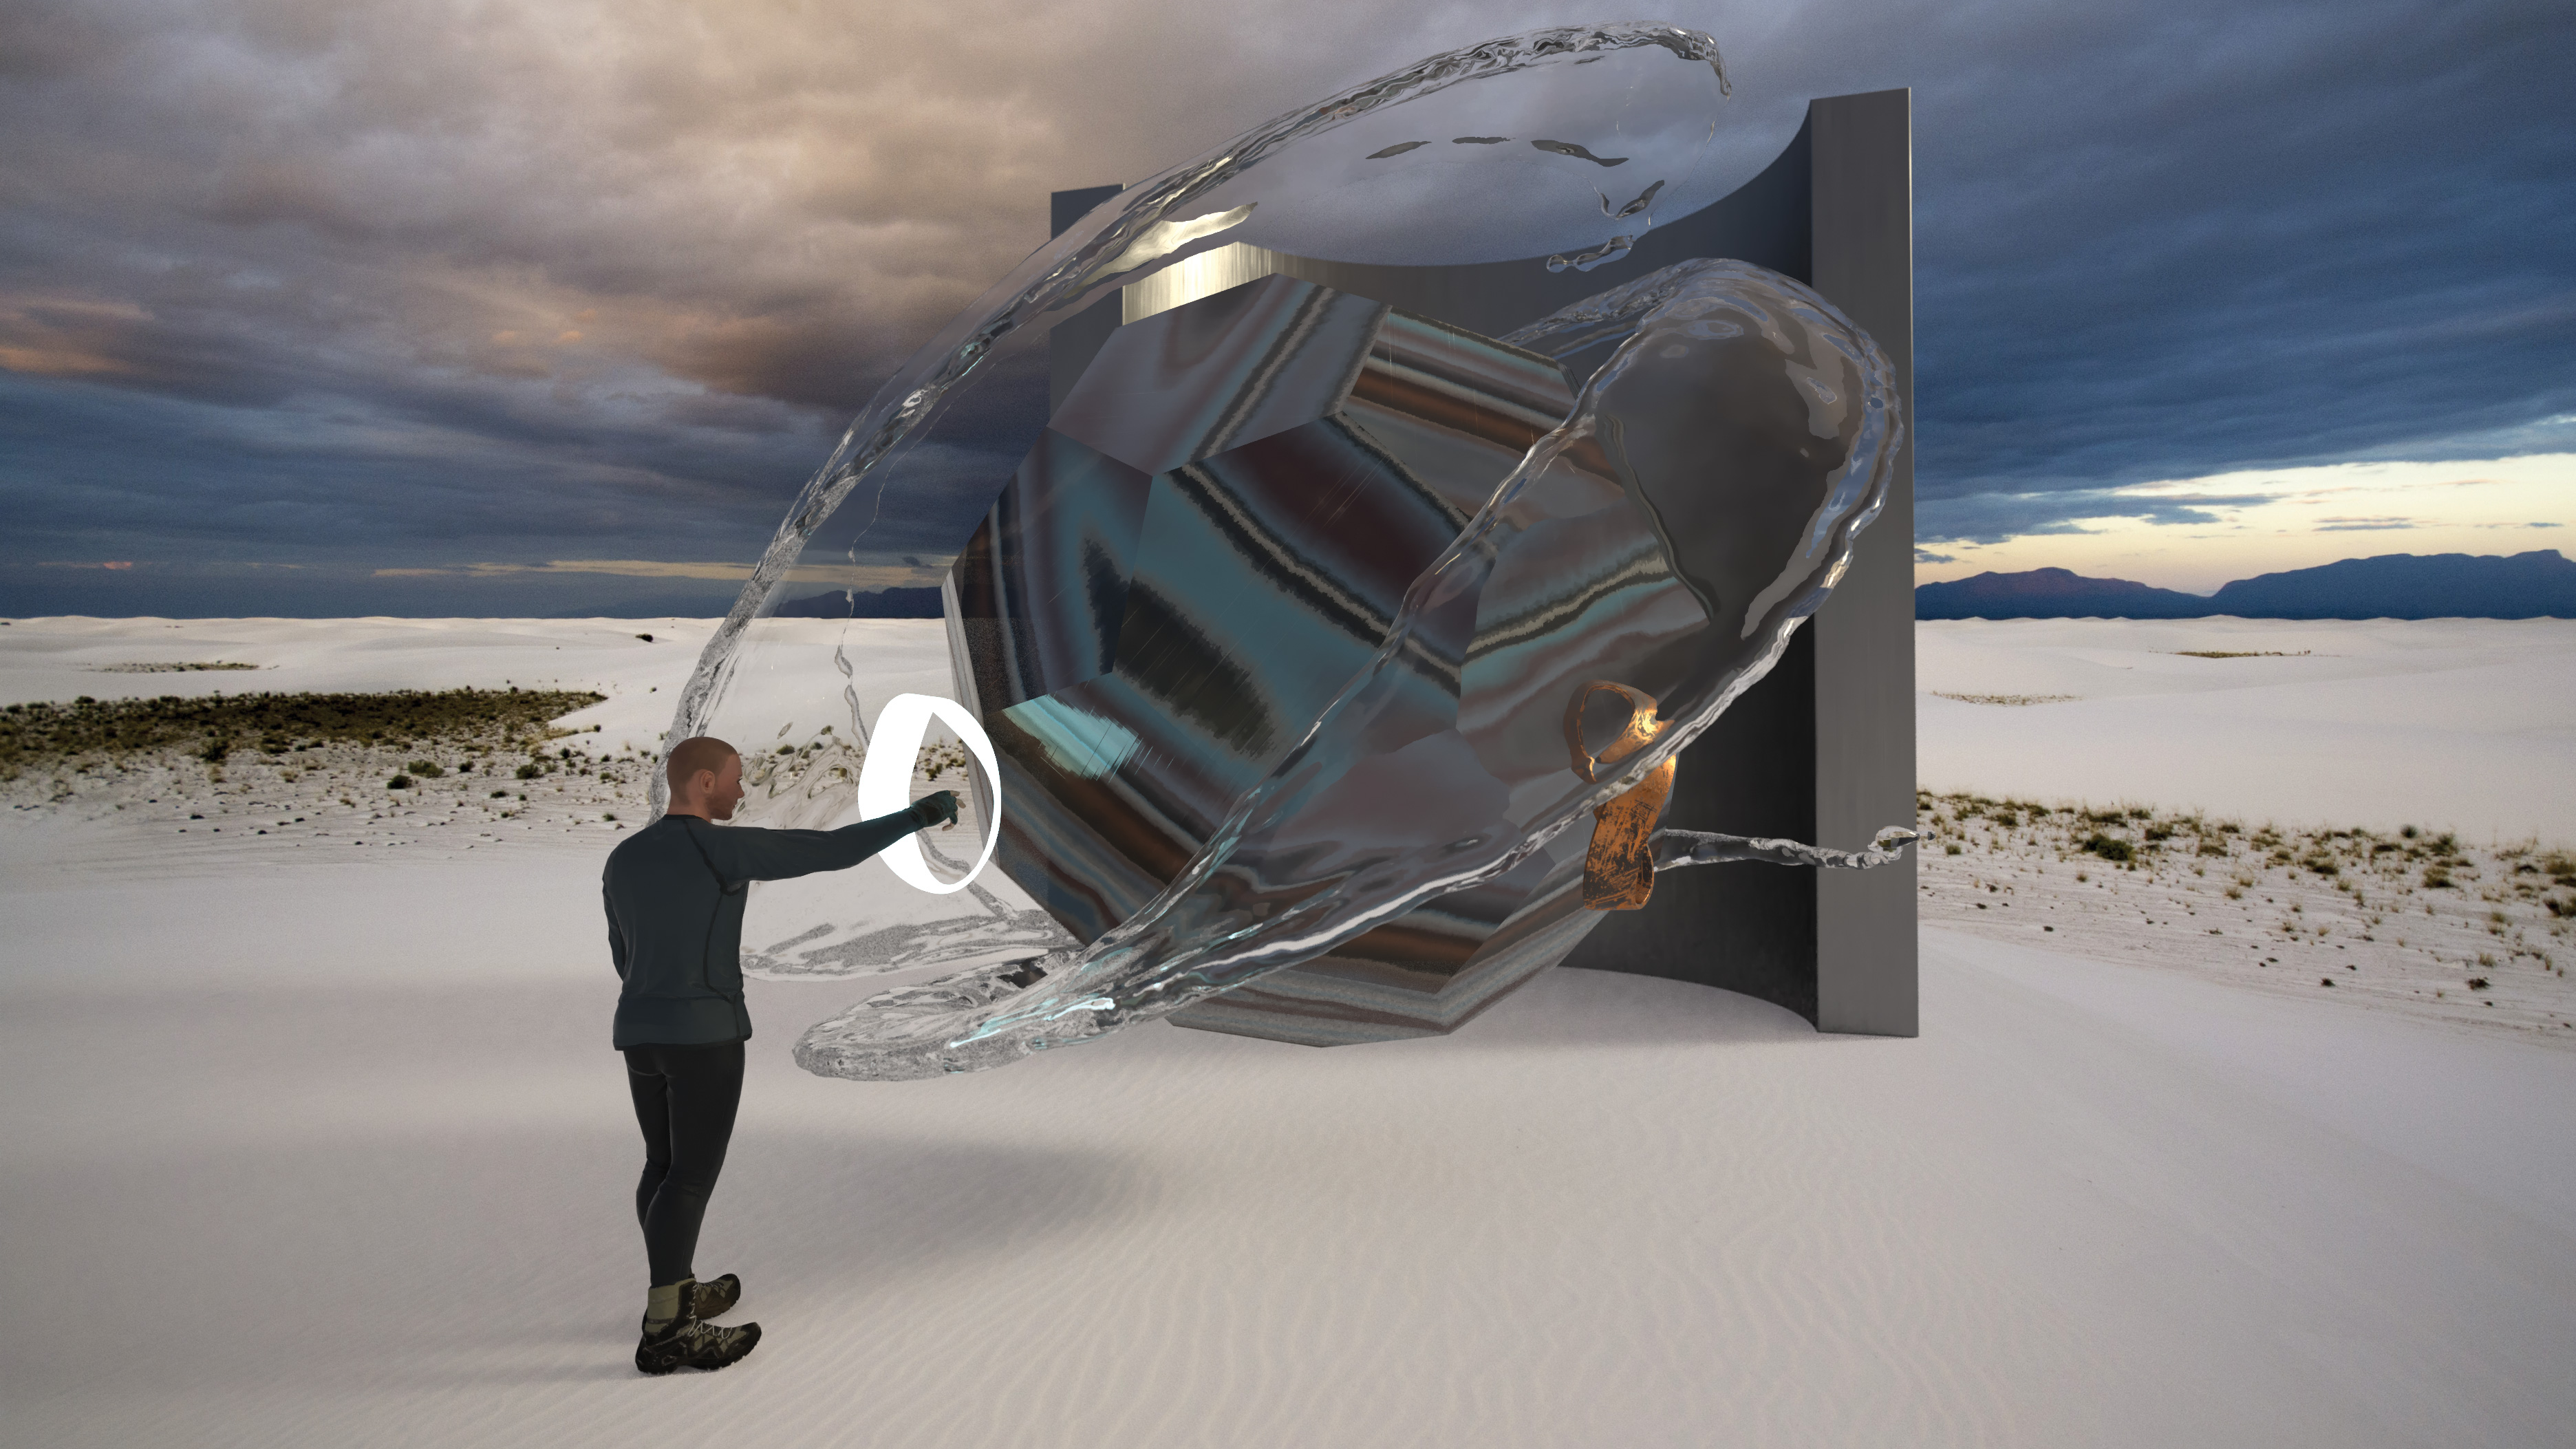
The great thing about Adobe Dimension CC is that it assumes the user has little to no knowledge of working in 3D, and therefore provides a wide range of assets to help you along. The software provides 3D models, materials, environments and lighting which can enable artists, out of the box, to create anything from a sci-fi landscape to a product model shot with ease.
Adobe Dimension CC has two main interfaces. One is a real-time layout interface, where an artist adds models, materials and images and the general environment and lighting. This view can support camera effects such as depth of field. When the scene is ready, switching over to the render view allows a full production render image to then be created.
Adobe Dimension CC offers either its own render engine, which supports de-noising, or the Chaos Group’s V-Ray render engine. These options allow Adobe Dimension to create renders as good as those from any 3D application.
If the assets that come with Adobe Dimension CC are not suitable, 3D files can be added from a wide variety of formats, and the material system in Adobe Dimension supports a wide range of image inputs including Normal maps. Adobe also provides a wide range of stock assets at that can be natively used with Adobe Dimension CC, making it an excellent all-round 3D layout tool.
Daily design news, reviews, how-tos and more, as picked by the editors.
So let's press on with learning how to get started.
01. Add models

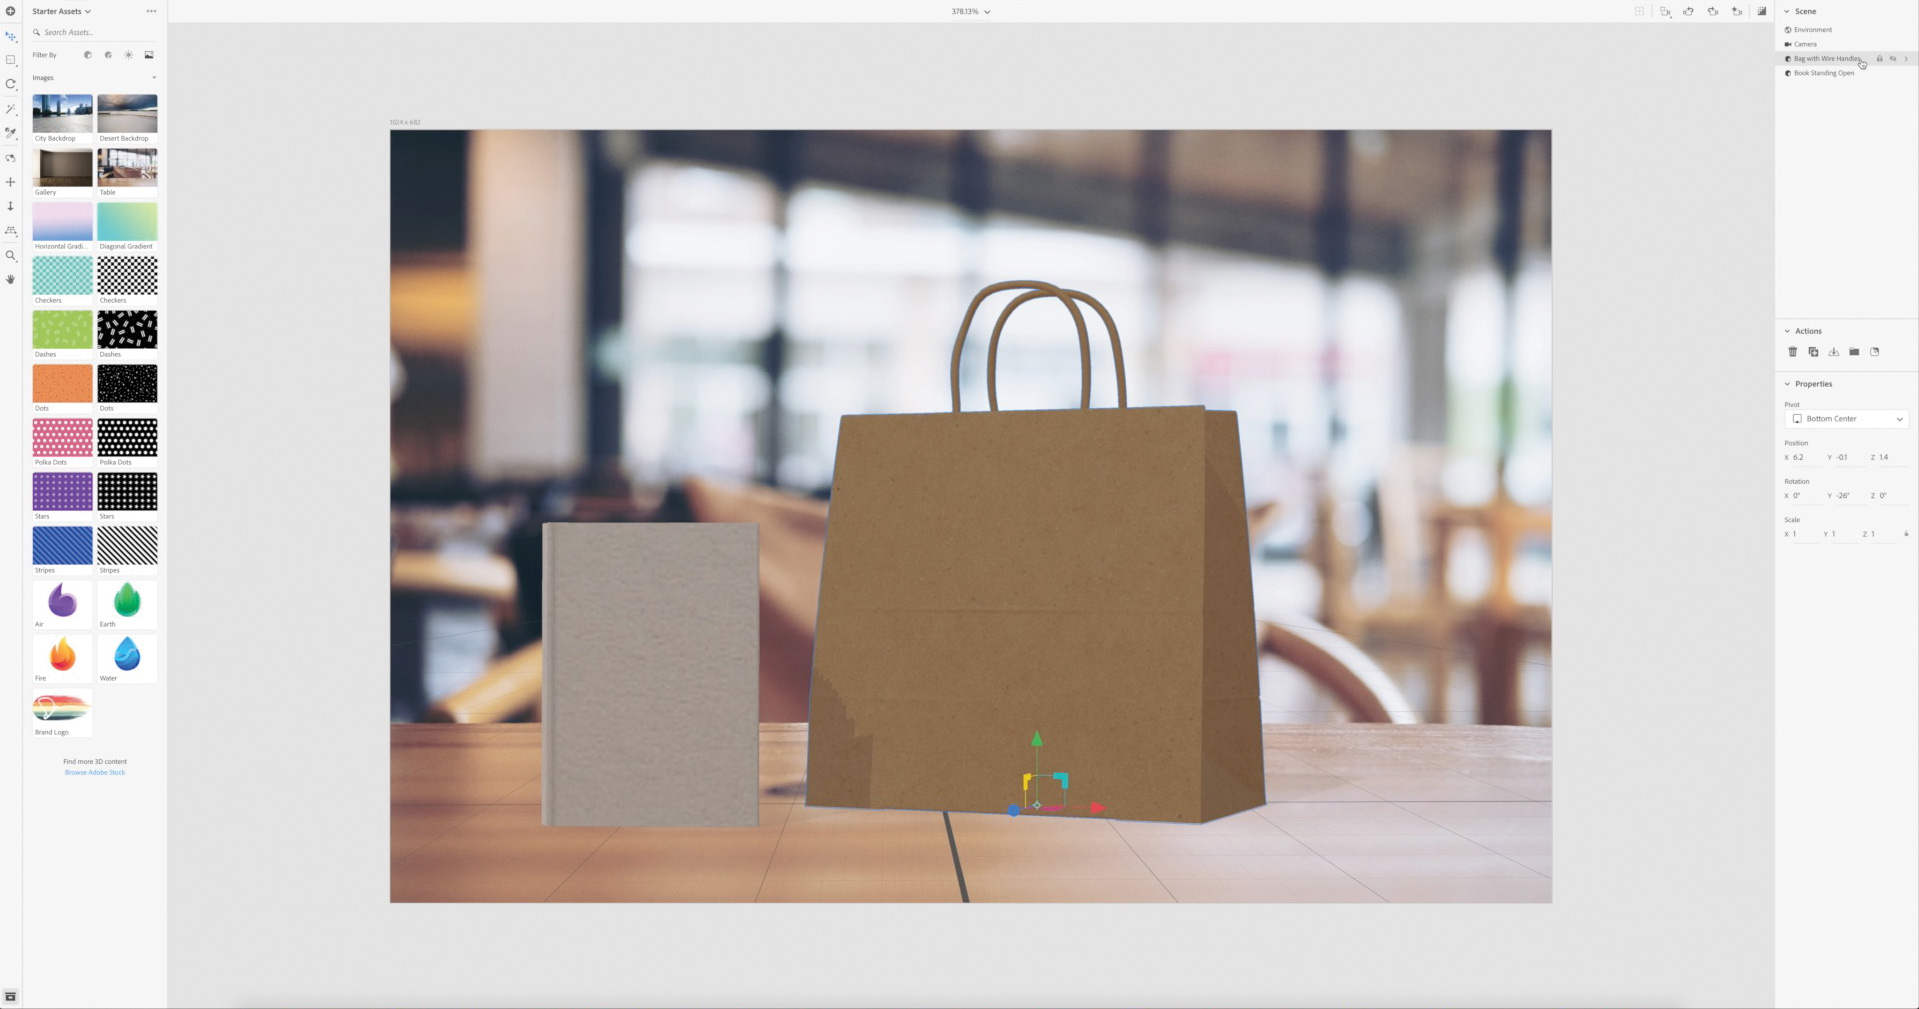
To add models to Adobe Dimension CC, the best place to start is with the starter assets. There are a wide range to choose from, especially for demoing graphic design elements such as food packaging, book covers, clothing and T-shirts. Objects can be moved, scaled and rotated as desired, making setting up a scene very simple. As each element is added it can be seen in the ‘Scene’ palette on the right-hand side of the screen.
02. Select materials

Again, just as with adding models, Adobe Dimension CC has an array of starter materials to help with quick and easy scene creation. Each of these materials can be modified in terms of colour, reflection and glossiness to create a range of looks from one starter material. Images can also be added, and these have their own separate material controls allowing a metallic label to be placed on a matte cardboard bag with ease.
03. Create a lighting environment

Dimension CC has two distinct parts to creating a convincing environment for a scene. First is the lighting, provided as an asset from a range of options. It allows full surround lighting, which can interact with a ground plane and be rotated to suit the scene. The other element is the backdrop; in some cases Dimension can adjust the perspective to match the background image, great for setting up convincing shots that match the perspective of the background.
04. Render in Adobe Dimension

While the real-time view supports advanced features such as depth of field, when switched to the Render tab, the application is capable of creating professional-grade renders. Using either its own engine or V-Ray, Dimension renders details such as reflective elements and true lighting. There are three render settings, Low, Medium and High, fast to slow respectively. The Dimension engine is quicker than V-Ray, so bear that in mind when deadlines are tight.
05. Take advantage of stock assets

Adobe Dimension CC works with stock.adobe.com to add even more possibilities. There are a huge range of additional materials, lighting setups and models which can be added via Adobe’s stock resources. While these have to be paid for there are discounts to be had, and a 3D asset costs the same as a normal still asset. As the assets are curated you can be sure that they will work seamlessly with Adobe Dimension CC.
06. Use Adobe Libraries

The Adobe Libraries system is the key to sharing assets with Adobe Dimension. These can be assets from stock.adobe.com or Adobe Fuse models, which need to be exported from Photoshop to work with Dimension CC at the moment. Other assets can be created in applications such as Illustrator and Photoshop, which can be added to a library for instantaneous use. Libraries can also be used to store colour swatches, ensuring all assets across all media are matching.
This article was originally published in issue 247 of 3D World, the world's best-selling magazine for CG artists. Buy issue 247 or subscribe to 3D World.
Read more:

Mike Griggs is a veteran digital content creator and technical writer. For nearly 30 years, Mike has been creating digital artwork, animations and VR elements for multi-national companies and world-class museums. Mike has been a writer for 3D World Magazine and Creative Bloq for over 10 years, where he has shared his passion for demystifying the process of digital content creation.
