How to create a striking fantasy tattoo
From initial design considerations to inking on the body, tattoo artist Ien Levin shares his process for producing engaging skin art.
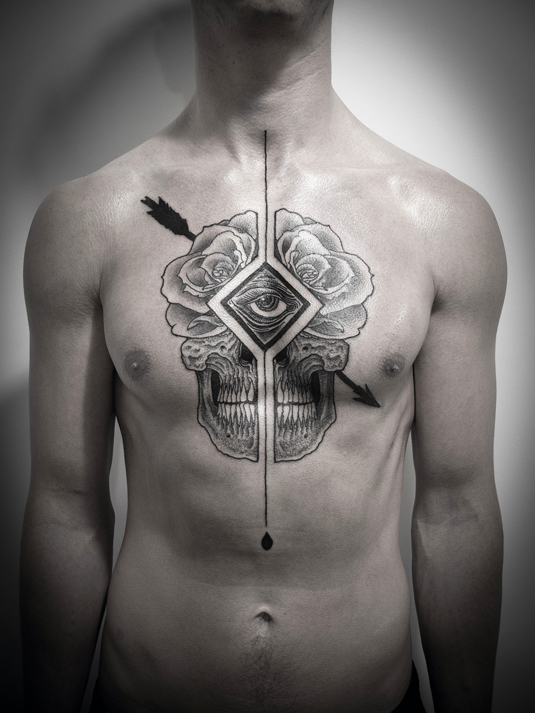
Since my early childhood I've been drawing, trying out every tool and medium I can get my hands on. In my teenage years, I was an airbrush artist, then a photographer. But I've never attended art school and didn't actively try to improve my drawing skills before I became a tattoo apprentice. Indeed, my introduction to tattoos was accidental, yet had a big effect on my life.
There were already a lot of tattoos on me and, by then, I'd lost my interest in photography. So I decided to try something new. I wasn't aiming to become a well-known tattooist with a recognisable style. But I became fascinated with the art of tattooing and, in turn, worked as hard as I could to get where I am now.
My main inspirations are wildlife, science and engineering in all forms, religious and occult societies, the Middle Ages and mathematical and geometric art.
It's difficult to explain my process when I design a tattoo. I have a discussion with a client, then I draw the design and tattoo the skin with my design. The process from start to finish can take any amount of time – like any art form, really. Painting a picture isn't an exact science, and likewise neither is tattooing one of my designs.
Before taking the design into Photoshop, I use pencils and pens, rulers, compasses and tracing paper. Nothing special. It's what you produce at the end of the day with these basic tools that should catch the eye.
01. Initial ideas
Once a client has given me a basic idea for an image, I've found that the design process becomes easier if you distil an idea into a few keywords or 'tags'. My tags for this design are love, warrior, sadness, pain, death and war.
In addition, my client asks me to place a straight line through the centre of the tattoo, and asks me to use solid black in the design if possible.
Daily design news, reviews, how-tos and more, as picked by the editors.
02. Be prepared
A bad tattoo can look great when on the body, and a masterful tattoo design can fall flat when it's in situ. The key is to create a design that will suit the specific area of the body where it's going to end up. Ensure you know the design, size and location of the tattoo before taking things further. In addition, create a life-size tattoo design, rather than one that has to be scaled to fit.
03. Use of symbols
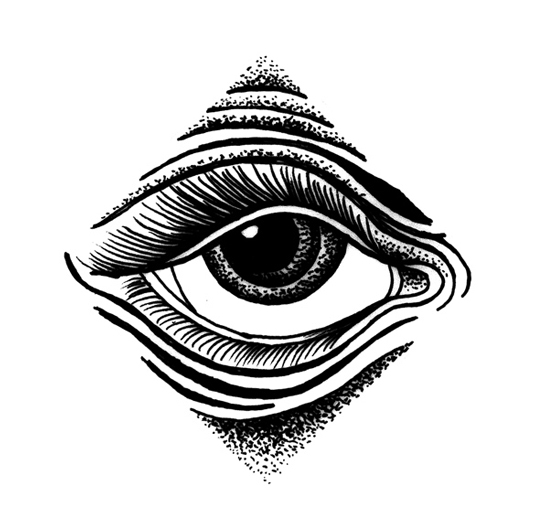
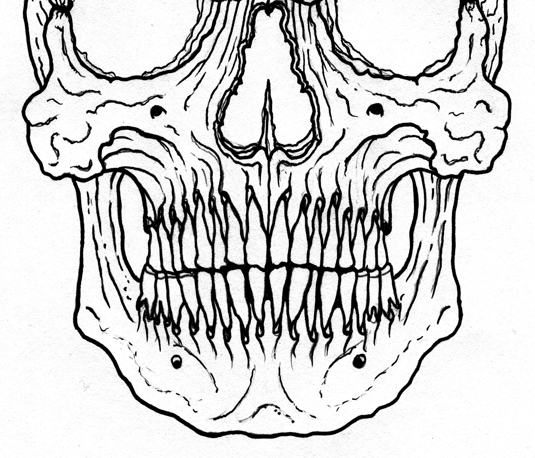
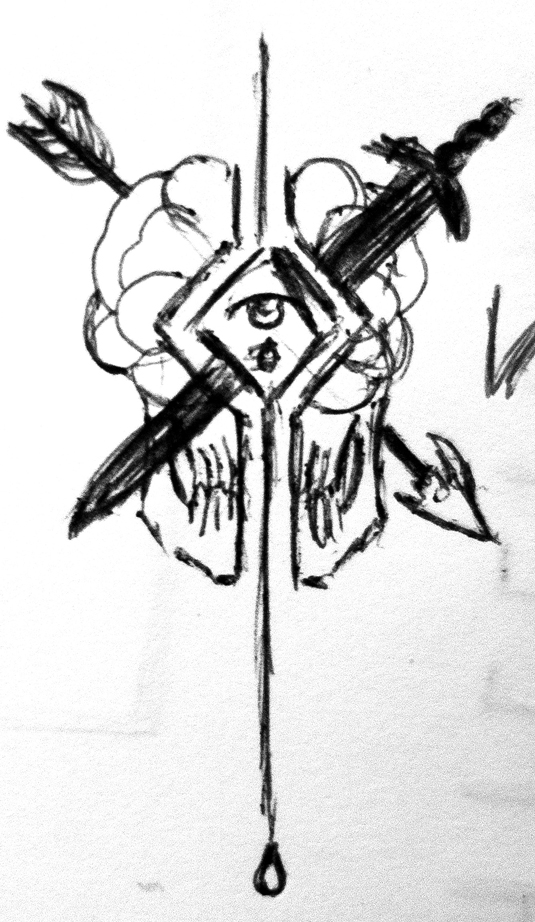
When concepting, I prefer to use simple but powerful symbols. Here, a skull represents the death and warrior tags, with sadness and pain alluded to by an eye with a teardrop. Now I'm able to create the first raw sketch to see if the general composition is working. The top of the skull looks empty, so I cover it with roses, to represent love and to contrast with the smooth skull.
04. Finalising elements
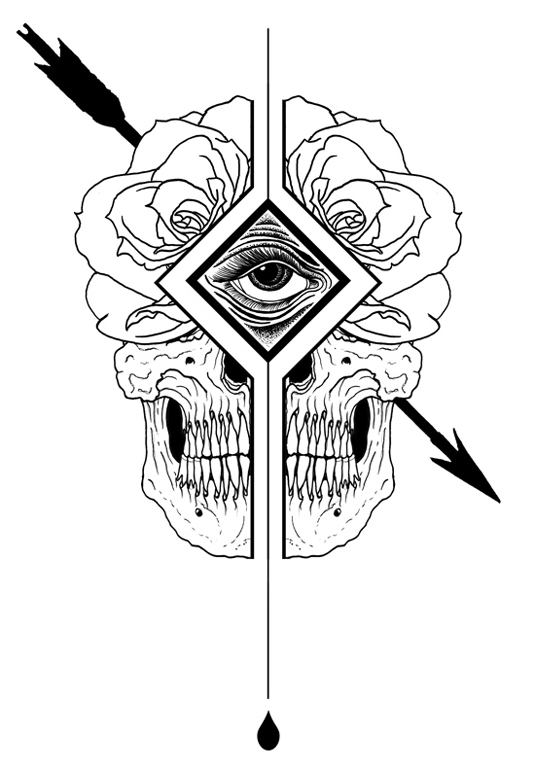
Placing the solid black arrow at an angle creates some dynamism in the piece. While moving the teardrop to the bottom of the image enables me to increase the size of the eye, and in doing so gives the other elements room to breathe. To create the stencil of the tattoo, I recreate the separate elements, before merging and mirroring
them in Photoshop.
05. Description
Don't try to draw something that looks like a tattoo, and don't limit yourself to so-called tattoo styles. Don't limit your imagination – mix everything and keep experimenting. The best tattoos looking nothing like a tattoo when they're on paper.
06. Texture considerations
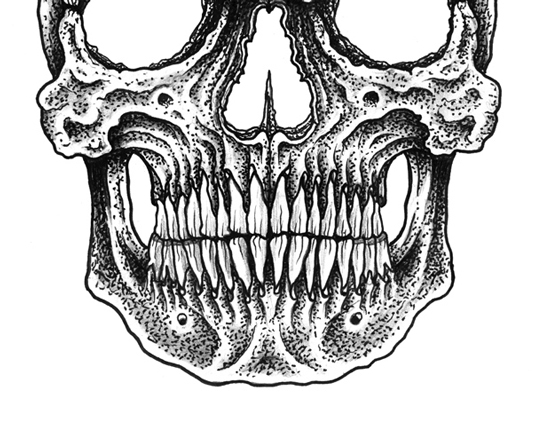
If you're working in greyscale, you'll improve your design skills by learning how to differentiate different parts of your tattoos, not only with shades but with textures. This will highlight the different surfaces.
Try to keep the lighting balanced while playing with textures. Some areas can be solid black or white, feature smooth or whip shading, engraving-style line-shading or even dot work (stippling).
Words: Ien Levin
Ien is the founder and creative director of Atelier Noir. He's also an stablished tattoo artist as well as a product designer. This article originally appeared in ImagineFX magazine issue 105.
Like this? Read These!
- Get inspired with these 21 designers' creative tattoos
- Free tattoo fonts for designers
- The ultimate guide to logo design

The Creative Bloq team is made up of a group of art and design enthusiasts, and has changed and evolved since Creative Bloq began back in 2012. The current website team consists of eight full-time members of staff: Editor Georgia Coggan, Deputy Editor Rosie Hilder, Ecommerce Editor Beren Neale, Senior News Editor Daniel Piper, Editor, Digital Art and 3D Ian Dean, Tech Reviews Editor Erlingur Einarsson, Ecommerce Writer Beth Nicholls and Staff Writer Natalie Fear, as well as a roster of freelancers from around the world. The ImagineFX magazine team also pitch in, ensuring that content from leading digital art publication ImagineFX is represented on Creative Bloq.
