6 expert tips for better 3D renders
Pro tips for lighting, using HDRIs, shaders and more.
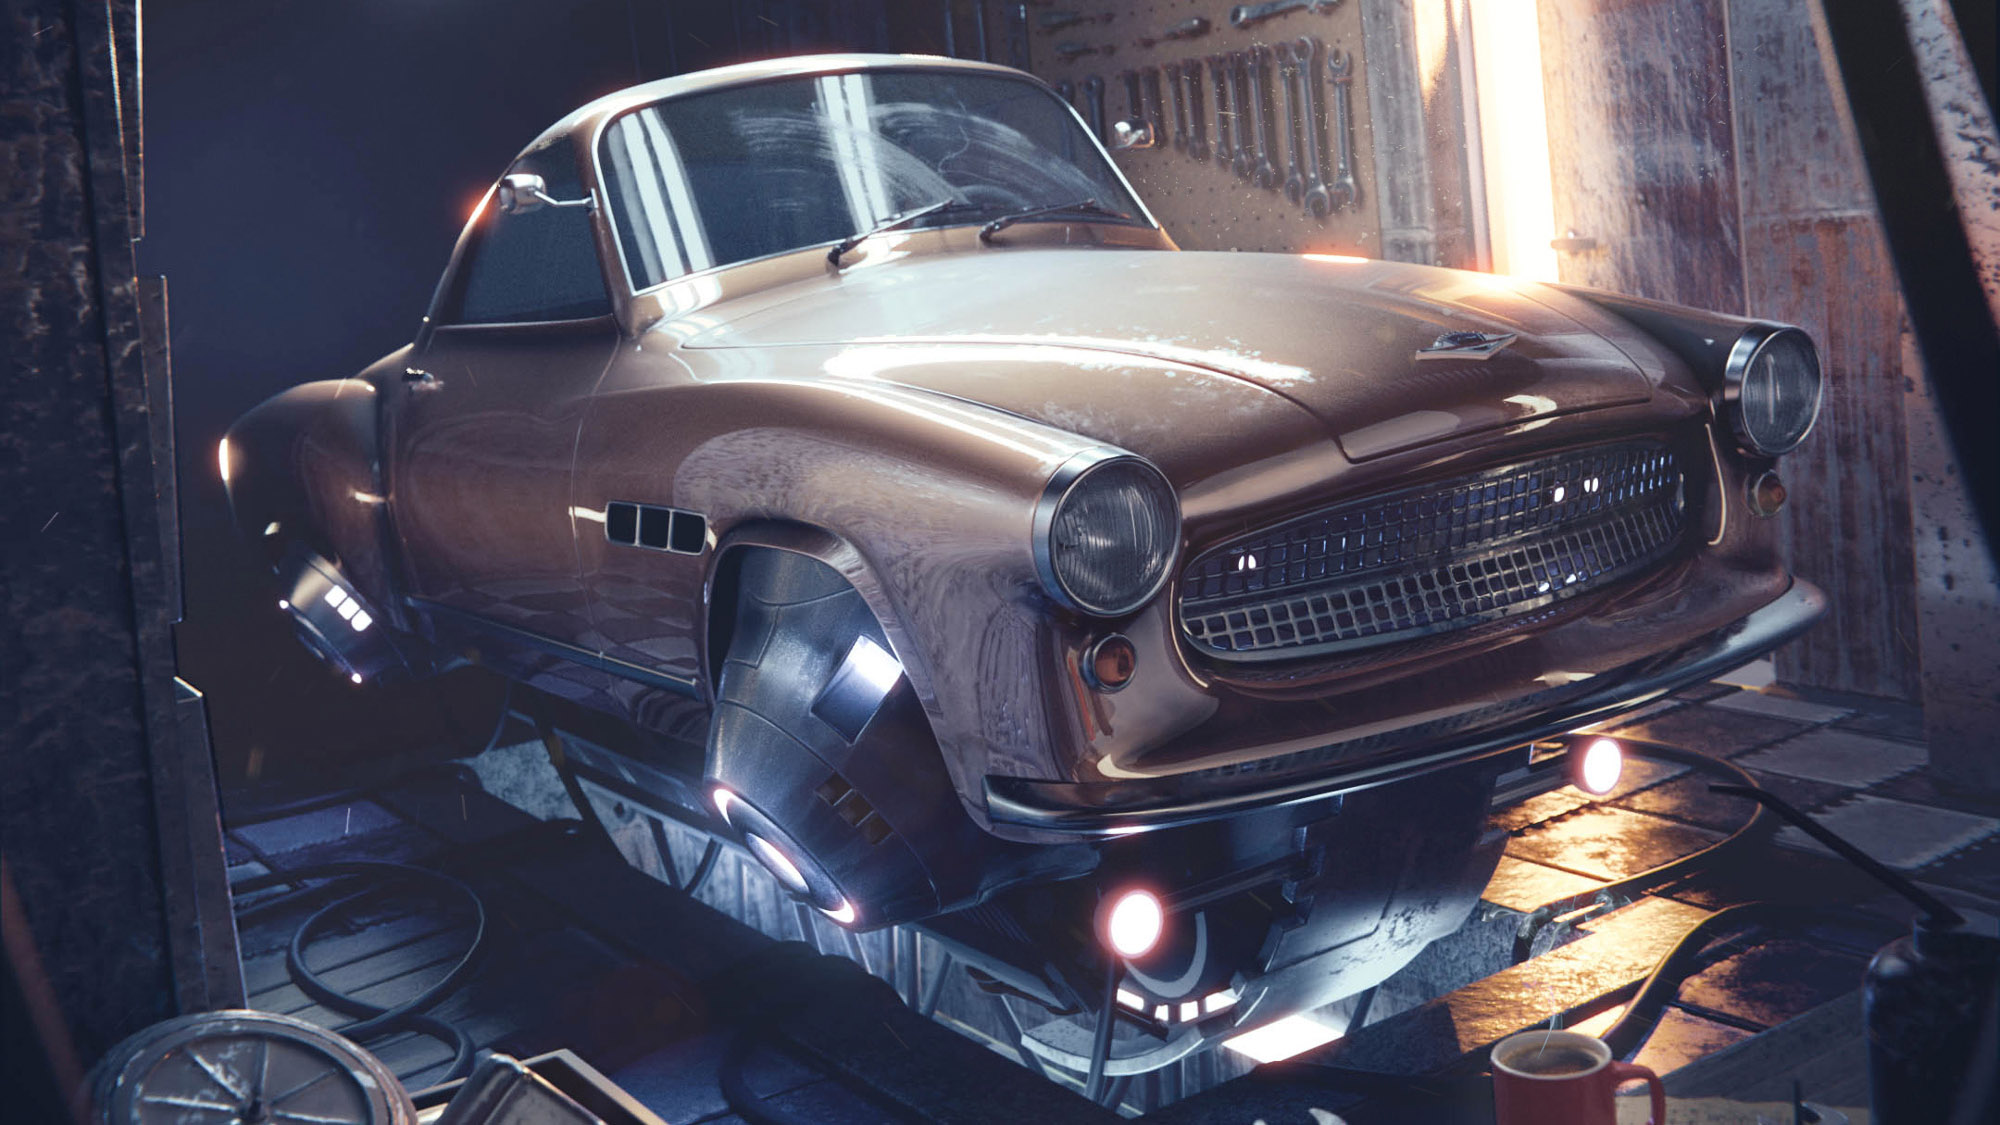
If you've taken the time to master the best 3D modelling software around, the last thing you want to do is ruin your artwork with a bad render. Here, Polish 3D artist Łukasz Hoffmann shares his top tips for creating realistic 3D renders, specifically cars.
His expertise in this field is evident from the fantastic image above, which won the silver award in one of Hum3D's Car Render Challenges. Check out Hum3D's latest competition on creating the best car in a post-apocalyptic style, judged by a team that includes 3D Artist's editor Carrie Mok.
01. Start simple
In the modelling stage, try to maintain a simple shape and focus on leading proper curve lines. Cut out details after the main shape is established.
02. Make use of fresnel shaders
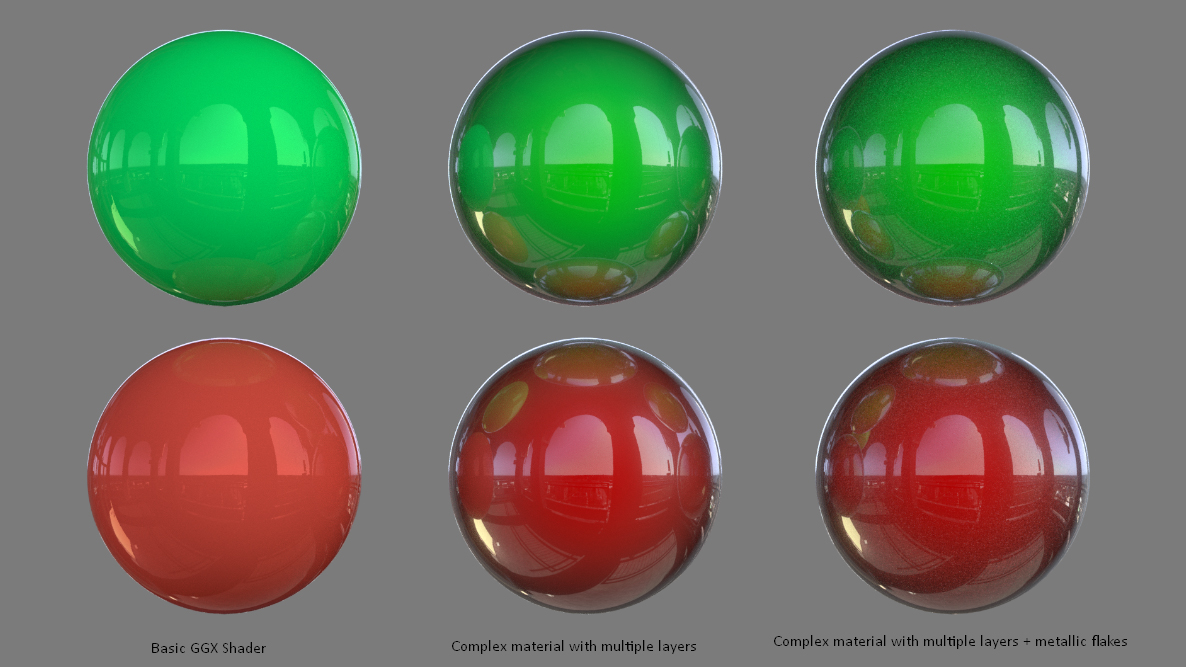
While creating a car material, keep in mind that real car paint is a combination of a few layers of dielectric and metallic materials. Use complex shaders, comprised of multiple basic shaders, and make use of fresnel (an incidence angle) to blend between them at a specific angle. You can also add a procedural voronoi (which is a specific type of noise algorithm) or similar texture into the normal channel of the shader to create a metallic flakes effect.
03. Choose HDRI wisely
Use high-dynamic-range imaging, which will accentuate the shape of the car. The best choice would be a high contrast HDRI, which will help to enhance the reflections along the curvature of the car. Use a high-resolution 32-bit HDRI to get appropriate light information for your scene. You will find that the simple studio HDRIs are the best for most car scenes.
04. Use additional lighting
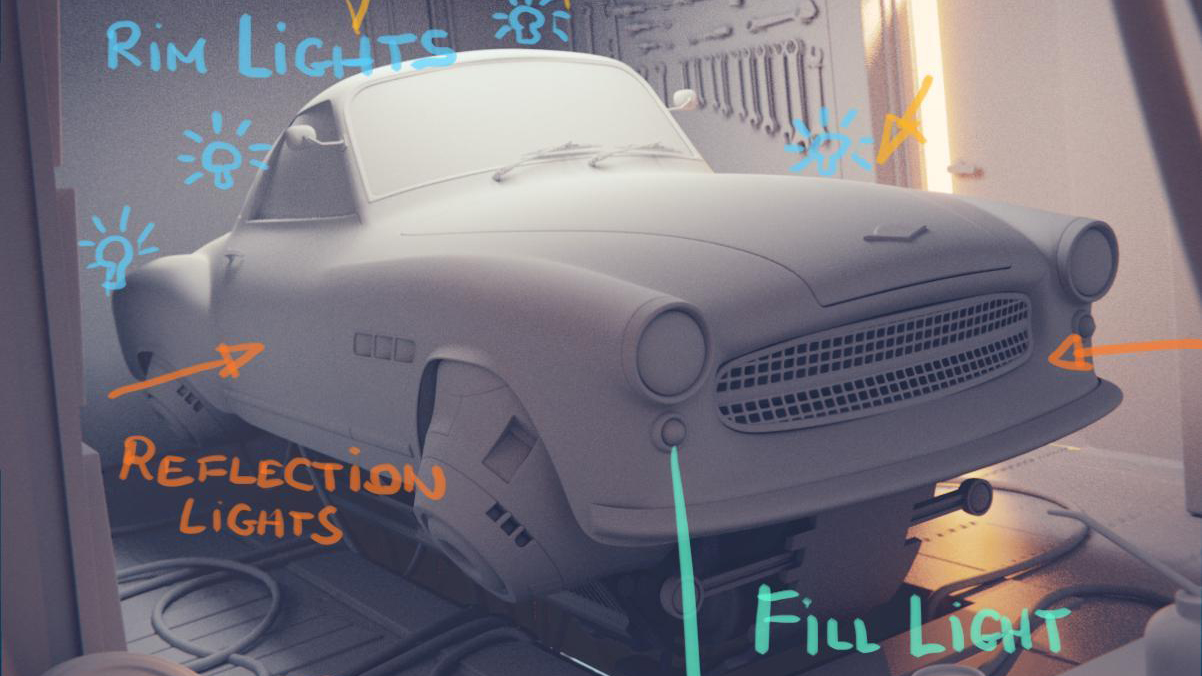
If your environment or HDRI is not enough, make use of additional light sources in your scene. Make sure the highlights are emphasising the shape of the car and try setting up a rim lights to pop out the silhouette of the car.
5. Consider composition
You can easily tilt your camera to add a sense of movement in dynamic shots, place a car in an interesting environment with a pleasant colour palette or sell your render with a good focal point and additional close-up shots. When creating an entire scene try to separate first, second and third plane, and lead the viewer’s eye with guide lines and focal points.
Daily design news, reviews, how-tos and more, as picked by the editors.
6. Bevel every edge
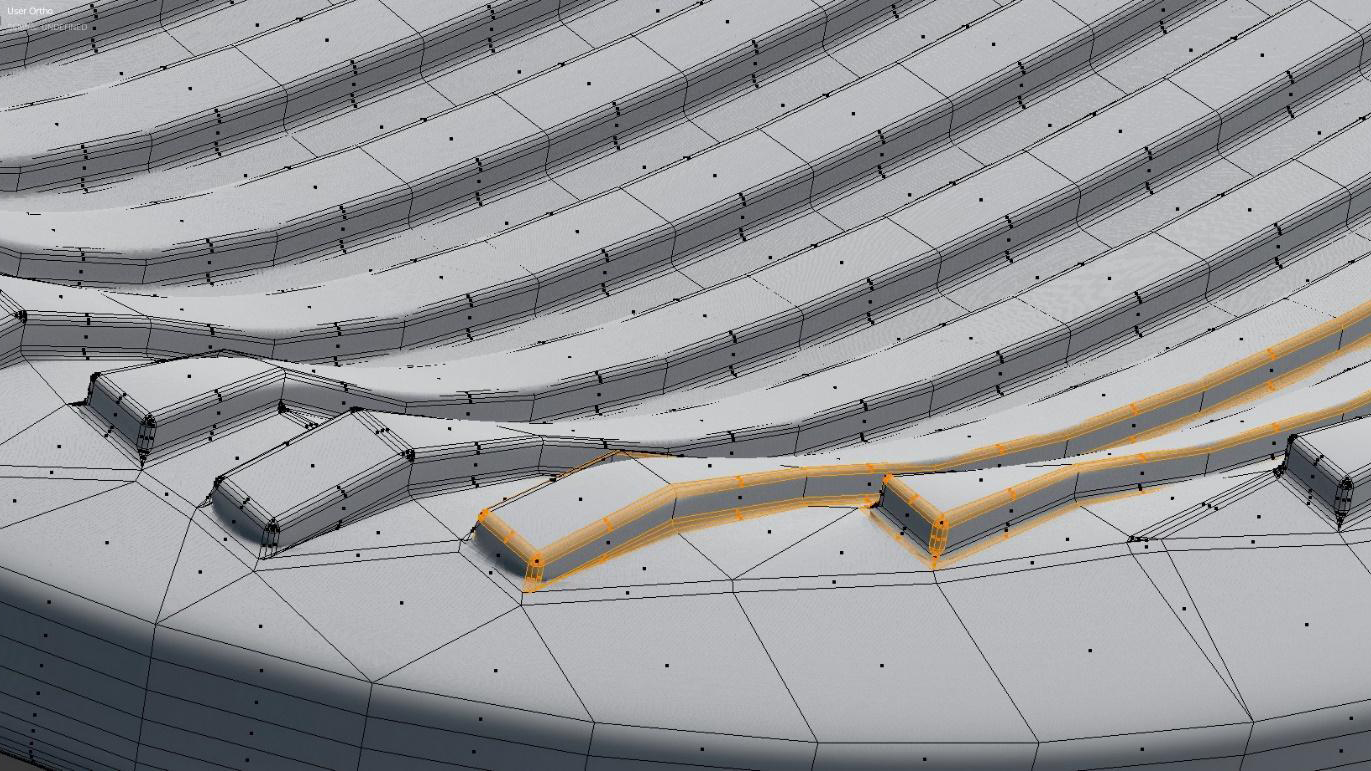
Don’t forget about beveling edges in the modelling stage. Even the sharpest edge in the real world is not perfectly sharp. Adding a subtle bevel, especially on refractive elements such as light diffuser, will catch a nice, realistic light reflection.
Related articles:

Thank you for reading 5 articles this month* Join now for unlimited access
Enjoy your first month for just £1 / $1 / €1
*Read 5 free articles per month without a subscription

Join now for unlimited access
Try first month for just £1 / $1 / €1

Amy is the former group editor in chief of the Creative and Design titles at Future, which at that point included Imagine FX, Computer Arts, 3D World, 3D Artist, net and Web Designer. She now works as a syndication partnership manager.
