5 things you need to know about Autodesk's new games engine
Autodesk has released a game engine that matches its design tools.
Most people Autodesk from its pro level tools Maya and 3DS Max. But now it's taking on the likes of Unreal Engine 4 and Unity 5 by releasing Stingray, a game engine for smaller studios that can be customized without a huge amount of programming.
So what does it have to offer 3D artists, and how does it work in practice? Here are 5 things you need to know about using Stingray...
01. How to set up interoperability with Maya and Max
Unlike Unreal Engine 4 and Unity 5, Stingray's not free: a yearly subscription to Stingray costs $240. But it's the interoperability with Maya LT, Maya, and 3ds Max that Autodesk is hoping will seal the deal. Here's a brief overview of how that all works....
You can import and export Stingray Physically Based Shaders (PBS) using FBX in Maya 2016, Maya LT 2016, and 3ds Max 2016. The look of the shader and the imported graph is the same, including all the input connections and nodes.
- If the shader uses a custom preset, the preset shader graph is also exported. (See Create a custom preset for Stingray PBS shader.)To export an object and its shader, select the object, then select File > Export Selection. Then, select FBX export from the Files of type drop-down list and enter a name for your file and export your object.
- With the Stingray DCC link plug-in installed, you can also export objects directly to your Stingray project using File > Send to Stingray. See Send assets to Stingray for details.
- If you import the shader into Stingray, the shader graph appears exactly as it does in Maya LT (with the same connections and nodes). You can edit material attributes using the Stingray Property Editor, or click Make Unique to edit the graph in the Shader Graph Editor.
- To export only a custom preset shader graph: In the ShaderFX editor, select File > Export Graph. Depending on where you want to save and use the shader, select either Stingray (*.material) or .sfx(for other DCCs) in the Files of type drop-down list. You can save the file to the desired project directory (where you plan to import the shader later). You can now load this shader directly in Stingray, Maya, Maya LT, or 3ds Max 2016.
02. How to manipulate objects
Note: You can open and edit one level at a time in Stingray.
To create a new level, select File > New Level. This creates an empty level with the default sky dome. You can start to import and place objects, create gameplay, and so on. Then, select File > Save Level, then enter a name for your level.
Level files are saved with the extension .level. You can browse to save the level in a different location, but you'll want to save all level files in the default levels folder created in your project structure. (For example, C:\Projects\<projectName>\levels.)
Daily design news, reviews, how-tos and more, as picked by the editors.

To load an existing level you should either:
- Use the Asset Browser to navigate to the levels folder in the current project, then double-click to load the level you want – OR:
- Select File > Open Level, select a level from the Open Level window and click Ok. The level loads in the Level Viewport.
03. How to set lighting levels
Lighting is one of the most important aspects of your visual environment. It can make a simple scene look amazing or a complex scene fall apart. It's in the lighting where your level work can go from good to great.
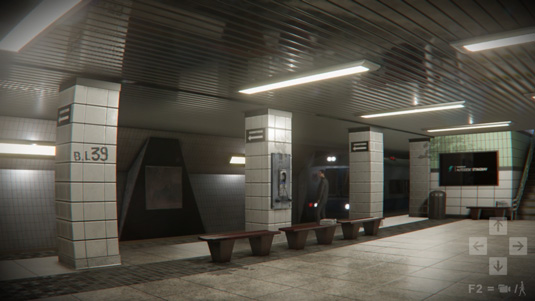
Because of the importance lighting plays in your level, Stingray has a number of tools to help you create great lighting, each playing a special role. Stingray uses a deferred shading render engine.
Basic components of lighting are light sources: Light emitters, Materials: Light Receivers and Shading Environment: Renderer.
04. How to set up physics with the Unit Editor
To define how a spawned object moves or interacts in your game world, you set it up as a physics actor. For example, to add collision to an object, you configure the mesh by adding a physics actor using the Unit Editor.
Refer also to Basic physics concepts for more detailed information on worlds, actors, and shapes.
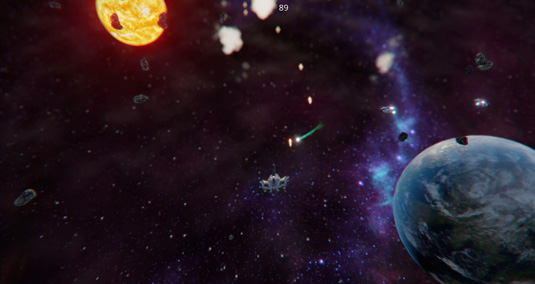
- In the Asset Browser, navigate to select the unit.
- Double-click the unit to launch the Unit Editor.
- In the Unit Editor tree view, right-click the asset and select Create Physics Actor from the pop-up menu. Tip: Ctrl+click to select multiple objects, then right-click and select Create Physics Actors.
- Select the newly created actor in the tree view. The actor properties display in the properties panel on the right in the Unit Editor.
- In the properties panel, set the following:
- Actor Template: Set this mode to determine whether the actor moves (Dynamic) or never moves (Static) and collides with other actors. For example, you might set a ball actor to Dynamic, and the floor plane to Static so that the ball doesn't simply fall forever in the physics world.
- For dynamic actors, set the Mass value to represent the weight of the object. (For example, 0.08Kg for the weight of a pinball.)
- Ensure that Enabled is on.
- Under the Shape heading, select a Type that approximately matches the shape of your object. For example, select Sphere for a ball, or Capsule for a bone. Note that the Mesh type is not supported for Dynamic actors.
- Close the Unit Editor window and click Save when prompted.
05. How to use Wwise to create audio
The powerful Wwise audio creation tool enables you to create audio for your game. Here's a brief step by step example of the basic Wwise Stingray workflow. (You can also find a longer video tutorial on how to trigger audio and particle effects here.)
a. Make new project: Open Stingray and create a new project. In this example we are using the empty game template and naming our project wwise_tutorial.
b. Set up tutorial content: Note that detailed and thorough documentation on how to use the Wwise Authoring Tool is available via the Help menu in the Wwise Authoring Tool.
- Launch the WWise Authoring Tool (Window > Wwise Audio). This automatically opens the Wwise project associated with the current game project.
- Import a .wav file to create a sound. This can be done by right clicking the default mixer in the audio tab, or by dragging a wav asset via the OS file browser onto the default mixer. By default the sound will be setup as a 2D, non-positional sound.
- Add the sound to a play sound event named "test_event".
- Add the event to a sound bank named "Main".
- Save the Wwise project.
- Export the sound bank.
- After export, the Stingray-formatted assets can be found in the Wwise project folder of your Stingray game project.
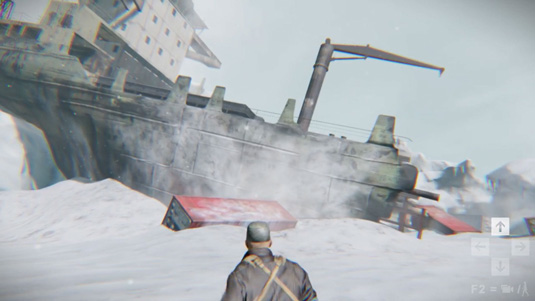
c. Back in Stingray, play a sound
To make the sound bank available to the game project level:
- add the "wwise/Init" and "wwise/Main" resources to boot.package.
- add the "wwise/Init" and "wwise/Main" resources to the startup_banks section of settings.ini.
d. The new game project is setup to open the empty.level file upon load, so open that file in the editor.
e. In the Flow editor:
- add a level loaded event
- add a repeating 3 second delay coming from level loaded
- add a Wwise Trigger Event flow node triggered by the delay output.
- set the Wwise Trigger Event node name input to the name of our test event, "test_event".
f. Run the project. The test sound plays every 3 seconds.
Start your game art career with 3D World

Issue 201 of 3D World, on sale tomorrow, celebrates the art of games with free models, software and video tutorials
As more artists venture into the world of apps, we ask the indie community exactly how easy it is to make your own game
Also in the issue, you'll discover how to concept, model, texture and animate characters for video games; learn how the Halo 5 cinematics were brought to life, and get advice from artists who have made the leap to create their own indie games. Get your copy here.
Like this? Read these!
- Download free textures: high resolution and ready to use now
- Download these free iPhone apps for designers
- Hands-on review: Adobe After Effects CC

The Creative Bloq team is made up of a group of art and design enthusiasts, and has changed and evolved since Creative Bloq began back in 2012. The current website team consists of eight full-time members of staff: Editor Georgia Coggan, Deputy Editor Rosie Hilder, Ecommerce Editor Beren Neale, Senior News Editor Daniel Piper, Editor, Digital Art and 3D Ian Dean, Tech Reviews Editor Erlingur Einarsson, Ecommerce Writer Beth Nicholls and Staff Writer Natalie Fear, as well as a roster of freelancers from around the world. The ImagineFX magazine team also pitch in, ensuring that content from leading digital art publication ImagineFX is represented on Creative Bloq.
