How to speed up your animation workflow
Digital artist Antony Ward shares 15 expert tips to keep you ahead of schedule as you create your next animation.
Daily design news, reviews, how-tos and more, as picked by the editors.
You are now subscribed
Your newsletter sign-up was successful
Want to add more newsletters?

Five times a week
CreativeBloq
Your daily dose of creative inspiration: unmissable art, design and tech news, reviews, expert commentary and buying advice.

Once a week
By Design
The design newsletter from Creative Bloq, bringing you the latest news and inspiration from the worlds of graphic design, branding, typography and more.

Once a week
State of the Art
Our digital art newsletter is your go-to source for the latest news, trends, and inspiration from the worlds of art, illustration, 3D modelling, game design, animation, and beyond.

Seasonal (around events)
Brand Impact Awards
Make an impression. Sign up to learn more about this prestigious award scheme, which celebrates the best of branding.
Anyone can manipulate a series of controllers in a 3D application. Moving shaped curves, IK handles or selection handles is just the start of creating movement, but it takes a true animator to bring a once inanimate object to life. As you can imagine, making someone or something emote and respond with its surroundings can be a hard and time-consuming task, and one which shouldn't be rushed.
With this article, I hope to share a handful of tips which should help you to avoid the hang-ups associated with working virtually, and speed up the production of your animations. By utilising these tips and tricks, you will have more time to sit and do what you do best - animate.
You can find all our animation-related posts here
01. Block out key poses
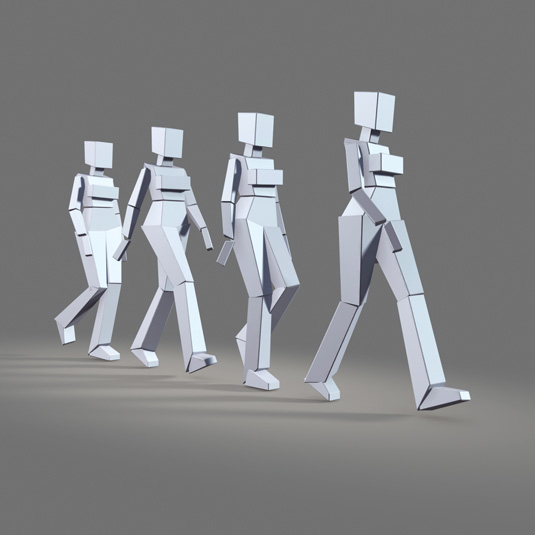
When it comes to the art of animating don't rush ahead and attempt to refine the motion of each limb before you move onto the next. Focusing on one area at a time will mean you are not seeing the bigger picture, and elements will move at different speeds and you'll end up with unnatural-looking action.
For an animation to work everything has to sing to the same tune, so viewing the character as a whole and focusing on the larger movements is always the best starting point.
02. Copy and paste animation keys
In some cases, when you're working on a repetitive motion like a walk cycle, for example, it can be a little tedious working on each side separately. It's in these cases that you can always cheat a little and simply copy the motion from the main side over to the other using the copy and paste tools.
Of course, I realise that this wouldn't work initially for a walk or run, but you can always then offset the keys on one side to achieve the correct strides. And what's more, remember that you can also copy and paste animation between characters too, for maximum flexibility and speed.
Daily design news, reviews, how-tos and more, as picked by the editors.
03. Use a good, flexible and reliable rig
Animating successfully in 3D isn't just down to the talent of the animator. Most of what you can achieve relies heavily on the rig you're using.
A quick and generic system will give you the main tools to use, but in order to give your character that edge, the rig needs to be tailored to their specific traits. An unprofessional rig can also add to your workload. If much of the underlying constraints and systems are easily accessible you could accidentally be editing, resulting in a broken rig.
The best rigs are the ones which leave the animator to animate. It's best if you can pick up the character and move it around without any complicated systems to contend with, or constant trips to the technical artist because the arm has suddenly jumped in the scene.
04. Let the animation tangents do the work
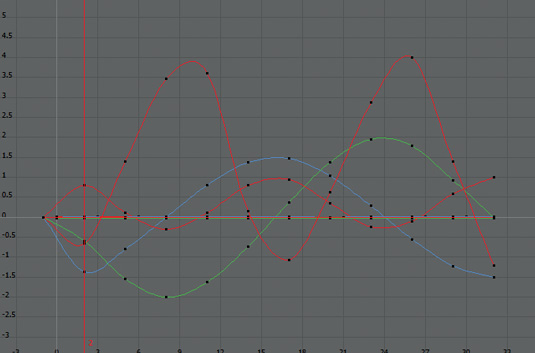
Placing keyframes is just half the work involved with 3D animation,
and you will find it difficult to remain in control if you are using keys to also control the flow of each motion. Adding more and more keyframes to control the speed of each movement or rotation will result in a clogged scene, and an unnatural motion.
Before you become stressed because your animation is too angular, try and experiment with the animation curves and tangents. Each key has its own tangent to play with, and by adjusting these you can control the speed of each motion between keys, allowing you more flexibility than simply adding more and more keys to the scene.
05. Let the app animate for you
Even though you're probably working with a high-end 3D application, you're still animating in a relatively traditional way. Moving the joints and placing keys does take time, so don't be afraid to let the program take some of the strain and animate for you.
Secondary animation is where the application can prove most useful, and in most cases a simple dynamics simulation can be applied to hair, clothing or a creature's tail to make it follow the main movements in a realistic way. All this can also be performed automatically, leaving you to focus on key motions, knowing that everything else will follow.
06. Limit your key placement
As you start to build up your movement, try to restrict your key placements to set frames. Maybe this is every tenth, or fifth frame, it doesn't matter in the early stages of development, so long as you keep to these numbers.
Having frames dotted all over can lead to confusion and clutter your timeline. Keeping things focused is essential as you block out the main poses. Once you are happy you can then begin to move these keys, making the animation a bit more fluid and natural.
07. Plan your approach
When given an animation project, it's tempting to pick up the character and get to work. Seeing them move and express emotion is quite rewarding, but having to redo work over and over isn't.
Before you begin posing and setting keys, think about what your character is going to do. The way the scene is shot, the lighting, camera angle and the mood have a bearing on the animation too
08. Use a proxy model to speed up the viewport
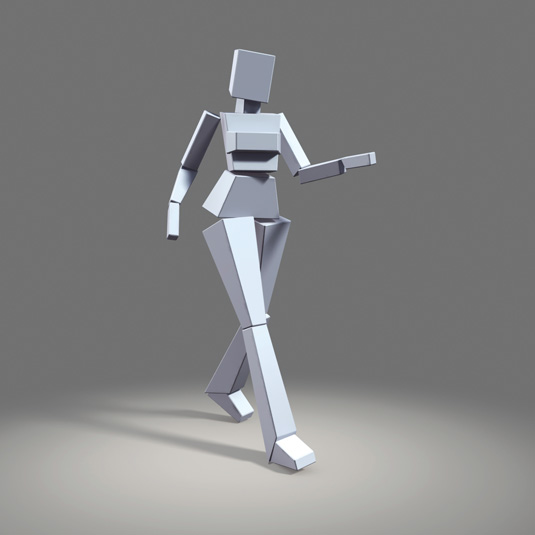
Manipulating a high-resolution model in the viewport can end up causing a strain on your system, especially when they need to deform and move with a skeleton or other complex deformers. This is more noticeable when you attempt to play the animation in real time and discover you are only seeing every tenth frame.
When working with the overall motion of your character, hide the high-resolution model and instead animate with a much simpler proxy model. This could be a reduced version of the character, or even a few boxes scaled to loosely fit the proportions, but this version will enable you to fluidly work on the main areas of movement before you then bring back the high-detail model for the finer detail work.
09. Remember your A.A.R.
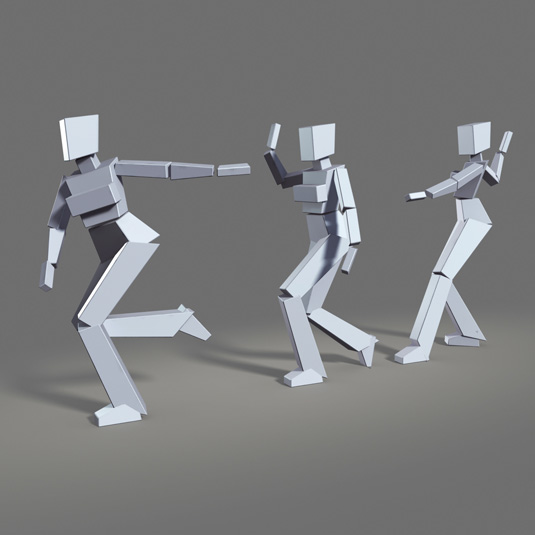
When you consider your approach to the sequence or movement you are working on, make sure you remember to plan your three stages: Anticipation, Action and Reaction. Almost every movement has some degree of this.
For example, you bend your knees before you leap and you bring your arms back before you throw something. This is the Anticipation. The Action is then throwing or leaping with the Reaction being when you land and bend your knees again, or the arm swings around your body after the object has been thrown. This approach is also true of facial expressions, particularly extreme ones and can be exaggerated for comic effect.
10. Get out of your seat
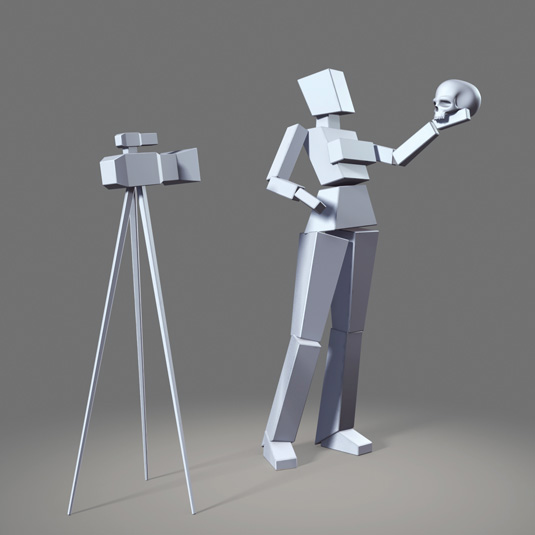
To an animator, there is no better reference than a custom recorded video. Seeing someone actually acting out the piece you need to animate, and being able to pause, rewind and review it in slow motion ensures you will capture all the subtleties which would otherwise be missed.
This approach isn't new, and most of the top animation studios have been recording voiceover artists as they lay down the audio for their characters for many years. This is then passed to an animator to refer to as they work, again allowing them to capture the real life actors' particular expressions as they speak and emote.
Now, this isn't a route most of us can take as we don't have the unlimited resources of a film studio to hand. What you can do, however, is get out of your seat and record yourself in action. Act out the scene yourself, no matter how rough and embarrassing it may seem this recording will give you an essential starting block to then work on top of.
11. Use a mirror
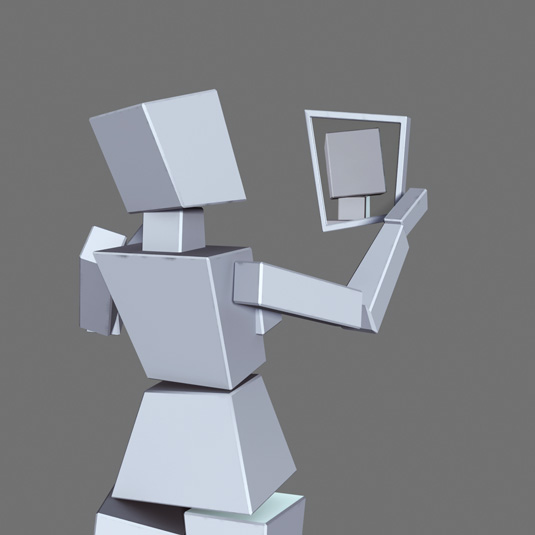
With the body in motion you can then turn your attention to the face. This should be left until you are closer to the end of the animation, but it's still an important element. It's also an area many people stumble upon when trying to achieve believable expressions, but it needn't be.
Invest in a small mirror and look at yourself as you work. Pulling the faces you need is a great way to get the ideal reference for the perfect emotion.
12. Recycle and reuse your animations

This tip can be applied to any area of CG and I have talked about it at length in previous tutorials concerning models and textures. You can, however, apply this principle to animation too.
A good walk or run cycle, for example, can take time to create, so once you have one in the bank make sure to use it to start your next project. With the main movement in place you can then focus on the variety and timing to make it more unique to your current character.
13. Offset keyframes to achieve secondary animation
Achieving the natural flow of something dragging behind your character, like a tail, can be tricky. The root remains fixed to the pelvis, but the motion then has to follow through to the tip like a wave. A quick way to achieve this movement is to animate the base, and then copy the keyframes to the rest of the joints all the way to the tip.
Initially, this will give them all the same action, but you can then go in and edit the keyframe on each one, shifting them forward a frame or two. This essentially delays that initial action on the higher joints, giving you the wave like motion that brings, for example, a tail to life.
14. Optimise as you work
It's easily done. You have auto-key enabled to make your life easier, but with every touch of the manipulator a new keyframe is added. Before you know it your Graph Editor resembles more of a random galaxy of keyframes than a clean animation layout.
To avoid this tragic situation, make sure as you work you are always checking your curves and removing any redundant keyframes that don't actually add to the animation itself and only serve to clutter your workflow.
15. Animate the face in the final stage
I mentioned earlier how it important is to work on the character as a whole, and block out the main poses before you refine the motion. This should apply to the body first, and any facial animation tackled at the end of the animation.
It's important to concentrate on the body language initially, as it plays a huge role in the way we read what a character is trying to say and can convey how they are feeling.
Words: Antony Ward
Antony Ward has been happily provoking pixels since the early 1990s. He has worked for some of today's best CG studios. This article originally appeared in 3D World issue 176.

The Creative Bloq team is made up of a group of art and design enthusiasts, and has changed and evolved since Creative Bloq began back in 2012. The current website team consists of eight full-time members of staff: Editor Georgia Coggan, Deputy Editor Rosie Hilder, Ecommerce Editor Beren Neale, Senior News Editor Daniel Piper, Editor, Digital Art and 3D Ian Dean, Tech Reviews Editor Erlingur Einarsson, Ecommerce Writer Beth Nicholls and Staff Writer Natalie Fear, as well as a roster of freelancers from around the world. The ImagineFX magazine team also pitch in, ensuring that content from leading digital art publication ImagineFX is represented on Creative Bloq.
