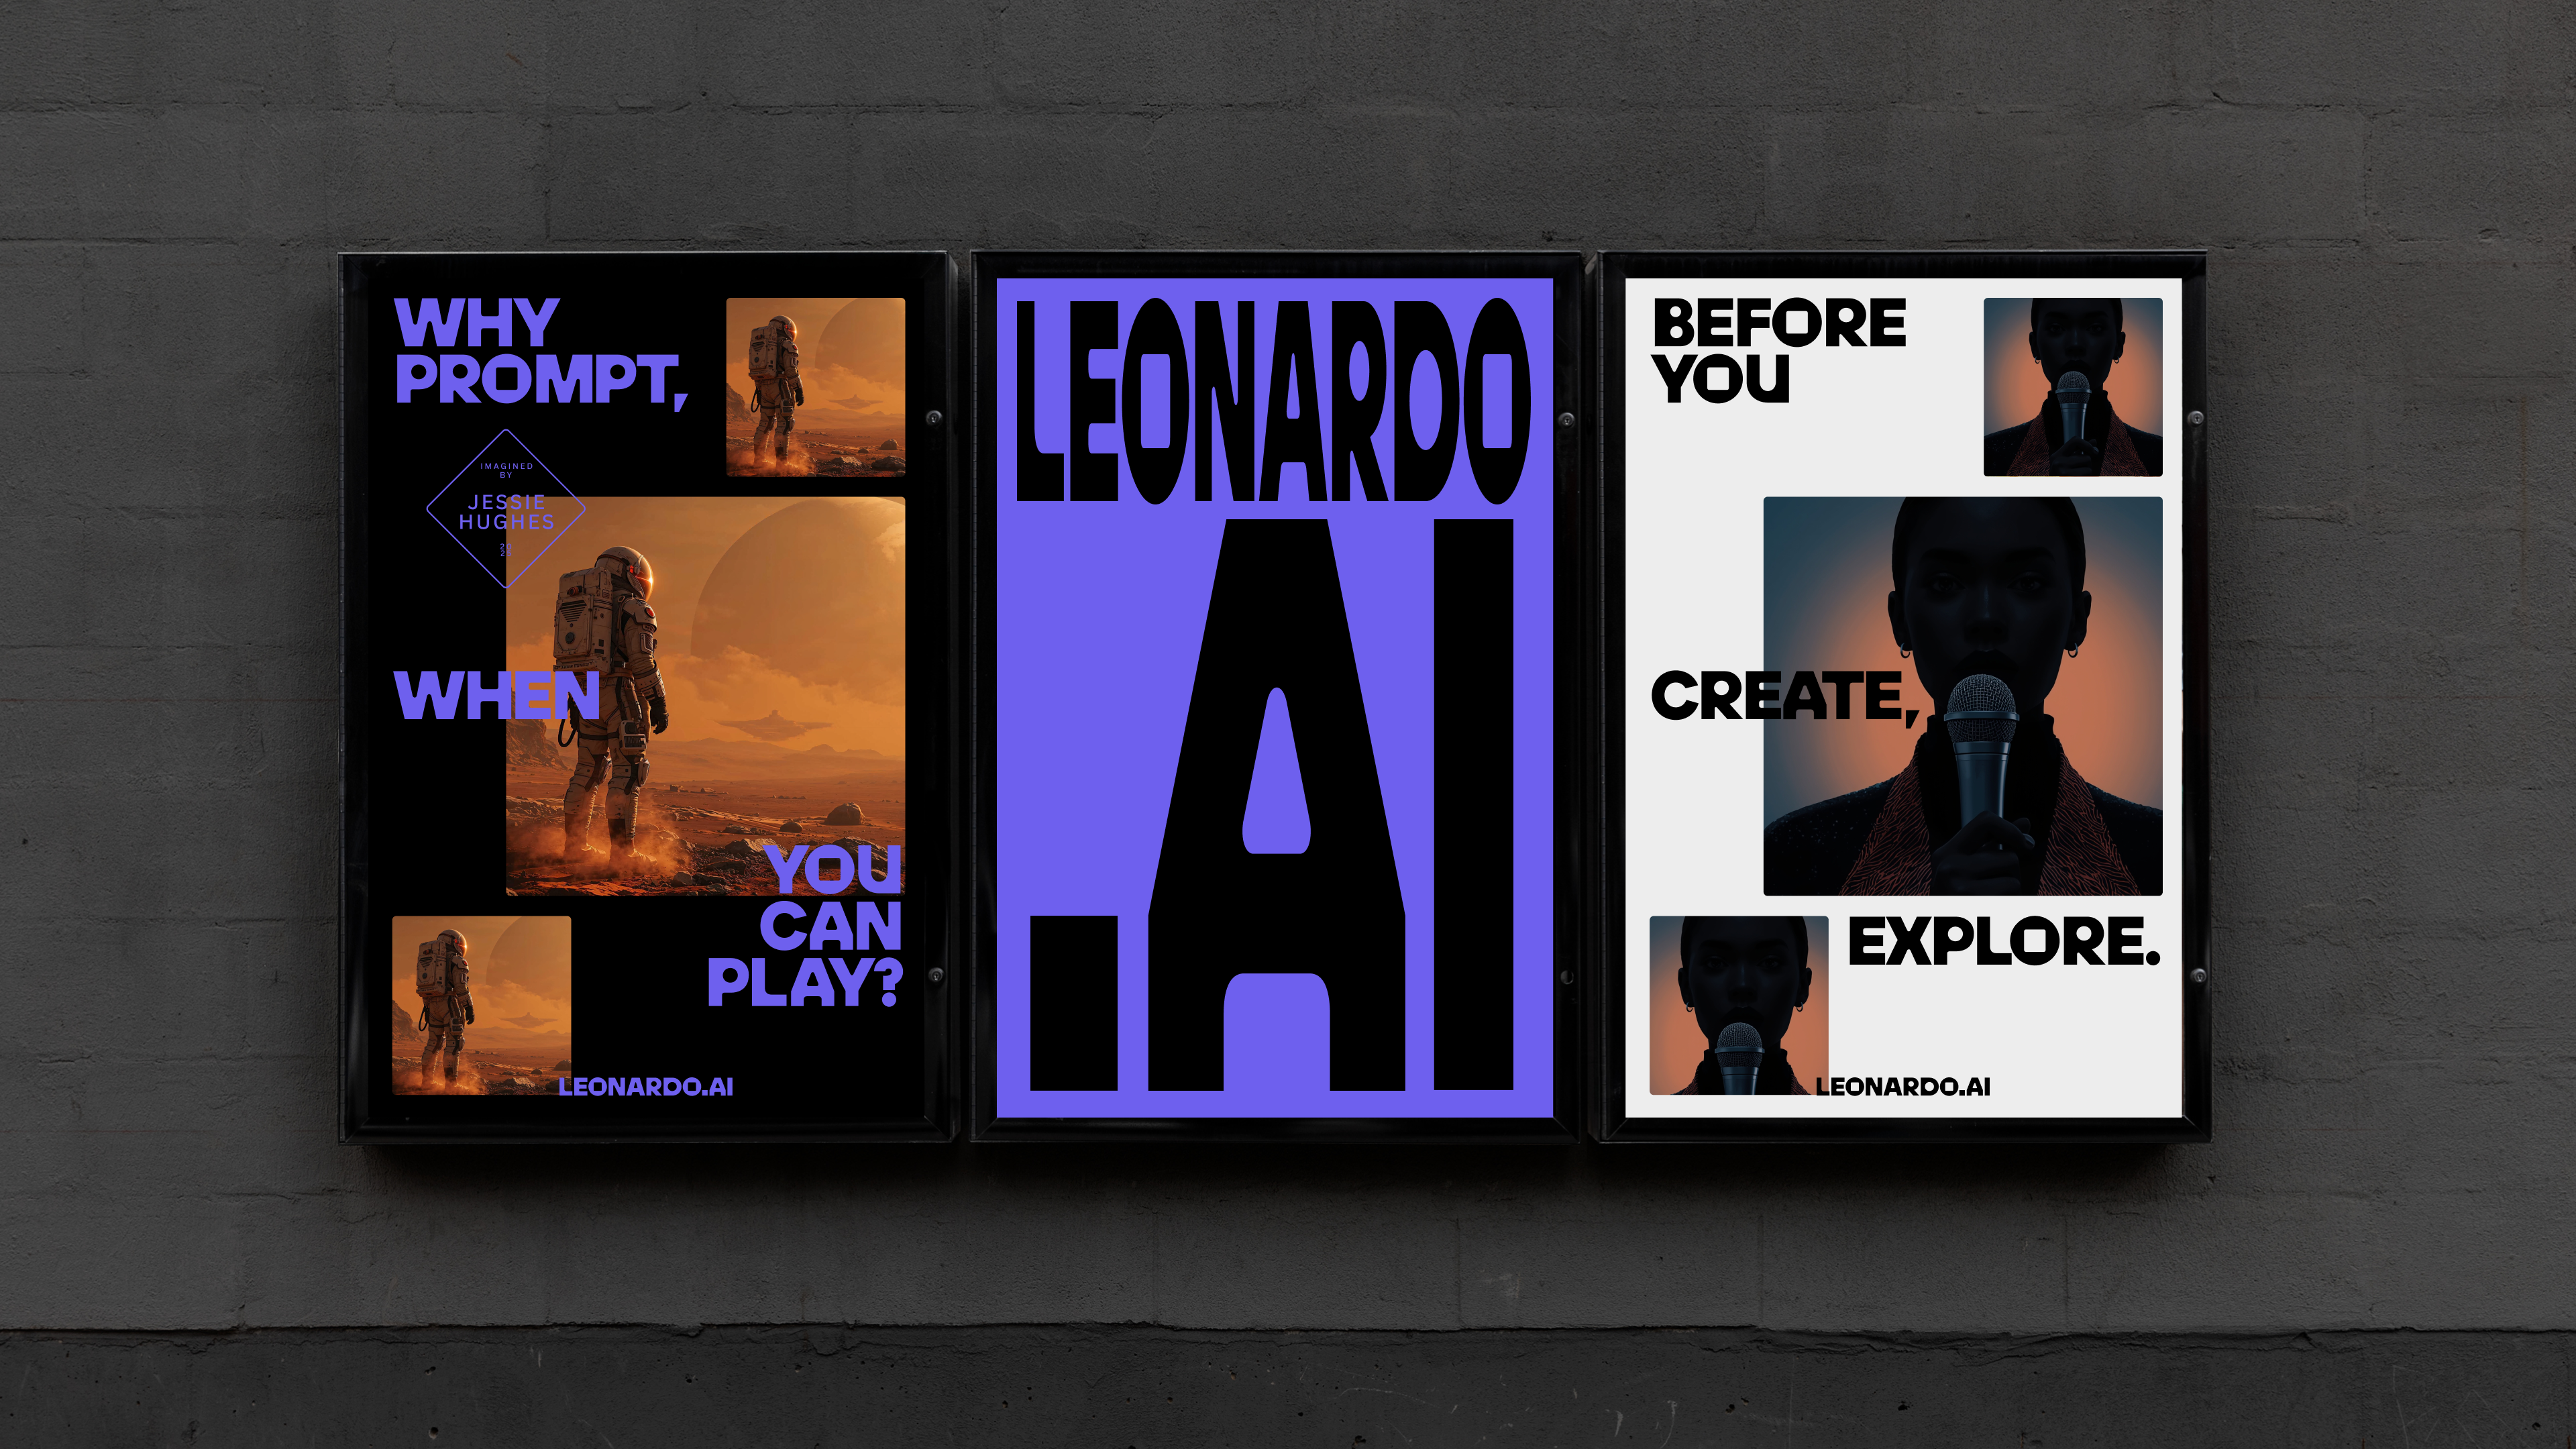
Three-dimensional type
Create this stunning composition by adding depth to your two-dimensional typography using Cinema 4D.
Sign up to Creative Bloq's daily newsletter, which brings you the latest news and inspiration from the worlds of art, design and technology.
You are now subscribed
Your newsletter sign-up was successful
Want to add more newsletters?

Five times a week
CreativeBloq
Sign up to Creative Bloq's daily newsletter, which brings you the latest news and inspiration from the worlds of art, design and technology.

Once a week
By Design
Sign up to Creative Bloq's daily newsletter, which brings you the latest news and inspiration from the worlds of art, design and technology.

Once a week
State of the Art
Sign up to Creative Bloq's daily newsletter, which brings you the latest news and inspiration from the worlds of art, design and technology.

Seasonal (around events)
Brand Impact Awards
Sign up to Creative Bloq's daily newsletter, which brings you the latest news and inspiration from the worlds of art, design and technology.
In the following tutorial we show you how to take 2D typographic designs created in Photoshop and use them as planes within the 3D space of Cinema 4D.
The process is fairly simple, but the results can be very impressive. We also use various texture and lighting effects within the 3D software to add interest to the typographic design. Cinema 4D is an extremely powerful tool that's becoming more and more widely used by many creative 3D designers today. Quite simply, for creative purposes it beats all the other overcomplicated 3D packages hands down. Cinema 4D is a simple-to-use design tool, but can still compete with the likes of Maya for more technical projects. There's also plenty of online support for Cinema 4D users, with useful resources available at: www.cineversity.com, www.cgsociety.org, www.mograph.net, www.3dcafe.com, www.3dattack.net and www.turbosquid.com.
This tutorial takes you through the process of creating a suitable typographic design in Photoshop that you can work with in a Cinema 4D scene. We also focus on creating textures that will work in harmony with your designs, and we demonstrate how to give the scene the correct lighting to really bring it to life. Then we show you how to use Photoshop to further enhance the 3D design by creating extra layers and enhancing and adding colour to your image using the program's extensive tools and blending options. We hope this new approach and range of techniques will help you to produce original typographic effects within your 3D illustration work.
Click here to download the support files (29MB)
Click here to download the tutorial for free
Sign up to Creative Bloq's daily newsletter, which brings you the latest news and inspiration from the worlds of art, design and technology.

The Creative Bloq team is made up of a group of art and design enthusiasts, and has changed and evolved since Creative Bloq began back in 2012. The current website team consists of eight full-time members of staff: Editor Georgia Coggan, Deputy Editor Rosie Hilder, Ecommerce Editor Beren Neale, Senior News Editor Daniel Piper, Editor, Digital Art and 3D Ian Dean, Tech Reviews Editor Erlingur Einarsson, Ecommerce Writer Beth Nicholls and Staff Writer Natalie Fear, as well as a roster of freelancers from around the world. The ImagineFX magazine team also pitch in, ensuring that content from leading digital art publication ImagineFX is represented on Creative Bloq.
