Getting started with pastel art
Everything you need to know about working with pastels.
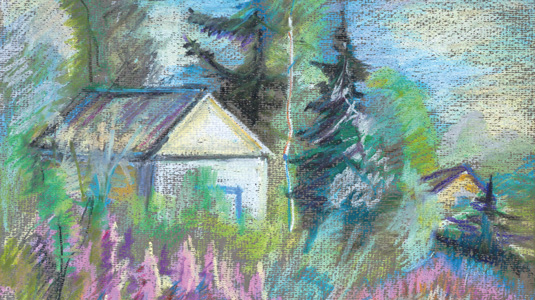
Pastel art is a great way to produce vibrant colours with the ease and control of your best pencils. In use by artists for centuries, pastels are an especially portable medium, enabling you to create colourful pastel art or pastel drawings with no need for water, brushes or palettes.
But first, what exactly is a pastel? The definition isn't completely clear, and there's been some debate within art societies as to what exactly qualifies as a pastel. The Pastel Society within the UK, however, states the following media are acceptable for its exhibitions: "Pastels, including Oil pastel, Charcoal, Pencil, Conté, Sanguine, or any dry media".
The pastels themselves come in the form of a stick, consisting of pure powdered pigment and a binder. The pigments used in pastels are the same as those used to produce all coloured art media, including oil paints; the binder is of a neutral hue and low saturation.
Pastel tips
Soft pastel sticks do become dusty or dirty when transporting, so carry a cloth to wipe them off before drawing. It's generally easier to work on a toned surface rather than pure white. You can buy toned paper, or tone it yourself using an acrylic or watercolour wash. To prevent over blending and smudging when using pastels you can use a mist of fixative on that area. Beware: if the fixative is sprayed too heavily, it dramatically dulls and darkens the vibrancy.
There's a huge variety of pastels to choose from to create your pastel art. Here award-winning illustrator Terese Nielsen explains how to choose the right ones...
01. All pastels are not equal
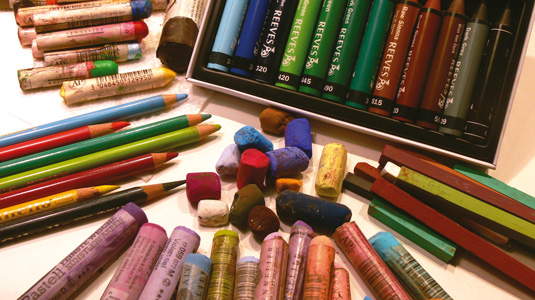
Soft pastels have a rich, buttery feel and are easy to blend. Hard pastels, including pastel pencils, are great for adding detail. Oil pastels have an oil binder, are less opaque than soft pastels and don’t smudge as easily. The newest water-soluble pastels create semi-transparent washes when water is brushed over them.
02. Layering and smudging
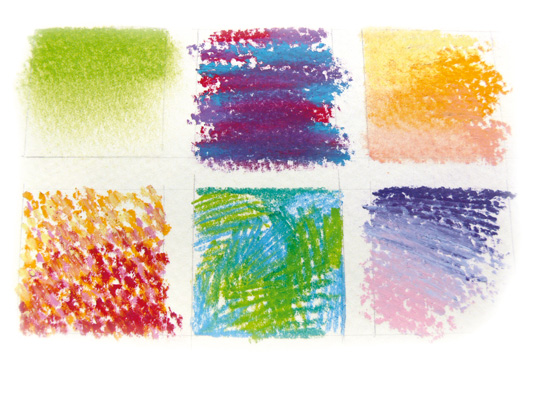
Pastels are blended on the art surface, rather than on a palette. A variety of colours can be achieved through layering and smudging. Start with darker colours in your pastel art, working up to light. Blending is done by layering the pastels with various strokes such as crosshatching, dots/pointillism or smudging with different tools, from cotton swabs or #9 brushes, to fingers.
Daily design news, reviews, how-tos and more, as picked by the editors.
03. Choose your surface
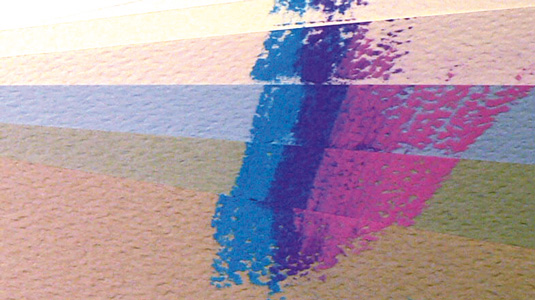
The key to selecting paper for pastels is to choose something that has texture or tooth. If it's too smooth, the pastels won't adhere. Check that the paper is pH-neutral. If it's not acid-free, it can shift the colour and cause brittleness. Good choices are canvas, watercolour paper, pastel paper and sand board.
04. Soft and hard pastels
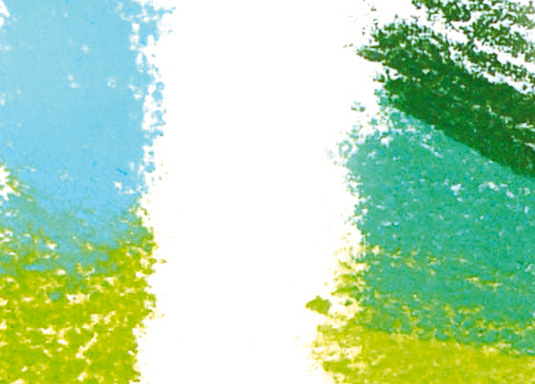
Soft pastels are rich and luminous in colour, provide a loose grainy texture and are easy to blend with varied surface effect, but are a little fragile. Hard pastels are a little less vibrant in colour, but more stable than soft pastels. They're great for adding detail to your pastel art.
05. Pastel pencils and oil pastels
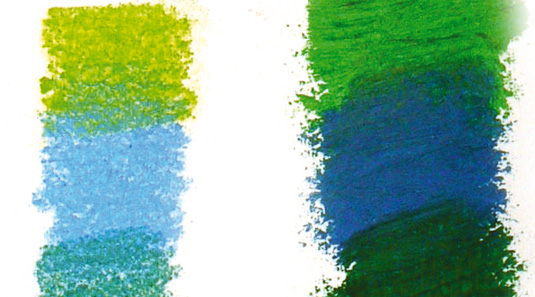
Pastel pencils come in a pencil 'lead' form and are easy to control. Pastel pencils are ideal for fine detail and rendering, and are a harder lead than soft pastels. Oil pastels contain an oil binder. They have a thick intense colour, but don't smudge and blend like soft/hard pastels.
06. Water soluble pastels

Water soluble pastels can be used just like a regular soft pastel, except that you can also create watercolour-like washes with a brush and water, providing great variety in the artistic effects you can achieve.
This article originally appeared in the ImagineFX bookazine How to Paint & Draw; subscribe to ImagineFX here.
Read more:

The Creative Bloq team is made up of a group of art and design enthusiasts, and has changed and evolved since Creative Bloq began back in 2012. The current website team consists of eight full-time members of staff: Editor Georgia Coggan, Deputy Editor Rosie Hilder, Ecommerce Editor Beren Neale, Senior News Editor Daniel Piper, Editor, Digital Art and 3D Ian Dean, Tech Reviews Editor Erlingur Einarsson, Ecommerce Writer Beth Nicholls and Staff Writer Natalie Fear, as well as a roster of freelancers from around the world. The ImagineFX magazine team also pitch in, ensuring that content from leading digital art publication ImagineFX is represented on Creative Bloq.
