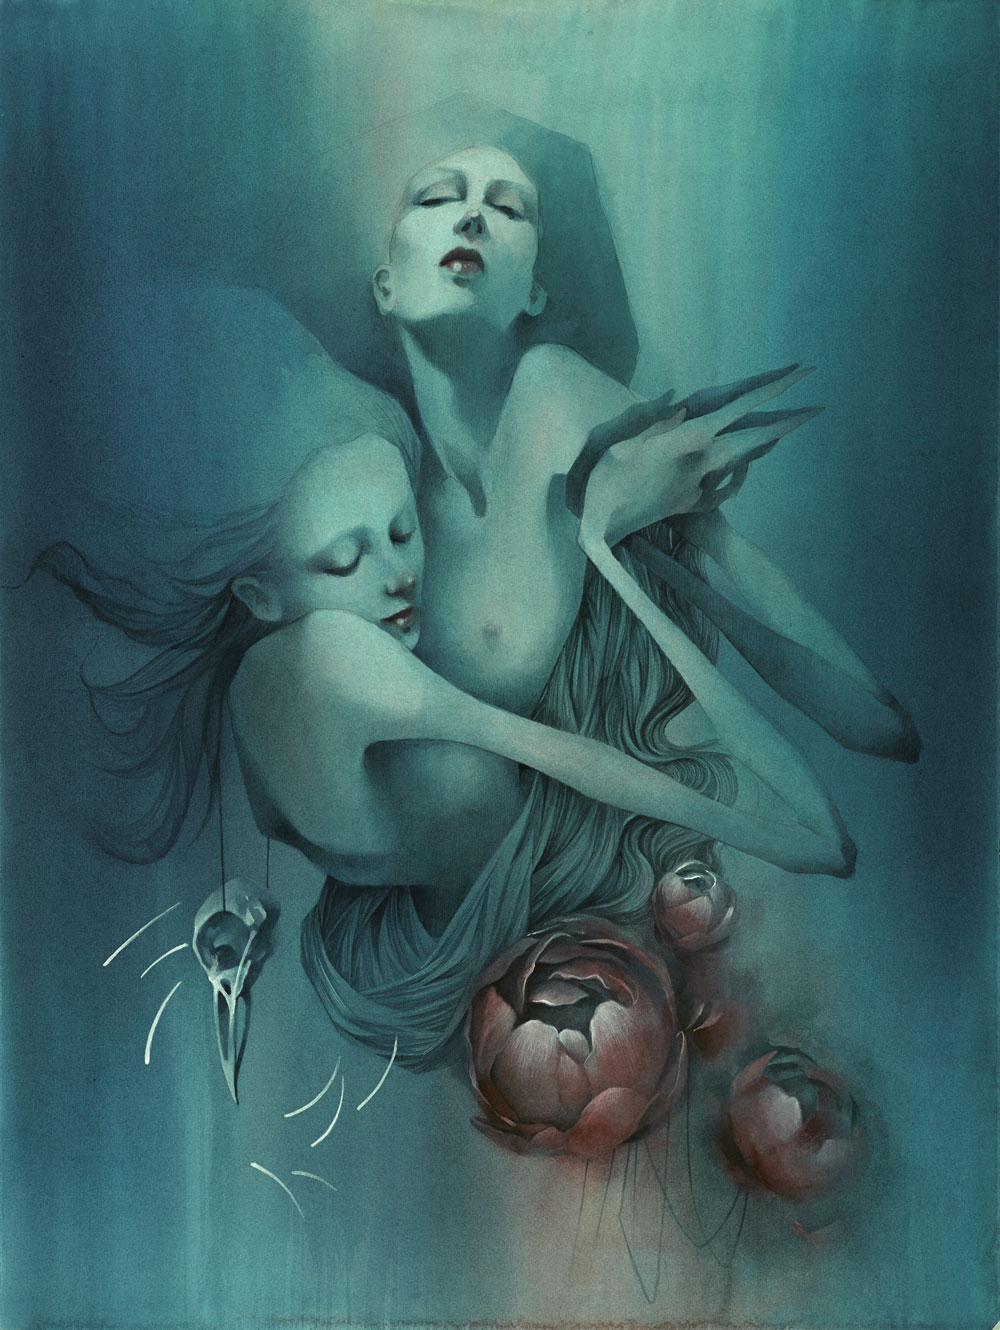
How to paint with acrylic washes
Sign up to Creative Bloq's daily newsletter, which brings you the latest news and inspiration from the worlds of art, design and technology.
You are now subscribed
Your newsletter sign-up was successful
Want to add more newsletters?

Five times a week
CreativeBloq
Sign up to Creative Bloq's daily newsletter, which brings you the latest news and inspiration from the worlds of art, design and technology.

Once a week
By Design
Sign up to Creative Bloq's daily newsletter, which brings you the latest news and inspiration from the worlds of art, design and technology.

Once a week
State of the Art
Sign up to Creative Bloq's daily newsletter, which brings you the latest news and inspiration from the worlds of art, design and technology.

Seasonal (around events)
Brand Impact Awards
Sign up to Creative Bloq's daily newsletter, which brings you the latest news and inspiration from the worlds of art, design and technology.
Learning how to draw and paint takes time, knowledge and patience. But, there are a number of drawing and art techniques you can adopt to help you along the way. Acrylics are a very flexible medium: they can be used direct from the tube to create thick dense colour, or, as we'll do here, watered down and layered to give depth and an almost ethereal quality.
I try to embrace a spontaneity in my work, and the drips and splashes of watered-down acrylic lend themselves well to that process – even accidents that seem disastrous at the time. Let me take you through my process of painting when working with acrylic paints.
01. Start with sketchbooks and ideas
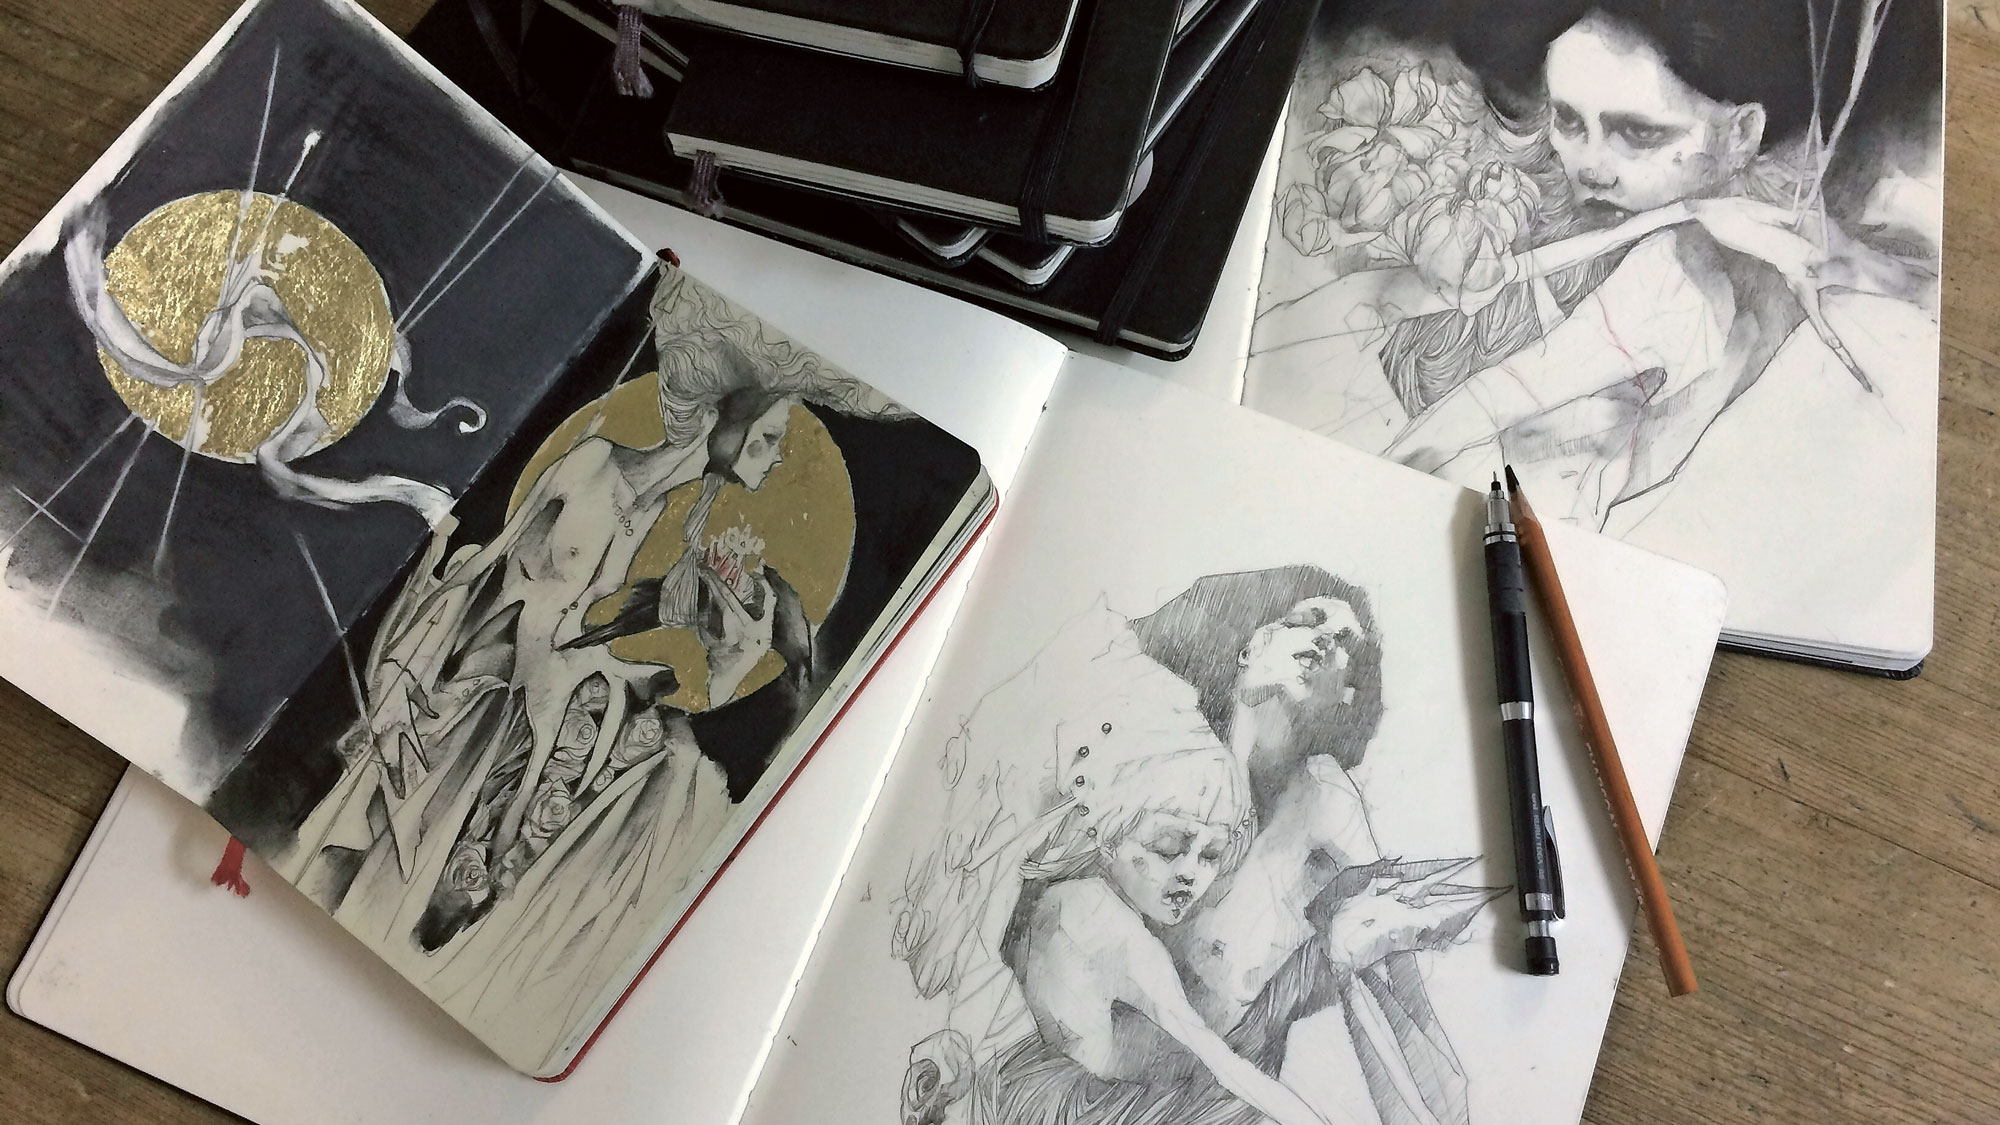
My work always starts in the sketchbook. It's a risk-free environment to explore ideas and hopefully surprise yourself. I'm a constant doodler and I try and keep things as loose as possible throughout this stage, allowing for room to explore the idea as it progresses.
02. Move the sketch onto paper
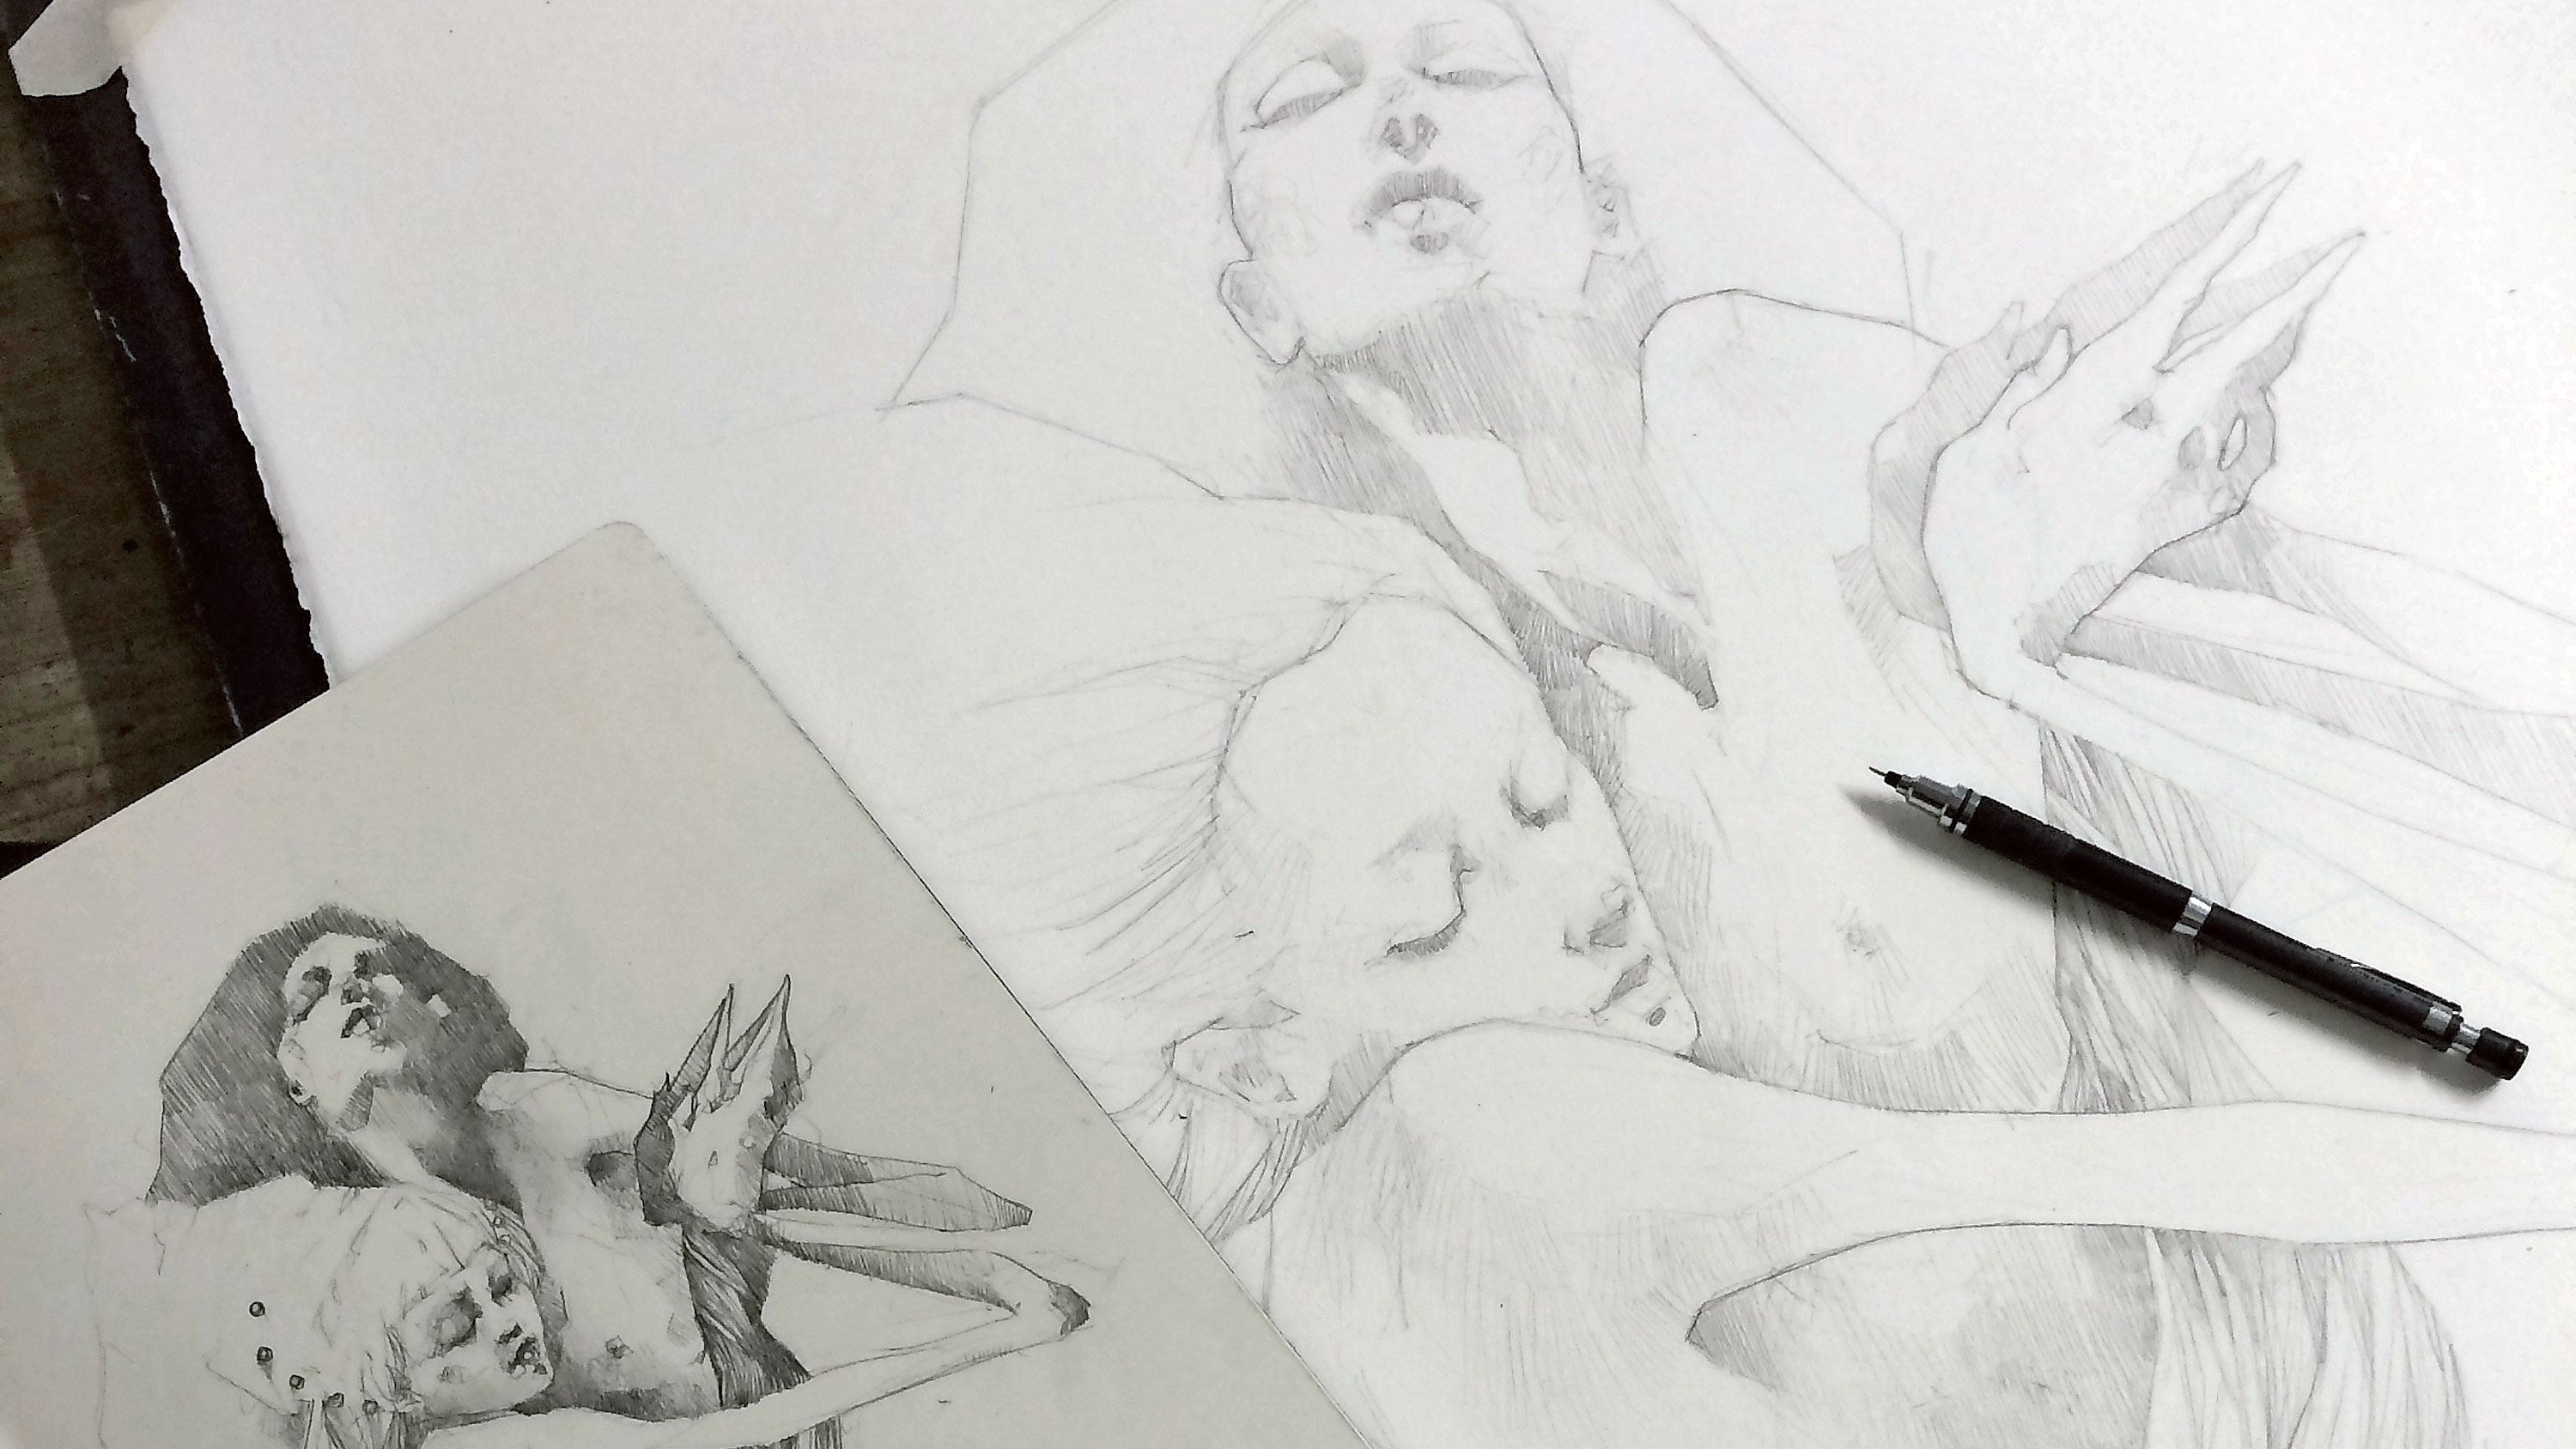
I prefer to redraw my sketch, rather than transferring it using a light box or projector. It takes longer but retains the spontaneity of the original, as well as letting the idea develop further. I probably spend too long on this stage, but it does help me get a feel for the piece. This drawing also acts as an underpainting.
03. Prepare for the initial wash
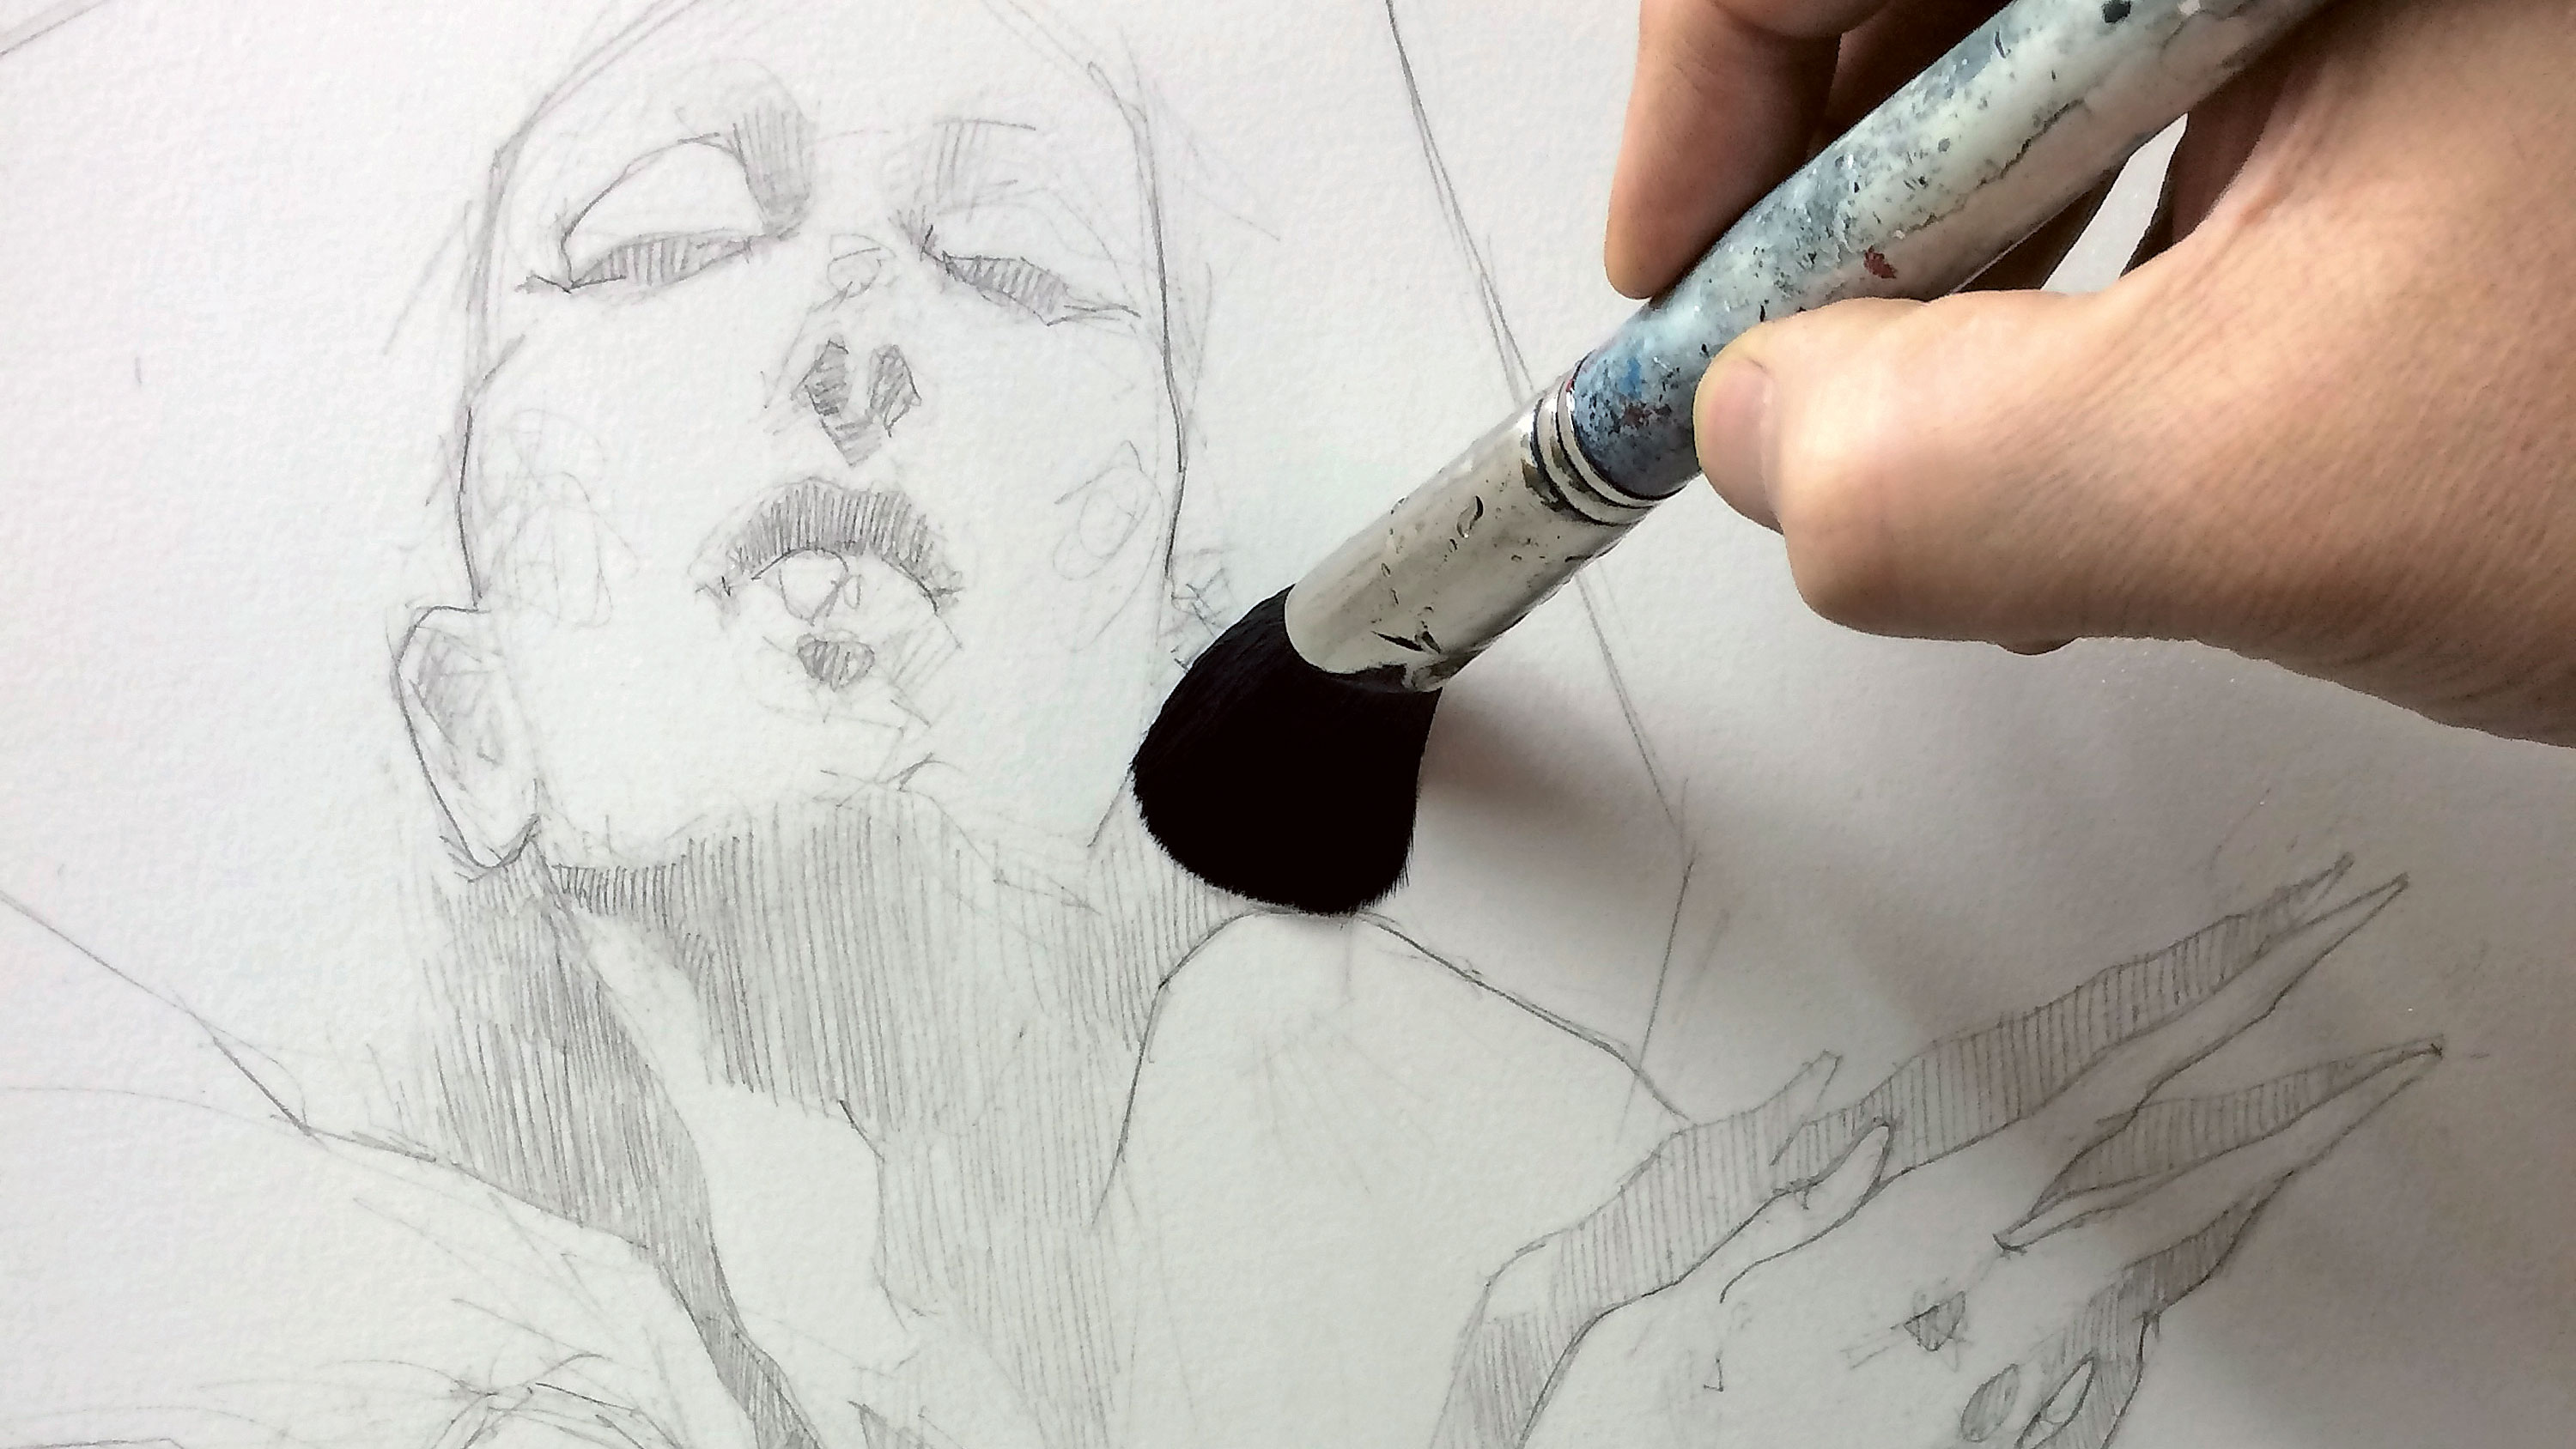
Using a mop brush (see the best paint brushes for acrylic paint), I cover the entire surface with clean water, preparing it for the initial wash. Then I mix up the initial colour. I mix a lot of paint – in this case Prussian blue, Hookers green and a touch of Phthalo turquoise – which gives the colour a little more depth, using a lot of water to thin it down.
04. Apply the first wash
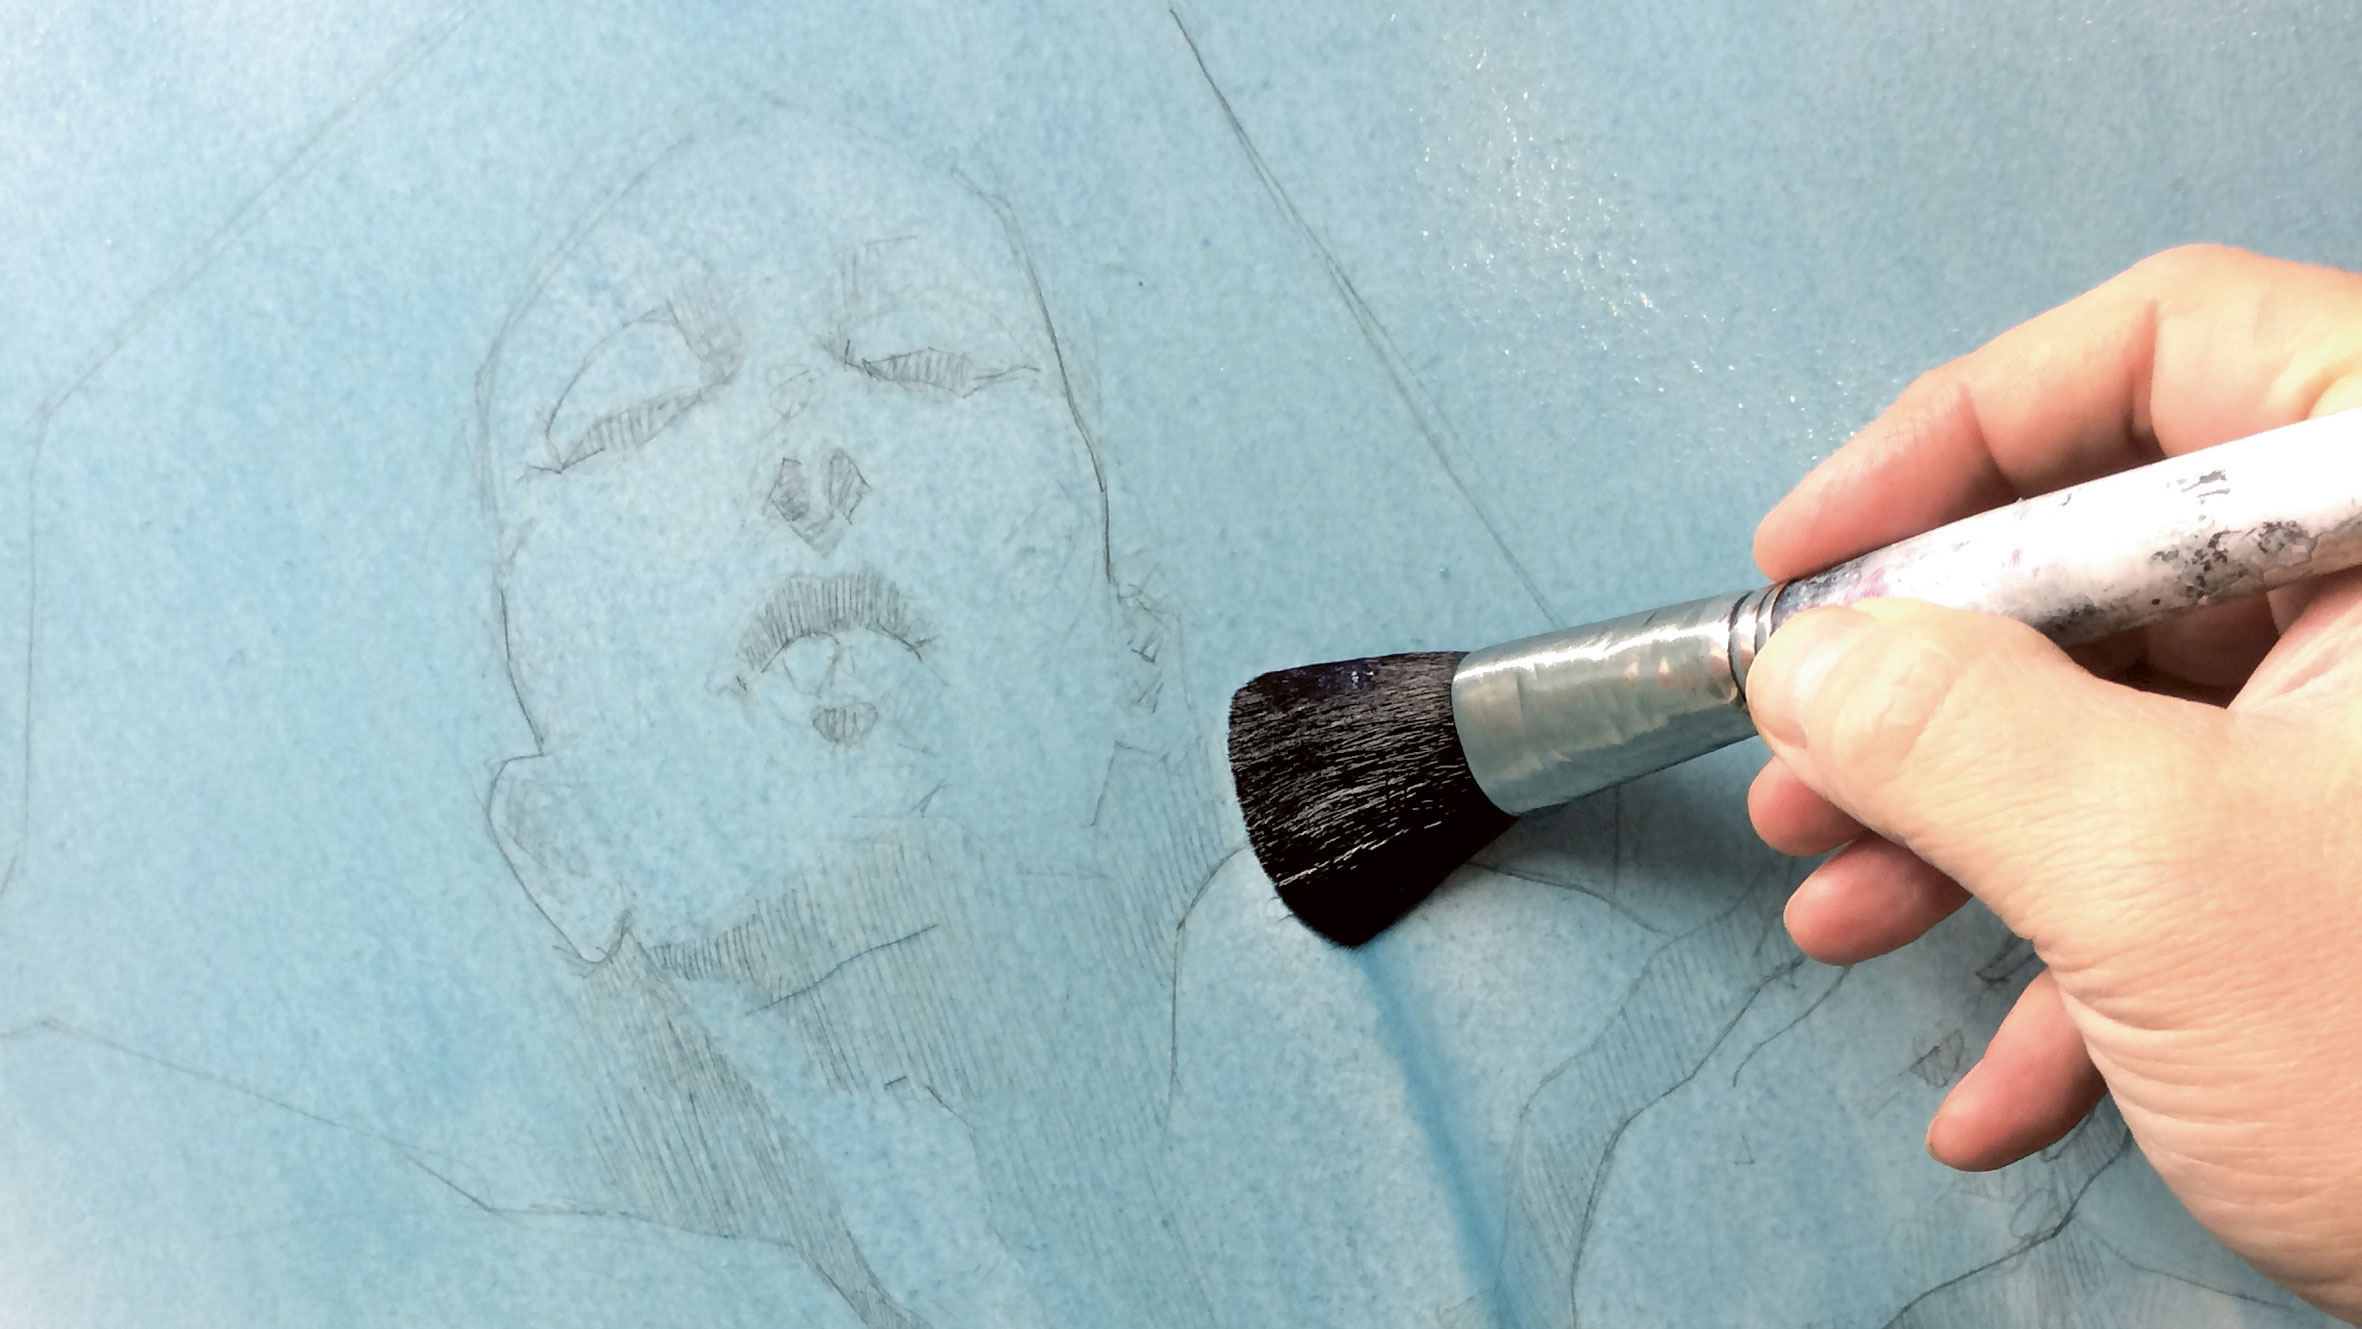
I then load my mop brush with a lot of paint and wash it onto the wet paper, working across the paper and allowing the water to carry the paint down the surface. Things can look a little messy at this stage, but I enjoy the spontaneity, seeing how the paint goes down, and it will be worked on and refined later.
05. Work with the wash
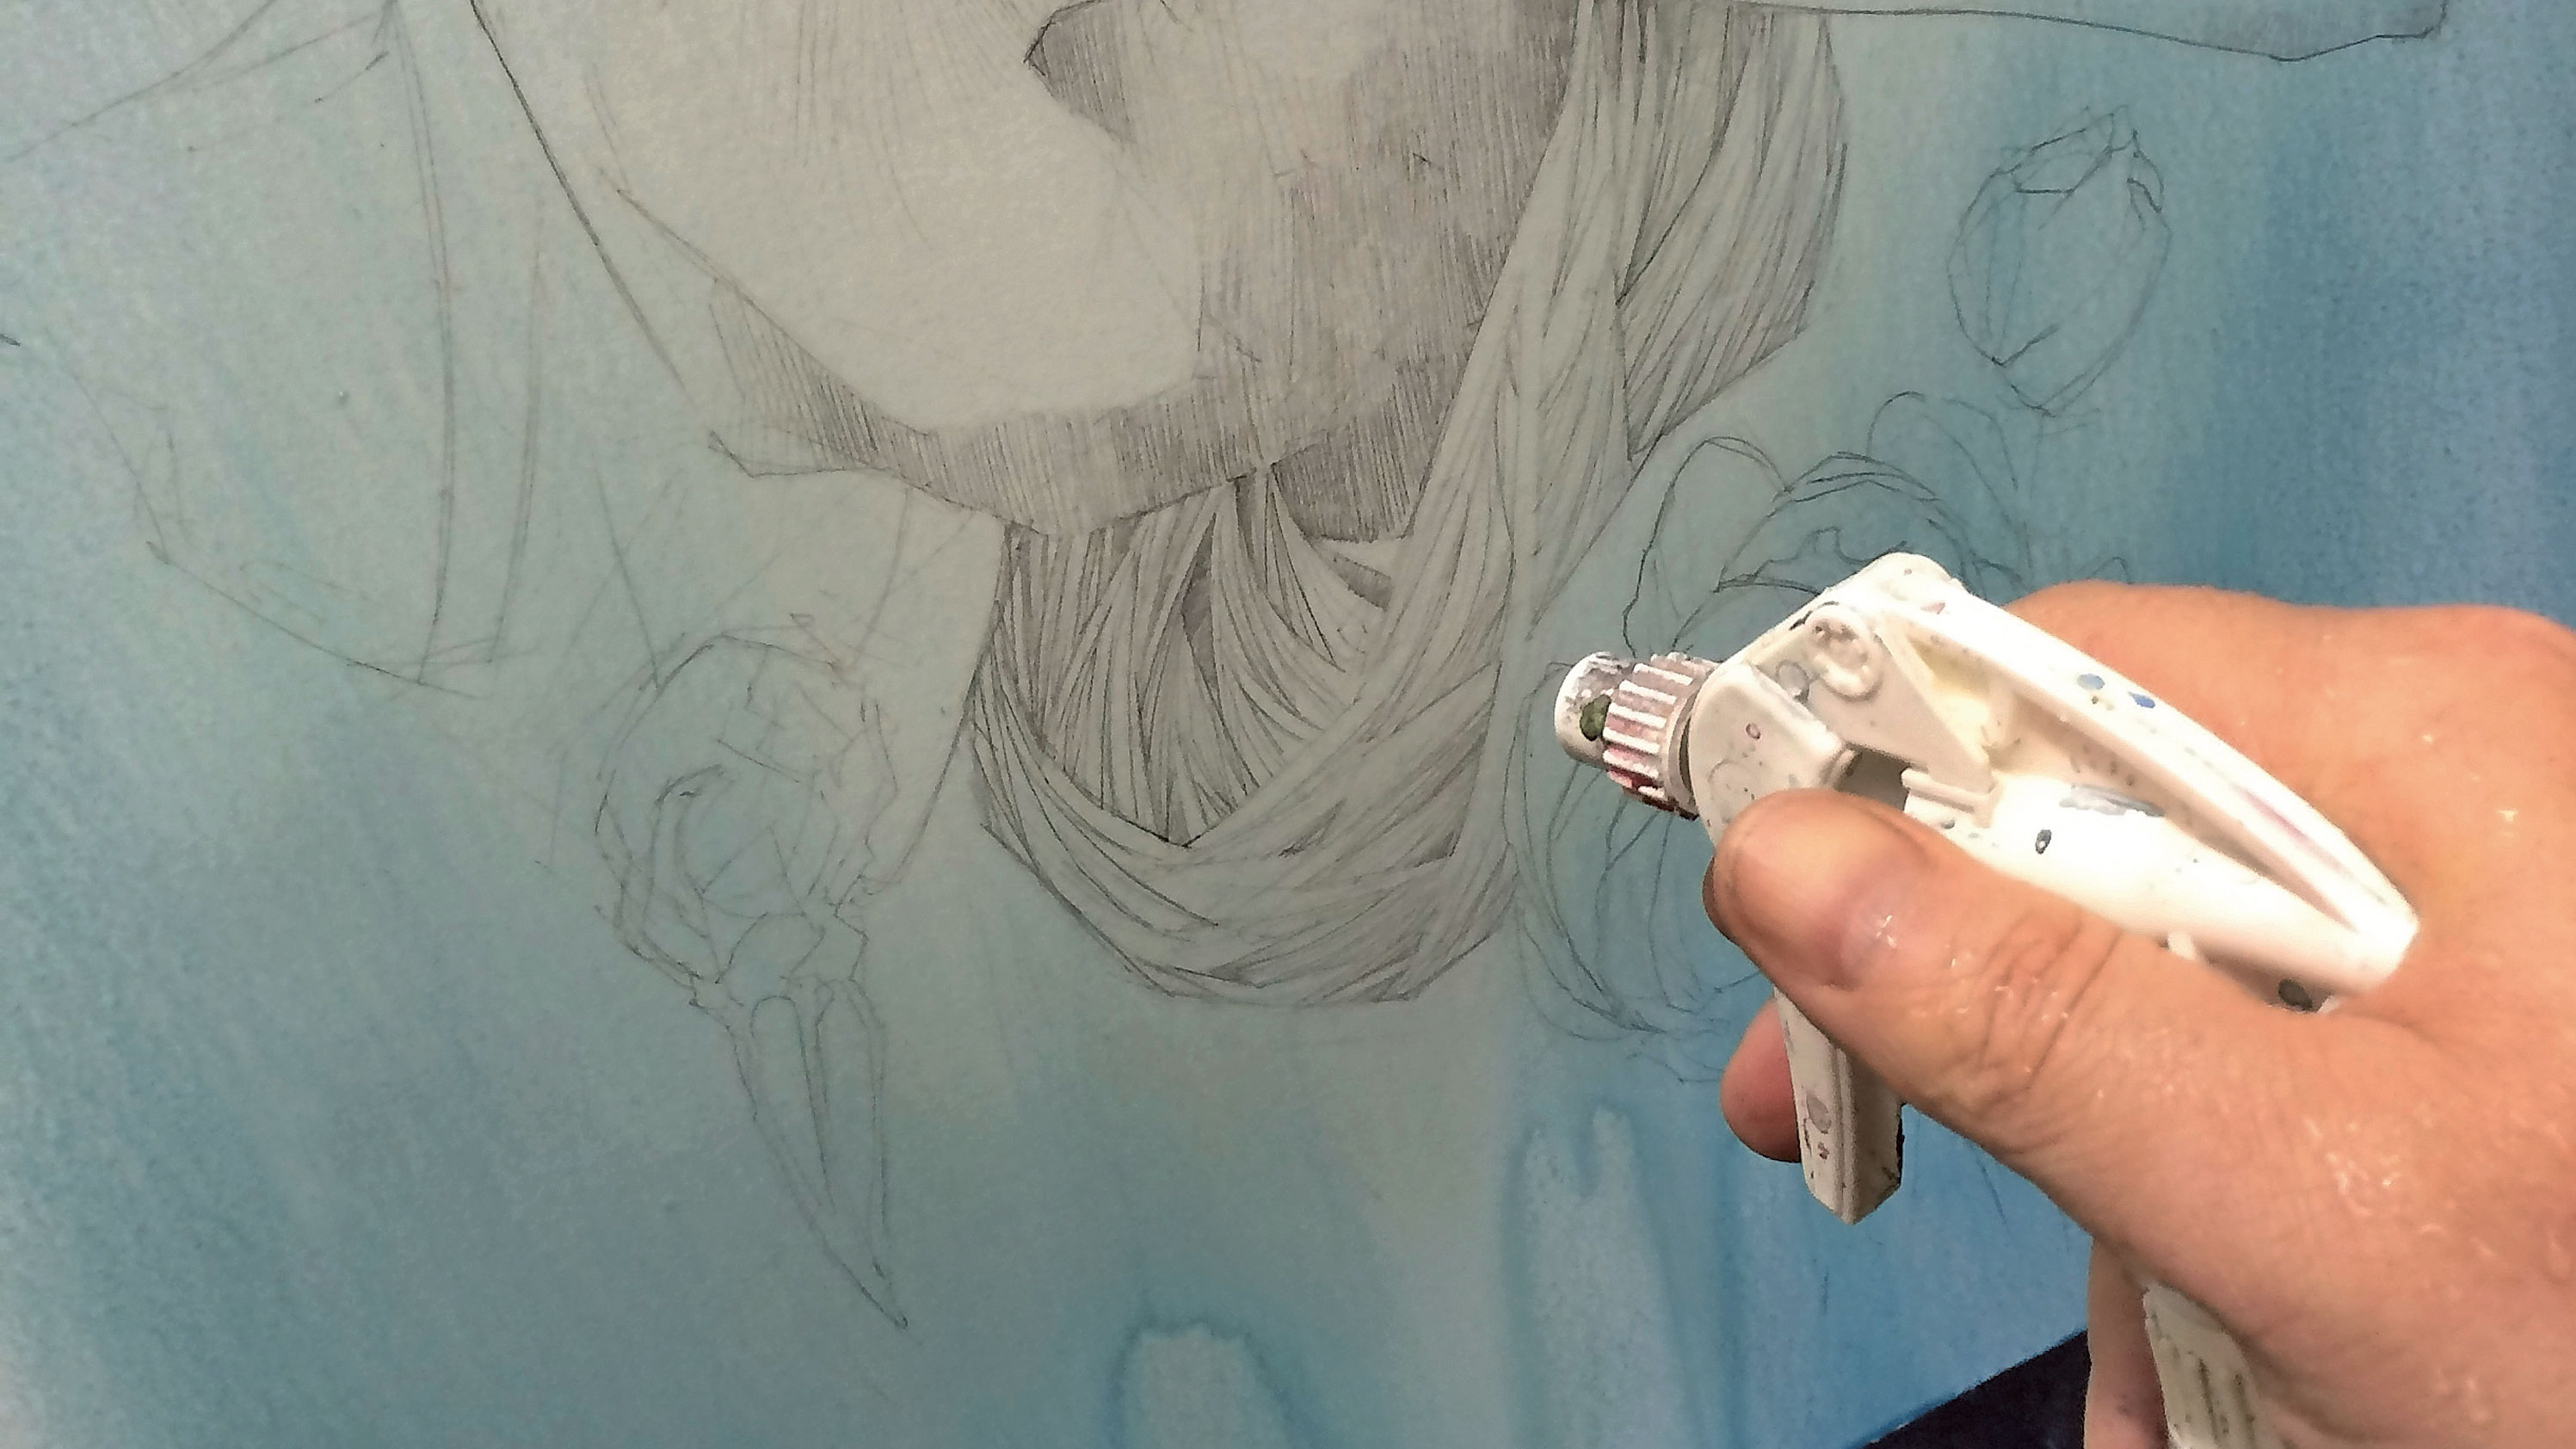
While it's still wet, I start to work into the image, getting a feel for highlights by lifting paint off with a clean, dry mop brush. I also use a water spray from a garden centre to wash areas if I want to blend paint or remove it altogether. I repeat this process, gradually building layers of colour.
Sign up to Creative Bloq's daily newsletter, which brings you the latest news and inspiration from the worlds of art, design and technology.
06. Build colour and tone
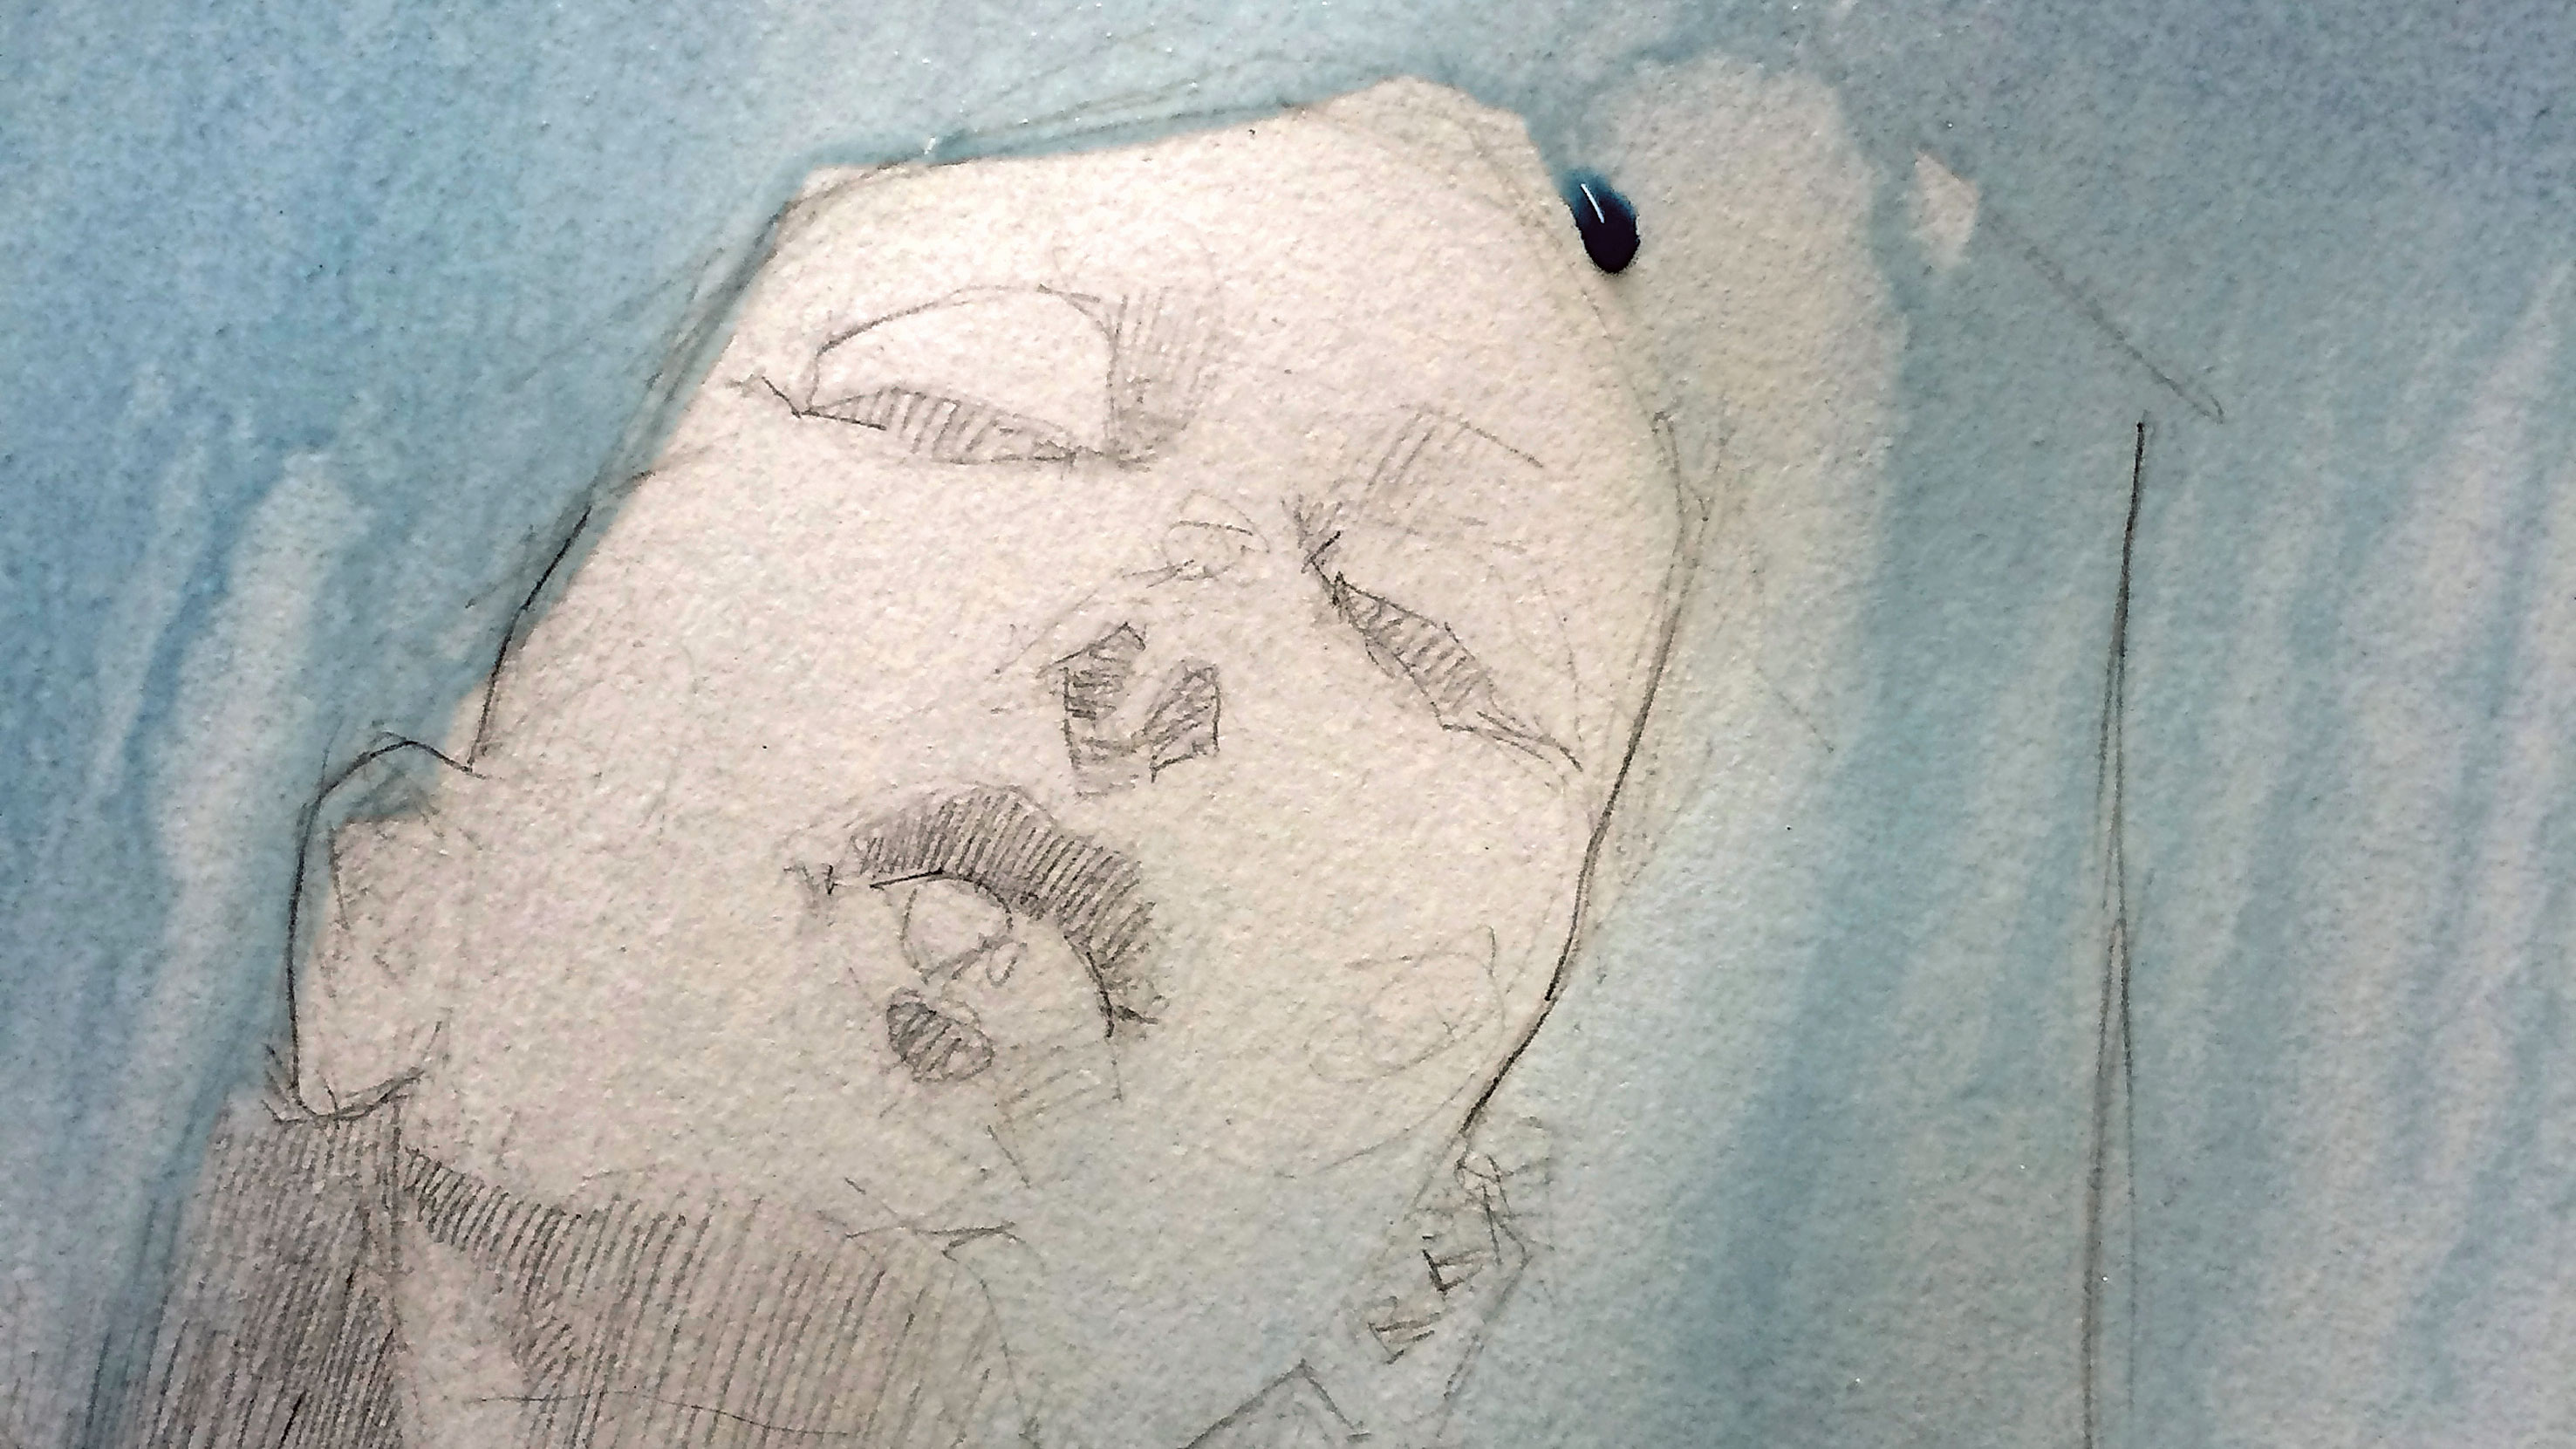
Each layer is a very slight development on the last, creating denser colour and tone. As the process continues I can refine areas more. When I want to create a harder edge I will paint an area with water first and then apply the wash, letting the paint run into the water and along the edge.
07. Blend different shades
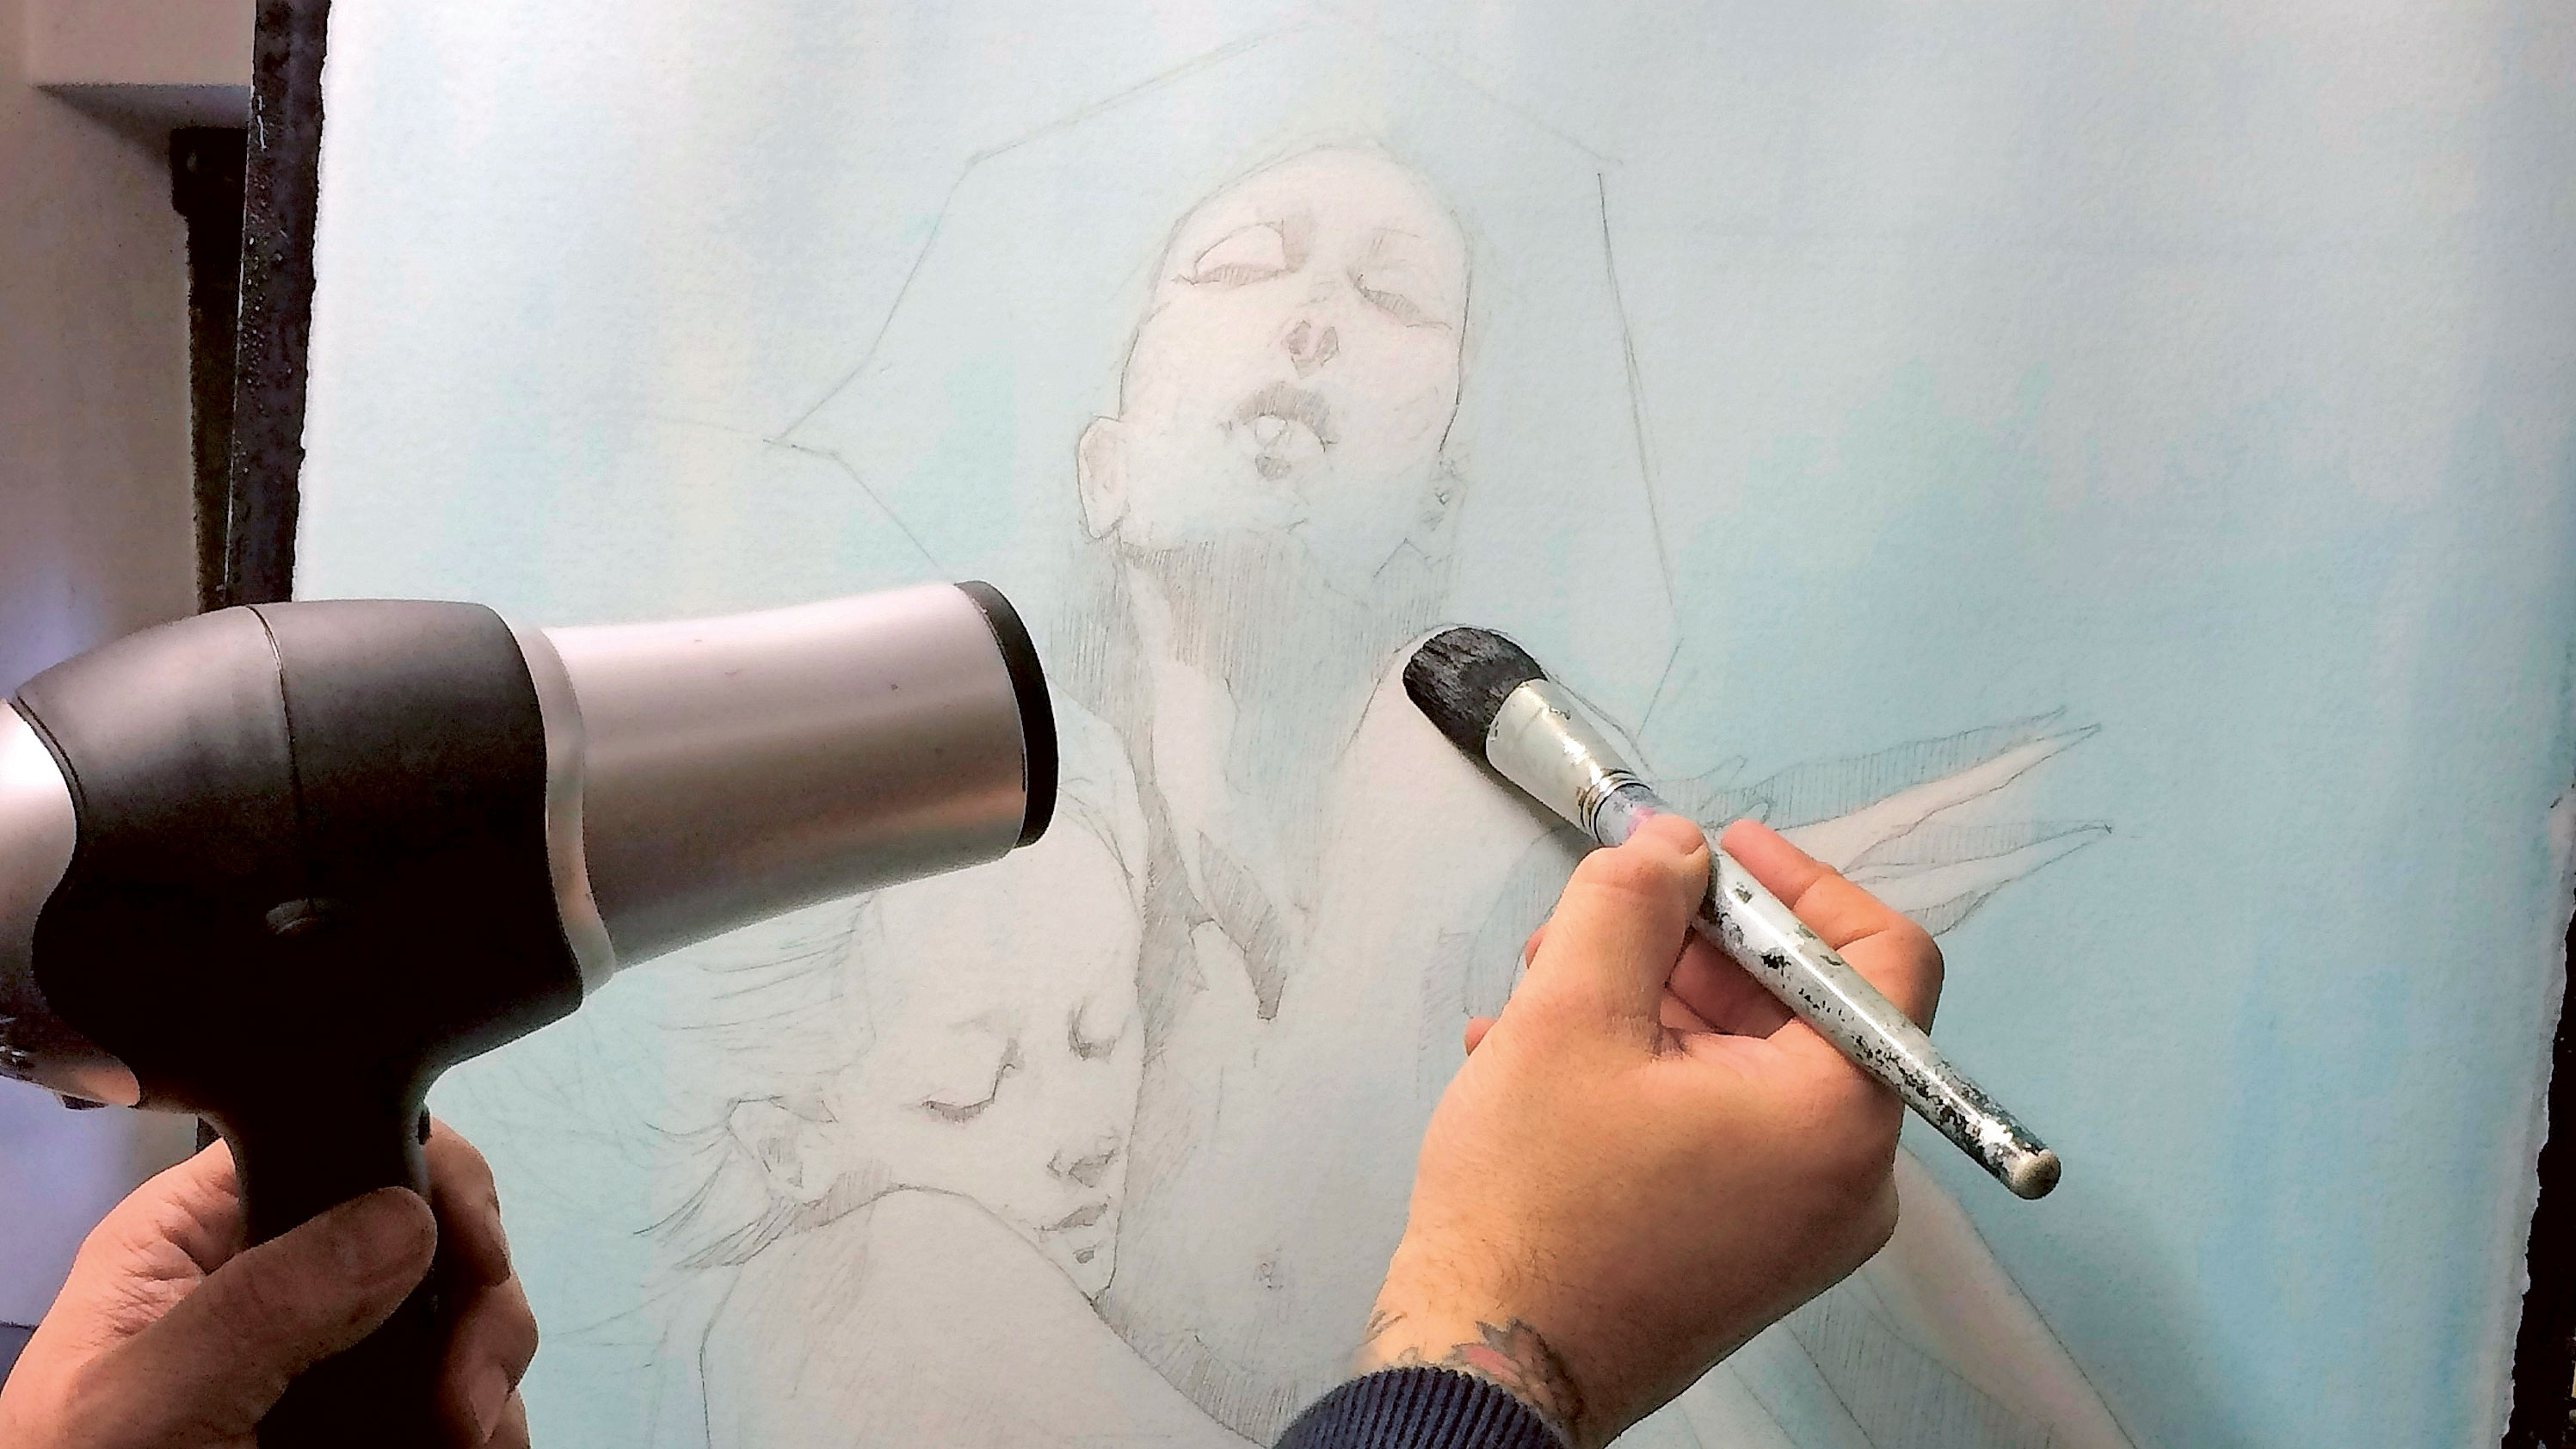
Working wet on wet produces subtle blends. I enjoy the softness this gives, but if I want to stop the paint running into an area I'll use a hair dryer to dry areas as I'm working. I don't worry about the drips – they're part of the fun – but if they do interfere with something I will lift them with the brush or wash them off with the water spray.
08. Add detail
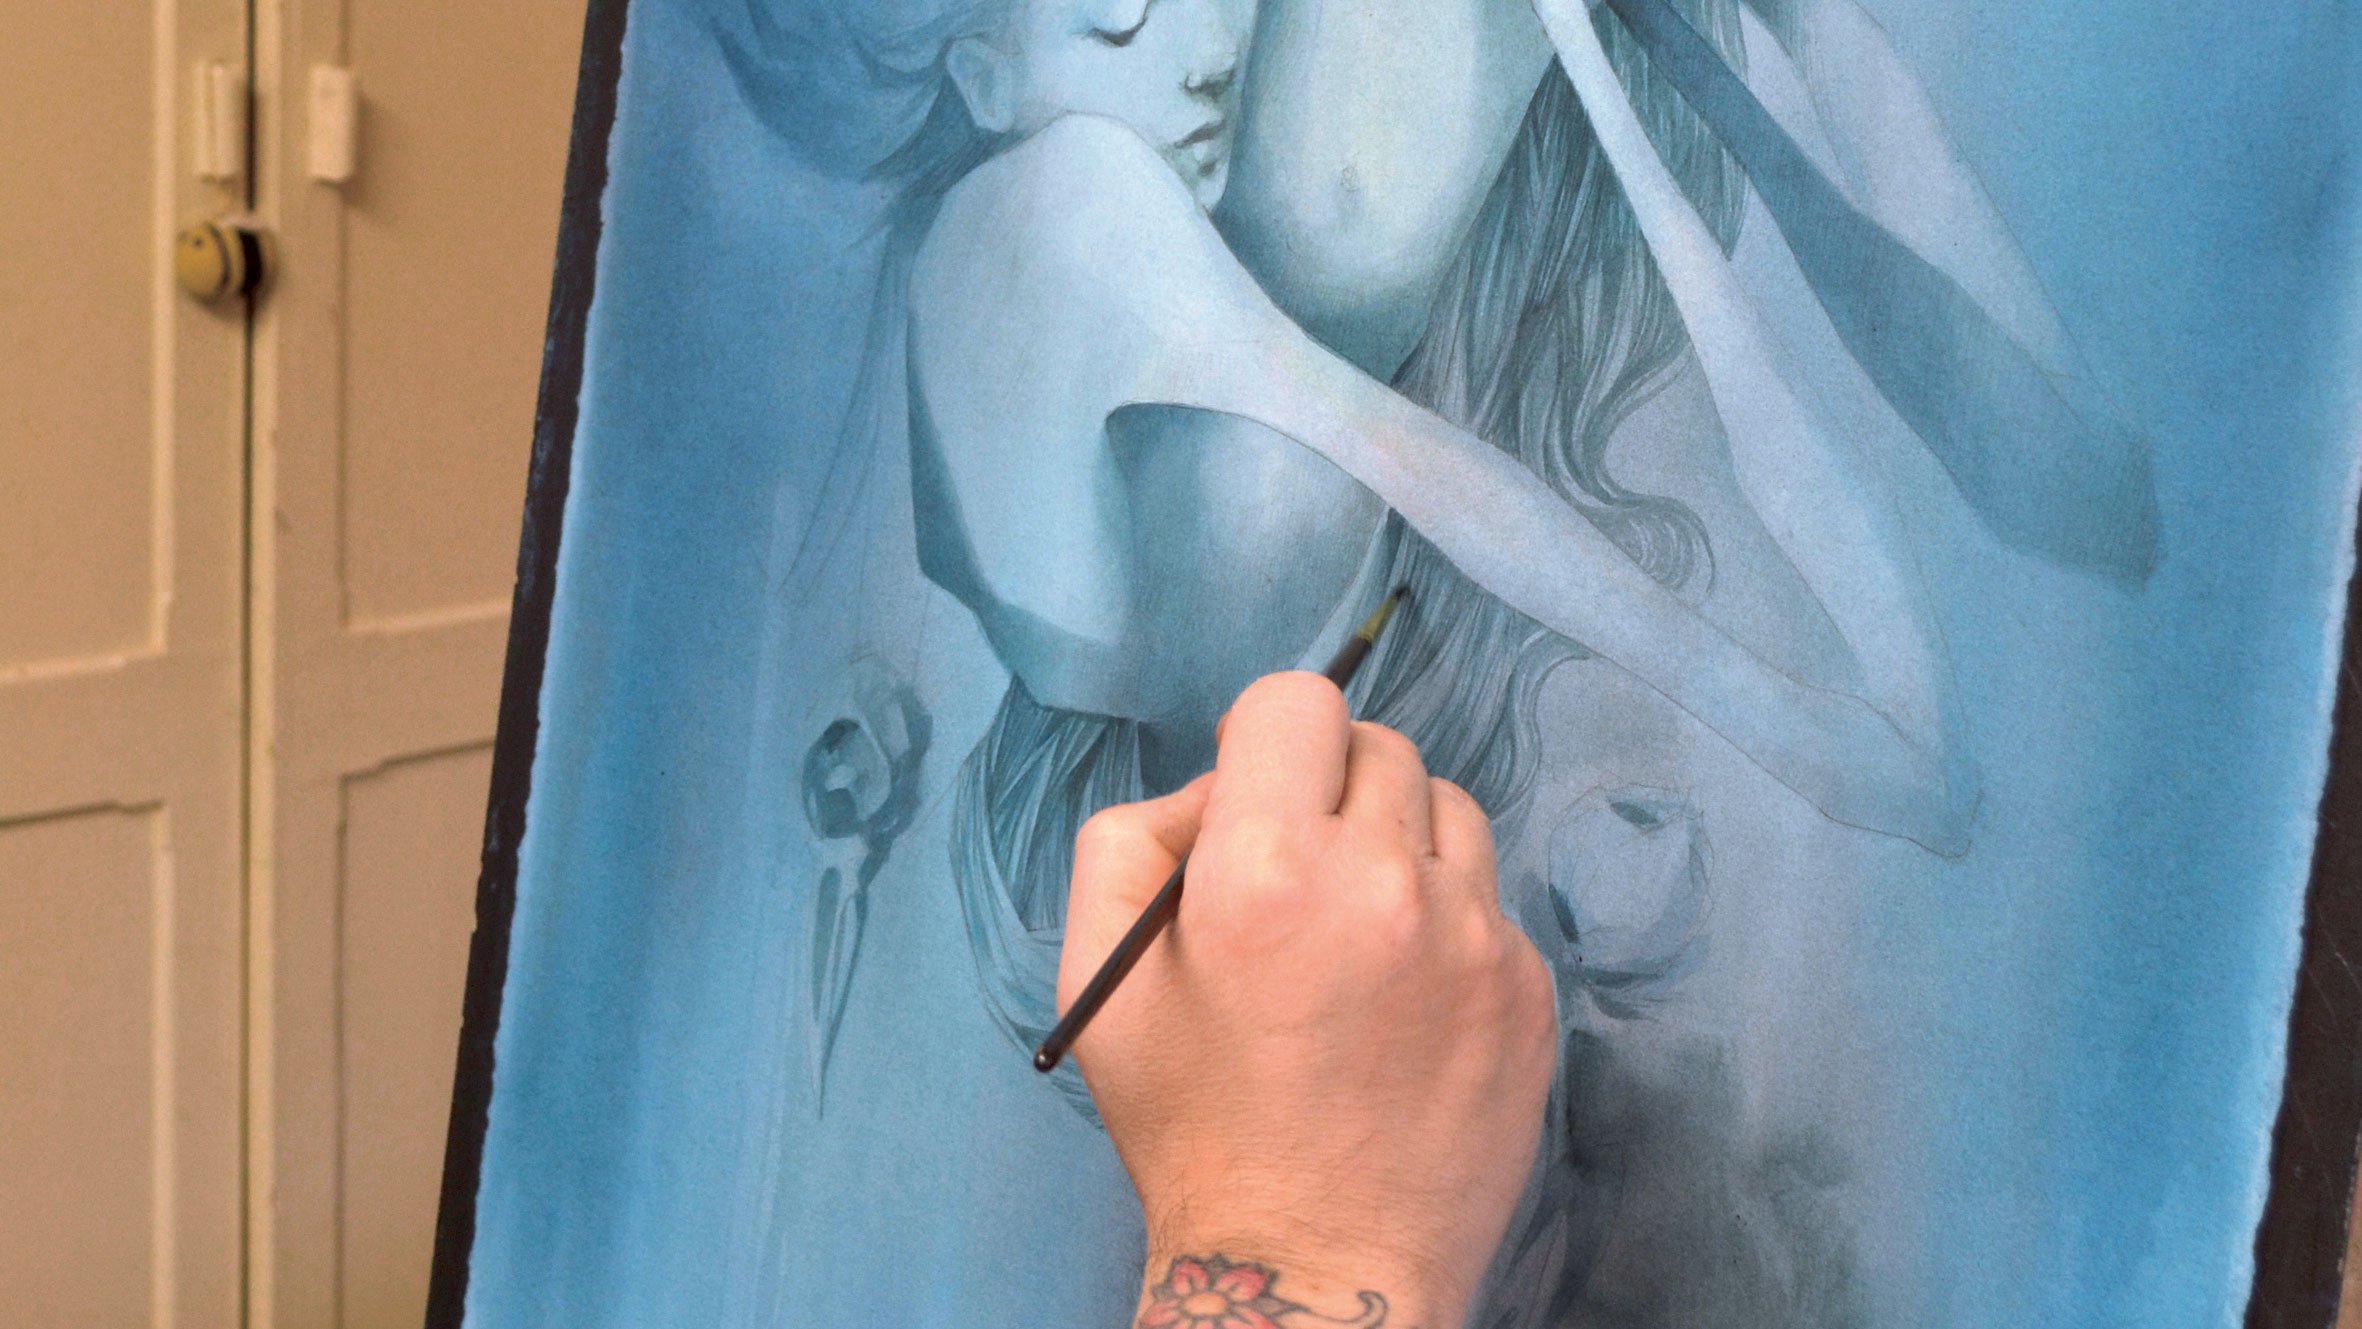
I now want to give the painting some form. I've aimed for an overall mid-tone at this stage and now I'll work with a denser mix of paint, using a selection of long-handled brushes to start to establish darker areas, enhance contrast and bring out key forms and shapes.
09. Introduce colour
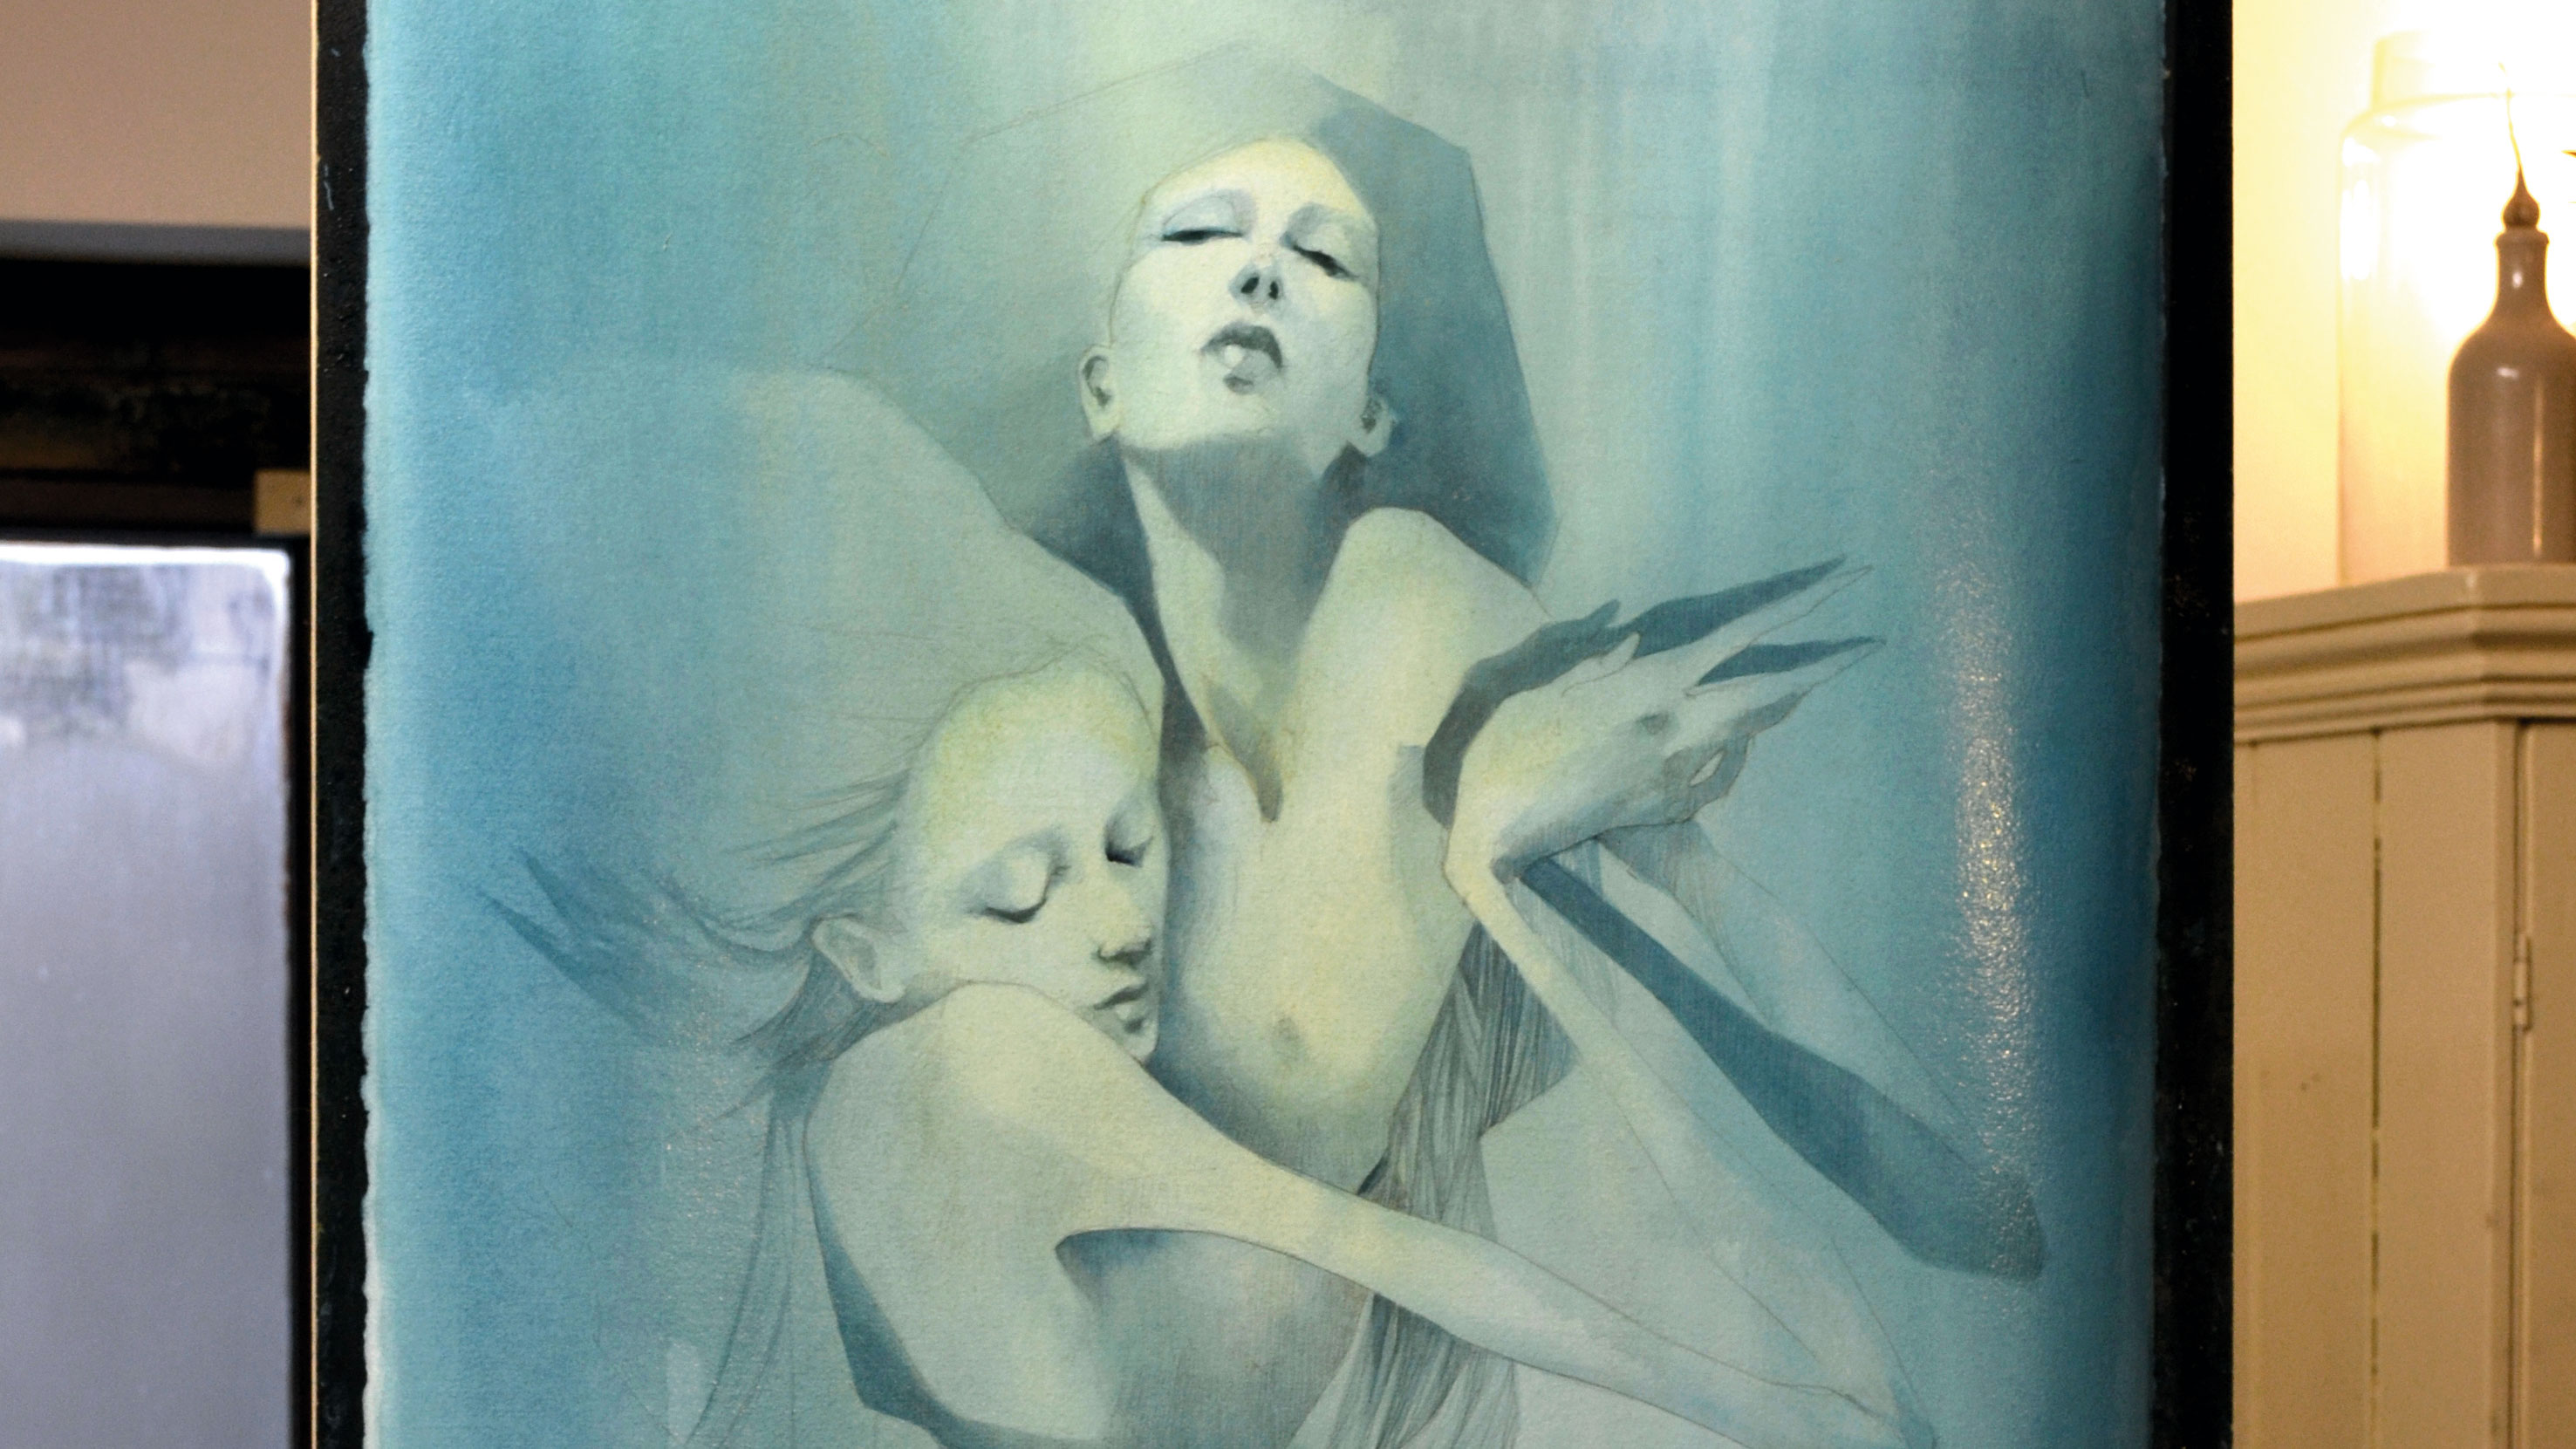
Up until this point I've been working on tone and form. Now I want to add colour. Still working with thin washes, first I add a mix of Yellow ochre, muted with Buff titanium, to the figures. At this stage I'm not worried about the final hues – I'm just laying down a ground colour.
10. Keep it loose
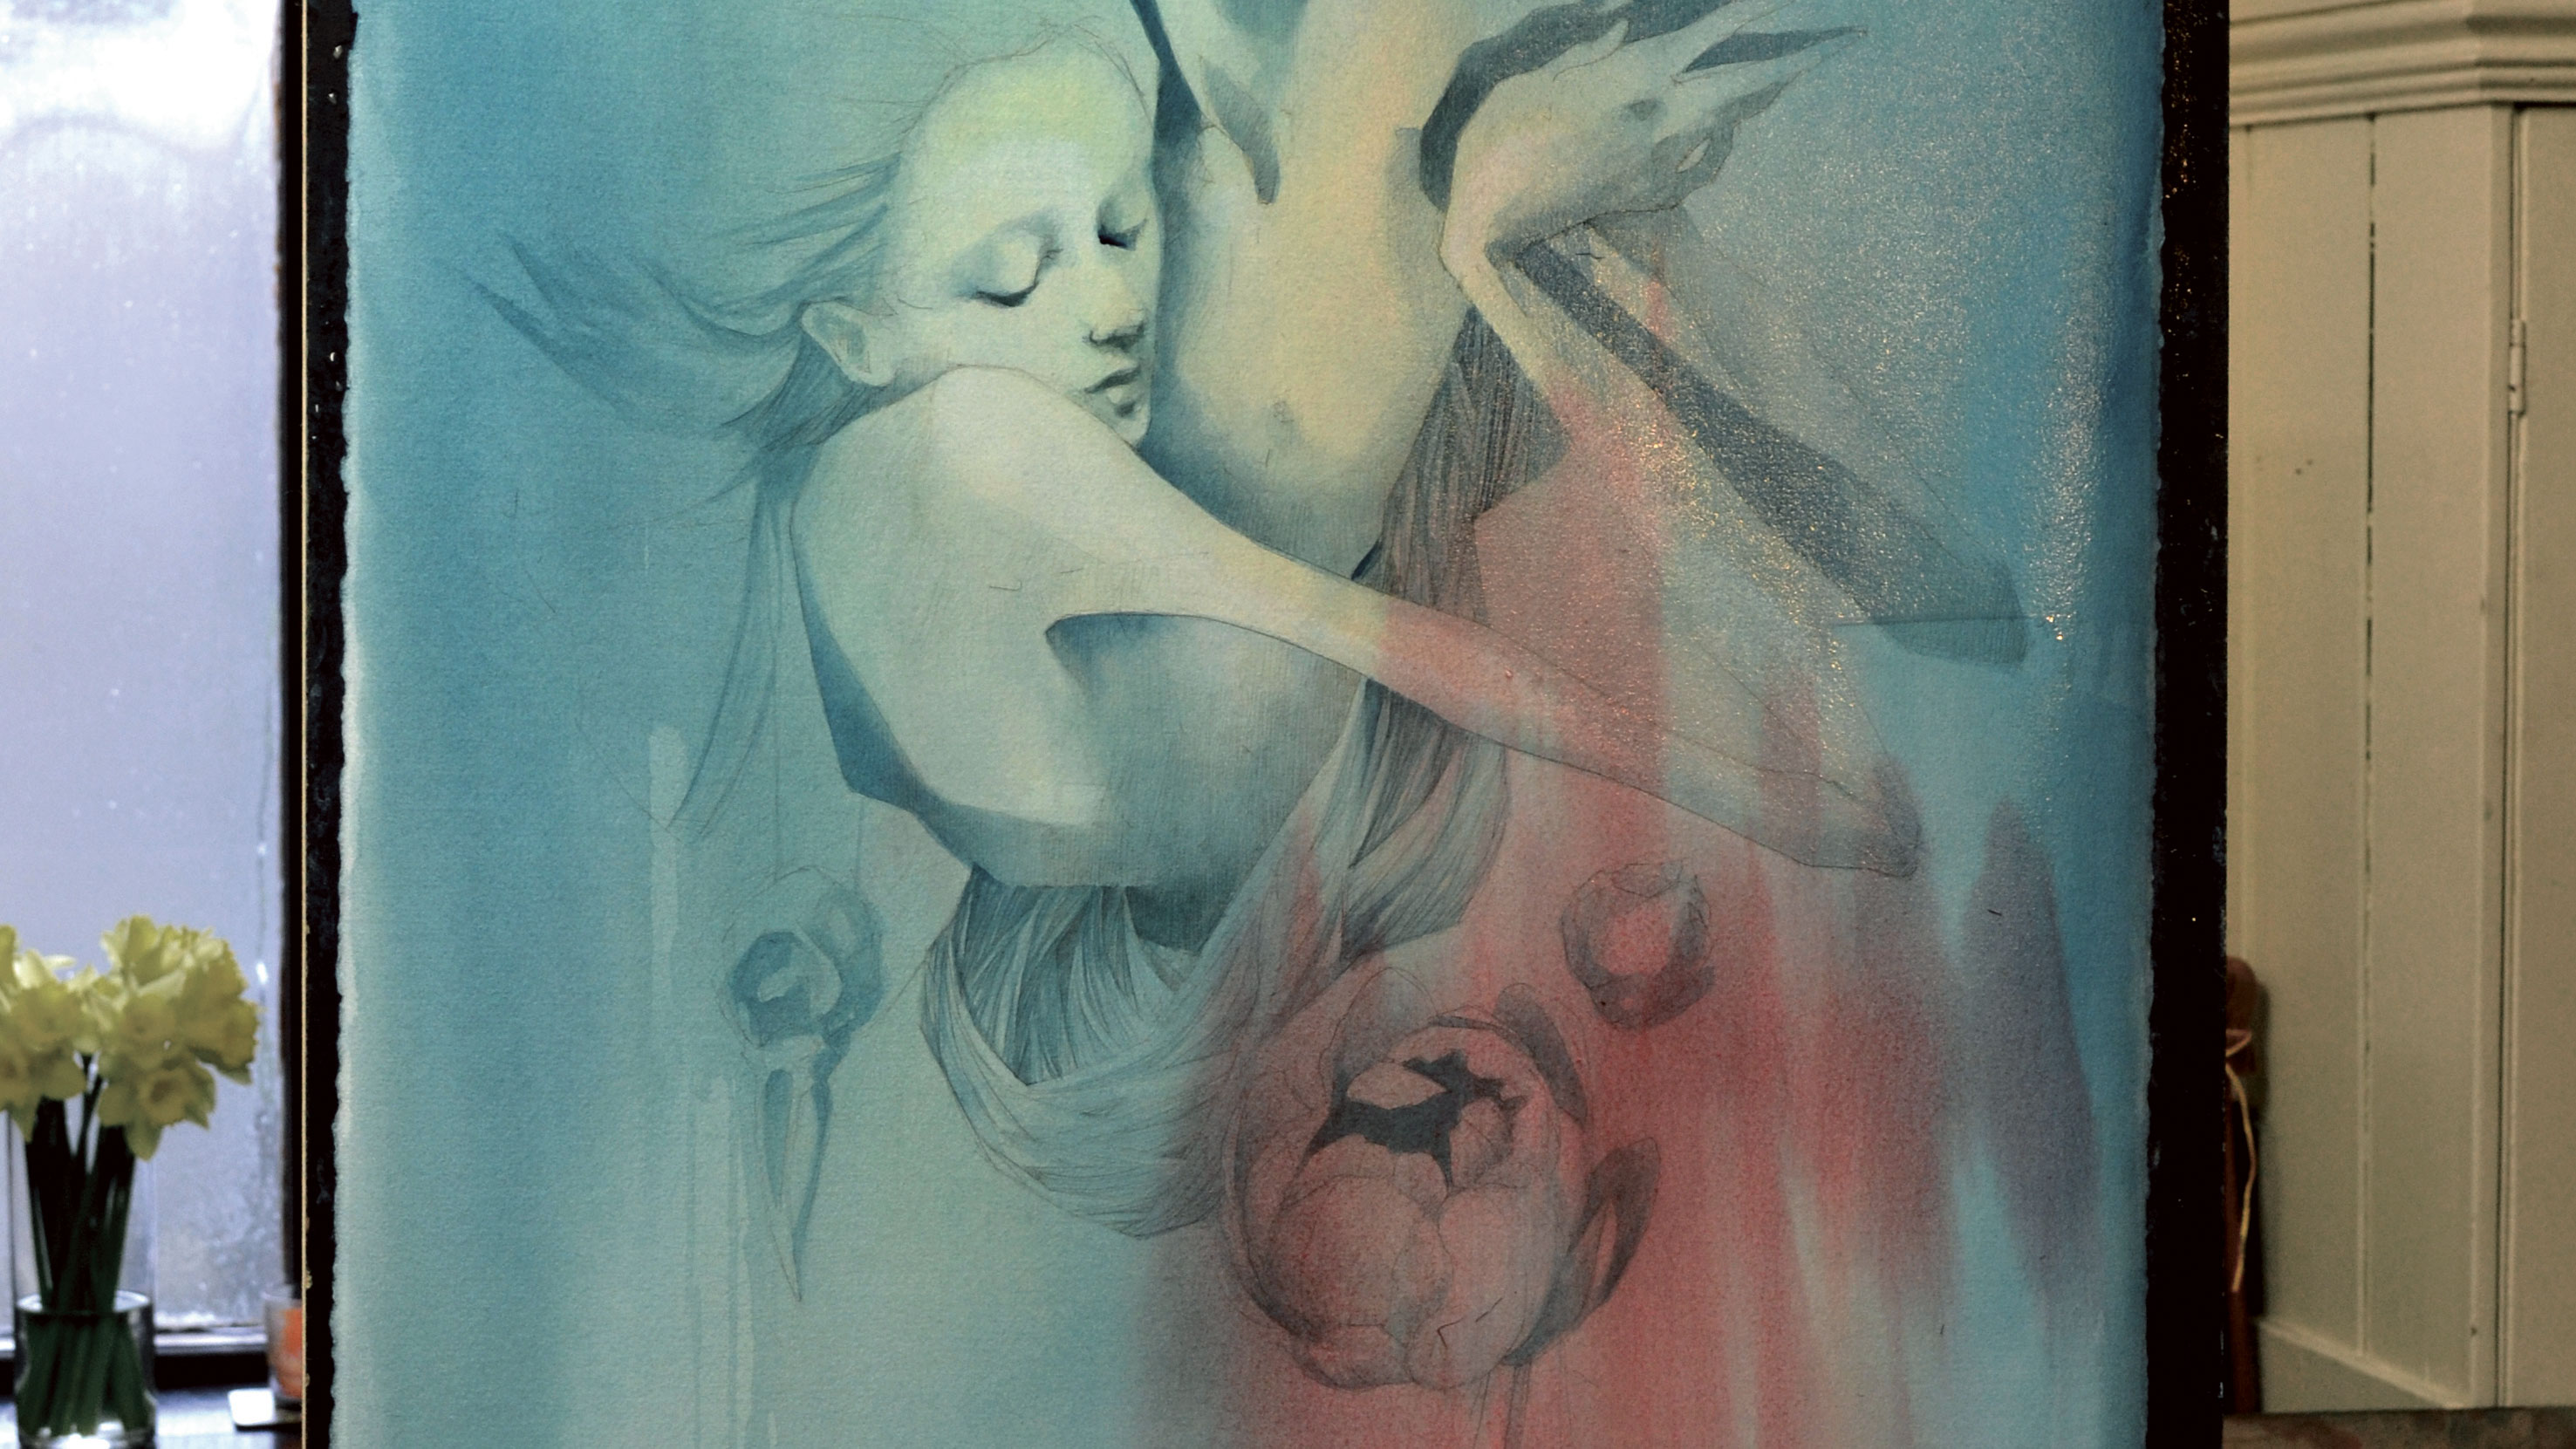
I then add a wash of Alizarin crimson mixed with Quinacridone burnt orange to the flowers area. I'm not painting the flowers as such, rather adding colour areas that I can play with later. It's also worth noting that however strong the colour looks when you first apply it, it'll be a lot paler once it dries.
11. Layer washes
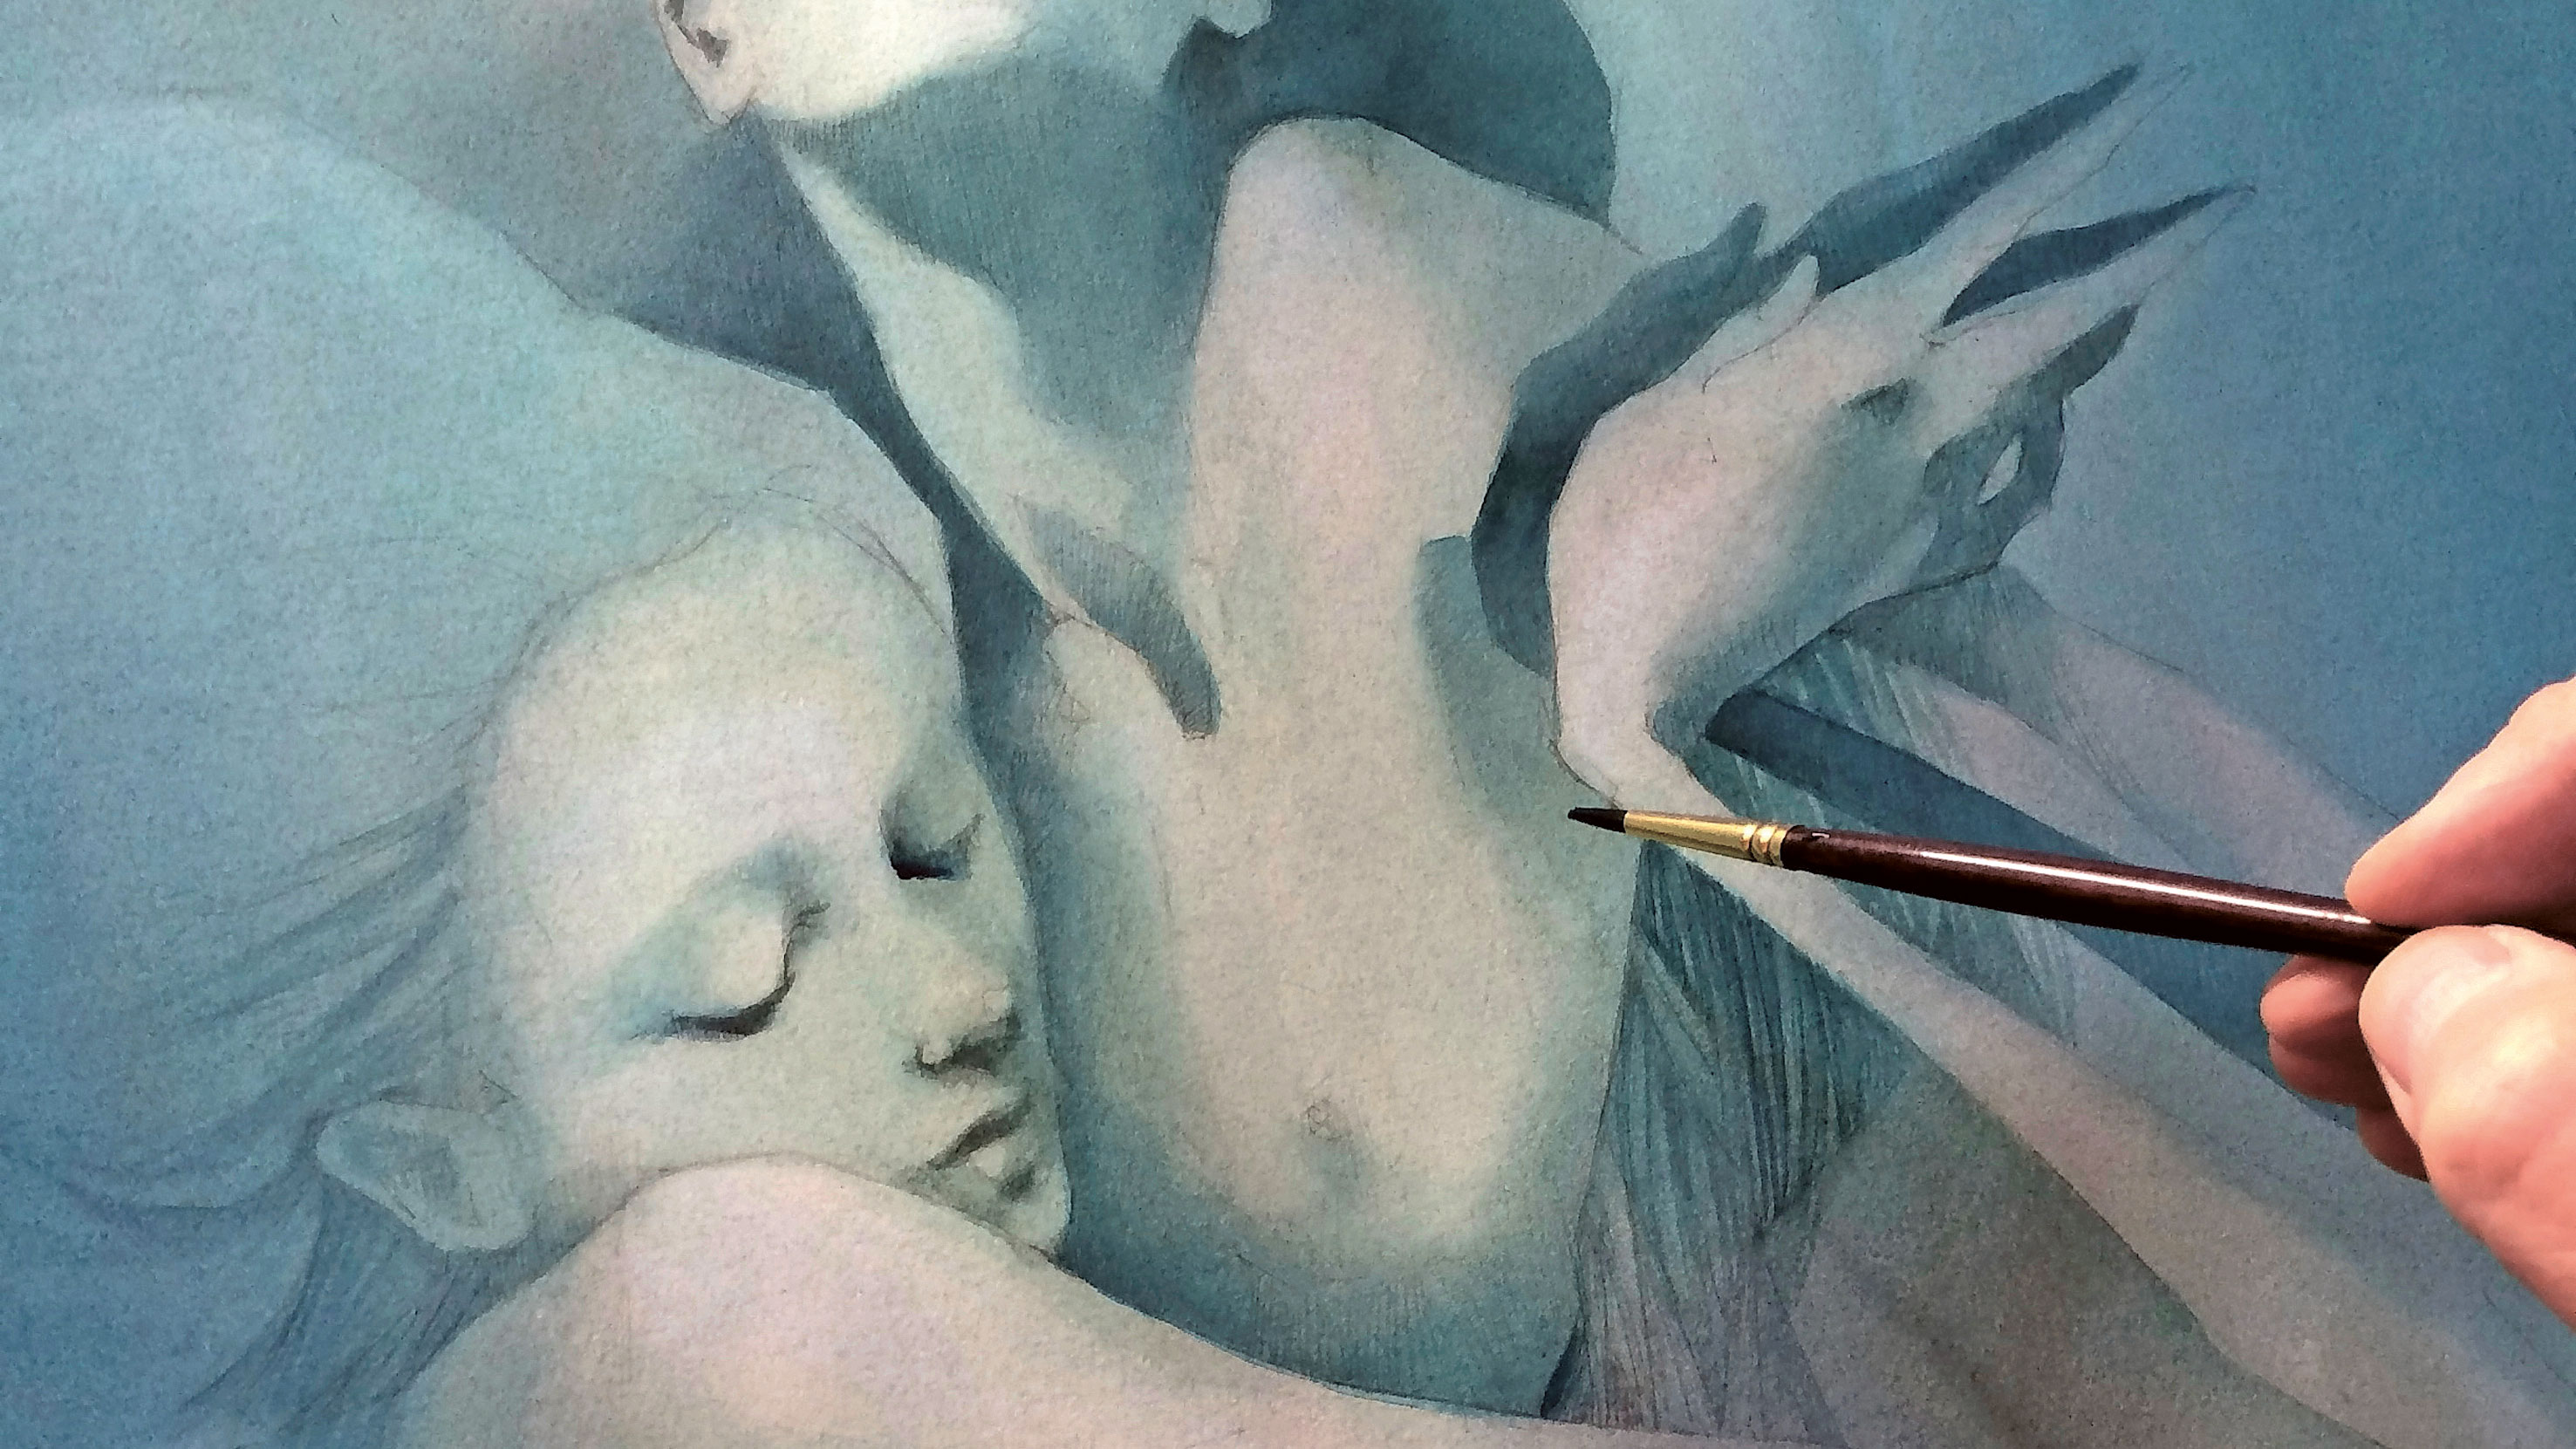
From now on it's really a matter of repeating the process, alternating between gradually building colour and tone with additional washes and working on areas of detail. It's at this stage that the painting starts to gain its depth. Colours become deeper, shadows grow darker, and detail and form are more defined.
12. Evaluate the painting
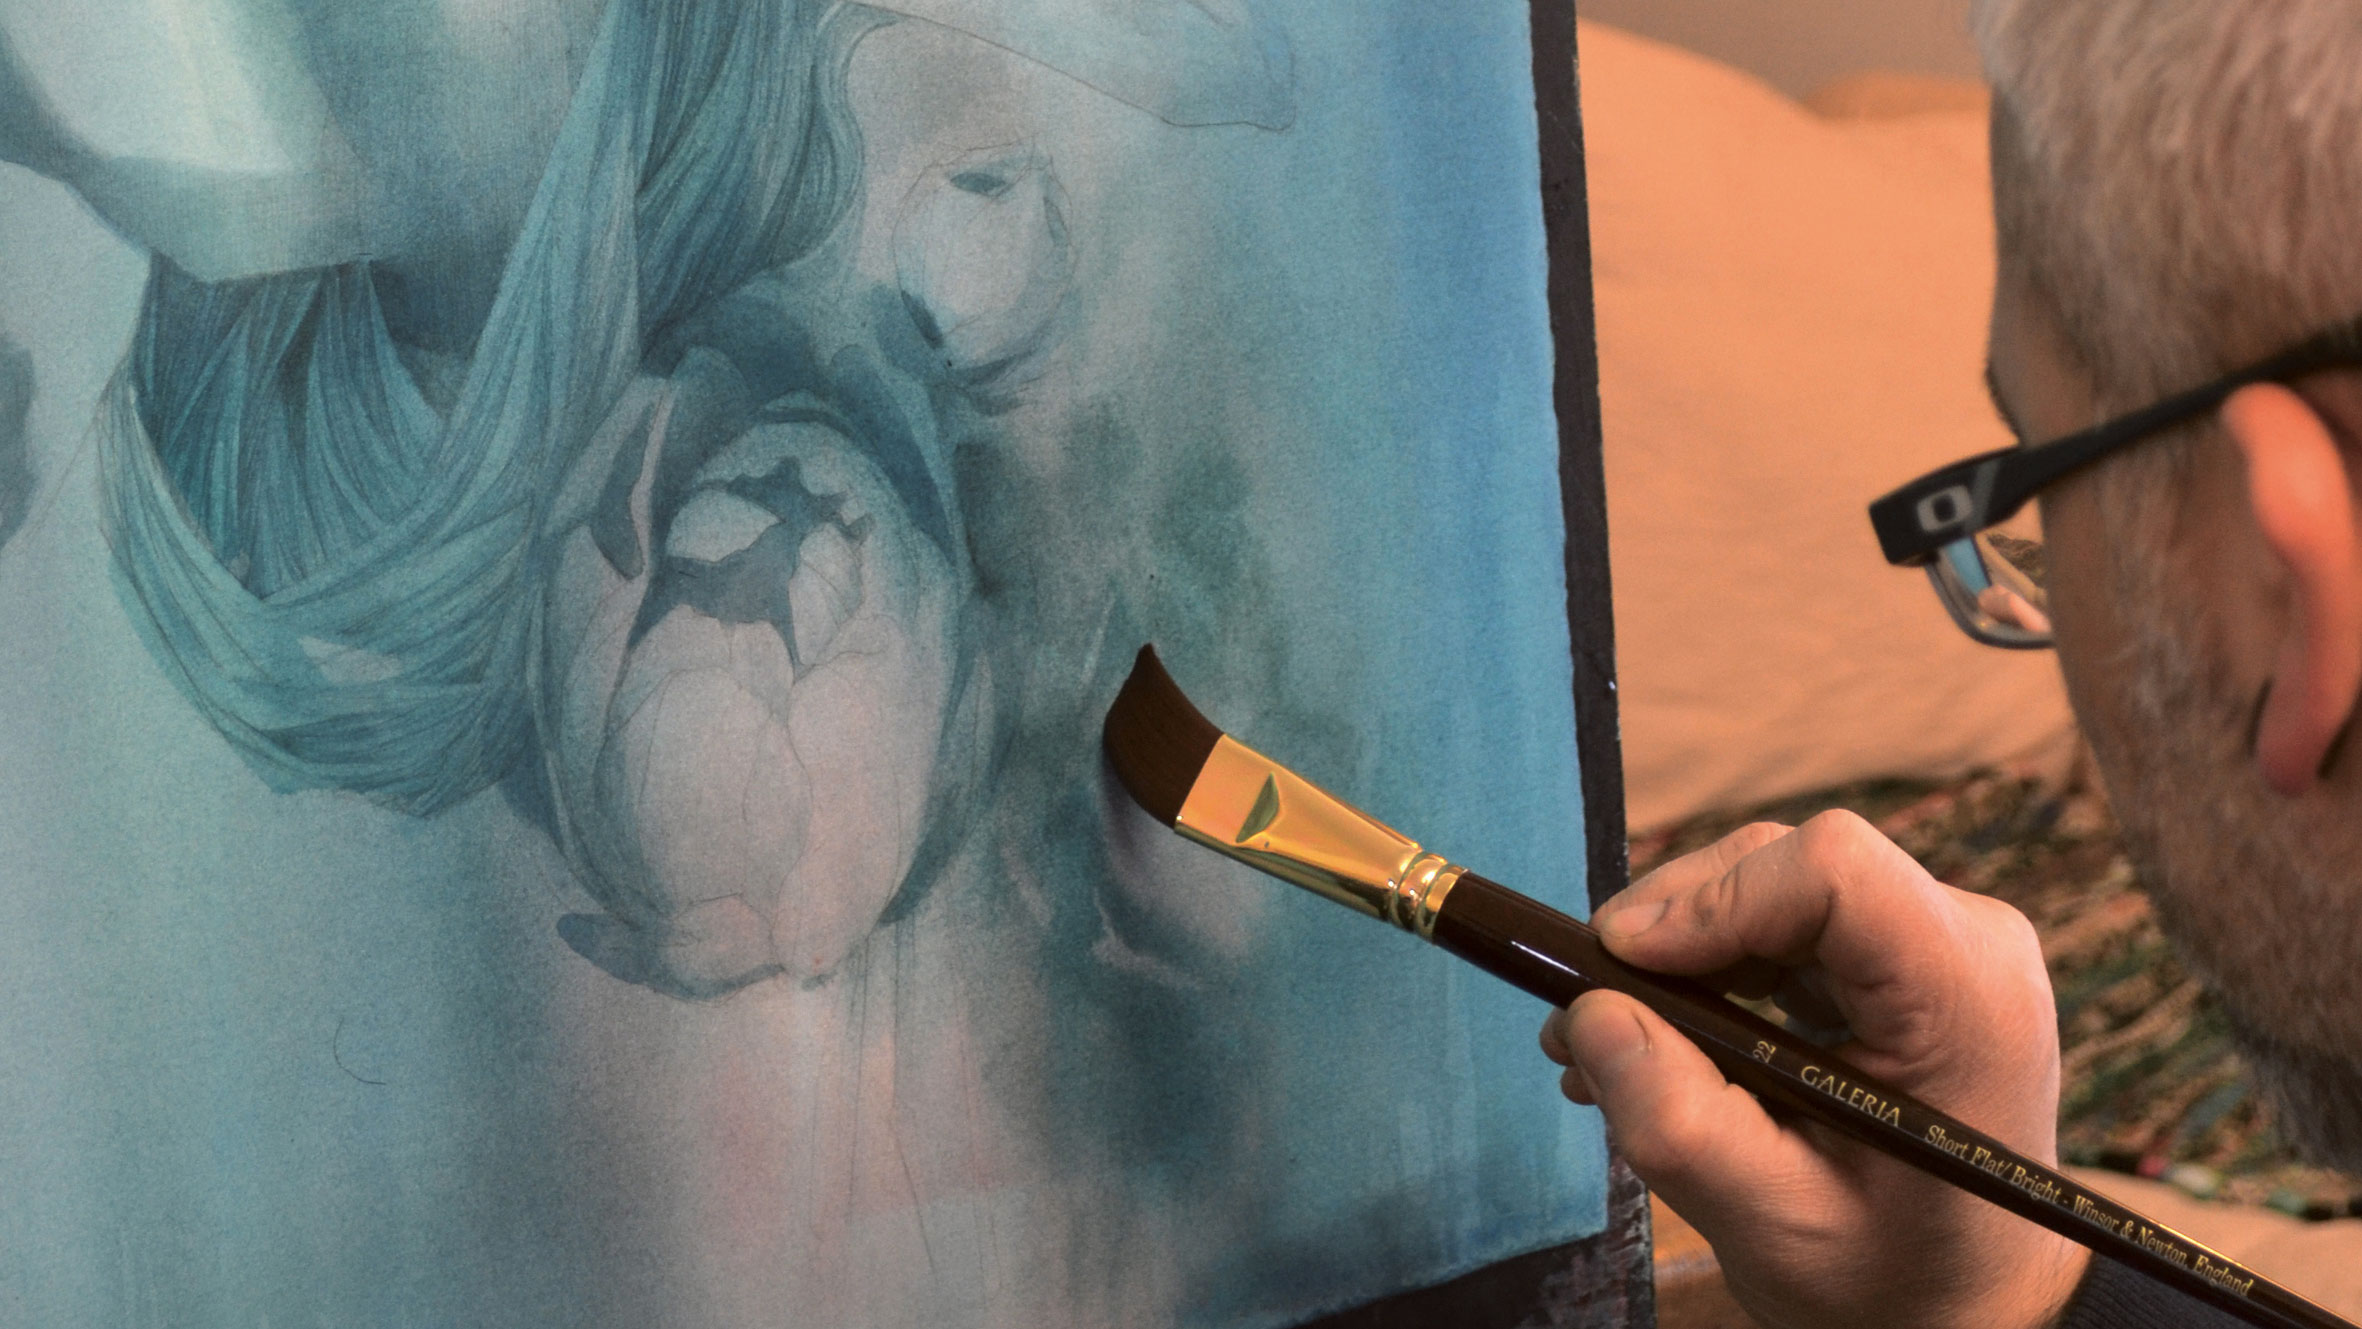
I continue to step back and evaluate. I aim to create a flow through the piece, but the composition seems to be missing something to lead the eye out, so I'm adding detail to the bottom corner. I shape it with a long-handled flat brush but purposefully keep it looser than the more defined flowers – this will create depth, helping to foreground detail.
13. Refine details
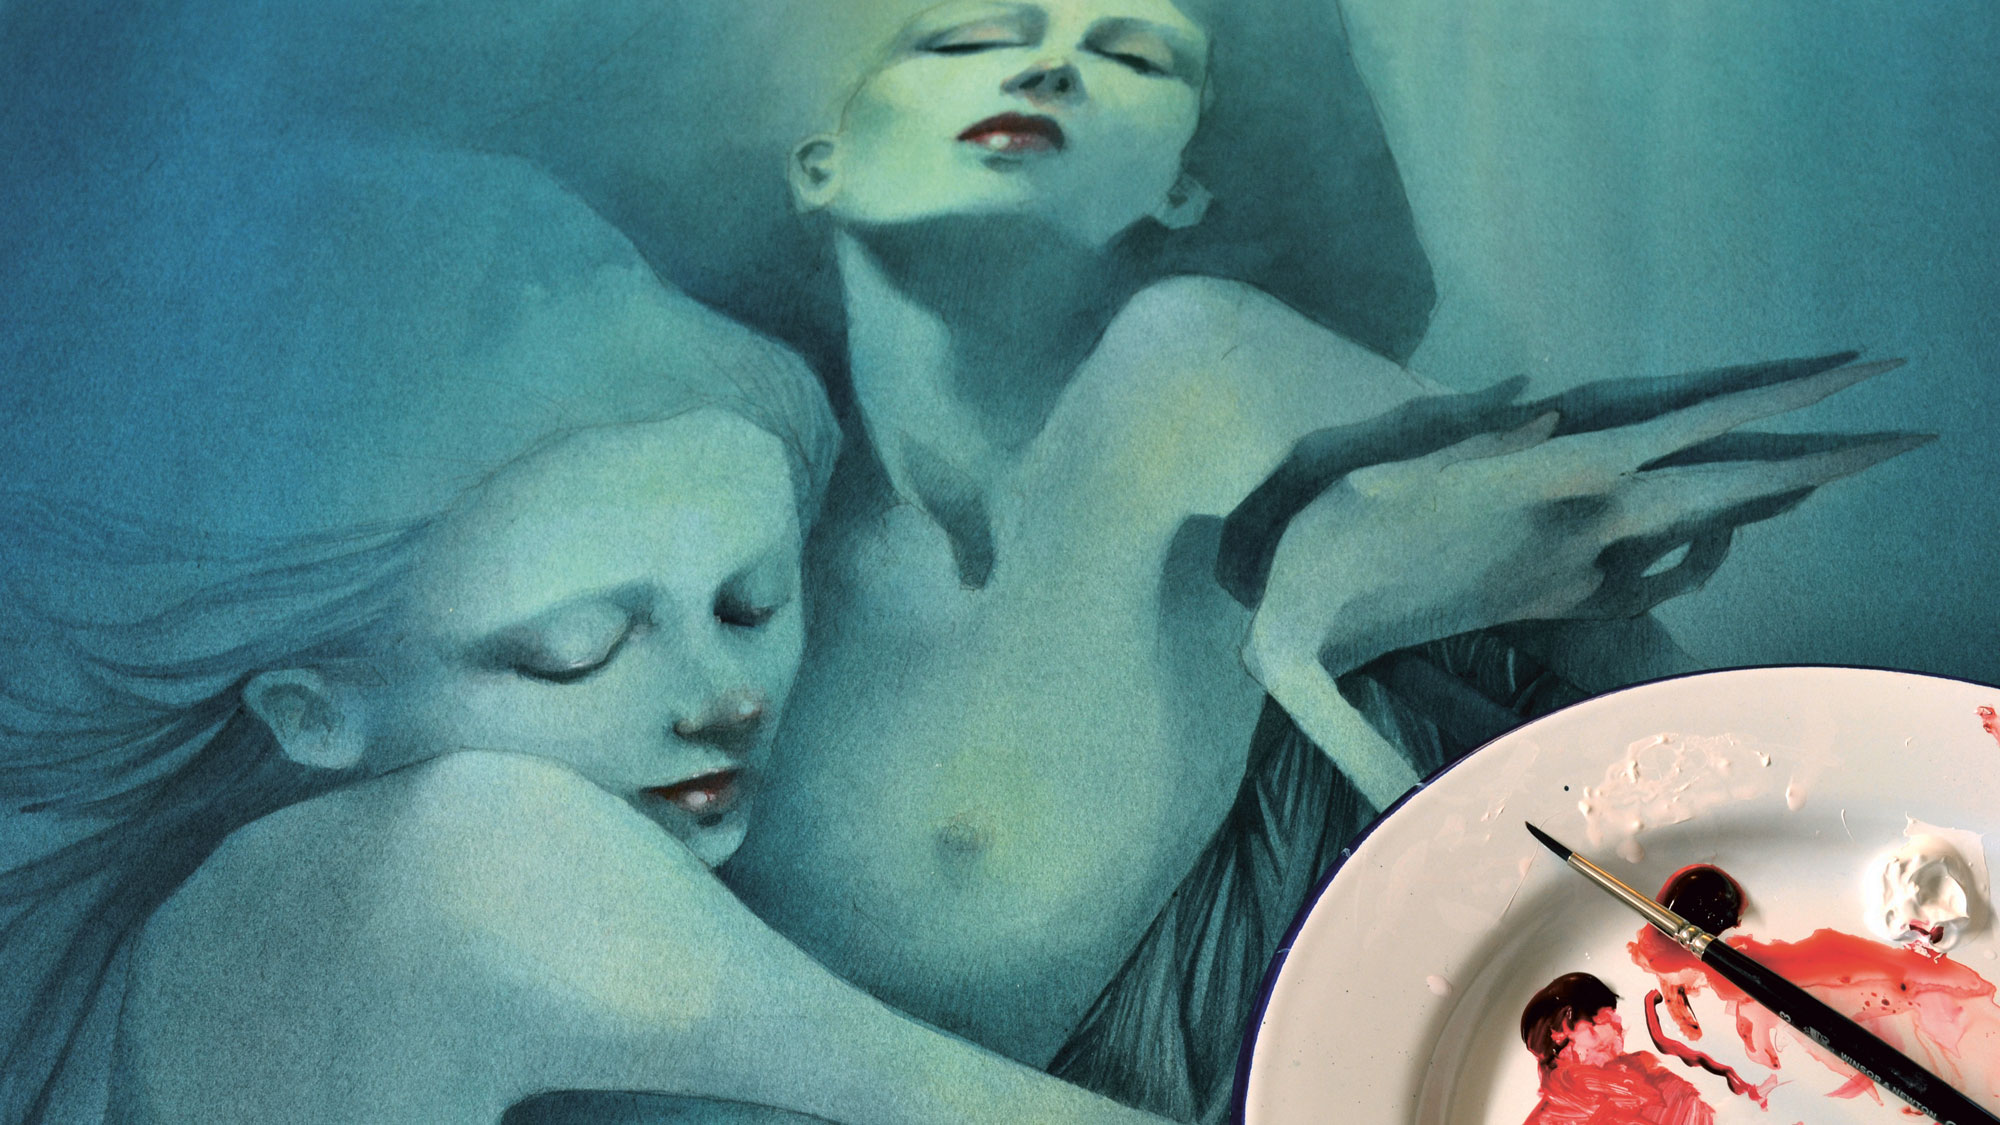
Now I'm able to focus on the detail. I tend to move from my easel to a flat surface. I like to be 'over' my painting at this stage. It's now that the painting starts to come to life, as I'm able to focus on the fine details that create character.
14. Revisit undefined areas
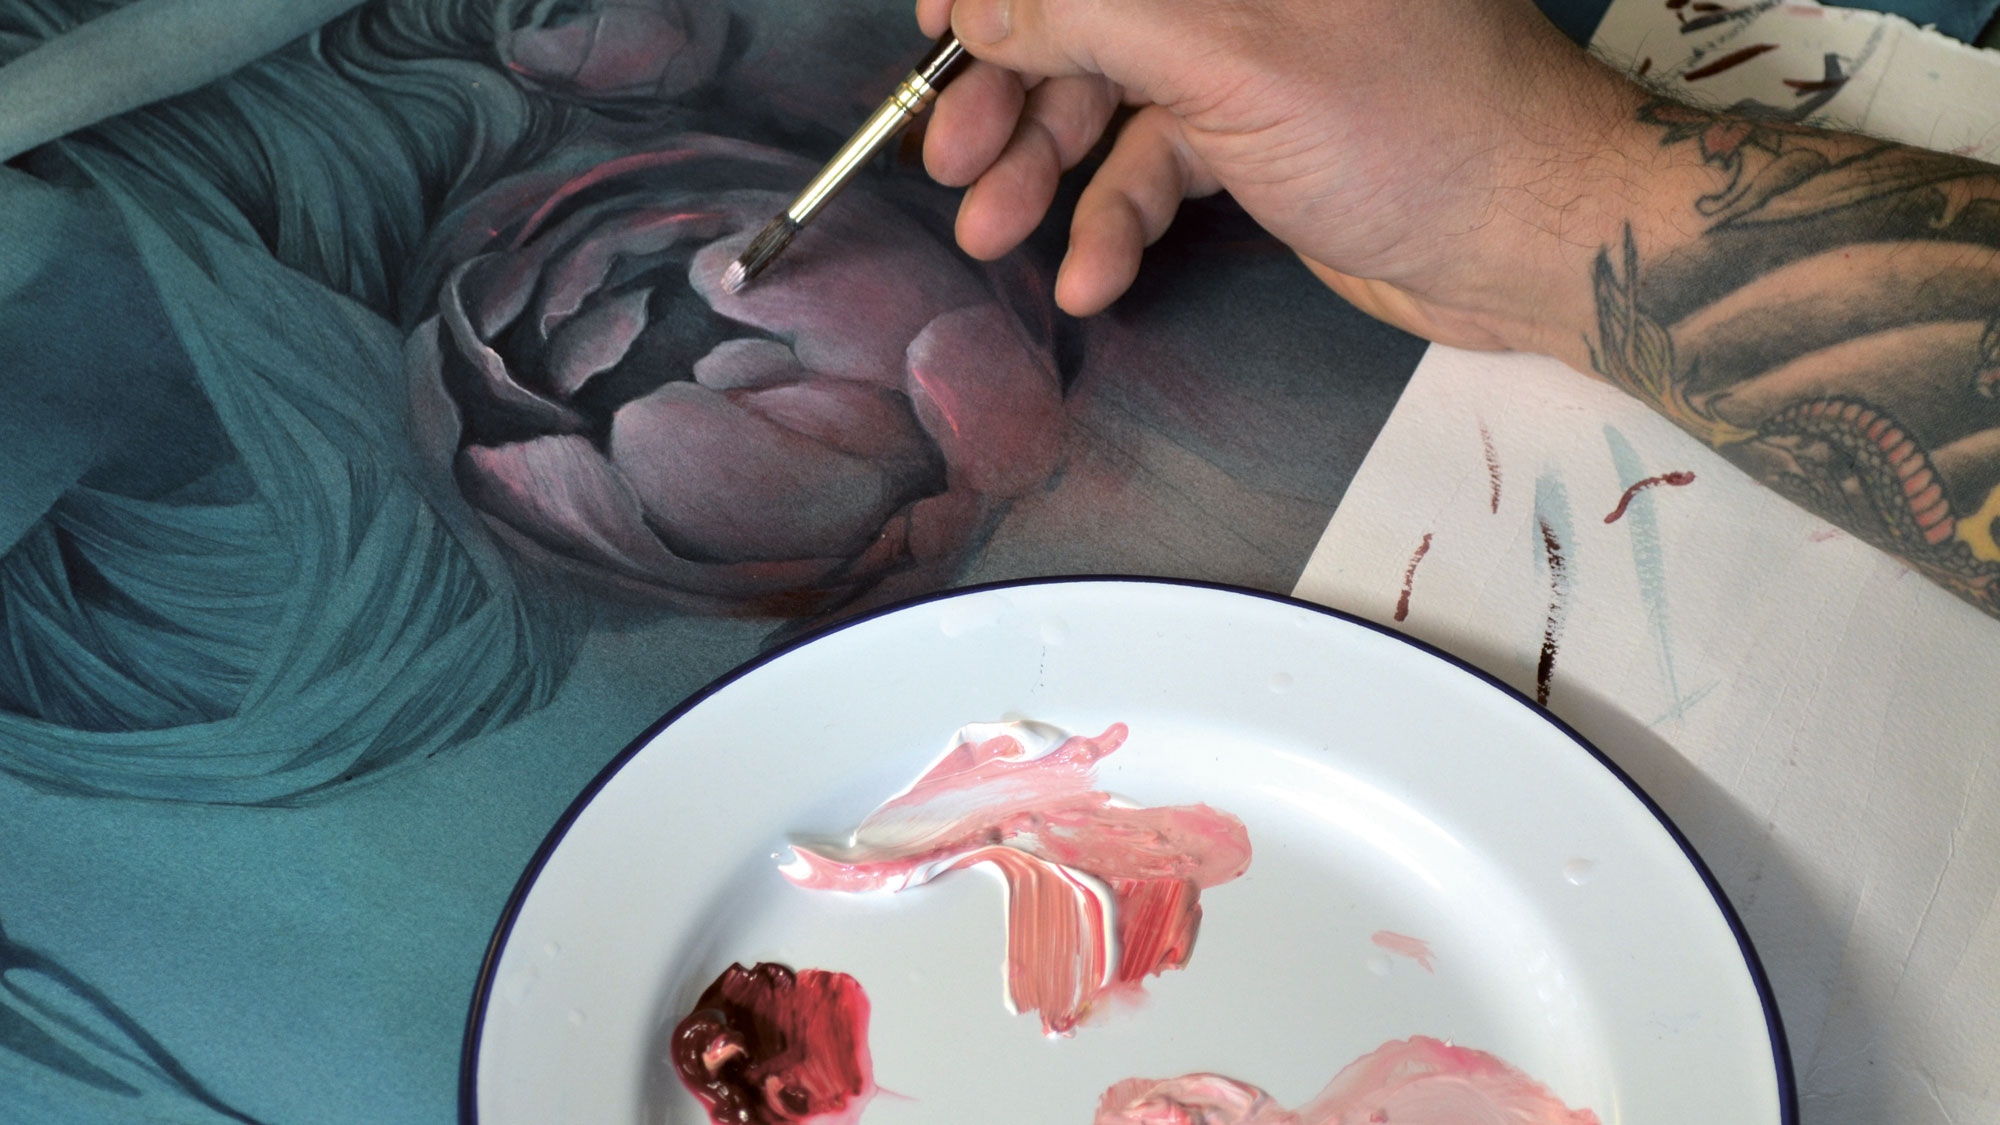
It's time to revisit areas to which I've previously applied rough colour. I'm now able to go in and work on them, adding refinement, detail and depth.
15. Appraise and finalise
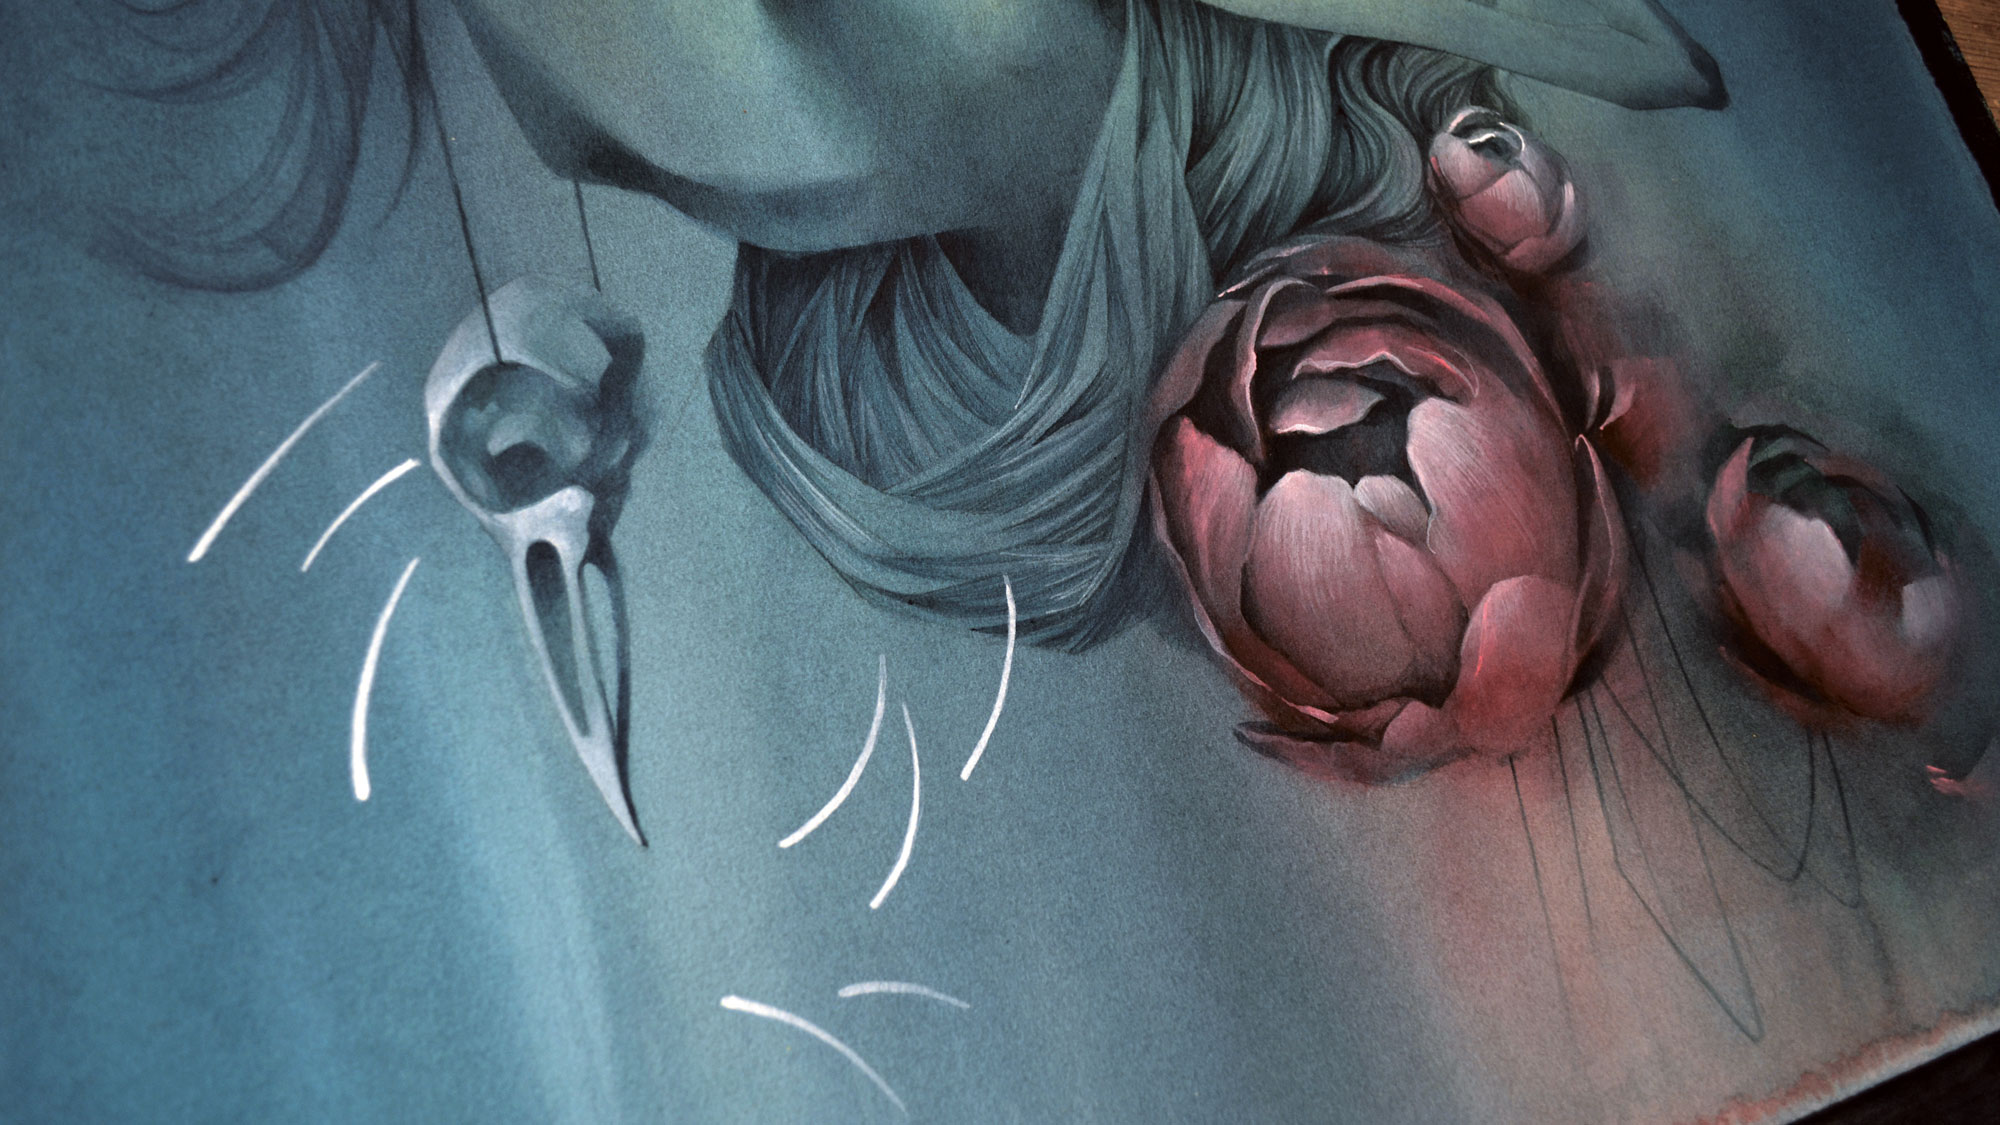
The final stage is to step back again and look for any areas that need tightening up and any opportunities for additional detail to add narrative to the painting. Here I feel that some thin bones would add context to the bird skull.
This article was originally published in ImagineFX, the world's best-selling magazine for digital artists. Subscribe now.
Read more:
