How to create a realistic oil painting of nature
Discover how to work in layers to create a realistic oil painting of nature.
Daily design news, reviews, how-tos and more, as picked by the editors.
You are now subscribed
Your newsletter sign-up was successful
Want to add more newsletters?

Five times a week
CreativeBloq
Your daily dose of creative inspiration: unmissable art, design and tech news, reviews, expert commentary and buying advice.

Once a week
By Design
The design newsletter from Creative Bloq, bringing you the latest news and inspiration from the worlds of graphic design, branding, typography and more.

Once a week
State of the Art
Our digital art newsletter is your go-to source for the latest news, trends, and inspiration from the worlds of art, illustration, 3D modelling, game design, animation, and beyond.

Seasonal (around events)
Brand Impact Awards
Make an impression. Sign up to learn more about this prestigious award scheme, which celebrates the best of branding.
While I’m an illustrator and fine artist by trade, based outside of Seattle, I’ve been working primarily as a concept artist. I own and help run Massive Black, a studio specialising in concept art and illustration primarily for games and film. We’ve worked on all kinds of stuff that you might have heard of, and some that you probably haven’t, too.
I paint digitally for most my commercial endeavours. However, I fell in love with how to paint with oils back when I was a student in art school, and I’ve since continued to pursue it between jobs. I dig the tactile nature and versatility of oils – I don’t think there’s a medium that I enjoy working in more.
- Canvas/plywood
- Paintbrushes
- Pencil
- Linseed oil
- Oil paints
- Mahl stick
I’ve chosen one of my favourite trees to paint: a large maple tree that takes up almost the entire clearing in our back yard. My goal isn’t so much to reproduce exactly what I see, but rather to interpret it using a variety of brushwork, marks and scratches. I want to make it appear fairly realistic from a distance, and also interesting to look at when viewed up close.
If you need some new kit, head over to these best oil paints and oil paint supplies guides, which curate the equipment to get you started right. And check out the deals below.
01. Prepare the panel
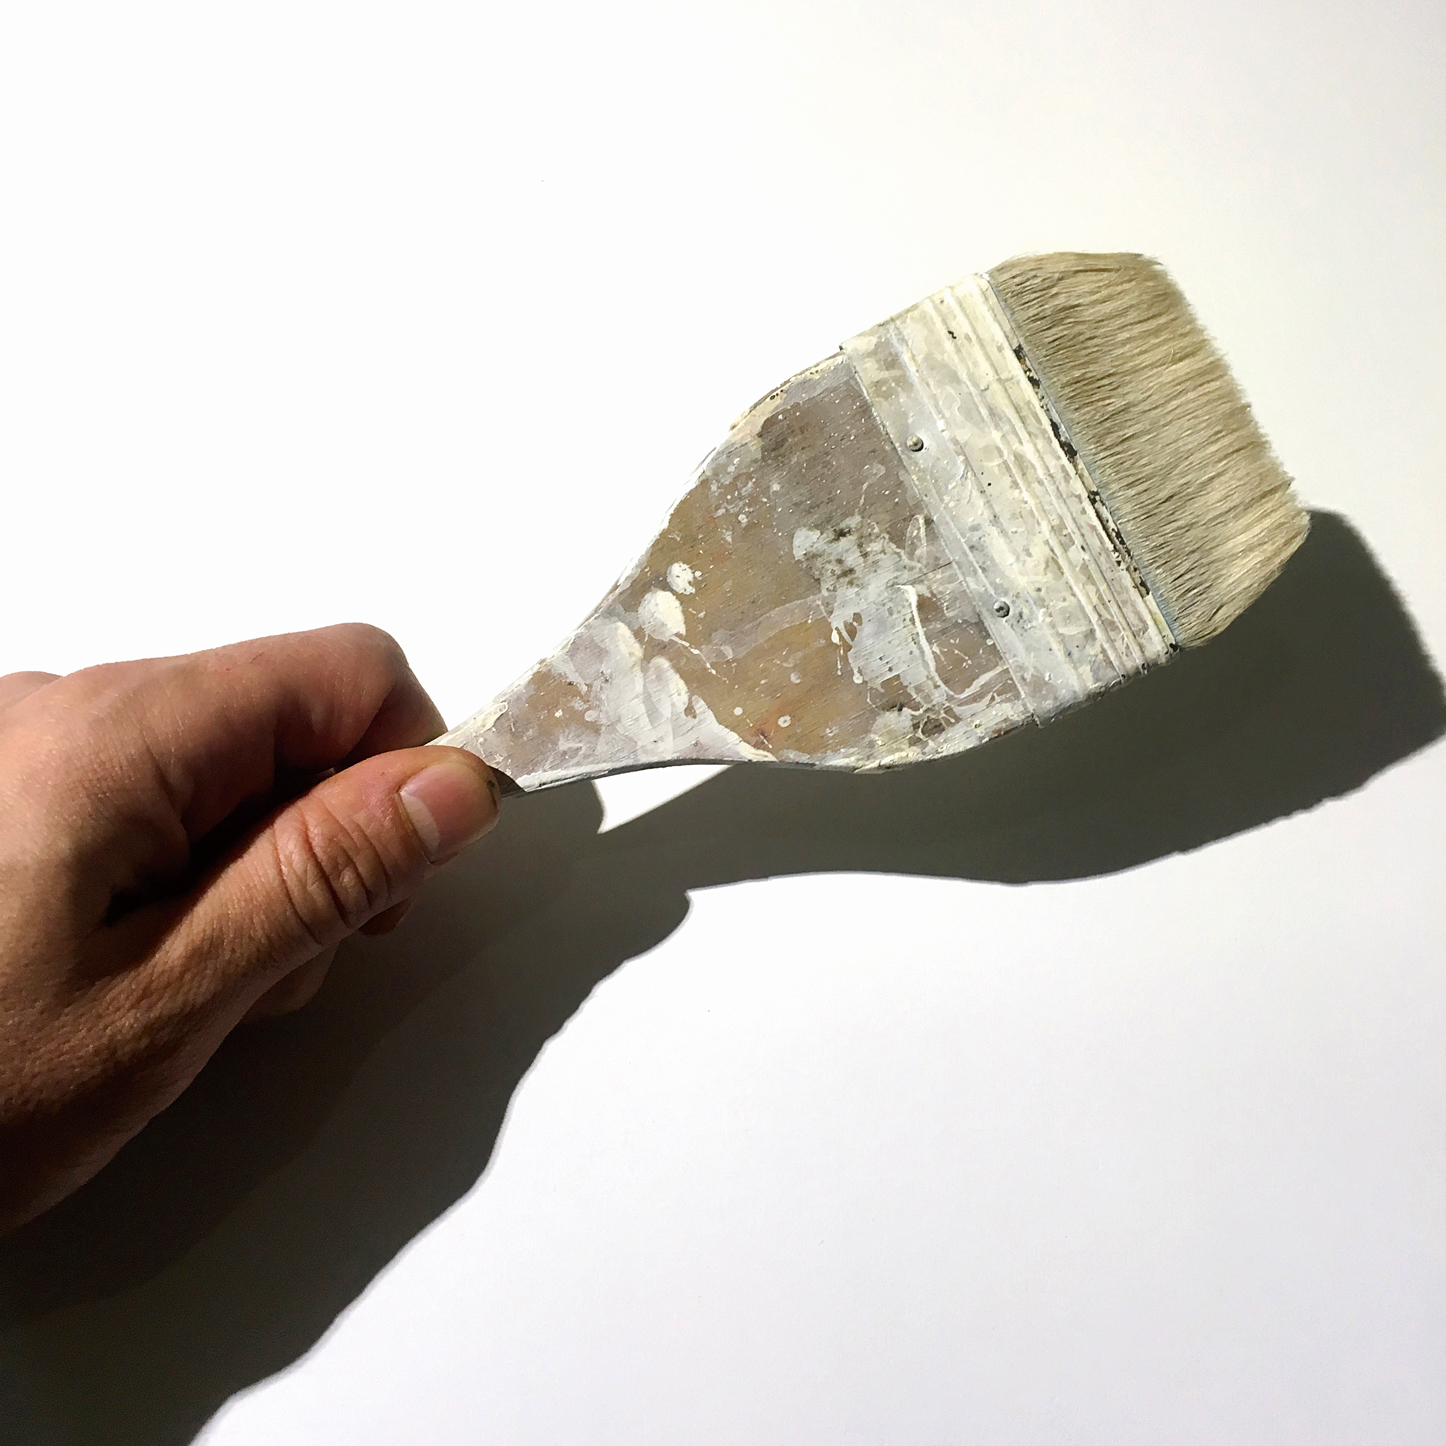
I begin with a 24x36-inch piece of birch plywood with a nice grain and minimal wear and tear, which I pick up from my local hardware store (if you'd rather use canvas, see this best oil paint canvas guide). I then dry brush between four and six coats of gesso on it with a soft, broad brush, working vigorously and using no water so it sets quickly. I take my time on this stage, and am careful to make sure the paint is even, and the surface is sealed properly with a new coat.
02. Prepare the surface
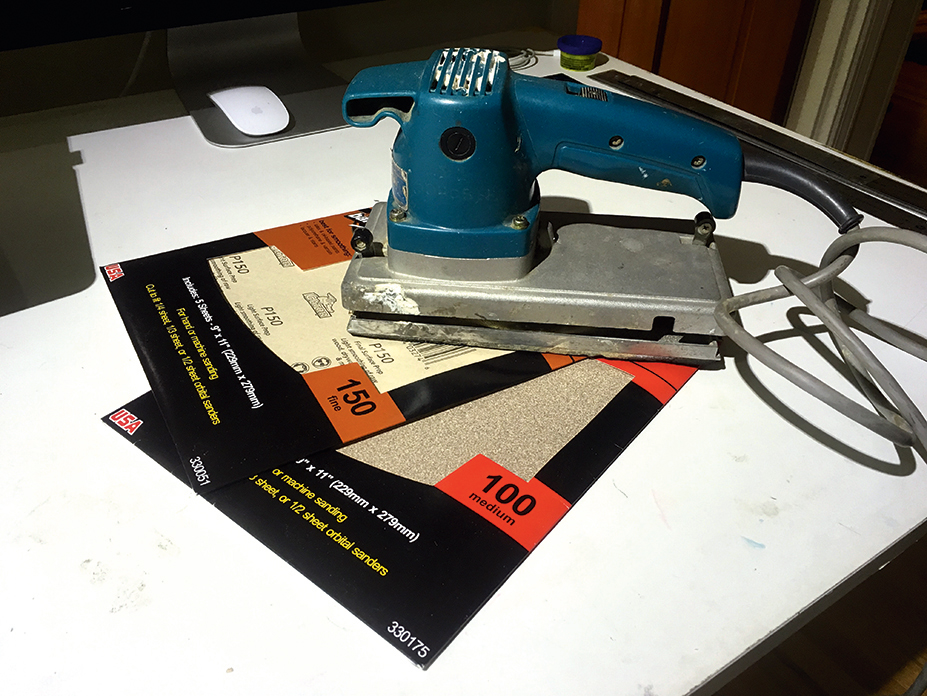
I use an electric sander to sand out any irregularities between coats until I achieve a smooth, eggshell-like finish. I use 100 grit in between most coats, and finish it with a finer grit. I don’t want it buffed “shiny” smooth, but I don’t want to have to work with any glaring surface irregularities, either.
03. Sketch in from the reference photo
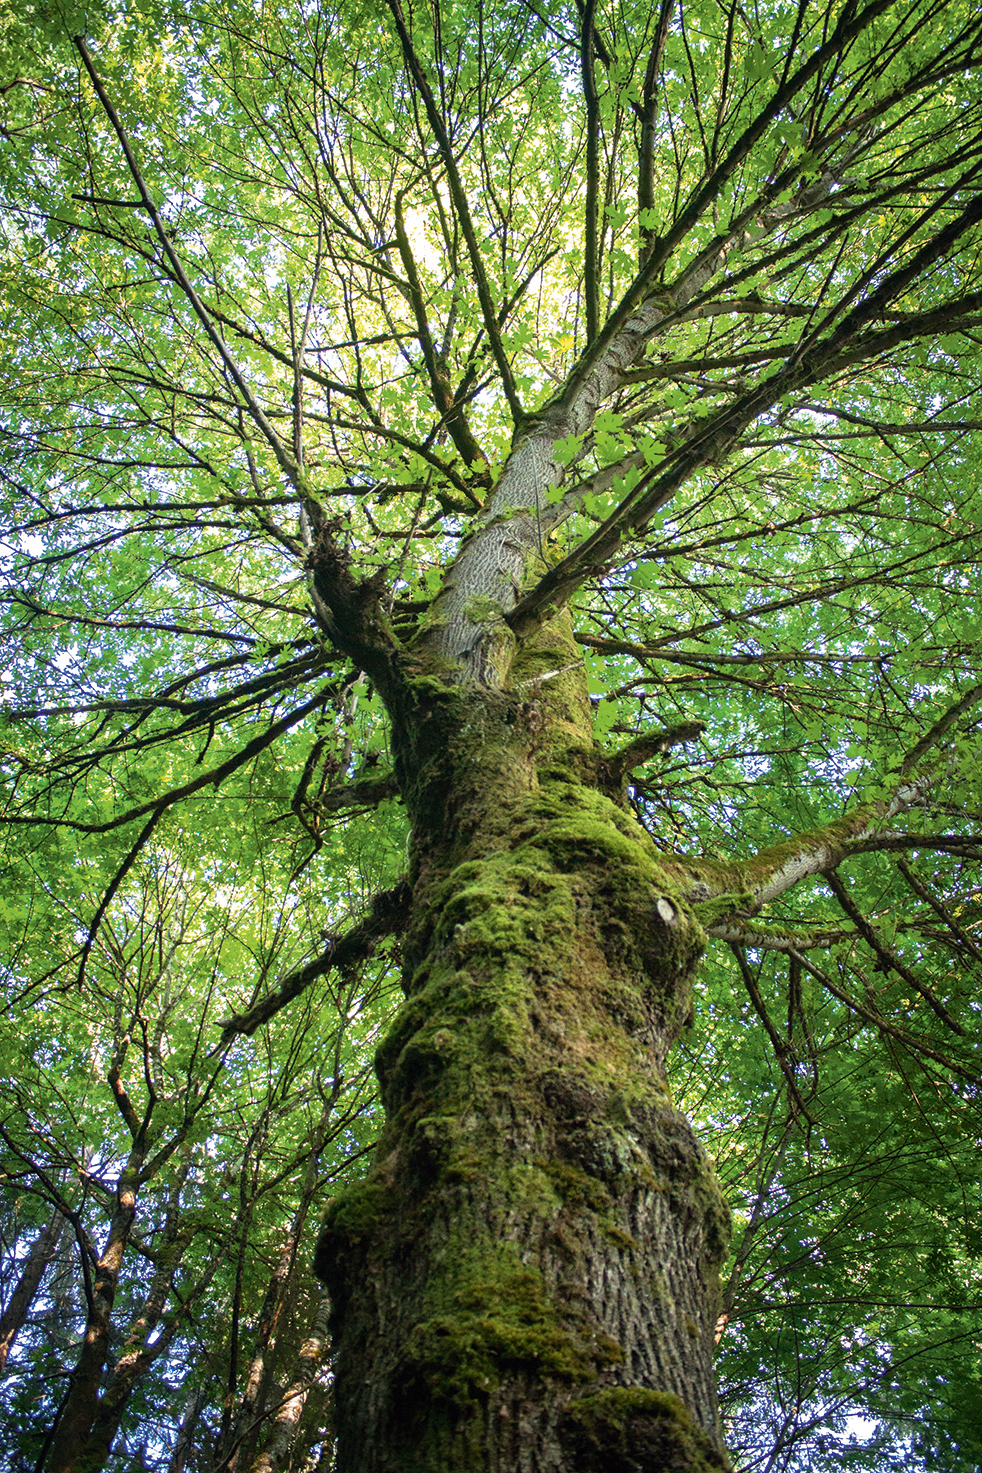
Once the gesso’s dry, l lightly sketch out my tree using a 4H lead pencil. I lay a grid on top of my reference in Photoshop, and then draw a corresponding grid of six-inch squares on my panel to help make sure the drawing is centred and sized properly. I work from a photograph that I took out in the backyard. I’m careful to get the large branch forms blocked in as accurately as possible, but I’m not labouring over the smaller branches. I’ll just paint them in directly, using the larger branches as guides for placement.
04. Set up for the underpainting
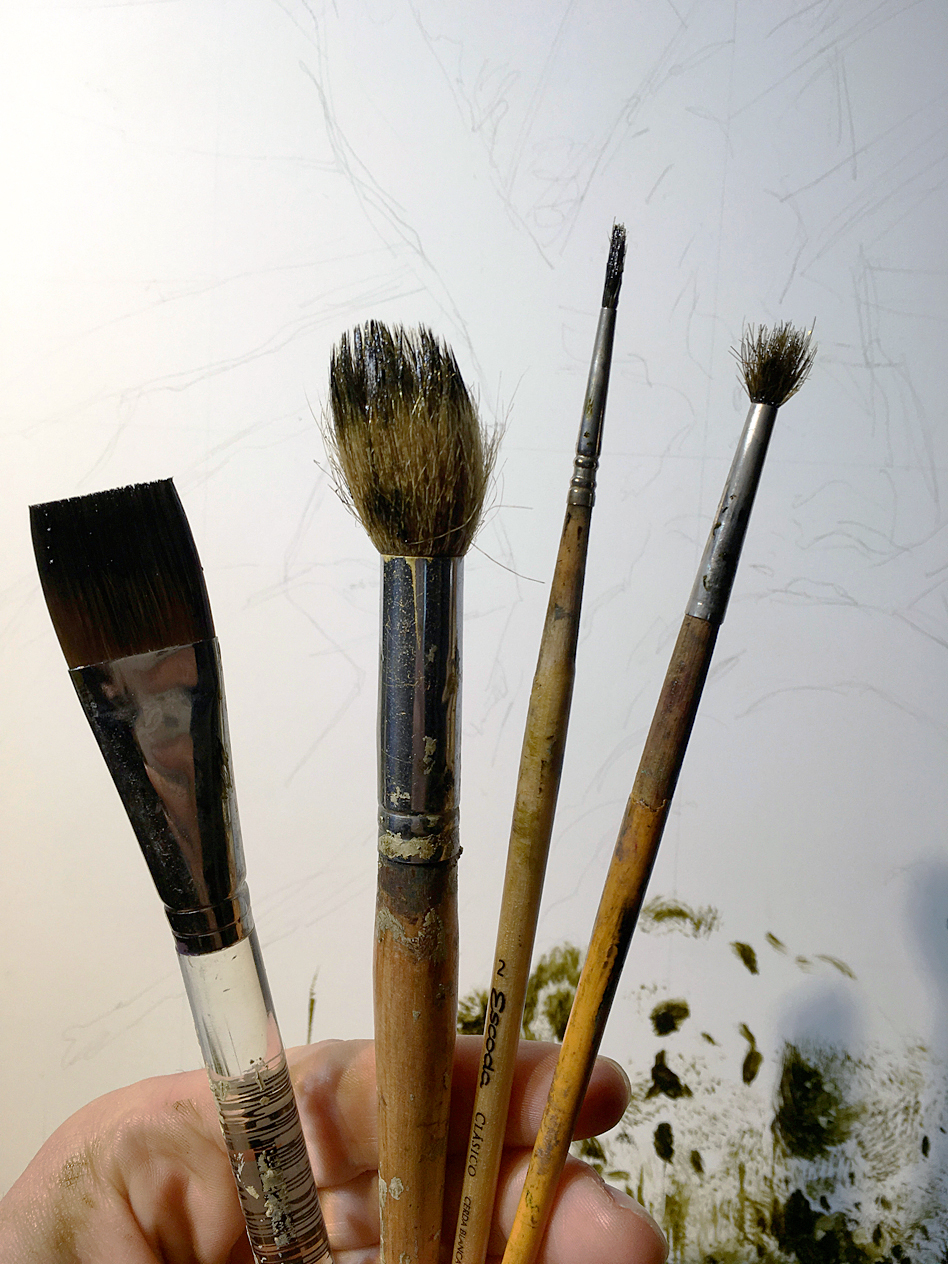
I’m using olive green and refined linseed oil. Olive green is great to underpaint with because it’s transparent, which allows for a broader and more predicable range of values on top of the white ground. Furthermore, it’s a warm, neutral colour that isn’t too overpowering. I use mostly bristle brushes for this stage of painting. They enable me to apply a lot of paint, scratch texture back in, and easily manipulate edges and volumes. I also use a variety of mop brushes to stipple texture and small liner brushes for branches. I use the back of the brush to scratch highlights and I also have a few little rubber tipped tools and a synthetic wash brush to help create manipulate paint.
05. And breathe...

I use only refined linseed oil as my medium. It takes a couple of weeks to dry enough to work on top of again, but I find it’s helpful to be stuck in this stage for a while so I can work back into it and fix things that are bothering me. I also like it because it’s non-toxic, and produces no fumes so it’s safe to breathe and doesn’t stink up the room.
06. Paint the underpainting
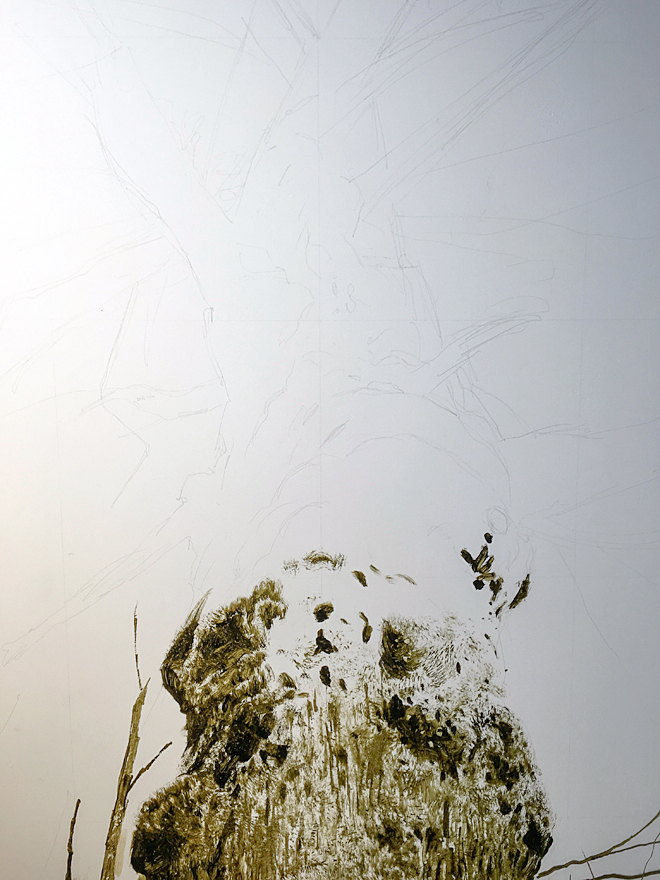
I start from the trunk and work my way up. I try not to overwork things at this stage, because a lot of it will be painted over eventually. I’m aiming to establish the shadow shapes and begin to describe the surfaces. Using a mop brush, I begin to block in the canopy of leaves. It’s important to not overload the brush because we don’t want to go too dark on those leaves.
07. Gain greater control
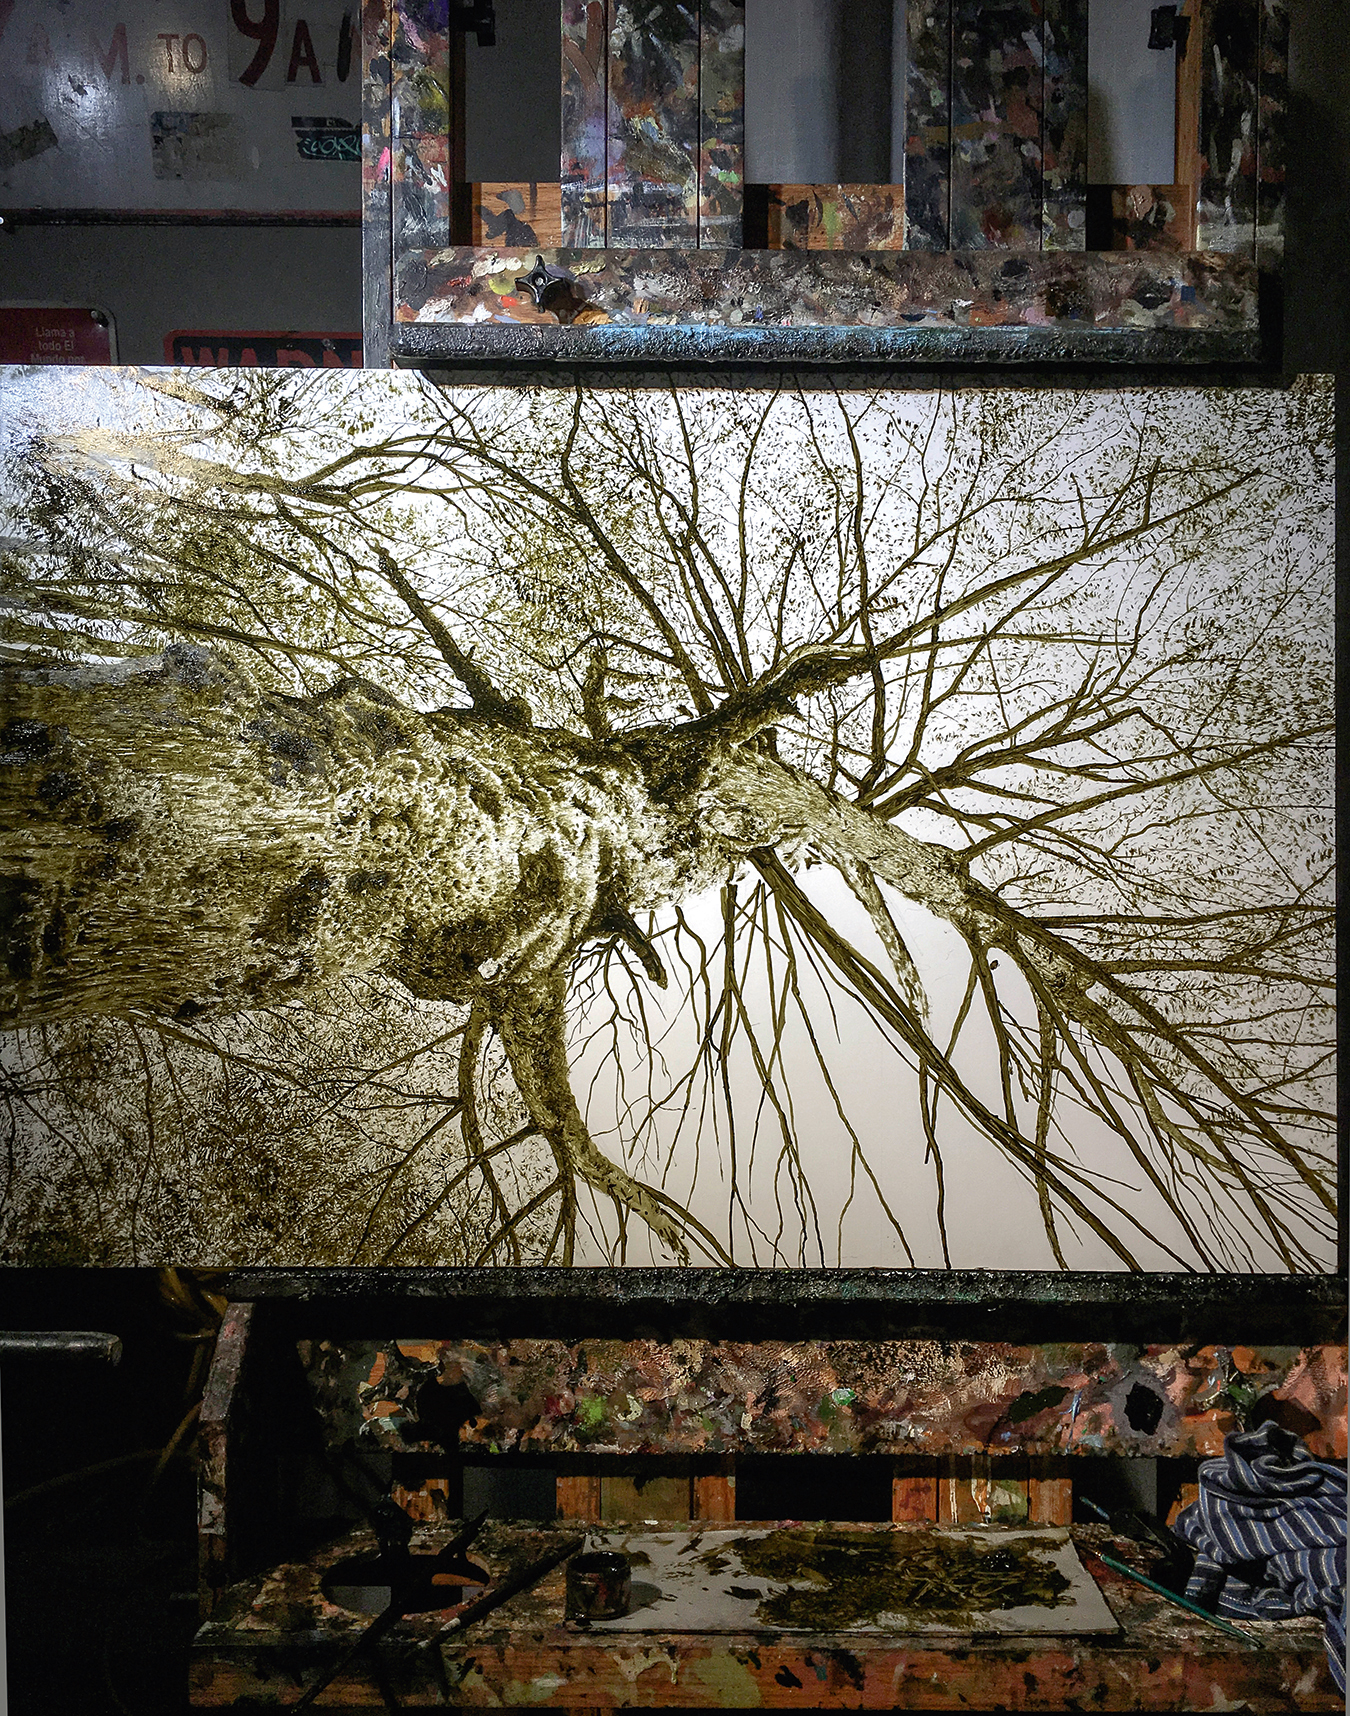
I break out the liner brushes as I move up towards the top to paint in those smaller branches. I rotate the panel and use a mahl stick, which gives me greater control over the widths of the branches. A good rule of thumb is that they always get thinner, and offshoots are always thinner than their parent branches.
08. Glaze the painting
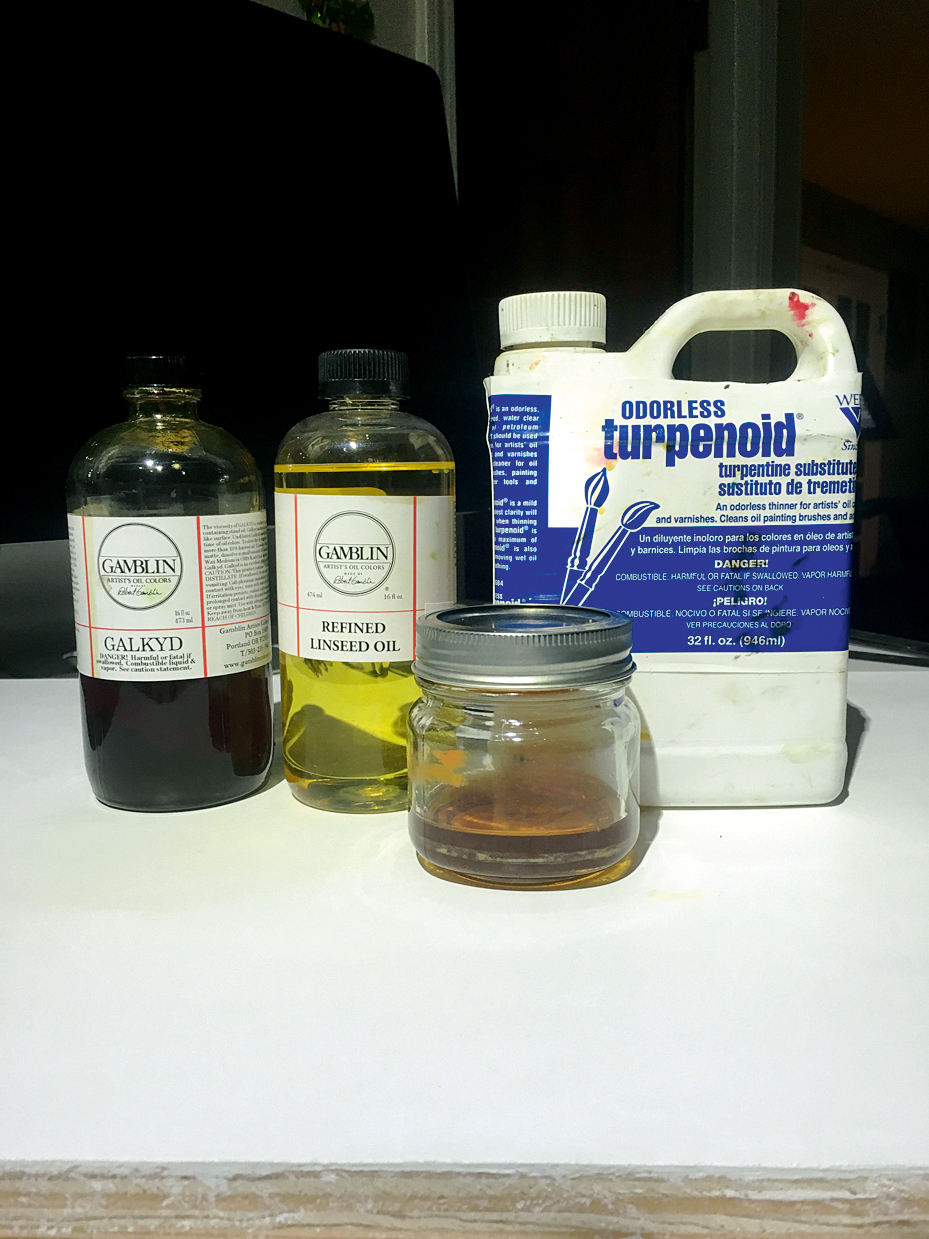
Once it’s dry to the touch, I begin glazing transparent colour in. I mix a solution made up of 50 per cent galkyd, 40 per cent turpenoid and 10 per cent refined linseed oil. I then lay out my transparent paints. I use Payne’s Grey, Alizarin crimson, Indian yellow, Ultramarine blue, Pthalo green and transparent Red oxide lake. I mix combinations of these colours with my medium and apply it accordingly. Need more supplies? See this best art supplies roundup.
09. It's colour time
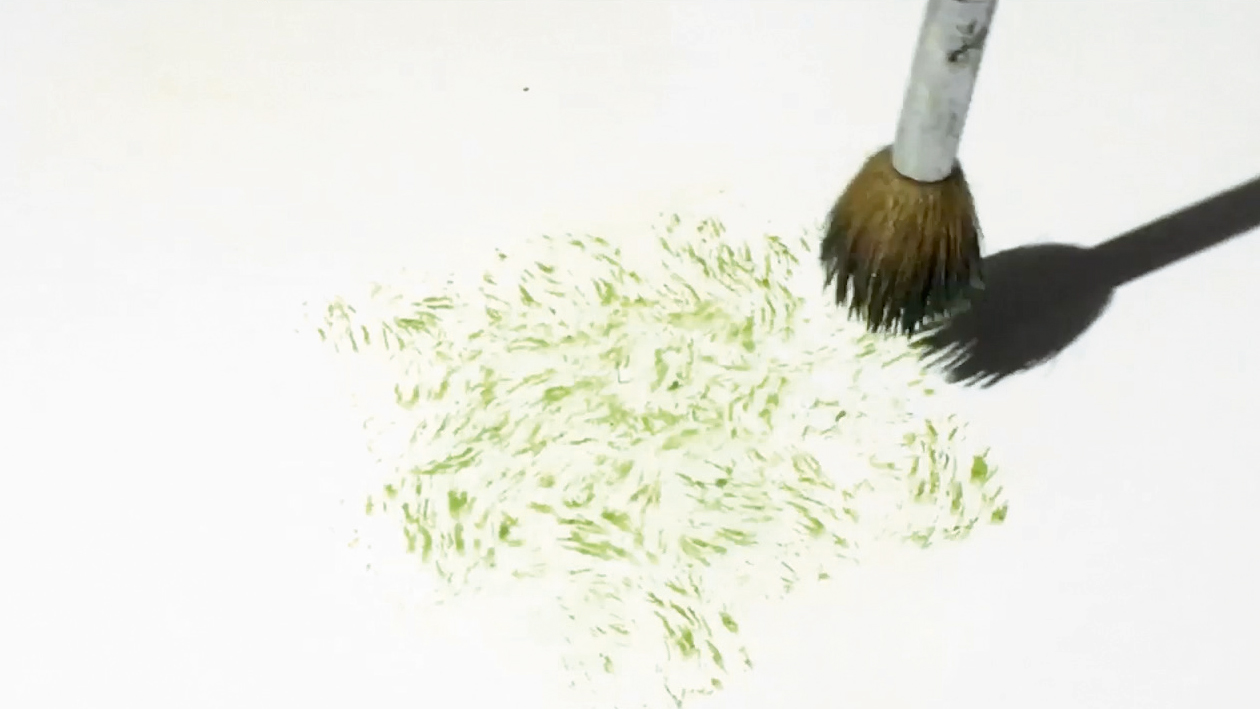
I begin laying in the leaves by blotting a mixture of Pthalo Green, Indian Yellow, and some transparent Red Oxide Lake using mop brushes. I use Ultramarine Blue and Alizarin Crimson on the tree trunk, and add more Indian Yellow to the mossy areas. I lay it on pretty lightly, and wait at least 24 hours before laying another layer on. After three to four layers the colours are dialled in. Glazing gives a depth to the colours that’s difficult if not impossible to achieve working opaquely. I also really like the textures that build up.
10. Begin opaque application
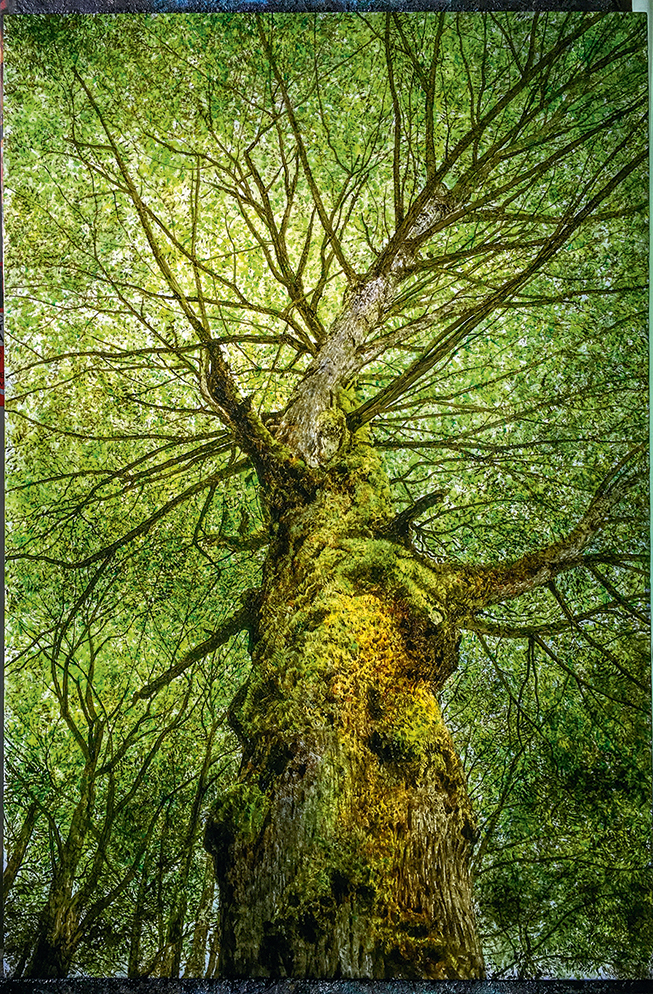
When I finish with the glazing, I begin painting opaquely on top. I prepare a full palette of paint and begin to work into the painting, looking to correct drawing errors, accentuate highlights and shadows, and refine forms and edges. I look for opportunities to vary the temperatures and punch accents.
11. Vary the marks
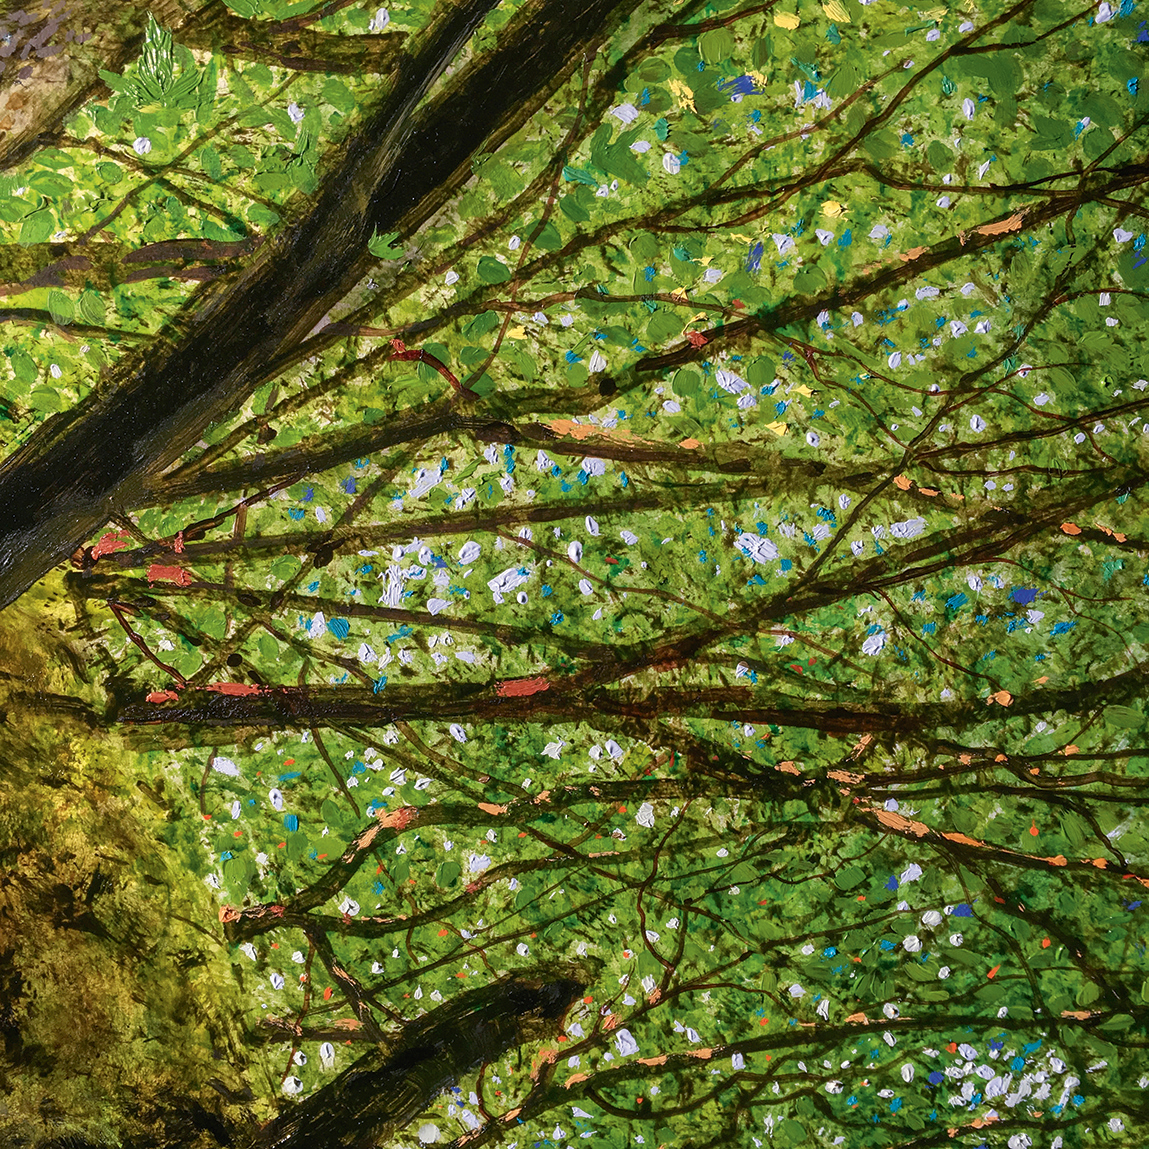
I begin to detail in the leaves and the smaller branches, and also revisit and detail the larger ones. This stage can be a few passes, where I work both wet-in-wet and dry brushing. It’s a “whatever works best” scenario. I’m also trying to break up the surface, and avoid too many similar-looking marks.
12. Add final details and correct errors
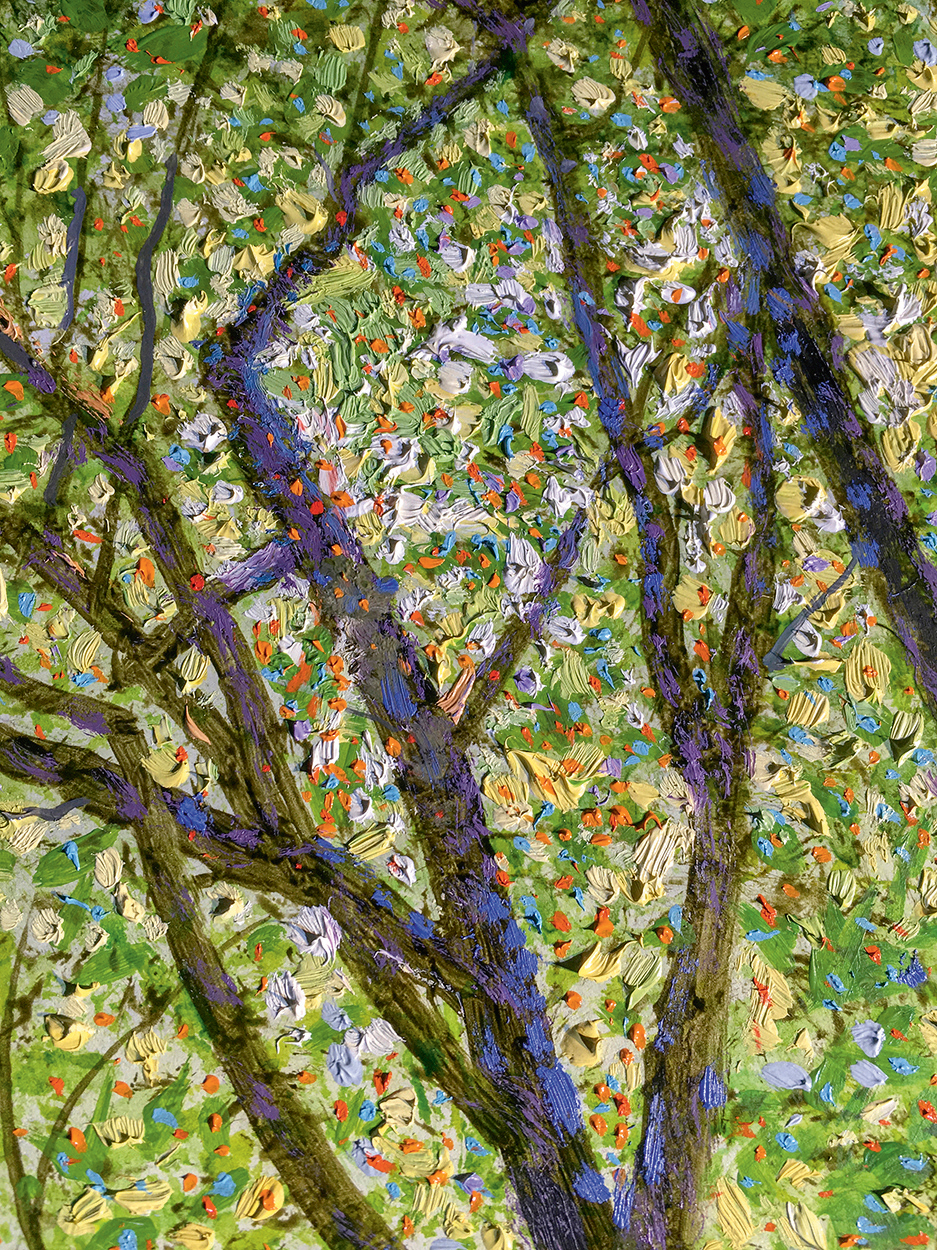
I come back in with pure opaque colours and dot them on using small rounds and liners in sort of a pointillism fashion. This enables me to modulate large fields of colour with subtlety and control. The hard part is over, and now I’m just polishing it up, fixing minor errors and accentuating areas. This is also where you get to develop the surface of the painting, and make it cool to look at up close.
Daily design news, reviews, how-tos and more, as picked by the editors.
13. Expand your knowledge

And that’s it! Hang it on your wall and impress your friends and family. Your paintings will make great gifts too. But in the end, you reap the reward of having a deeper knowledge of the time-honoured tradition of oil painting, the comfort of completing a process and making something physical, and a better understanding of the intricate and profound beauty of Mother Nature.
This article was originally published in ImagineFX magazine. Subscribe here.
Related articles:
- How to paint water in oils: Get a rippling effect
- Oil painting techniques: All the tips you need to paint in oils
- Oil painting for beginners: Top tips to get you started
- Georgia CogganEditor
