Adobe Illustrator tutorials: 29 lessons to improve your skills
The best Adobe Illustrator tutorials, from beginner to advanced techniques.

Sign up to Creative Bloq's daily newsletter, which brings you the latest news and inspiration from the worlds of art, design and technology.
You are now subscribed
Your newsletter sign-up was successful
Want to add more newsletters?
Adobe Illustrator tutorials are a great way to hone your creative skills, whether you're starting fresh or looking for handy hacks to optimise your workflow. From basic beginner guides to in-depth video tutorials, there are countless time-saving tips to be learned that can help you navigate this industry-standard vector graphics tool with ease,
We've compiled the best Adobe Illustrator tutorials below, ranging from in-depth step-by-step starter guides to speedy top tips. Whether you want to design simple icons or complex illustrations, there will likely be a tutorial to help you get the most out of Illustrator.
If you still need the software, check out our guide to download Adobe Illustrator and take a look at the best Illustrator plugins to help you work faster, smarter and more creatively.
Article continues below13/10/25: We have reorganised the layout of this piece, have checked all these tutorials, added new ones for 2025 and deleted some old ones.
The best Adobe Illustrator tutorials
Adobe Illustrator basics
01. Adobe Illustrator crash course
Sometimes getting started with a new program can be overwhelming, but this helpful video equips you with all the knowledge you need to get started. This Adobe Illustrator Crash Course by Flux Academy is perfect for beginners, teaching you all the tips you need to get your new project off the ground.
With expert insight on the essential tools you need to know as well as a guide on how to master Illustrator's interface, this is a great video to learn from and refer back to as you get more confident with the program.
02. Illustrator tutorial for beginners 2025
Illustrator can be a little intimidating for beginners, but this Adobe Illustrator tutorial for beginners breaks things down to make it easy to get started. This tutorial gives a tour of the interface in Illustrator 2025, including an overview of how to create a new document, draw with various tools and edit paths and shapes.
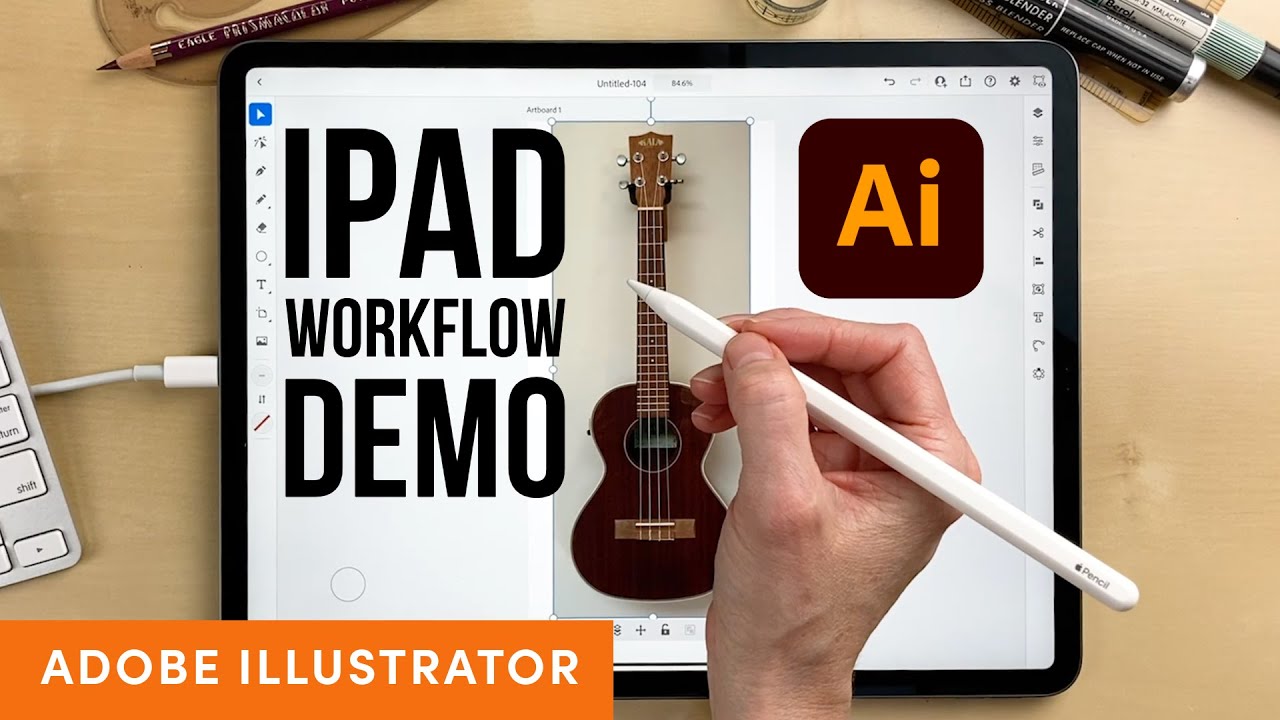
03. Illustrator for iPad workflow demo
Of course, as well as the desktop version, Adobe Illustrator is also available for the iPad. This tutorial offers a quick guide to how to use Illustrator on the iPad and shows off a few key tools.
Sign up to Creative Bloq's daily newsletter, which brings you the latest news and inspiration from the worlds of art, design and technology.
04. How to use the Color Picker
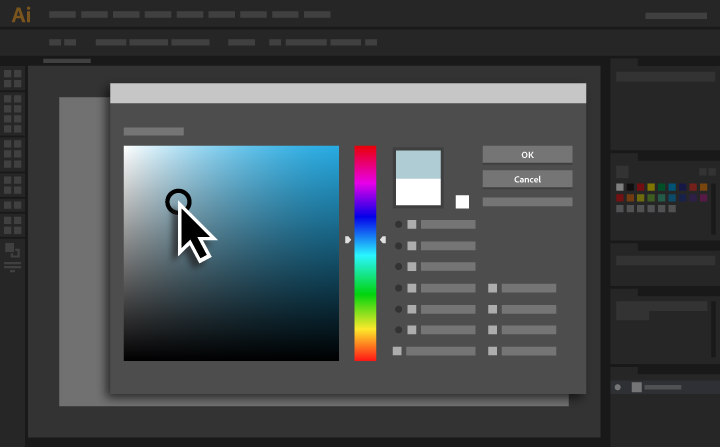
Adobe Illustrator's Color Picker allows you to select and apply colours to your artwork in Illustrator CC. This six-step Adobe tutorial offers a quick demonstration of how to use the Color Picker tool.
05. Add text to your designs
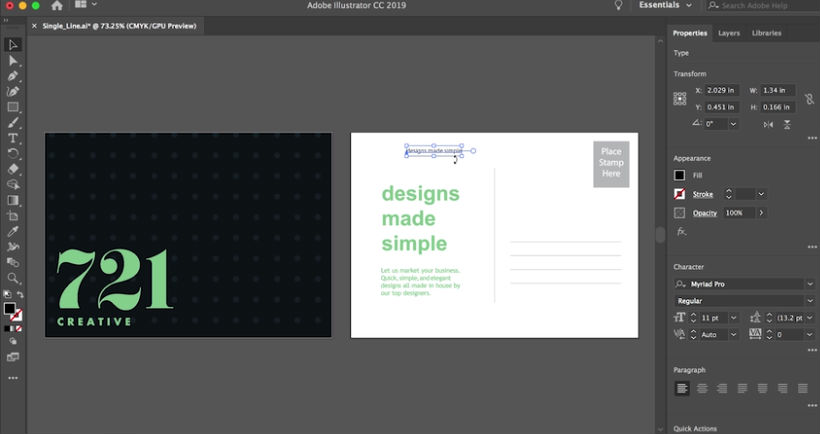
Want to add text to your designs in Illustrator CC? This beginner-level Adobe Illustrator tutorial introduces the basics of how to do just that. You’ll learn how to add text, apply formatting, reshape and style it, and also how to place text on or inside a path.
06. Masking in Illustrator
As you probably already know, masking allows you to hide or reveal different parts of an image or design. In this Adobe Illustrator tutorial, you'll learn about three different masking techniques: clipping mask, opacity mask and draw inside.
07. Transform and edit artwork
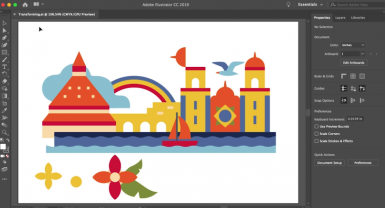
This Adobe tutorial runs through the basics of how to transform and edit artwork designed in Adobe Illustrator CC. You'll learn how to resize artwork, and how to use groups, align objects and more using the Selection tool, Transform panel, and other transform tools.
08. Edit paths in Illustrator CC
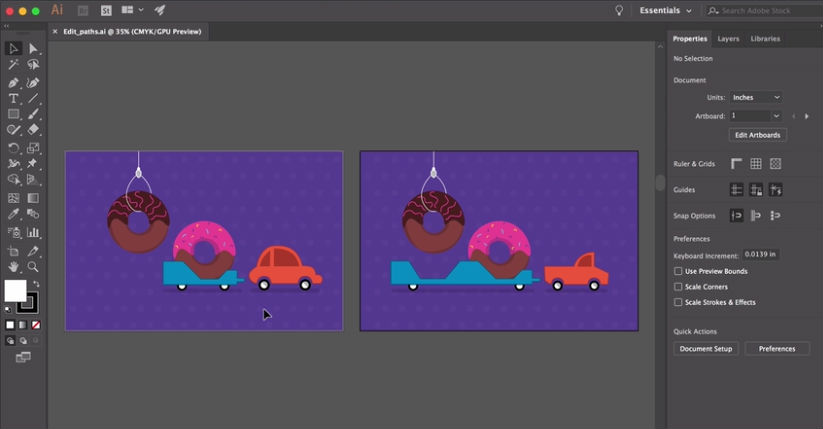
This Adobe Illustrator tutorial shows how to edit paths in your artwork using a variety of tools and options, including the Pen tool, Curvature tool, Anchor Point tool and others.
Adobe Illustrator AI tools
09. Text-to-Vector tool

With Illustrator's Text-to-Vector tool, even a complete beginner can conjure up a fantastical illustration in minutes, generating intricate vector graphics from even the most basic of text prompts. As a professional, you might want to use these to generate ideas, or to provide a rough mockup of your idea to clients before working on the real thing.
10. Generative Recolor tool

After creating a piece of work, you might find that your creation requires an entire shift in tone. Avoid complicated colour theory and the laborious process of editing each colour by giving the Illustrator a few simple cues and letting it do the rest using its Generative Recolor tool.
11. Mockup
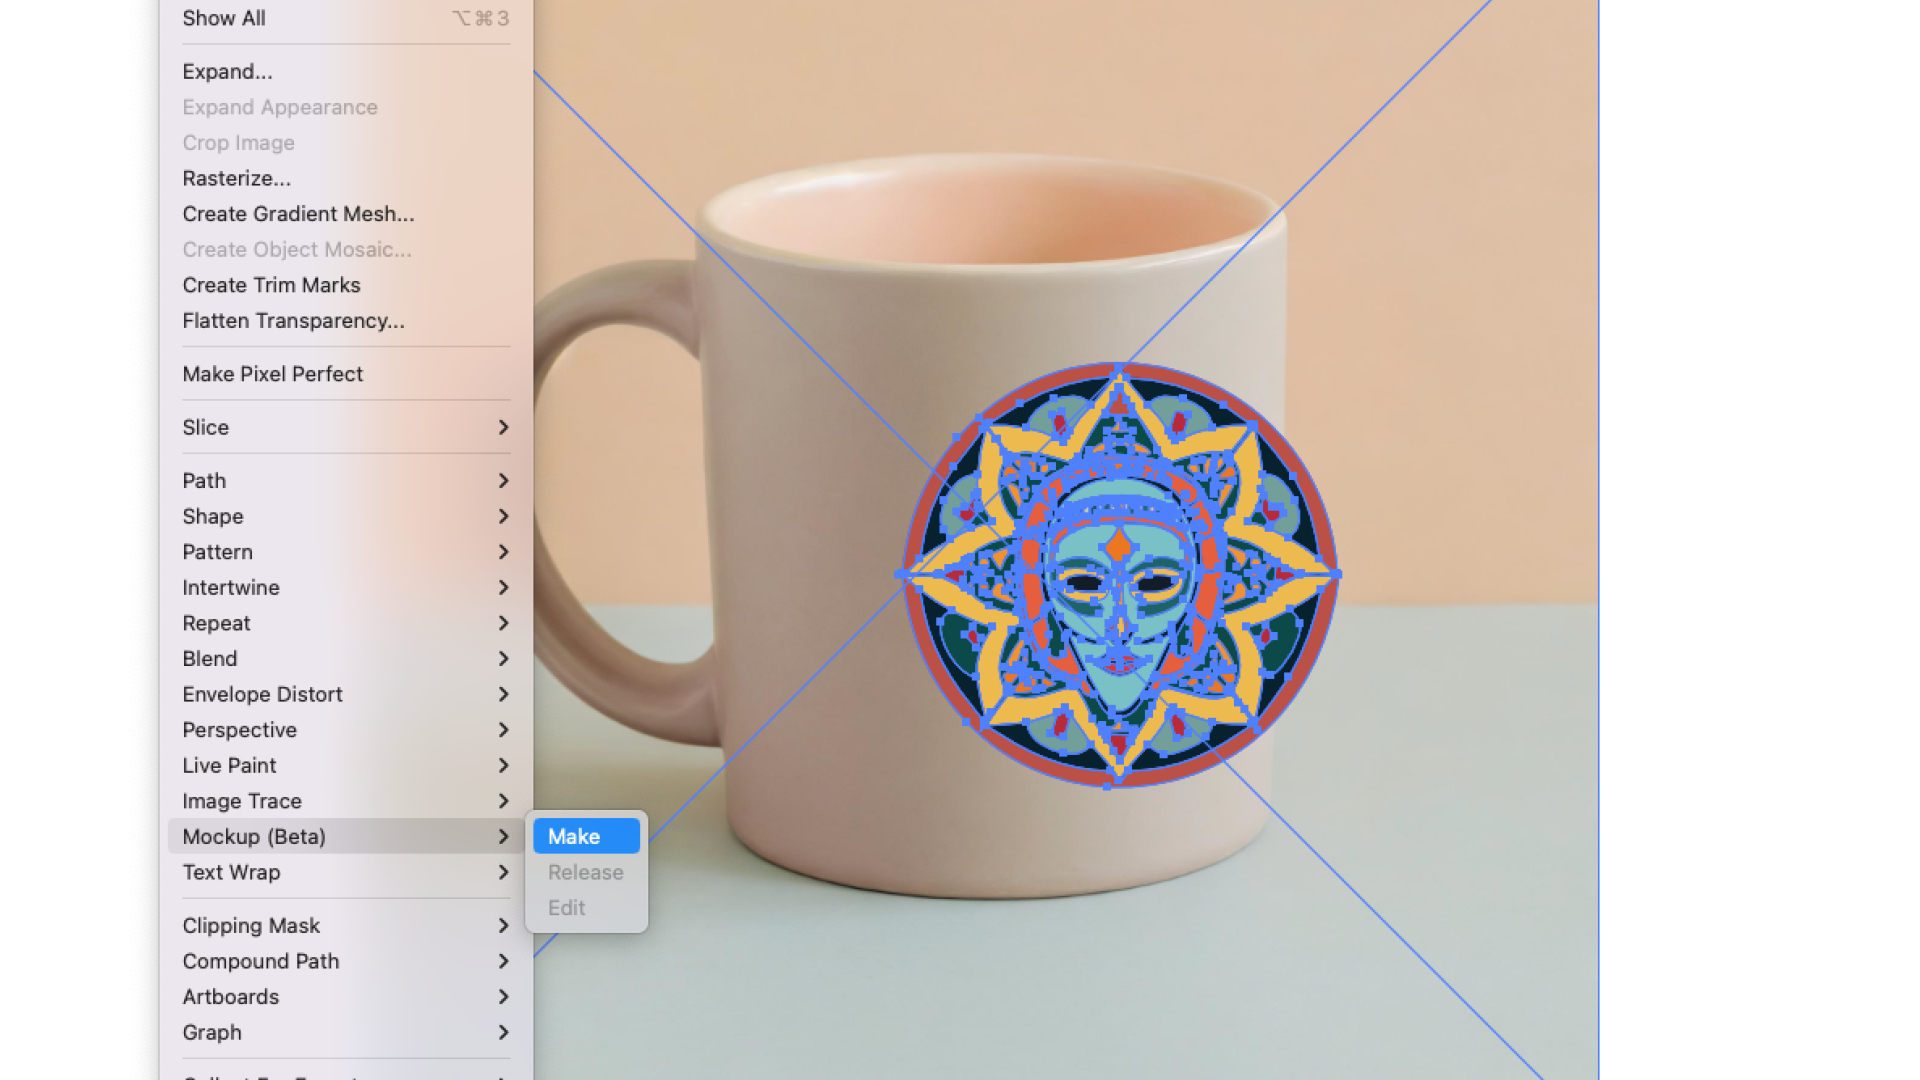
Illustrator's Mockup works offline and uses AI to place a 2D image in situ on your choice of 3D settings, like a mug, so you can see how your design will work in reality. It's super-useful for product packaging and design.
12. Retype
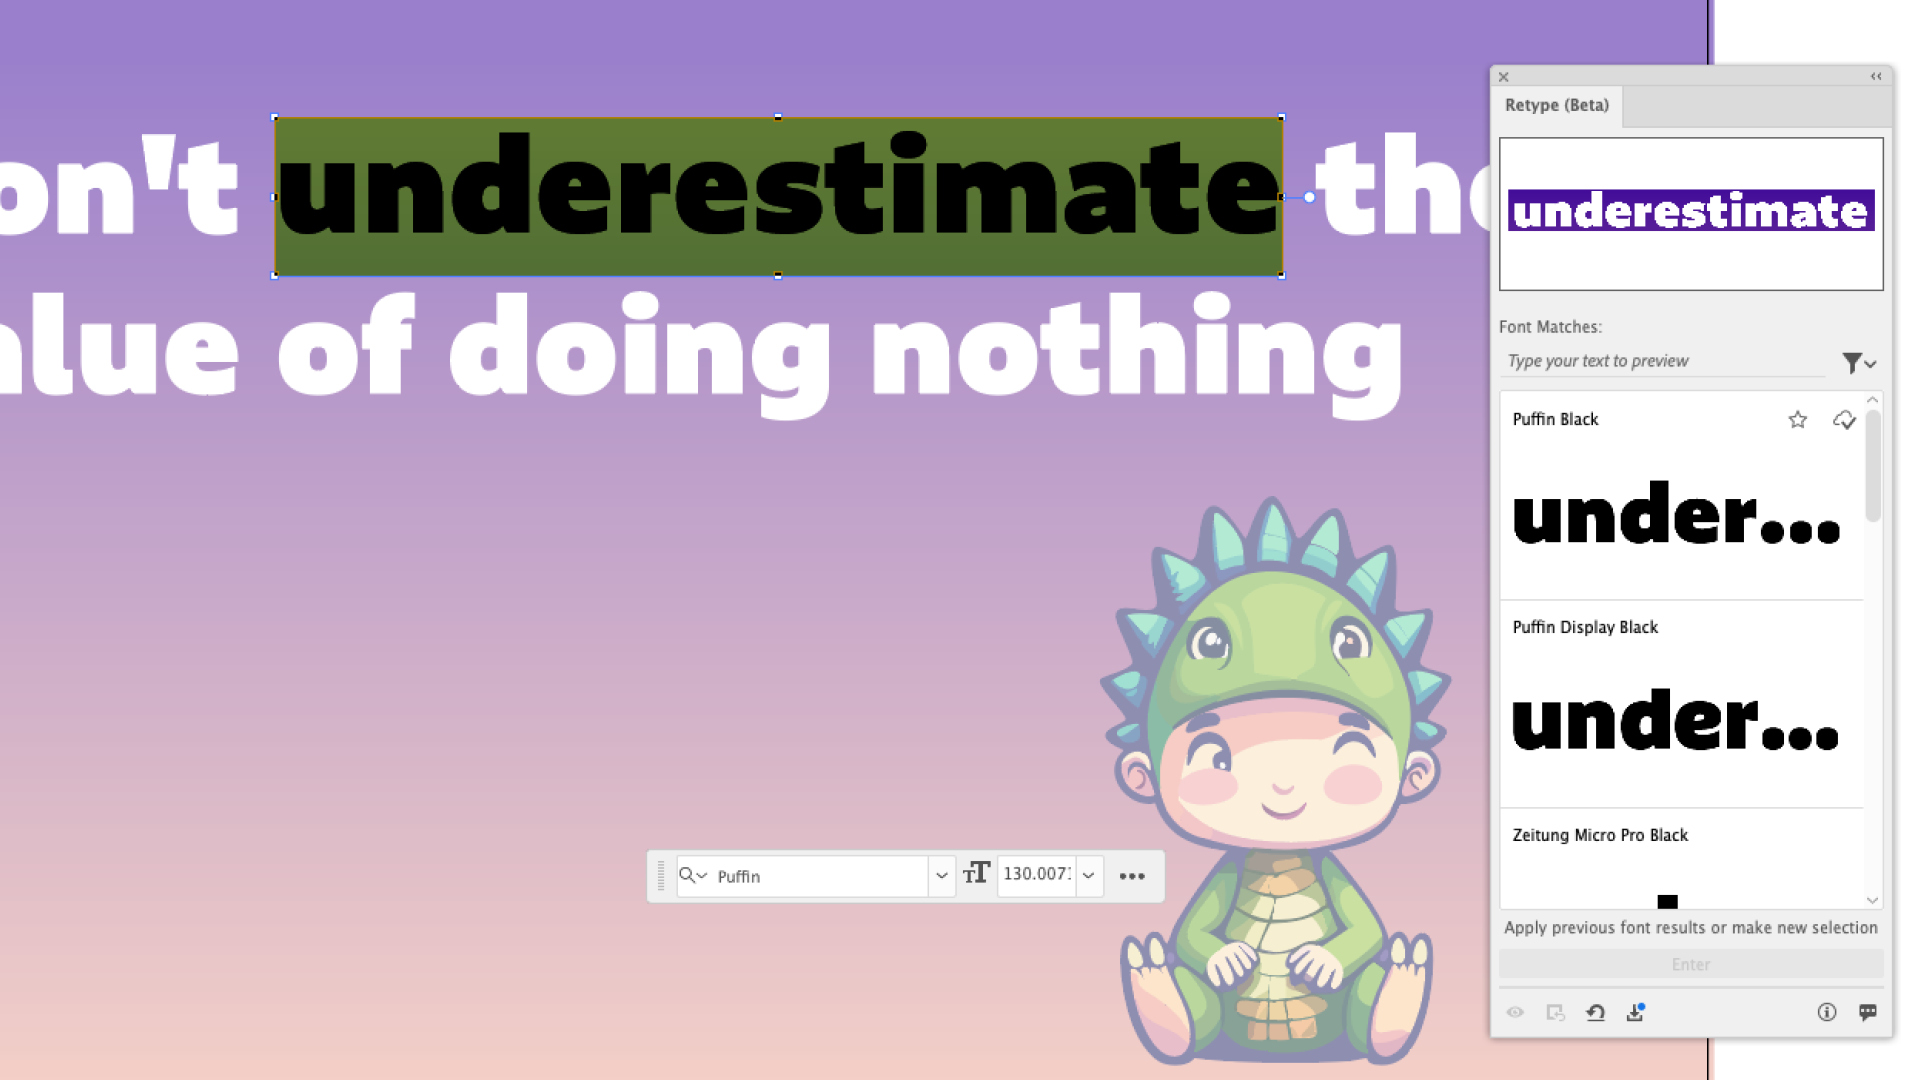
Illustrator's Retype allows you to identify an outlined font in a static graphic and convert it into editable text. It searches Adobe Fonts as well as the font set on your own computer. While it doesn't always find the perfect match, it offers many similar fonts that might work just as well.
Adobe Illustrator workflow
13. Essential Illustrator shortcuts
In this handy guide, we take you through 22 of the most useful Illustrator shortcuts to speed up your workflow. From merging layers to changing sizes, these shortcuts can help make repeated actions more efficient and ease navigation. The short and concise tips listed in this guide are a great handbook for Illustrator's time-saving shortcuts, but in time they'll likely become second nature as you integrate them into your workflow. We even take you through how to create your own shortcuts to customise your experience.
14. Illustrator hacks
One of my all time favs this tip for Illustrator. Drawing inside.Click these minuscule buttons on the tool panel or hit shift+d until you see the bounding box around your artwork. Then simply draw inside, you can draw shapes, line work or just paste whatever inside. Simple! pic.twitter.com/r5cRUiFD9fJune 25, 2020
Designer Matthew Lucas shared a whole bunch of useful Illustrator hacks in a post on Twitter. They went down a storm, with fellow designers asking for more. See one of them above, and check out our post about his Illustrator hacks.
It’s important to be able to share your Adobe Illustrator assets in different formats. This tutorial explains how to export higher quality SVG artwork for use in web and app projects.
15. Adobe Illustrator 2025 New Features
If you're a seasoned Illustrator user and want to keep up with the latest updates, this short summary video by Dansky is the perfect whistle-stop tour of the tool's shiny new features. Covering the latest innovations like objects on path and improved image trace, Dansky shows the tools in action, offering his expert opinion on the functionality of each new feature.
Make logos
16. Design a logo in Adobe Illustrator

Want to create a logo that will look just as good in print and on screen while combining imagery with text? This tutorial shows you how to design a logo.
17. Design a gradient logo in Illustrator
Gradients just aren't going out of fashion, especially in brand schemes. In this popular video tutorial, Dansky walks us though how to create a simple gradient logo in Adobe Illustrator.
Create icons
18. Create a web icon in Adobe Illustrator

This tutorial teaches you how to make a web icon. Learn how to modify simple shapes to create a camera icon that can be used as a social media profile avatar and as a button linking to a portfolio on a digital CV.
19. Create an app icon in Adobe Illustrator
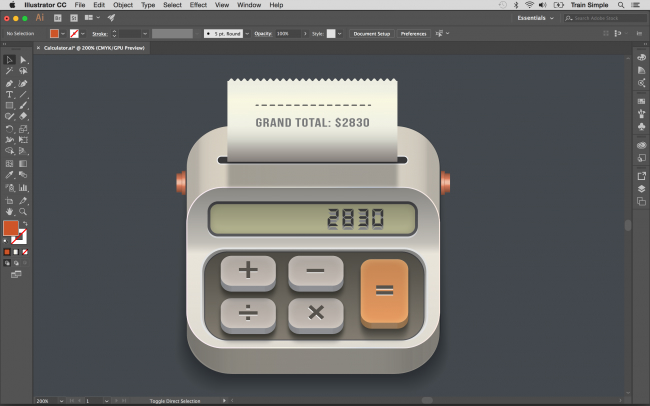
Another step-by-step tutorial from Matthew Pizzi, this one shows how to create a calculator app icon in Illustrator. You’ll use a variety of shape tools, the Pen tool, and the 3D features of Illustrator CC.
Draw in llustrator
20. Get to know Adobe Illustrator's drawing tools
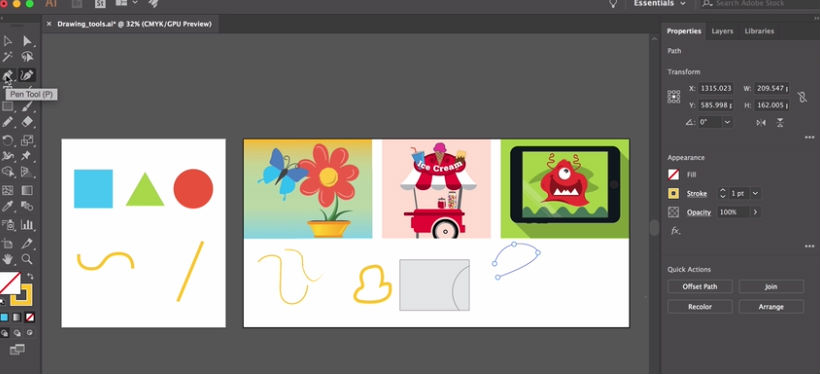
This handy tutorial focuses on the wide variety of drawing tools you'll find in Illustrator's Tools panel, each of which allows you to create in different ways. The tutorial will give you a good understanding of how to use the Pen tool, Pencil tool, Curvature tool and Paintbrush tool.
21. Learn how to draw anything in Illustrator
This Illustrator tutorial is taught by certified Adobe Design Master Martin Perhiniak, who was voted one of the top 10 Adobe instructors back in 2015. His video explores different drawing techniques in Adobe Illustrator CC. He offers advice to help you improve your skills when working with shapes. It's well worth a look.
22. How to design graphic figures in Illustrator

Learn how to turn your basic stick men into graphic figures with their own style and personality in this Illustrator CC tutorial from Ben O'Brien.
23. Create a calligraphic brush in Illustrator

One of the great things about Adobe Illustrator is the ability to create your own brushes. Here, Chris Rathbone explains how to create your own vector Illustrator brush in three simple steps.
24. Use the Perspective Grid
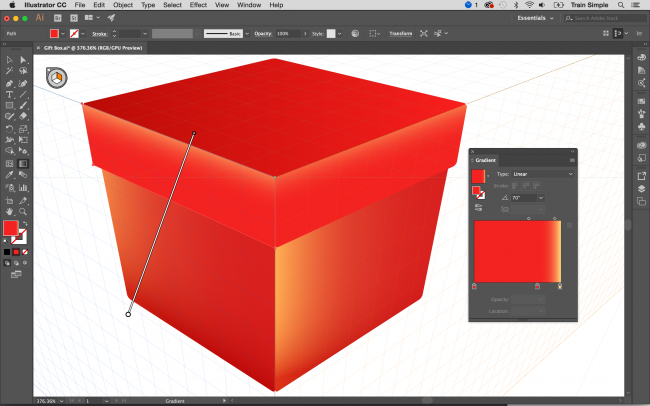
With Illustrator CC’s Perspective Grid, you can either place existing artwork in a perspective plane or draw directly on to the grid. This tutorial from Matthew Pizzi uses both methods to show us how to create a 3D gift box. He also teaches us an easy way to create a reflection.
25. Quickly join and trim paths

Learning how to join paths is a great way to clean up your line work in Illustrator CC. This tutorial explains how to trim excess line segments from intersecting paths and how to close the gaps between two open paths.
26. Warp, pose, and sculpt your artwork with ease
Exporting and sharing work
27. Shortcut your logo design exports
Creatives will be all too familiar with the hassle of exporting logos in various sizes and formats for different client needs, but Dansky has created a handy free pack to make that a whole lot easier. In this helpful video tutorial, he shows how to streamline the process of exporting logo designs to meet different specs.
28. How to share artwork in Adobe Illustrator
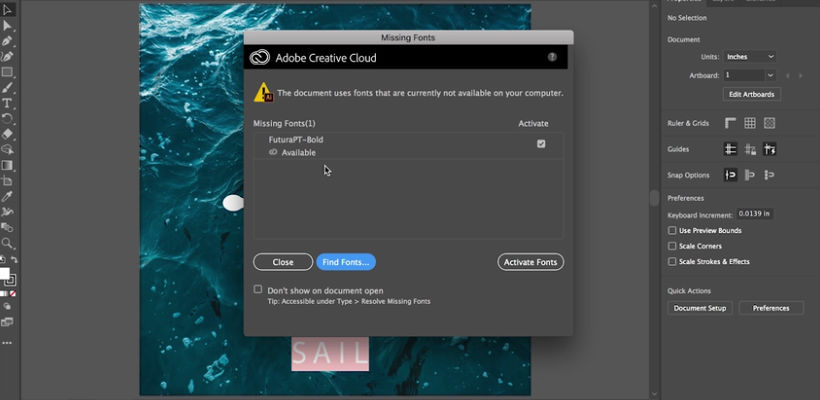
This Adobe guide covers the basics of sharing in Illustrator CC. It covers the topics of how to share files, how to save them as PDFs and how to export images.
29. Export assets for web and app design
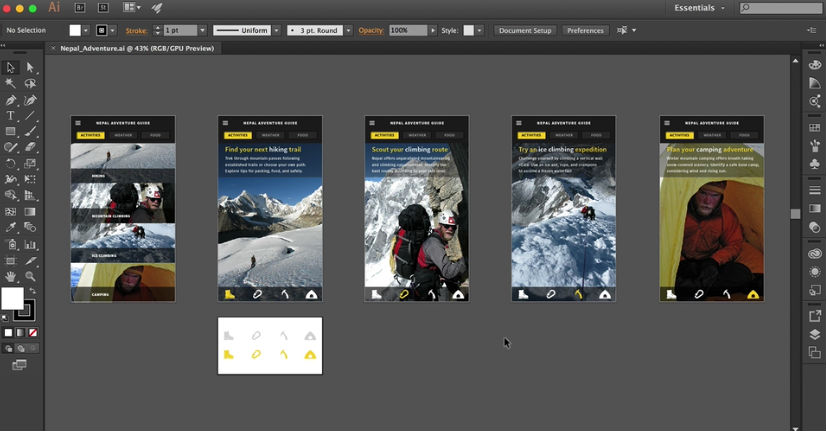
It’s important to be able to share your Adobe Illustrator assets in different formats. This tutorial explains how to export higher quality SVG artwork for use in web and app projects.
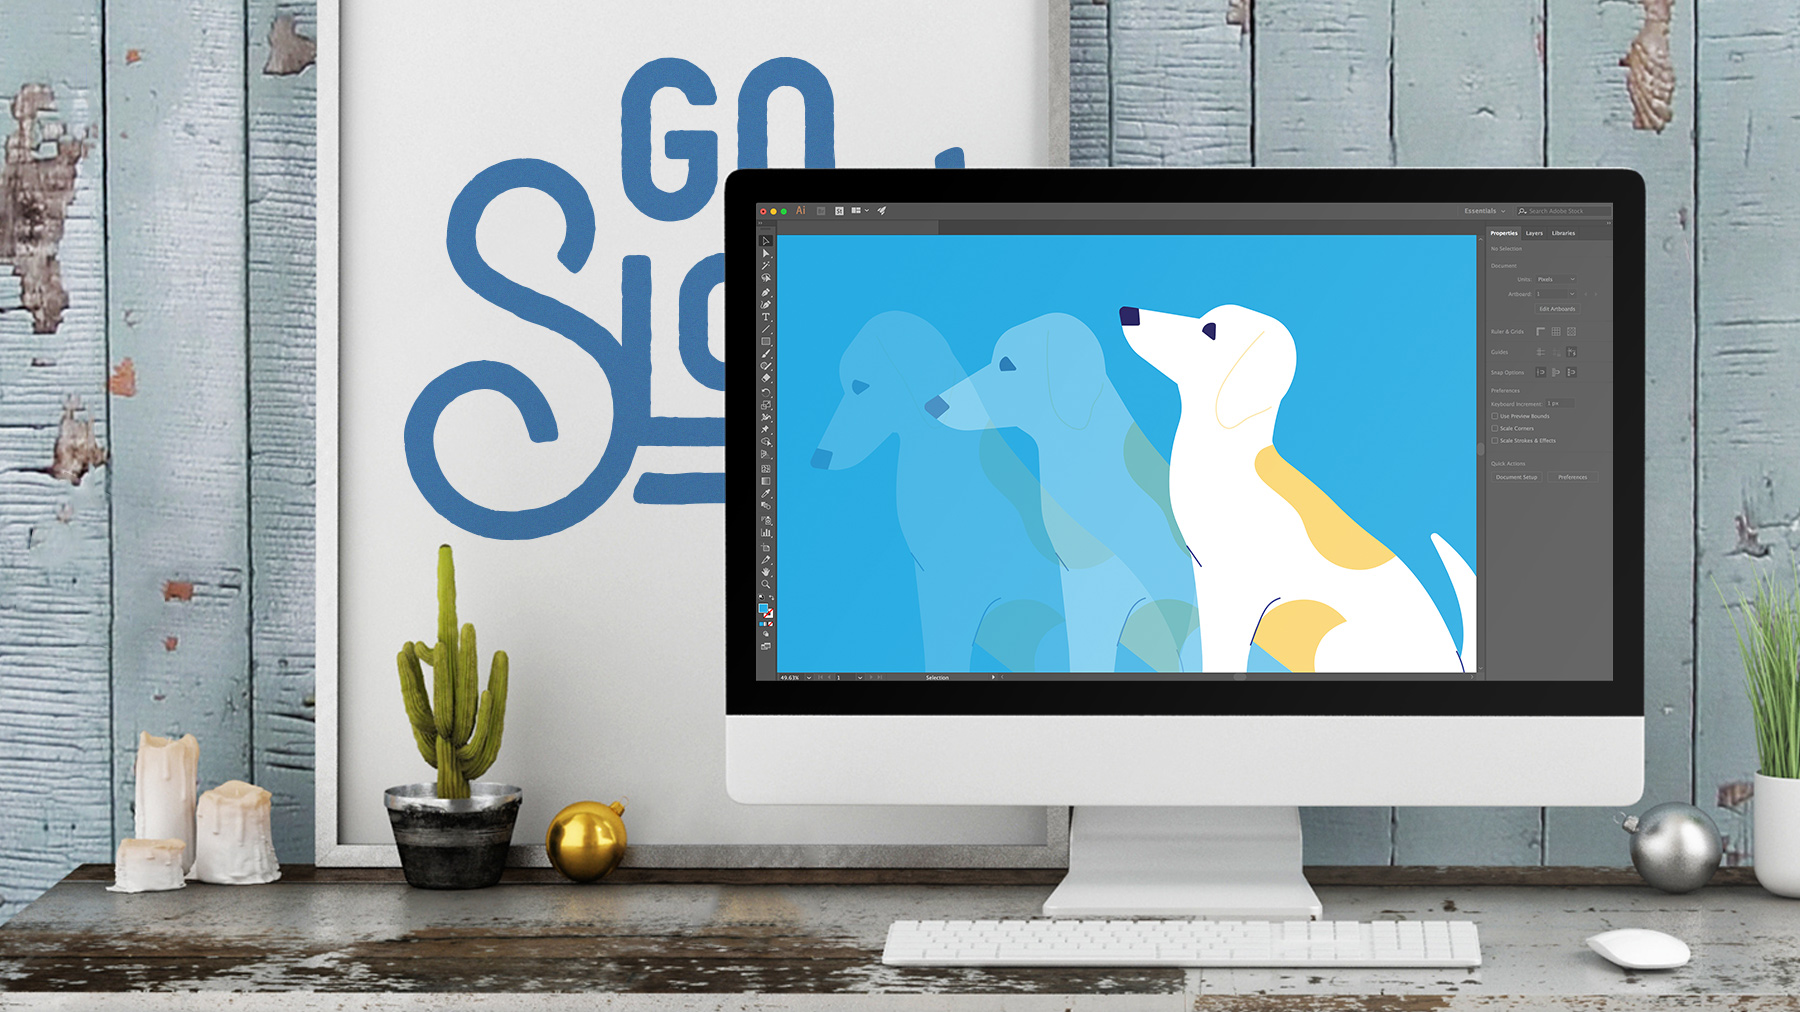
This advanced Adobe Illustrator tutorial teaches you how to make smooth adjustments to parts of vector drawings. The technique involves placing pins using the Puppet Warp tool, and then manipulating specific areas of your artwork.
What is Adobe Illustrator?
Adobe Illustrator is a vector graphics editor and design program. First launched in 1985, it's still widely seen as the industry standard tool in graphic design. It's different from a tool like Photoshop because it's used to create vector images, which comprise points, lines, shapes, and curves based on mathematical formulas rather than a set amount of pixels. This means they can be scaled up or down, so you can design things to print at a very large scale without losing image quality.
How do I access Adobe Illustrator?
You can use Adobe Illustrator as a desktop software program or as an iPad app. To do so, you'll need to download Adobe Illustrator with a free trial or a paid subscription.
How many days it will take to learn Illustrator?
It all depends on your intentions. If you're learning how to use Illustrator for small personal projects you can easily get to grips with the program in a few hours. If you're looking to implement Illustrator into your daily workflow, it could take a few weeks or even months before you've efficiently mastered it.
The more you progress, the more shortcuts and tricks you'll pick up. If you're starting from scratch it's best to take a course or watch a couple of tutorials to get you started. Once you're familiar with the program, don't be afraid to learn as you go. Follow tutorials that suit the needs of your project and you'll soon find a natural rhythm that's efficient for your creative flow.
Does Adobe Illustrator have AI tools?
Illustrator now has generative AI tools powered by Firefly. These are Text-to-Vector, Generative Recolor, Mockup and Retype. Adobe says AI isn't meant to replace human creativity, but is there to help unlock it. Suggested uses for pros for these tools are mockups and idea generation.

Georgia has worked on Creative Bloq since 2018, and has been the site's Editor since 2023. With a specialism in branding and design, Georgia is also Programme Director of CB's award scheme – the Brand Impact Awards. As well as immersing herself with the industry through attending events like Adobe Max and the D&AD Awards and steering the site's content streams, Georgia has an eye on new commercial opportunities and ensuring they reflect the needs and interests of creatives.
- Rosie HilderDeputy editor
You must confirm your public display name before commenting
Please logout and then login again, you will then be prompted to enter your display name.


