Create perspective in Adobe Illustrator
Discover how to master the three-point perspective grid in Illustrator to create a beautiful gift box.
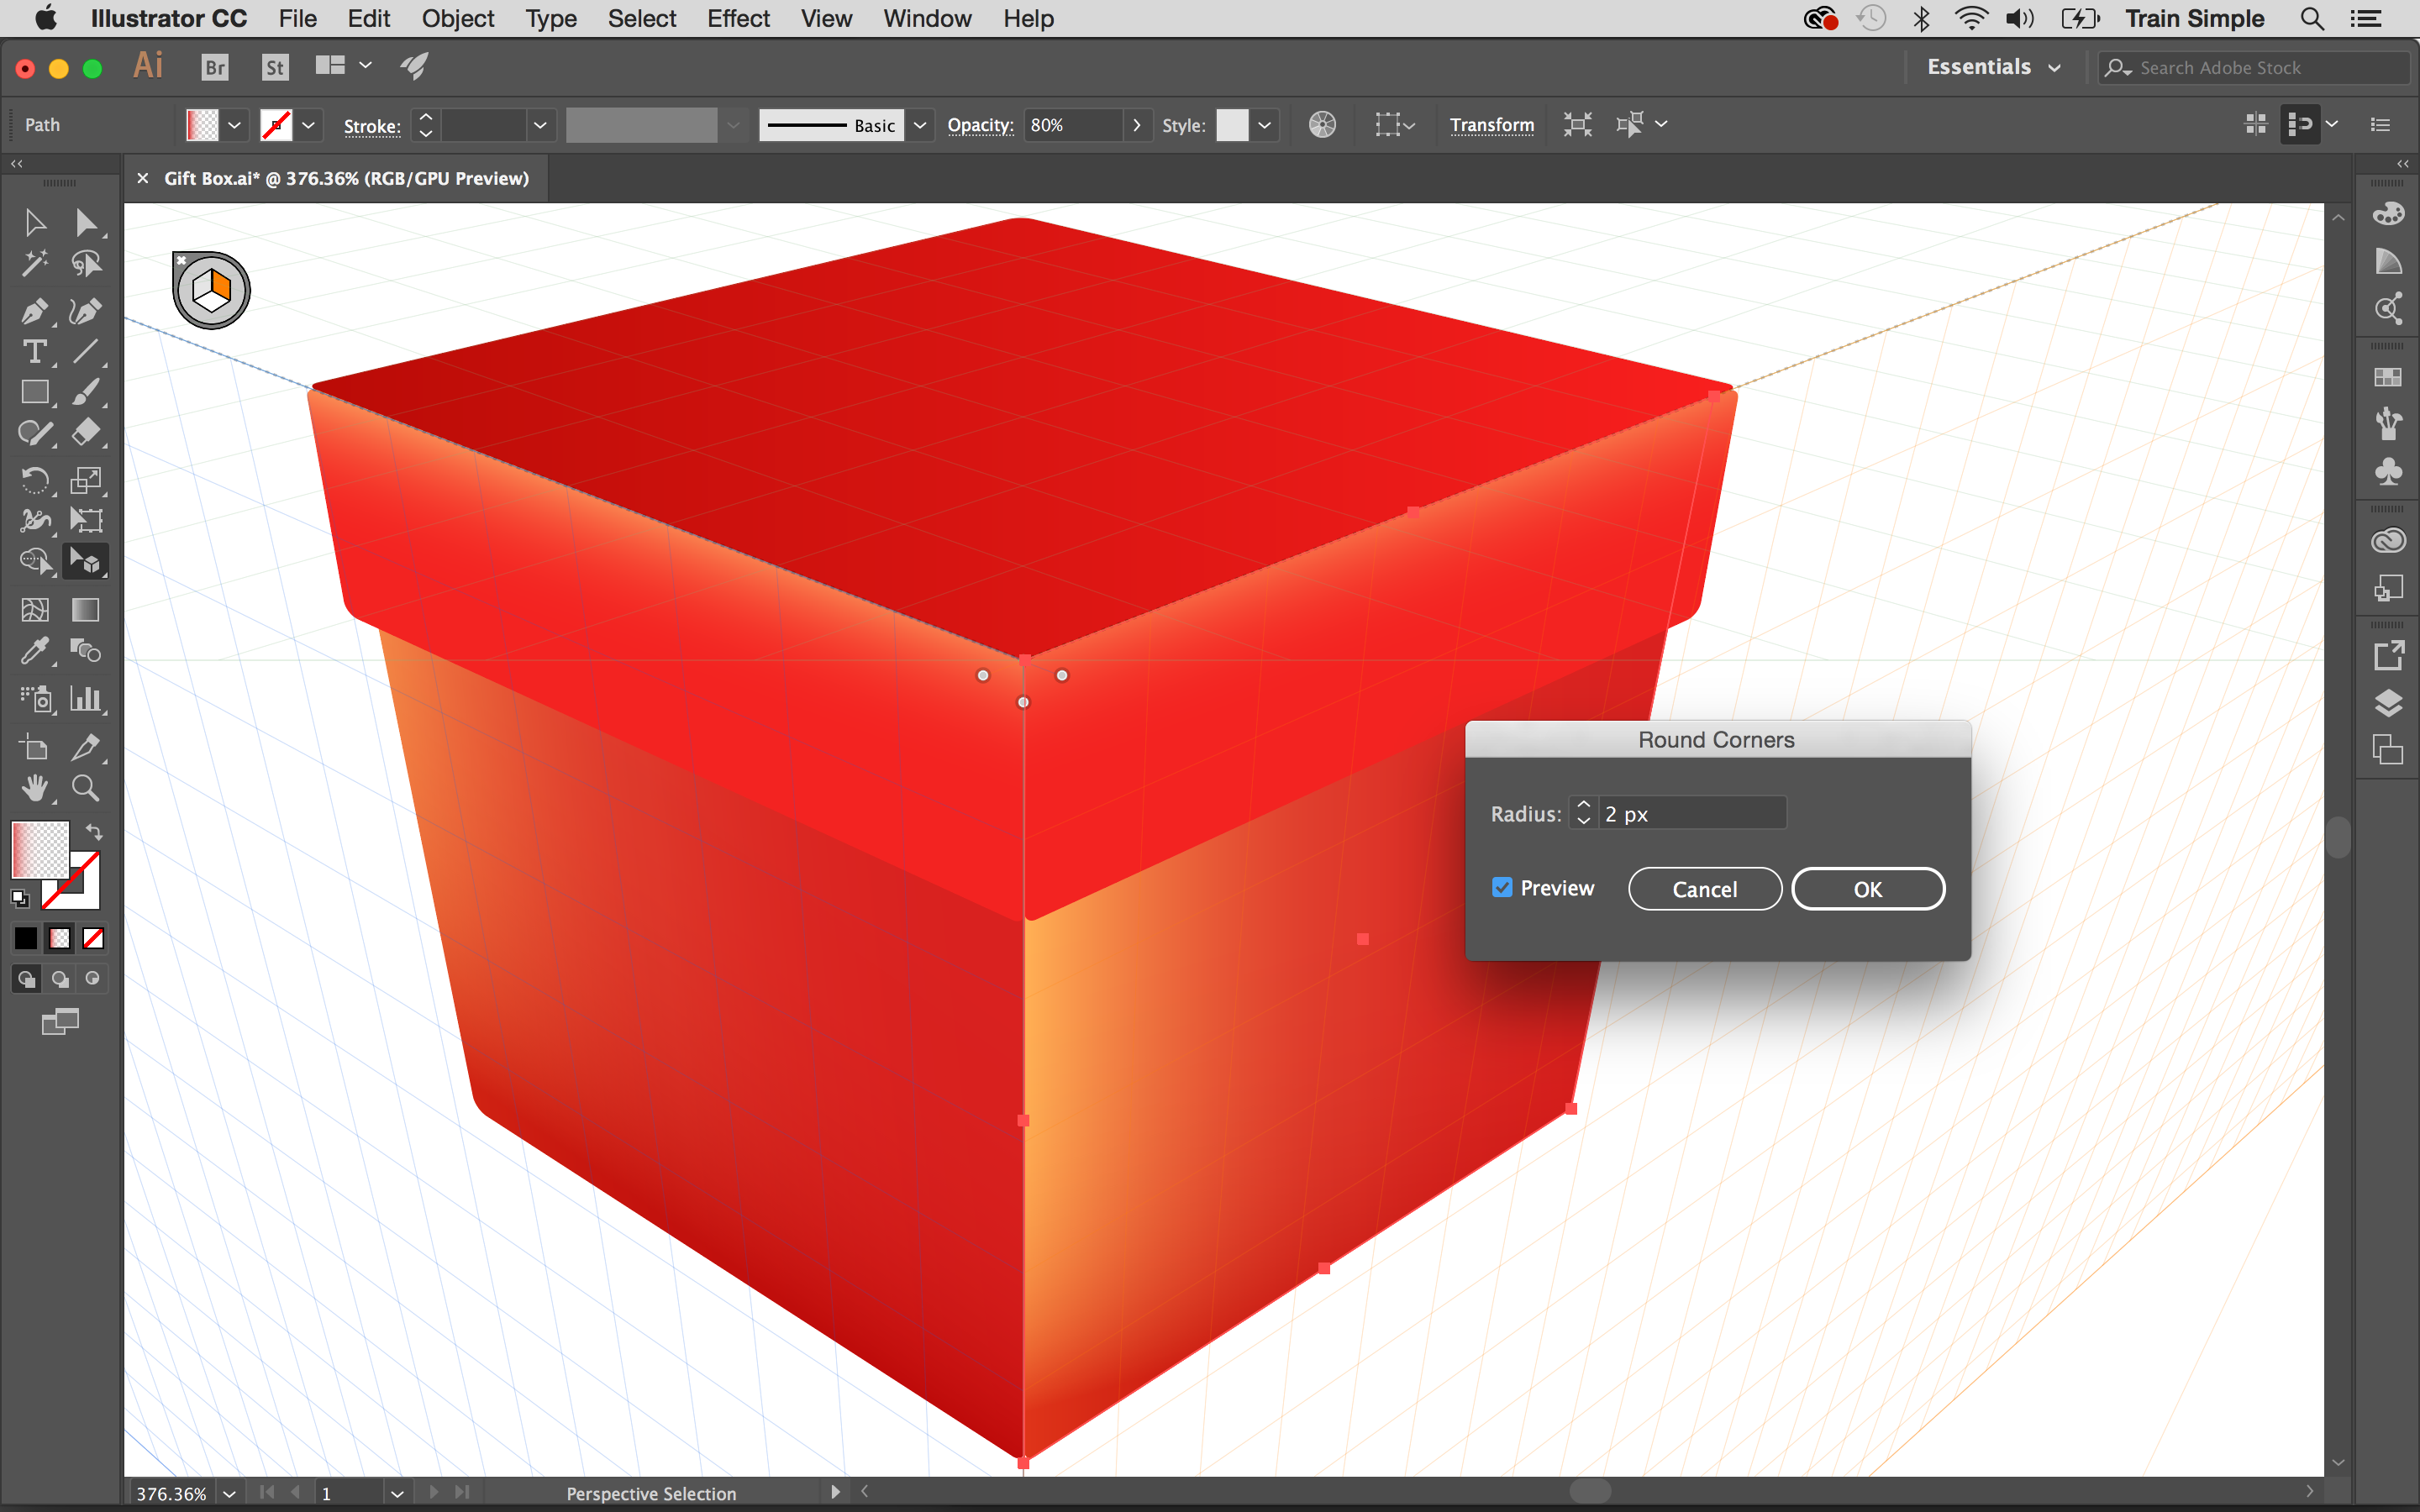
10. Round the corners
Next, we’ll give the box rounded corners. Select all the shapes from the Layers panel and go to 'Effect > Stylize > Round Corners'. Enter a 2px value for the radius.
11. Create the lid shadow

Next we’ll create the lid shadow. Press 3 to select the right grid and shift+V to use the Perspective Selection tool, then draw a black rectangle as shown below.
Make a similar rectangle for the left side, and drag both black rectangles below the lid layers. To create the shadow of the box, select the lid's top layer, press cmd+C (ctrl+C) to copy and cmd+B to paste in back.
Article continues below 
Select the three shadow layers, change their blending mode to Multiply with 50 per cent opacity in the Transparency panel (shift+ctrl+F10) and go to 'Effect > Blur > Gaussian Blur'. Use 2-4px value here to blur the shadow.

12. Define the front corner of the lid
Next, draw a small line in front of the lid using the Pen tool (P). Make its fill colour 'none', change the colour to #F76C41, and the give it a stroke of 3pt. Then round its cap and corners using the Stroke panel at the top.
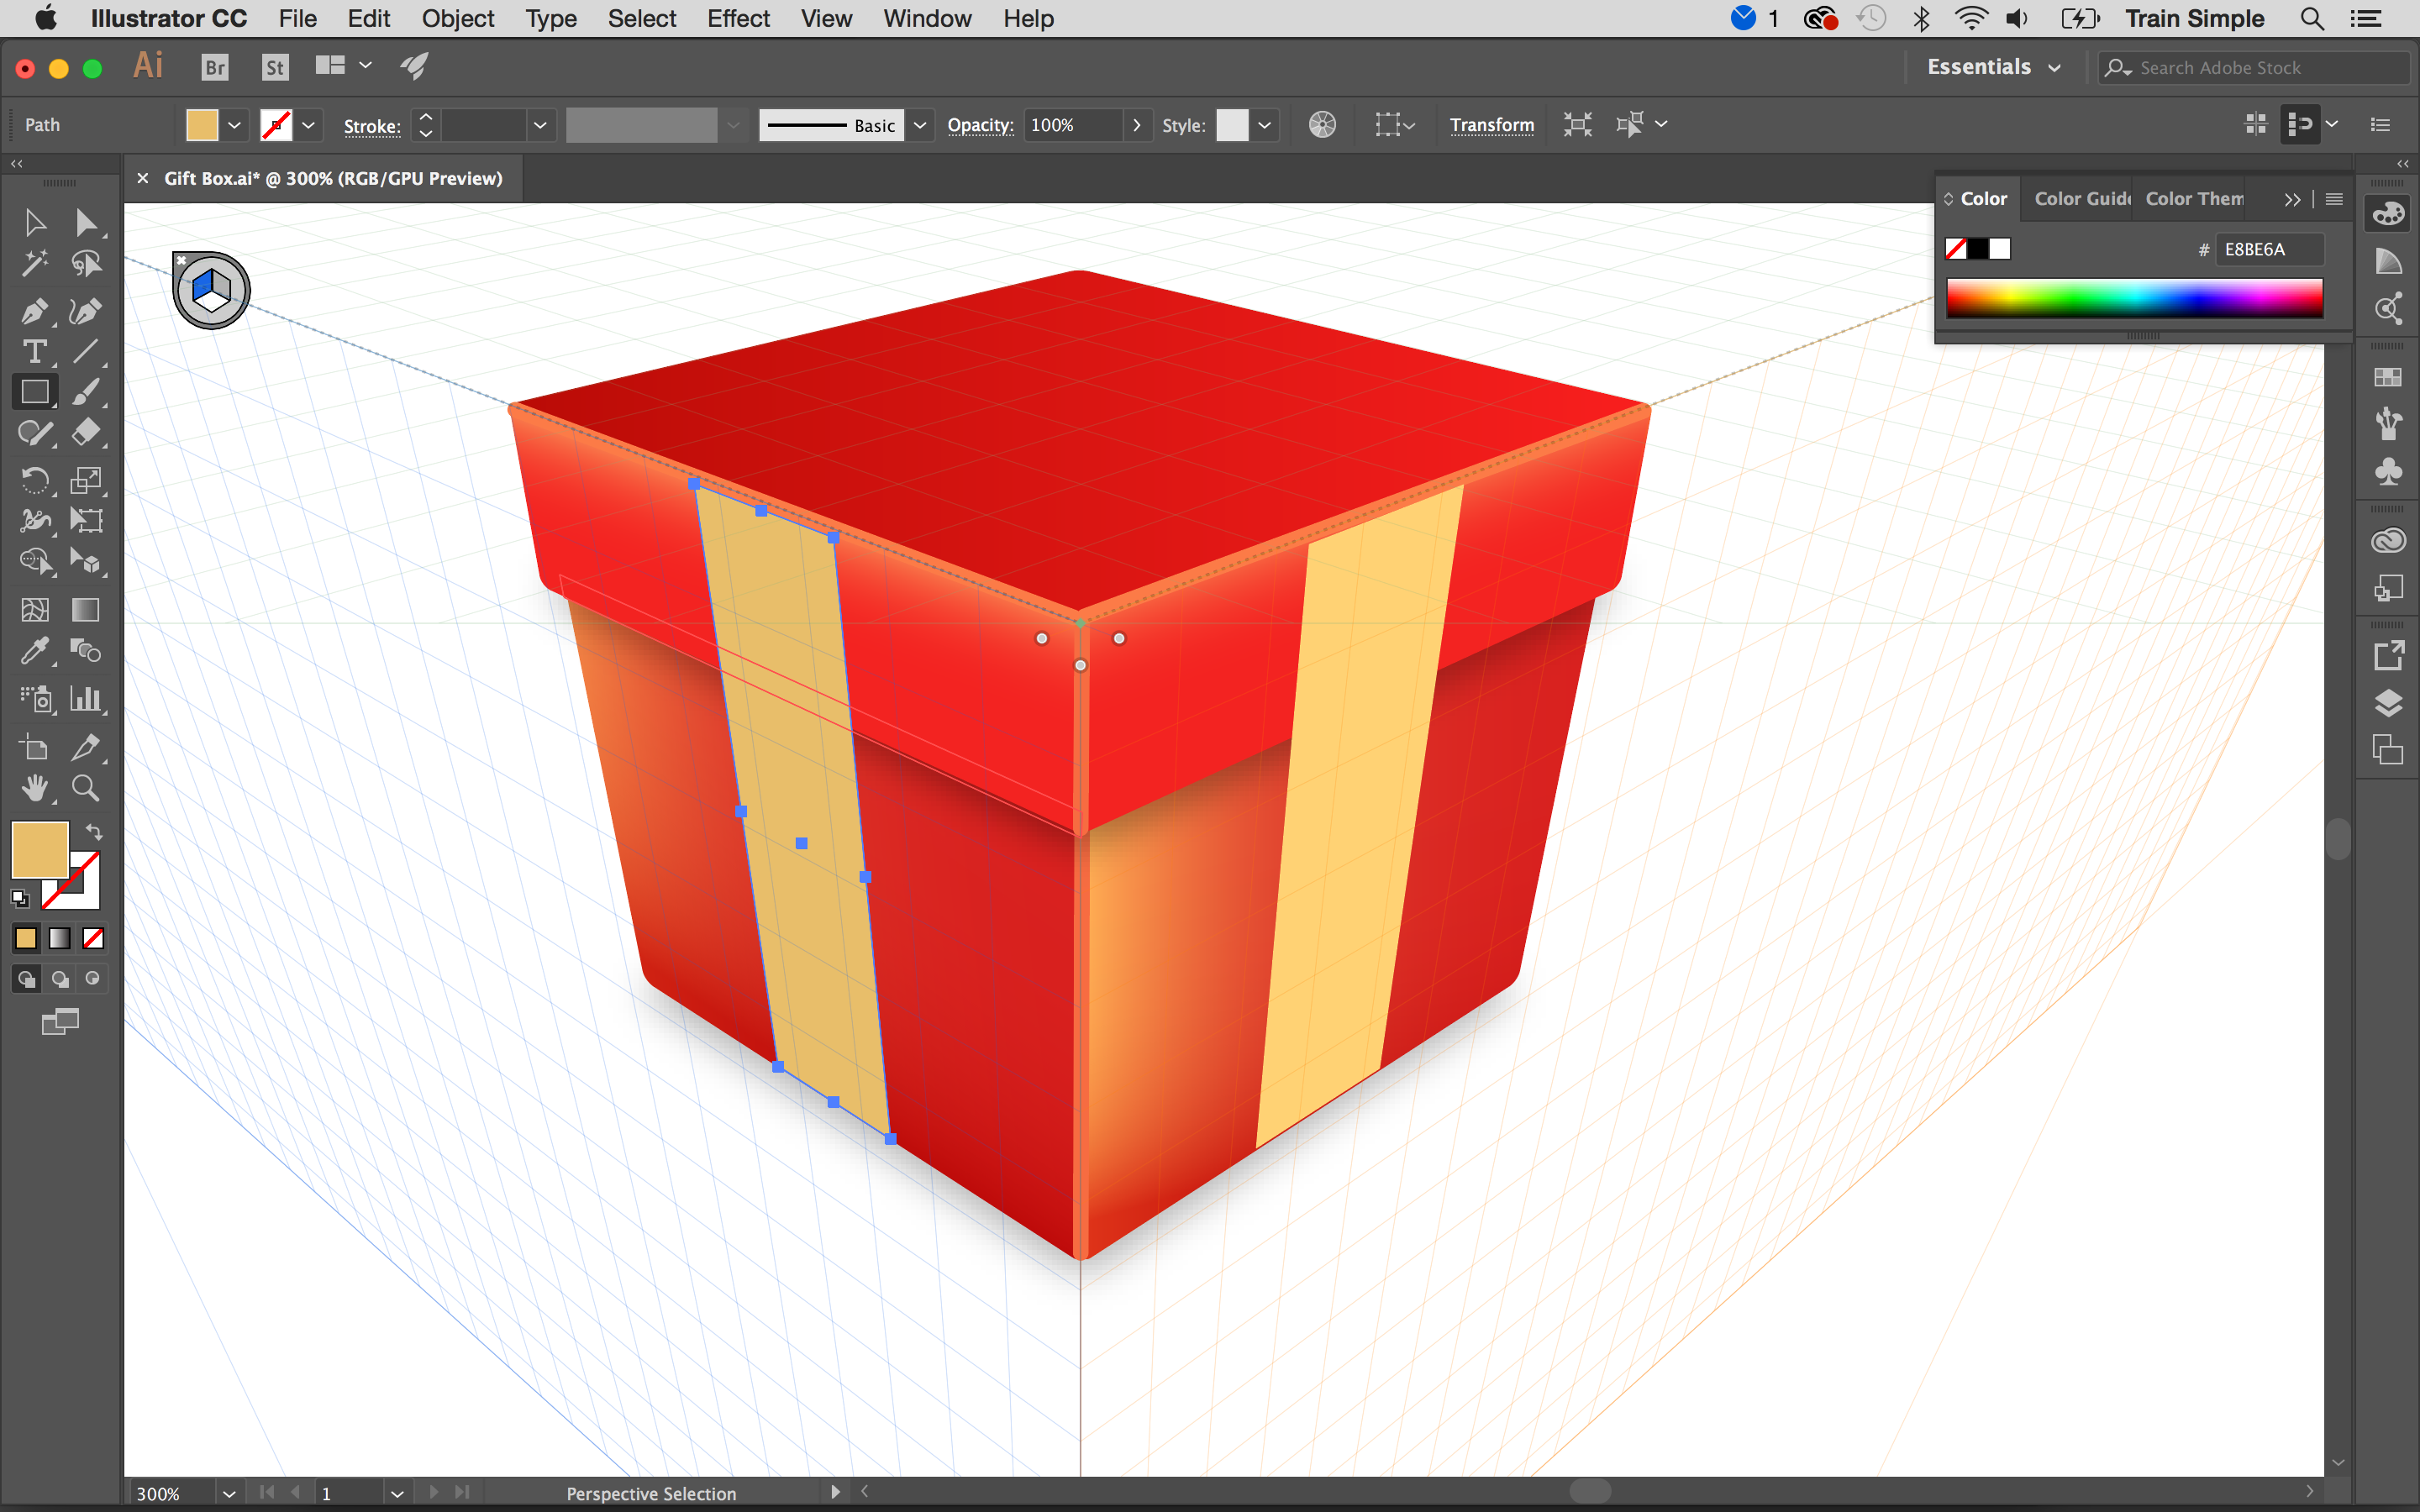
13. Create the ribbon
To create the ribbon press shift+ V the bring up the Perspective Selection tool, then hit 3 to select the right plane and draw a thin vertical rectangle (#FFD274). Hit 1 to draw a similar rectangle (#E8BE6A) over the left plane.
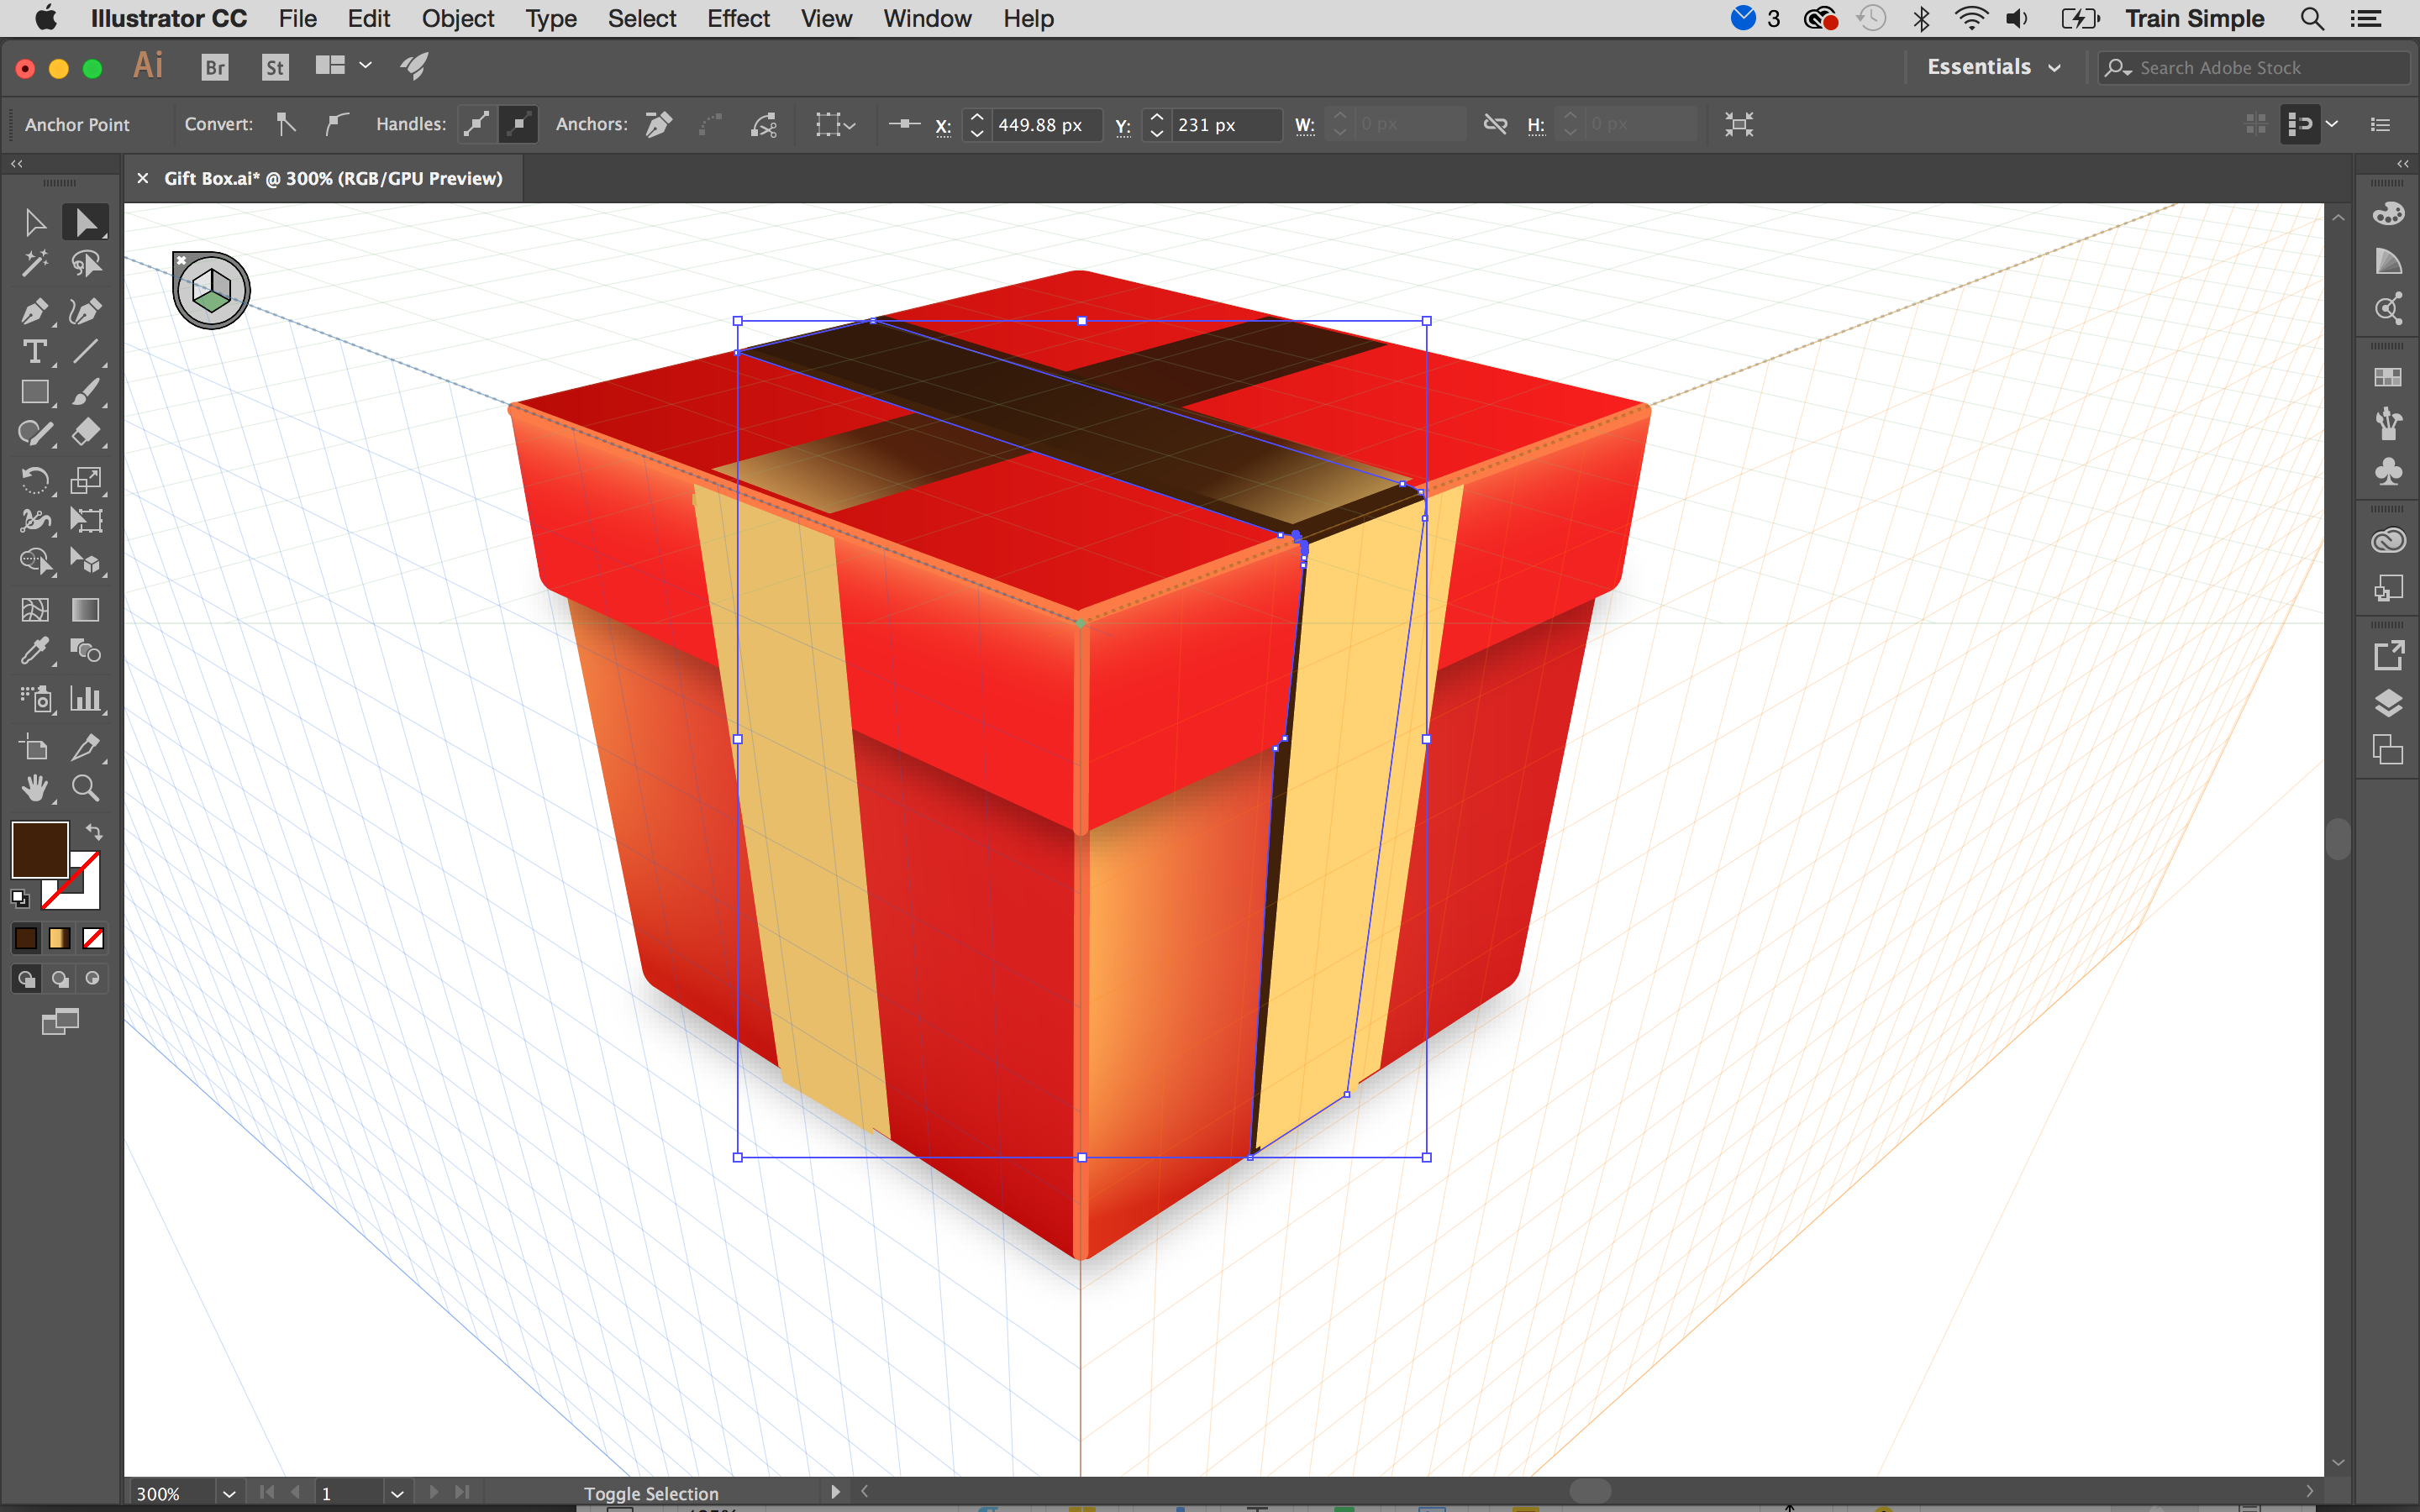
Hit 2 to select the Horizontal plane and draw two rectangles crossing each other, then apply given gradient to both. You'll need to change the angle of the gradient for the final rectangle.
Sign up to Creative Bloq's daily newsletter, which brings you the latest news and inspiration from the worlds of art, design and technology.
14. Add shadow to the ribbon
We are done with the grid so far, so press shift+cmd+I (shift+ctrl+I) to hide it. Now draw a shape below the recently created ribbon shapes using Pen tool (P) with #B55B36 fill.
To make its shadow, select the new shape, press cmd+C (ctrl+C) to copy, and cmd+B (ctrl+B) to paste in back. Change its fill colour to #42210B with 50 per cent opacity in the Transparency panel (shift+cmd+F10 or shift+ctrl+F10). Adjust its shape slightly, according to the cuts of the box.
15. Shade over the ribbon edge
Next, draw the two shapes shown in the image below for shading over the right ribbon. Repeat these steps for the left-side ribbon to get the results similar to mine.
16. Draw the bow
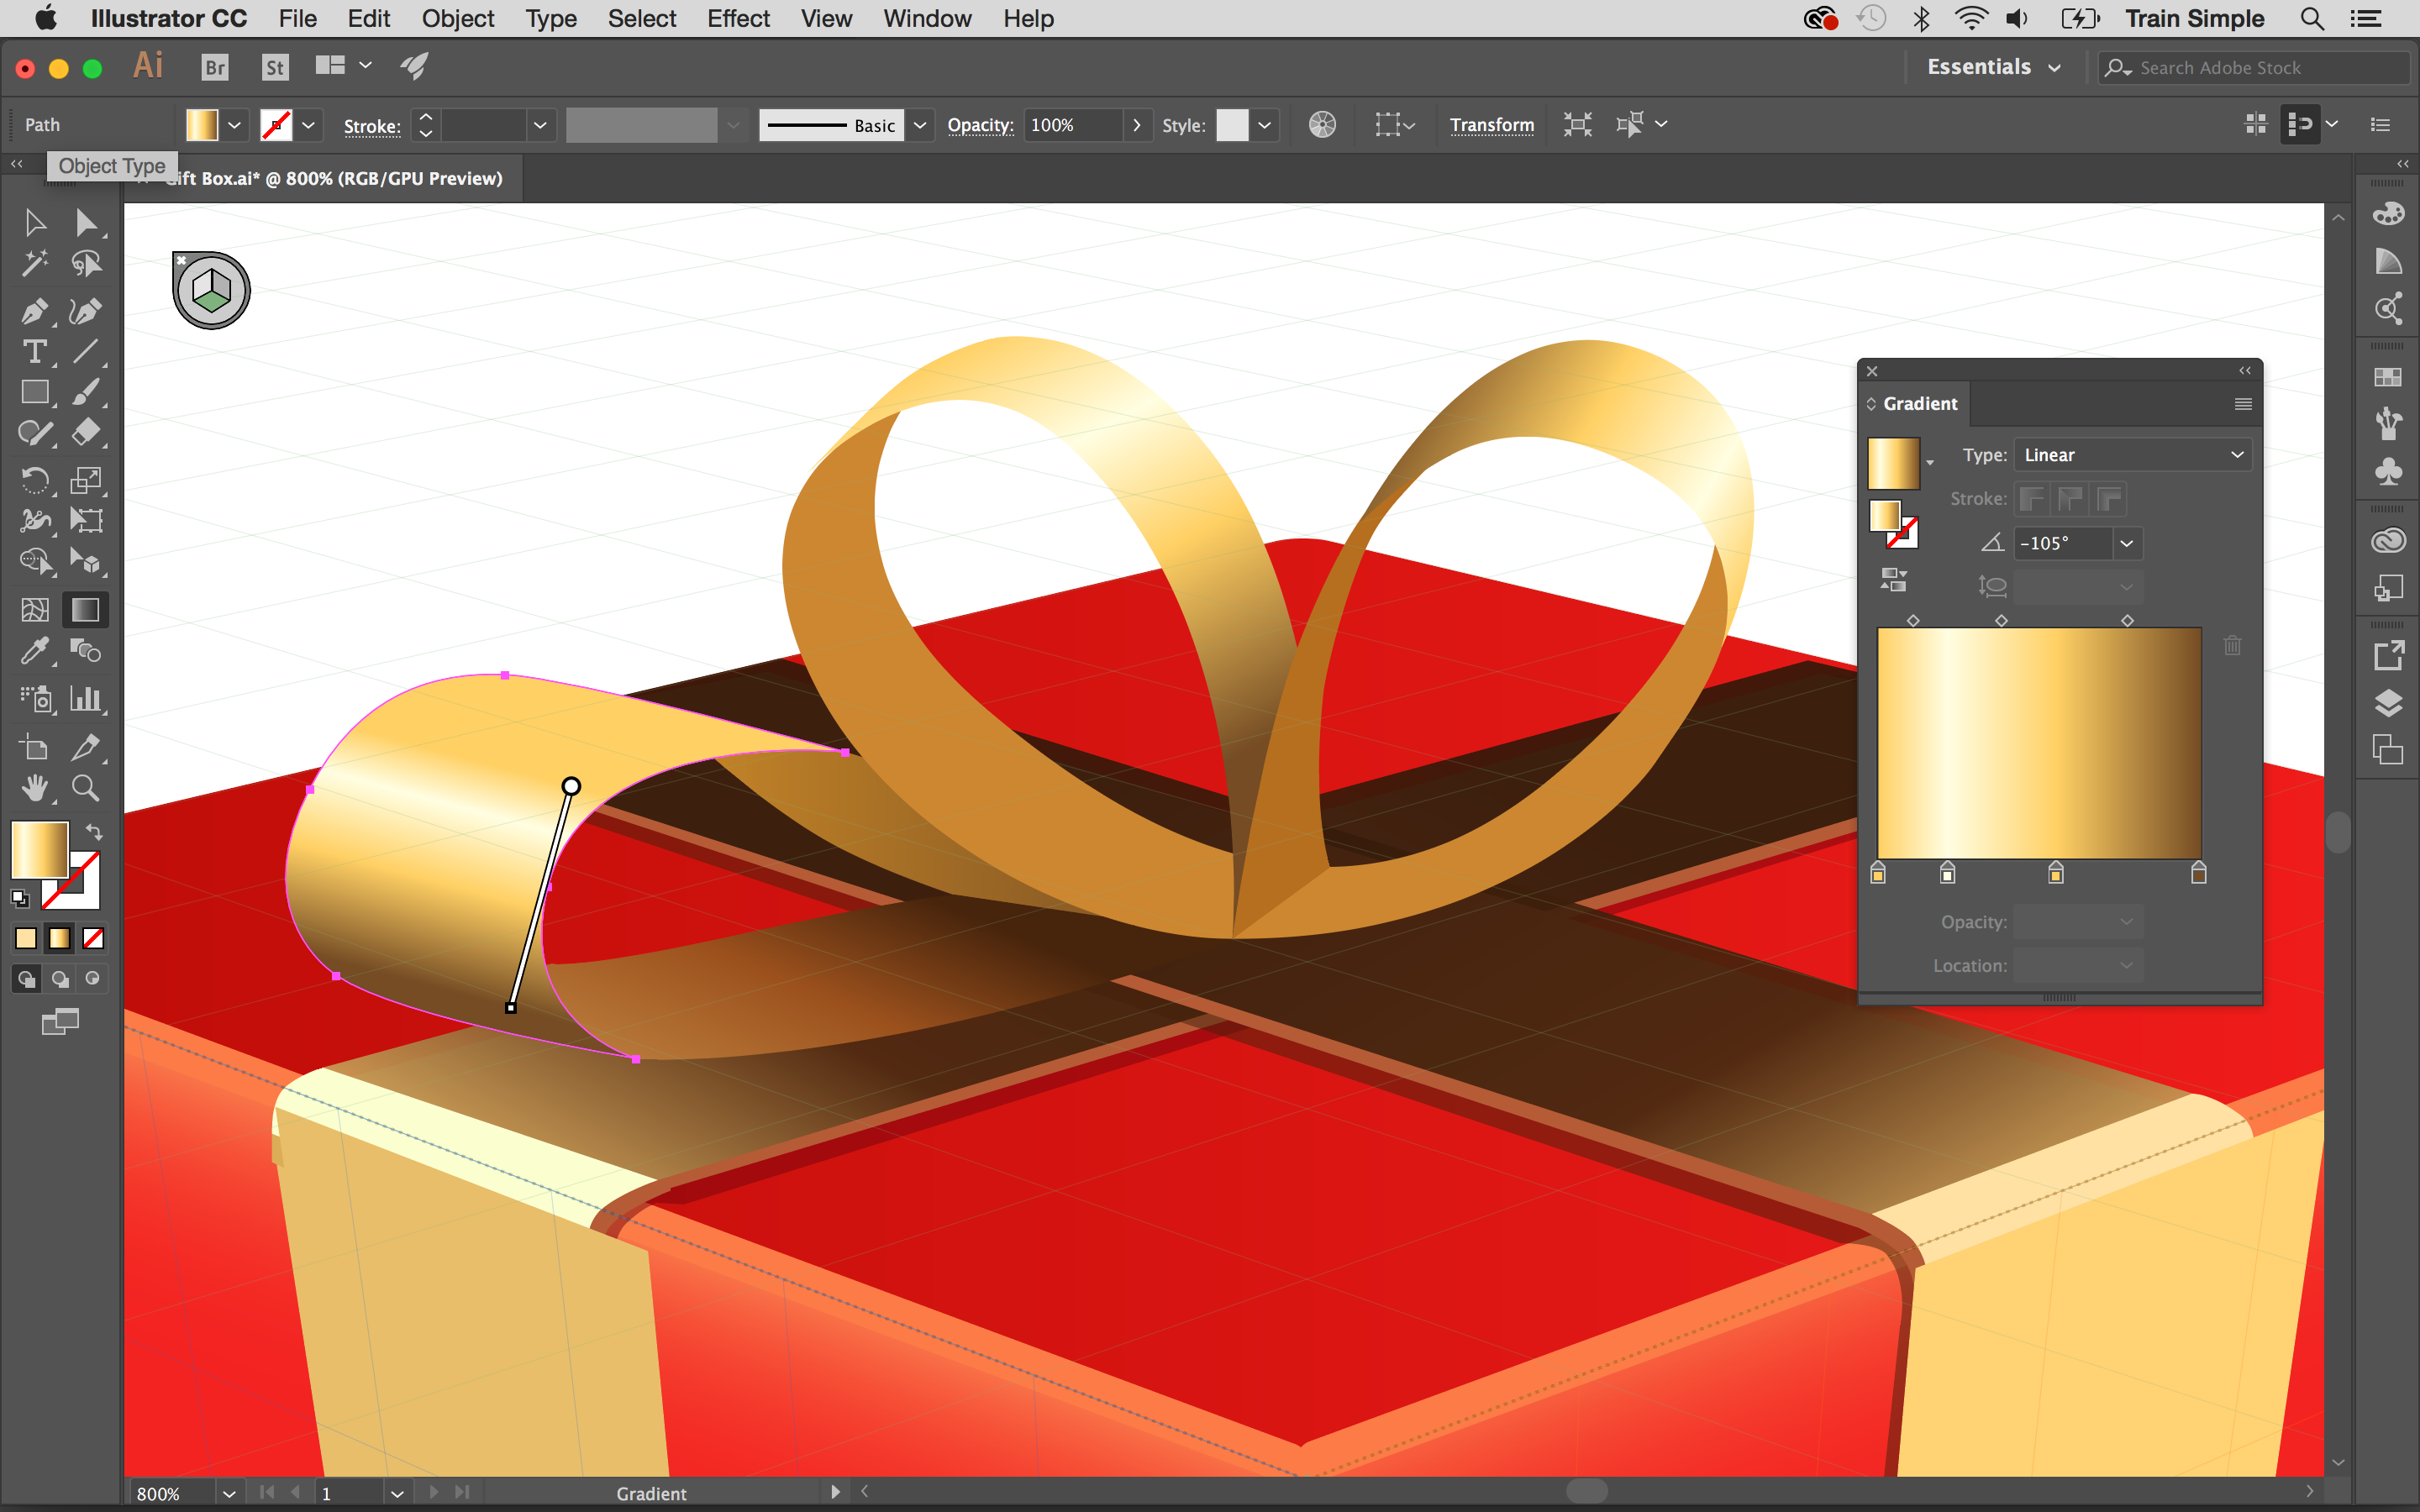
Now we’ll draw the bow using Pen tool (P). Draw the basic parts as shown above, then create the second loop as shown below. Collect these four shapes in a new layer. To do so, select them and click the fly-out menu in the top right corner of Layers panel (F7), then choose 'Collect in New Layer'. Label it as 'Second Loop'.
Create the third loop below the rest using gradients shown. Collect these two shapes in a new layer and label it 'Third Loop'.
17. Finish the bow
Select the 'Second Loop' layer and pick the Duplicate option from the fly-out menu in the top-right corner of Layers panel (F7). Select this duplicated layer and click the canvas to view the Options window, then choose 'Transform > Reflect'. Reflect the loop vertically and hit 'OK'.
Place this duplicated layer above the first large loop as shown above. Then duplicate and reflect the 'Third Loop' layer and reposition it, keeping it below the rest of the loops.
The final result
Using the Perspective Grid tool in Adobe Illustrator opens the door for creating more exciting artwork inside the program. To learn more about this tool, and to learn about more advanced techniques in Illustrator, check out these Pluralsight courses: Illustrator CC Perspective Grid Tool, Illustrator CC Blend and Gradient Mesh, Illustrator CC Recolor Artwork, Illustrator CC learning path.
Related articles:
- 1
- 2
Current page: Using Perspective Grid in Illustrator: steps 10-18
Prev Page Using Perspective Grid in Illustrator: steps 01-09