Simulate a Ghost Rider transformation
Use Maya and After Effects to create a fiery transformation scene.
Sign up to Creative Bloq's daily newsletter, which brings you the latest news and inspiration from the worlds of art, design and technology.
You are now subscribed
Your newsletter sign-up was successful
Want to add more newsletters?
16. Feed the fire source
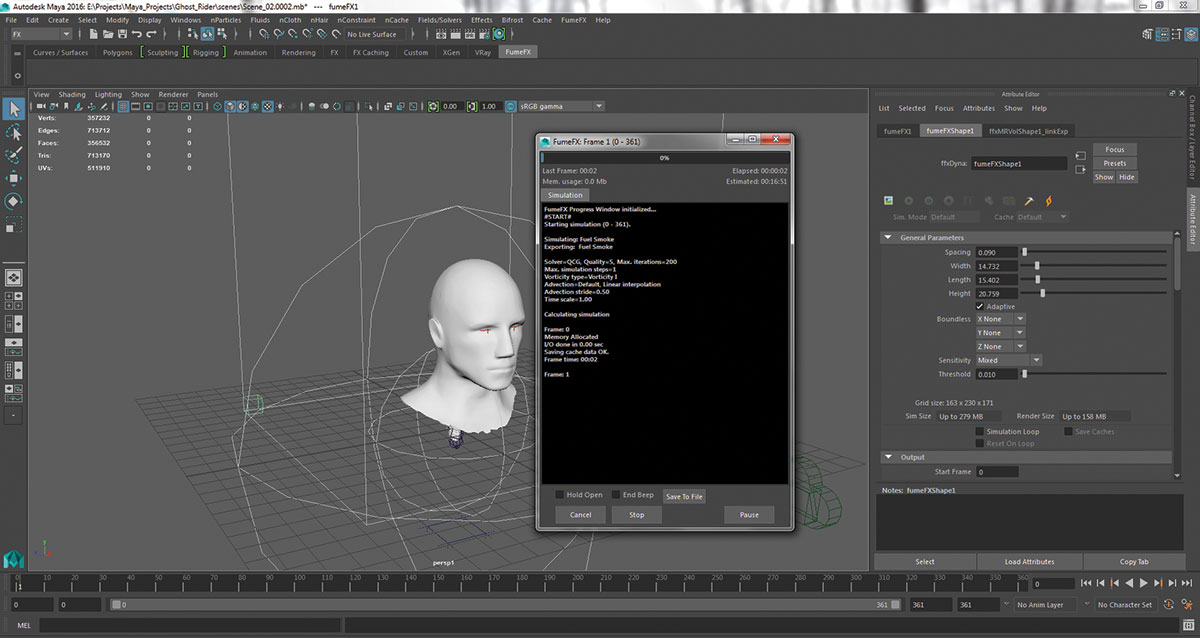
With the skeleton model selected, go the FumeFX menu and pick the Object Source button. Now your skeleton model lights on fire. Run initial simulation by going into the Attribute Editor for the FumeFX node, click the button that's blue-ish and looks like a server rack, select your source from there and then click on the Play button.
17. Animate the fire rate
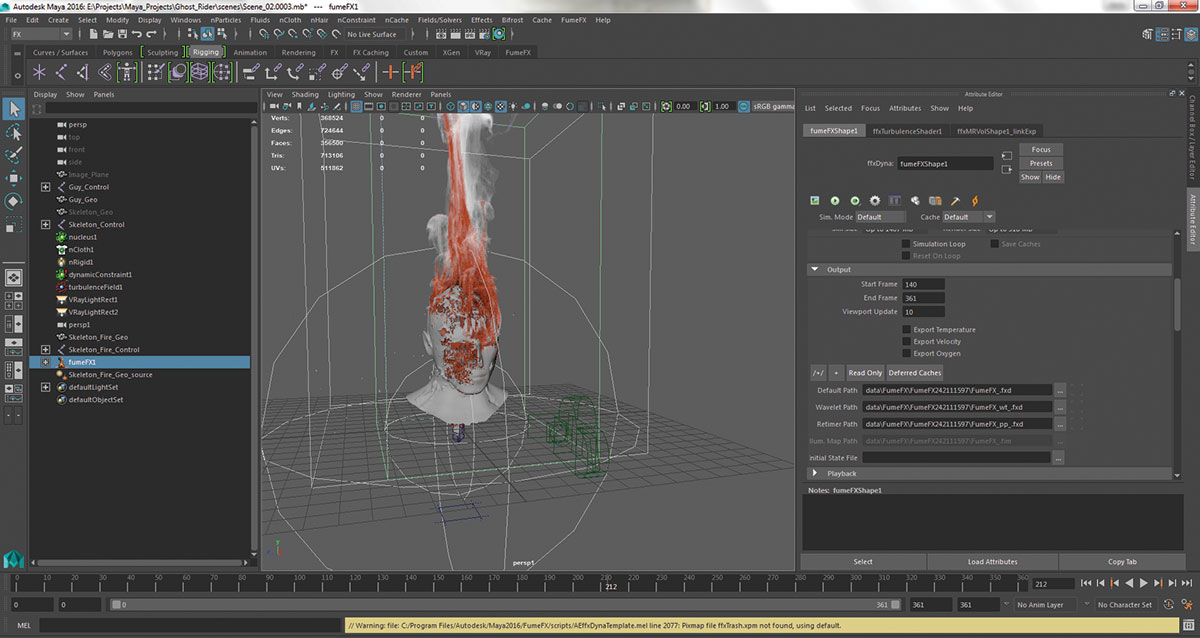
You have to decide which frame the fire starts to show up and how fast. Also, I would suggest some smoke before the actual fire appears. You have to change two settings for that. First, in the FumeFX node under the Output tab, change Start Frame to whatever you want. Select your source object and animate attributes like Fuel, Smoke, Oxygen and Temperature to set exactly how and when the fire starts, and simulate again.
18. Create sparks
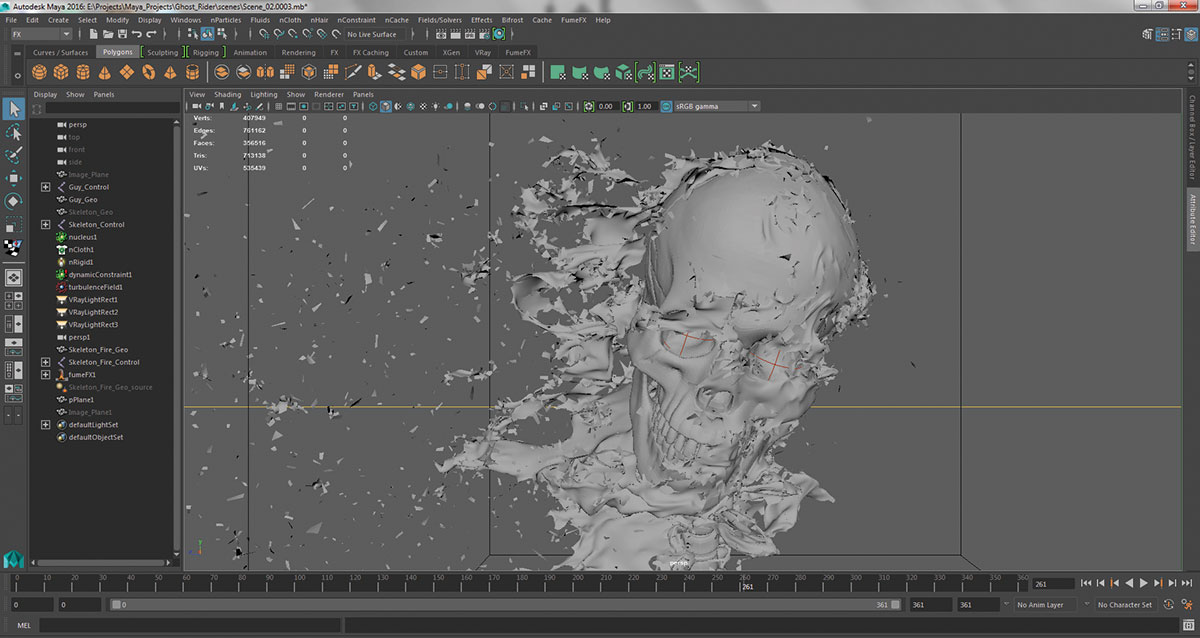
Using the third map, we'll generate sparks to show some fire flying out. Select the actor model (ideally a version without nCloth simulations) and go to the nParticles menu. Click on Emit from Object. Once done, change the Emitter Type in the Emitter node to Surface. Go all the way to the bottom and in Texture Rate, input the third map and check Enable Texture Rate.
Article continues below19. Sparks material
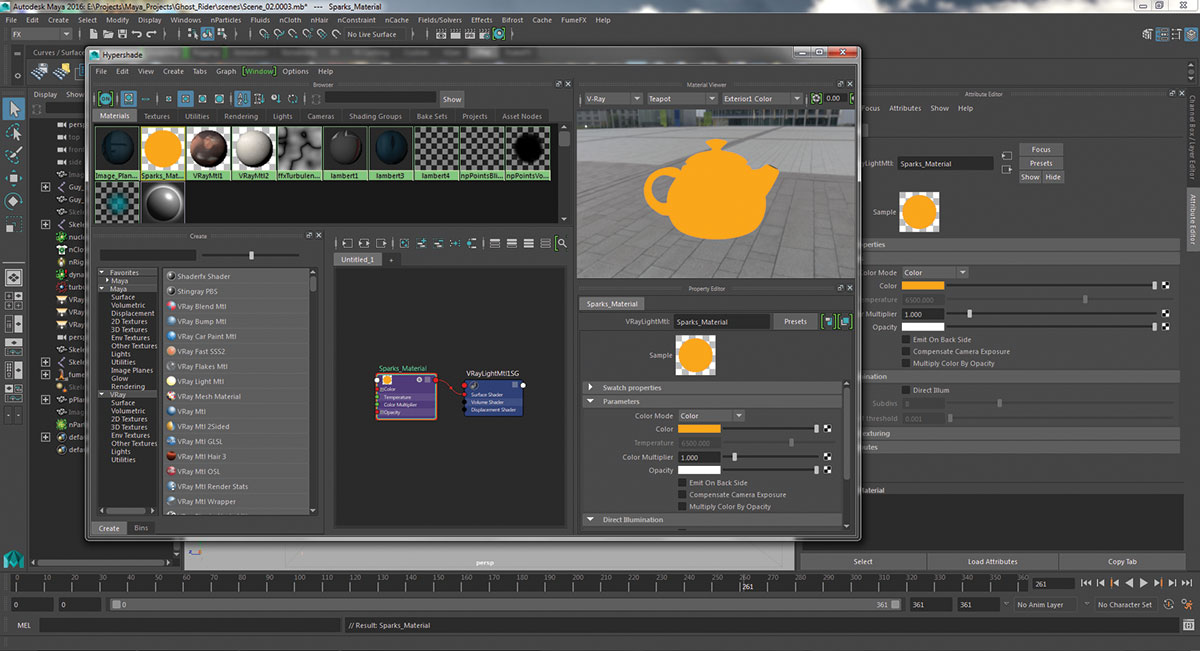
Create a new V-Ray Mtl Material or a V-Ray Light Material through the Hypershade. Change the colour to light orange and play with the intensity – find a setting that works with your exposure settings, if making a Light Material. If you're making a V-ray Mtl Material, turn on the Self-Illumination slider and set the colour to orange. Select the nParticle node and apply the material to it.
20. A texturing problem
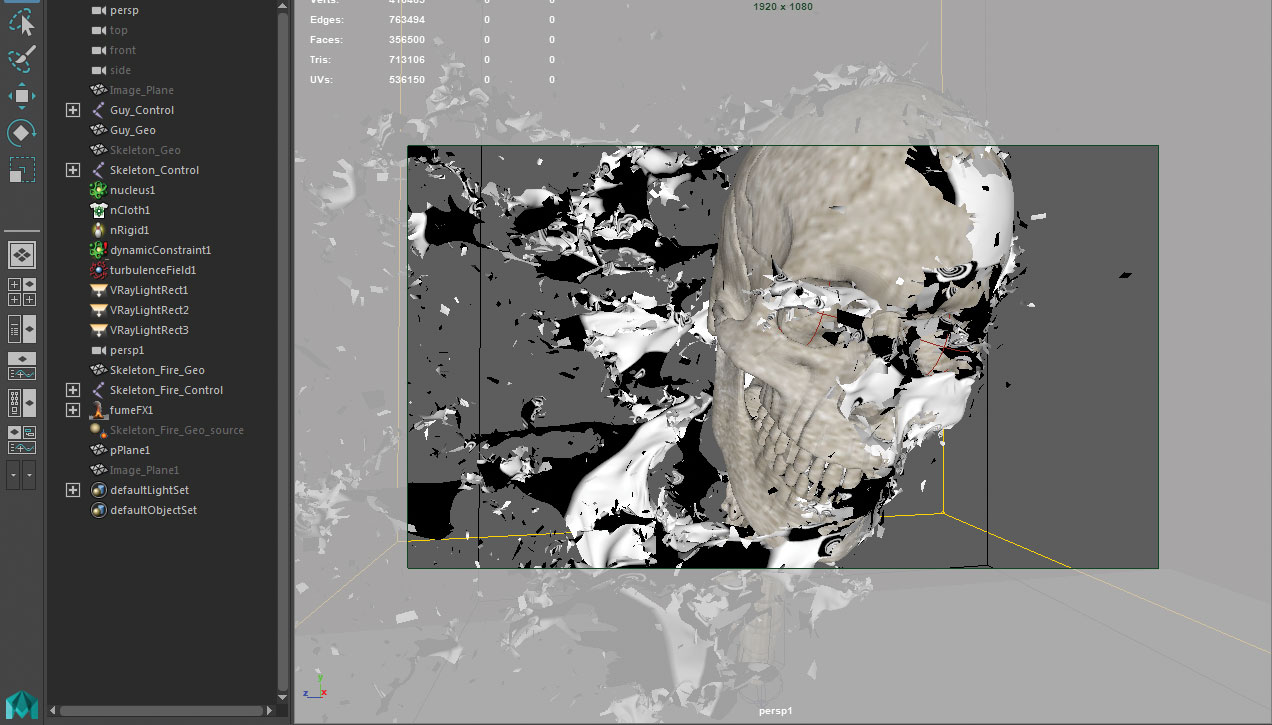
Now, I got into a problem with texturing that I think would be helpful to discuss for a bit here. You might not run into this particular sticky situation if you did some pre-planning, which is actually something that I did, but unfortunately it got lost over the four-month period that it took me to do this. Anyway, the problem is that I used Spherical Projection before I created the maps but I wanted to put a planar map as the diffuse for my actor model. That's a problem.
21. Planar material mapping
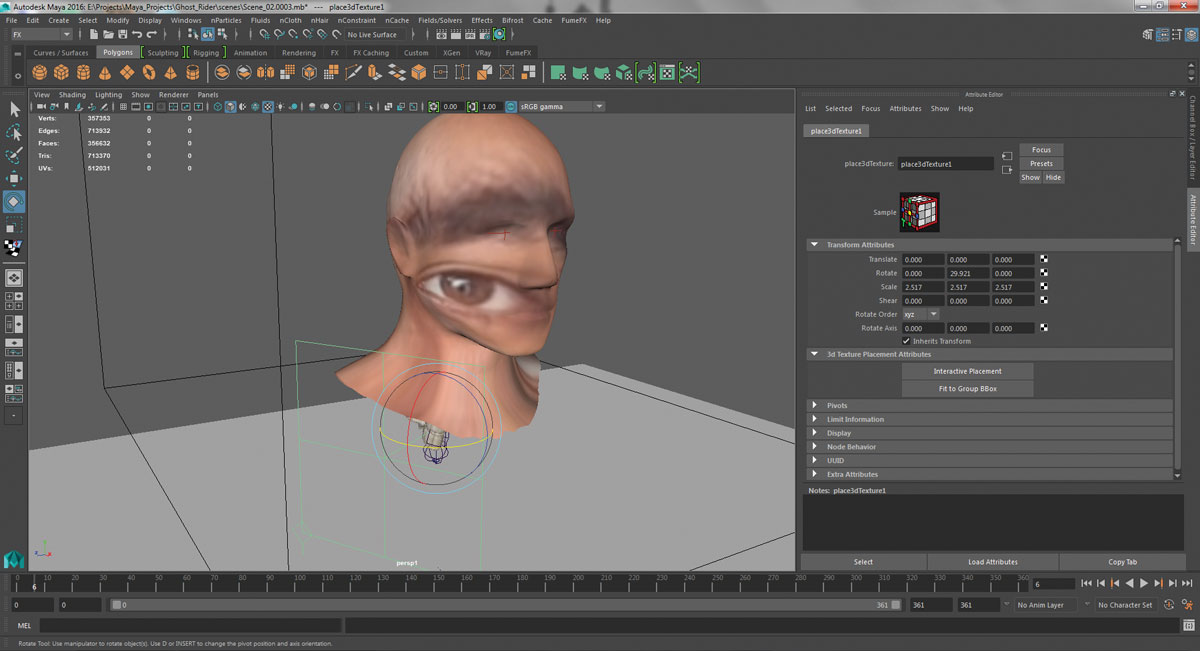
If you want to project an image on a mesh without having to mess with the UVs, create a new material. In the diffuse channel (or any other) import a texture. Select File from the Texture Creator, right-click and pick Create as Projection. Now, you can project your image without messing up the UVs. Once placed, delete history or you can bake your texture into the current UVs.
22. Baking the map (optional)
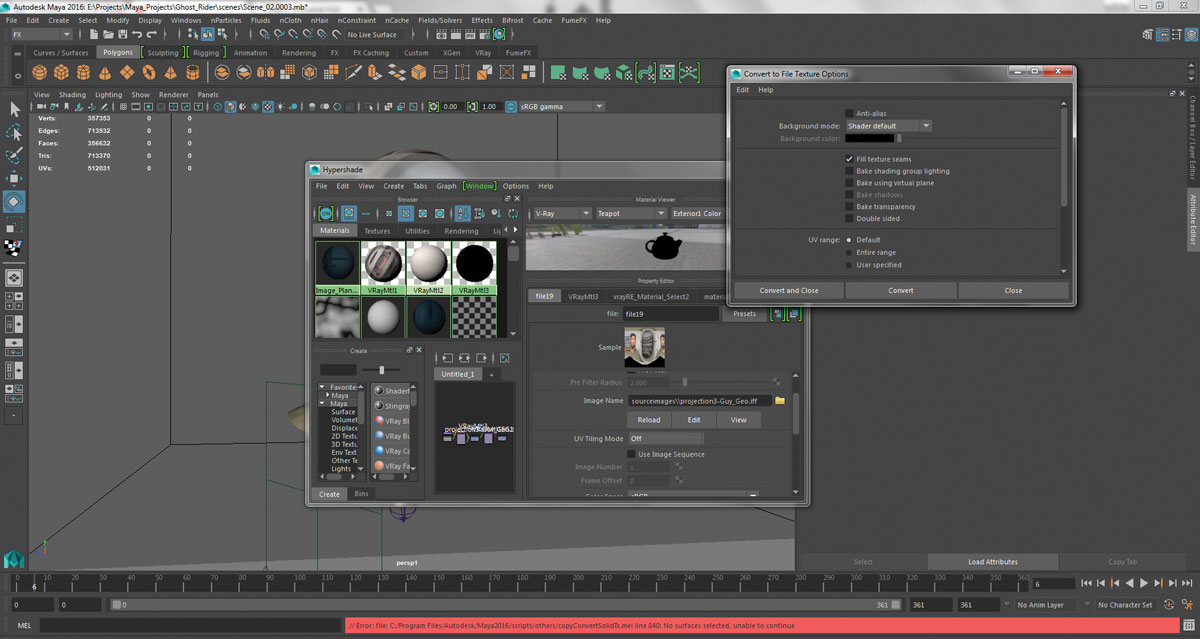
Simply go to the Hypershade, select the Material as well as the mesh and just go into the Edit menu and click Convert to File Texture. This will turn your projection image into a usable separate material and distort it according to your UVs rather than distort the UVs to fit your projection. If that happens, it will throw everything you have done up to this point away and you'll have no choice but to redraw the maps and everything else we have done.
Sign up to Creative Bloq's daily newsletter, which brings you the latest news and inspiration from the worlds of art, design and technology.
23. Render the skull
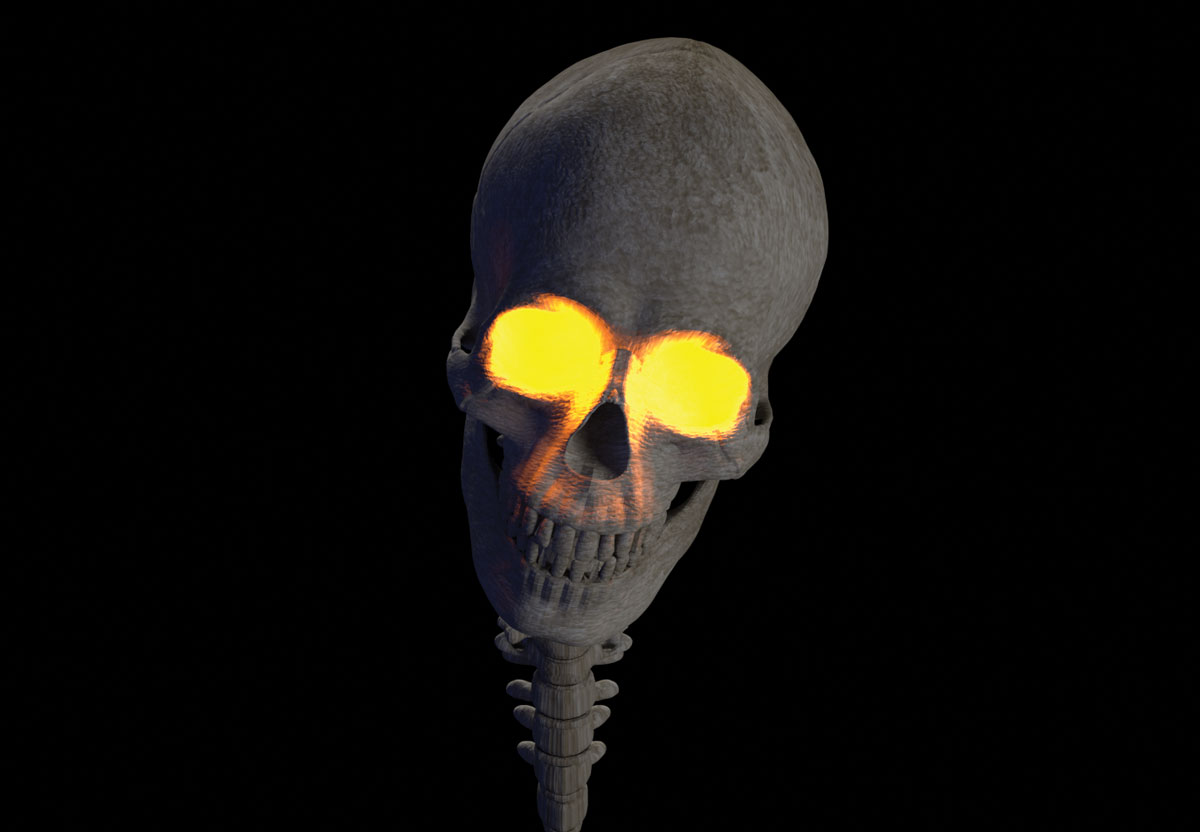
I'd suggest you render everything in different files. Render the skull as it is. You can also use the V-Ray Material in Render Element, which basically just outputs the objects with the selected material into a separate file. Although it doesn't get you the Alpha map for those specific materials, so you'll have to keep that in mind. Use this for the skull only. The skin is a different story…
24. Render the skin
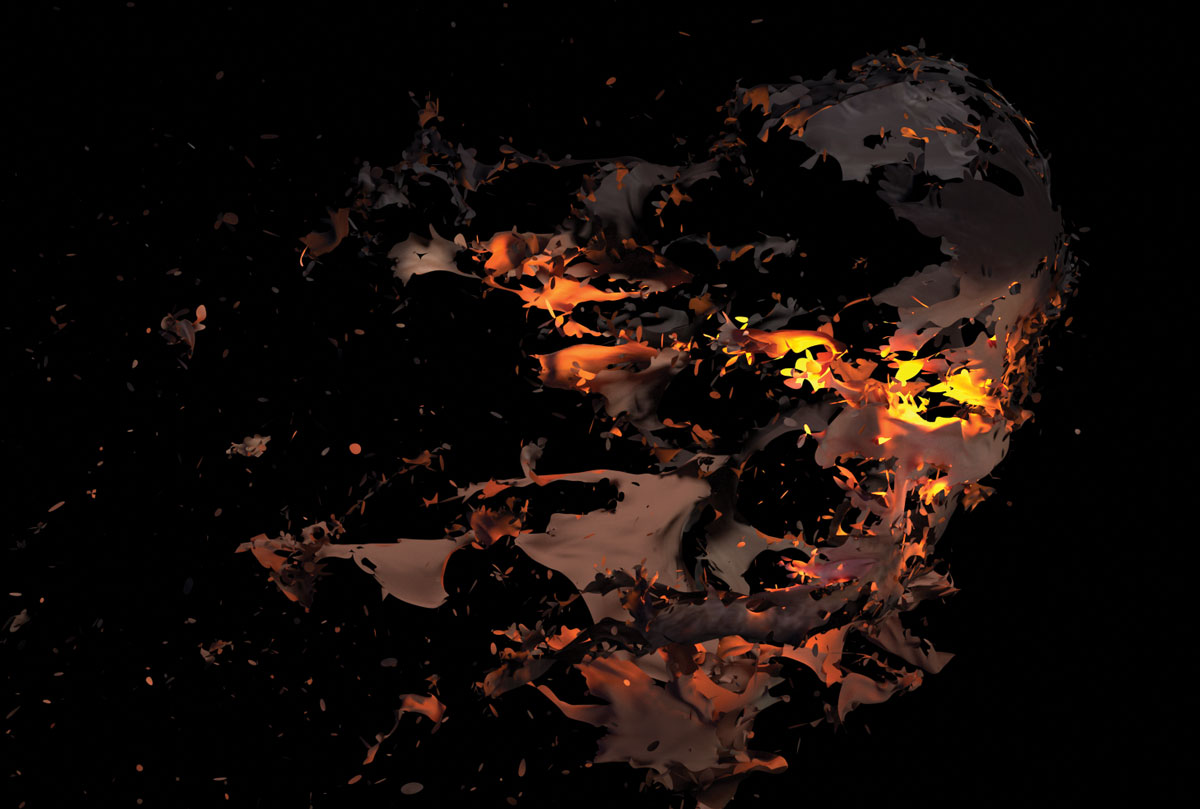
To composite skin on top of your footage, create a third map. What you basically need is to only render out the part that's breaking at any given moment. Stuff that's not yet broken shouldn't be visible. You can use some modified version of the Tearing Map for this. Honestly, I can't think of any other way you can do this, so maps are all you've got!
25. Render the fire
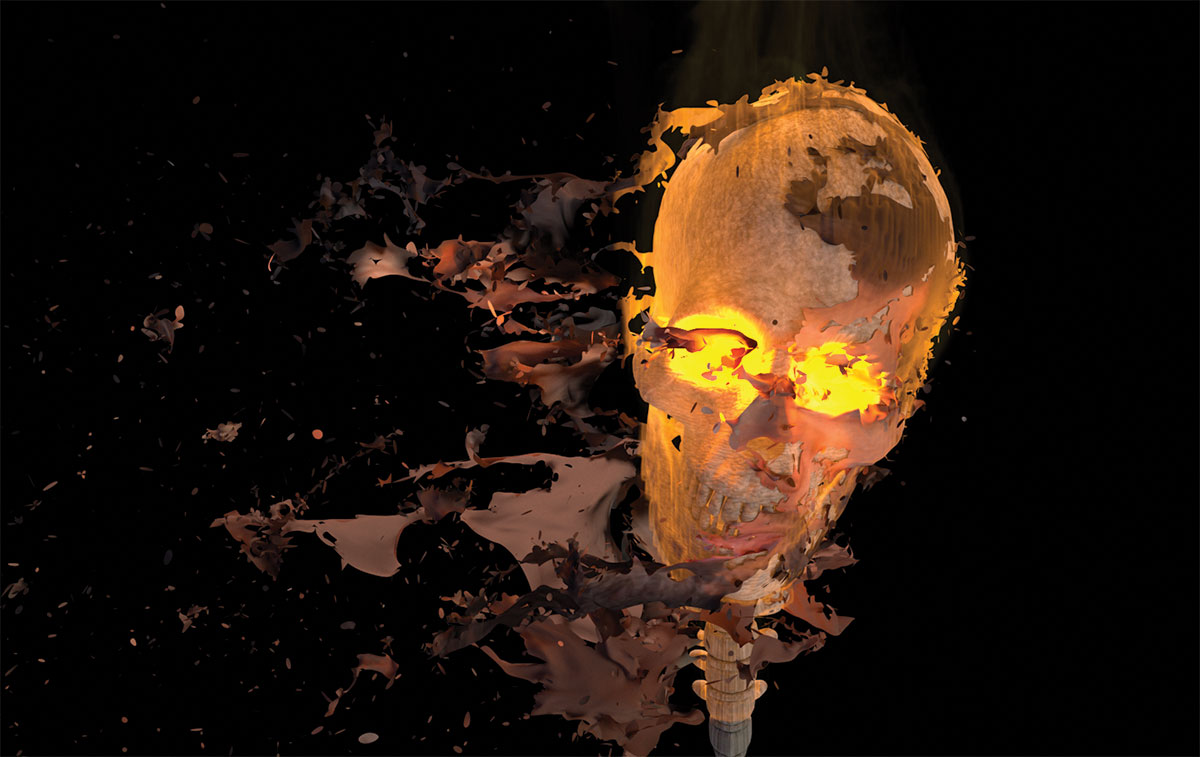
Since you've already got skull and skin, you'll just need to subtract them from a beauty pass for the fire. Render it using Render Elements as well, it's good to have things in separate files so you can edit them later if you want. Now one thing, the rendering is actually very very resource-heavy due to the cloth simulation. nCache helps a bit but not by much, so you have to consider that.
26. Compositing
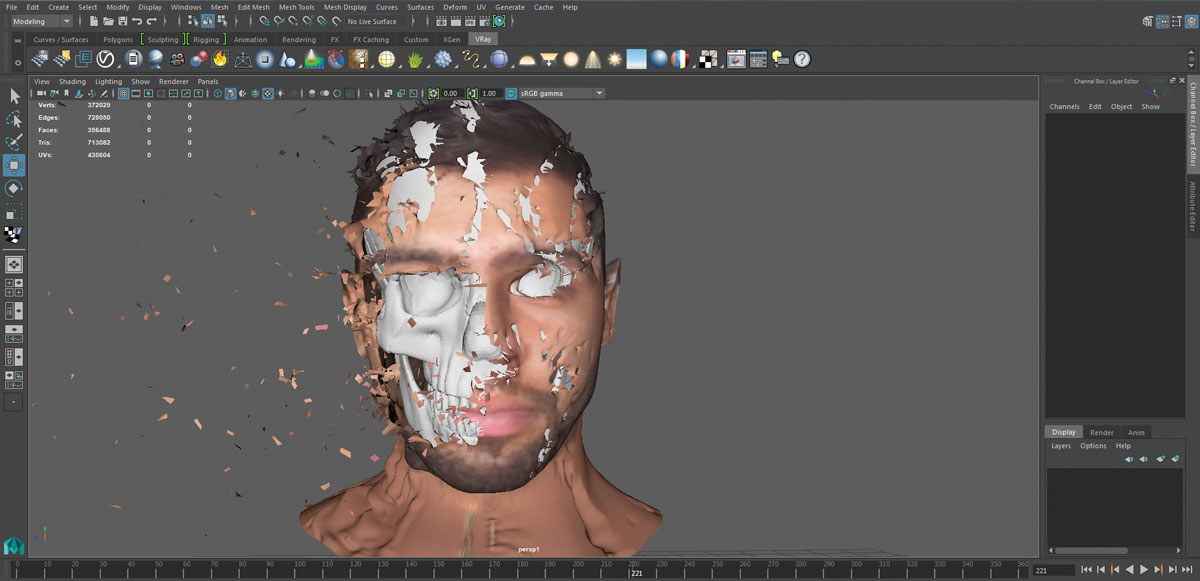
Compositing is a subjective action. You need to think about what you want from the effect and then you have to composite it to your taste. One thing I would recommend, though, is adding some glow. In After Effects, go to Effects, locate the Glow option and then add it to the overall scene using an adjustment layer. Another thing that would be nice is to add some motion blur to the scene. Go to Effects and find Pixel Motion Blur to force some blur to be added to the scene.
This article originally appeared in 3D World issue 225; buy it here!
Related articles:

A motion graphics and VFX artist from Pakistan with nine years' experience, Syawish loves motion graphics and making video tutorials.
