How to design a three-colour Risograph print
Uglylogo explains how to transform your images into charming three-colour prints.
Risograph is a similar process to screenprinting, where one colour is printed at a time and a limited colour palette is used. There are hundreds of different ways to prepare your artwork for Risograph printing, but I've found an efficient method that suits my way of working and illustration style, which we'll walk through here.
In this tutorial we'll prepare a three-colour print – when overprinted these can create a fourth colour – that's ready to be brought to life using a Risograph printer. Once mastered, you can experiment with this technique and adapt it to your creative process to create unique prints of your own.
01. Sketch it out

First of all research and then sketch out your illustration. It's a good idea to keep the shapes relatively simple so that you don't run into problems during the printing stage. Next, scan your sketch. If your scanner gives you the option to name the file you're scanning, it's wise to do so – this way you'll have no issues locating it later on. I'm naming my scan 'Ice cream'.
02. Scan it in
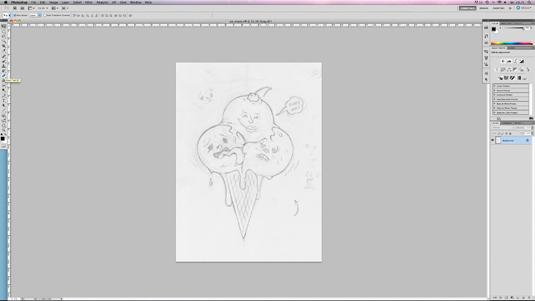
Launch Photoshop and open your new file (File>Open). First clean up the scan of your sketch, removing any unnecessary lines and other elements using the Eraser tool – you can Ctrl/right-click to choose its size and hardness.
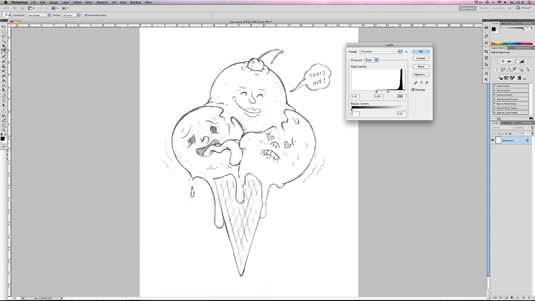
Next, hit Cmd/Ctrl+L to adjust the levels in the picture. I always drag the black and white arrows toward each other so the image becomes clearer and the contrast increases. Choose for yourself how much contrast you need, and hit Save when you're satisfied.
03. Open in Illustrator
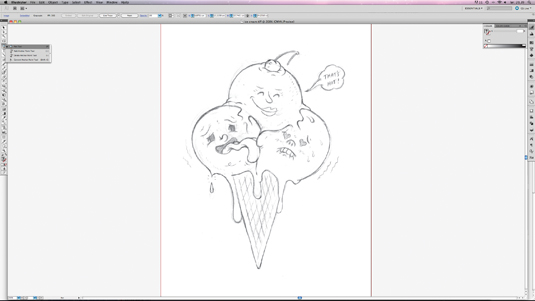
Once you're happy with how well you've cleaned up the scan, open the file in Illustrator and select the Pen tool.
04. Start drawing
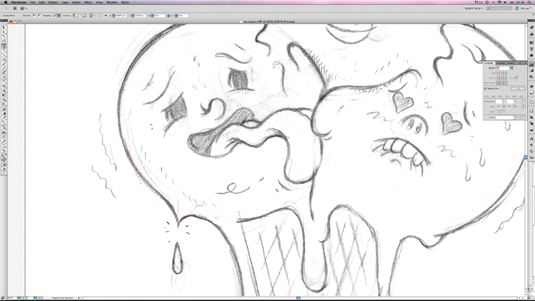
Zoom into the image and start drawing in the lines. Make sure they are relatively thick so that the registration overlaps the colours of the sketch below. When drawing, choose None in both the Fill and Stroke box, so that you're only working with the line itself. Use the Spacebar key to navigate around the image while drawing the lines. Hold Opt/Alt and drag the handle to make a sharp corner.
Sign up to Creative Bloq's daily newsletter, which brings you the latest news and inspiration from the worlds of art, design and technology.
05. Make adjustments
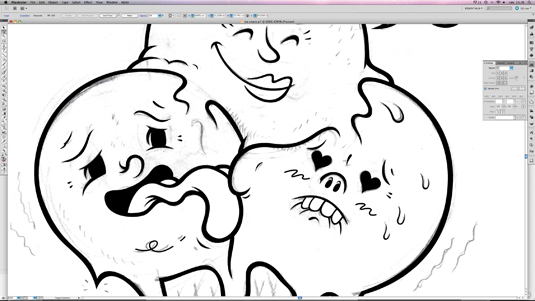
When you've finished recreating the lines of your drawing in Illustrator, adjust all the handles to make them fit the sketch, and give the lines a smooth and perfect look. Now choose a colour for the lines of the artwork – I've gone for black.
06. Delete and group
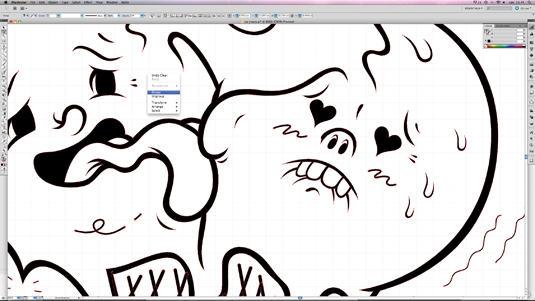
Delete the background sketch and group the new vector drawing. Select all (Cmd/Ctrl+A) and copy (Cmd/Ctrl+C) everything. Now take your work back into Photoshop.
Next page: the next seven steps

The Creative Bloq team is made up of a group of art and design enthusiasts, and has changed and evolved since Creative Bloq began back in 2012. The current website team consists of eight full-time members of staff: Editor Georgia Coggan, Deputy Editor Rosie Hilder, Ecommerce Editor Beren Neale, Senior News Editor Daniel Piper, Editor, Digital Art and 3D Ian Dean, Tech Reviews Editor Erlingur Einarsson, Ecommerce Writer Beth Nicholls and Staff Writer Natalie Fear, as well as a roster of freelancers from around the world. The ImagineFX magazine team also pitch in, ensuring that content from leading digital art publication ImagineFX is represented on Creative Bloq.

