Illustrator has a whole host of useful features that are tucked away and can sometimes be missed. One of the most useful is the ability to create opacity masks, which can be used in many different ways.
This quick tutorial will show how you to use a basic gradient as an opacity mask over text. Once you know this method, you can utilise it in different ways to benefit your designs – as an easy-to-use alternative to a clipping mask, for example.
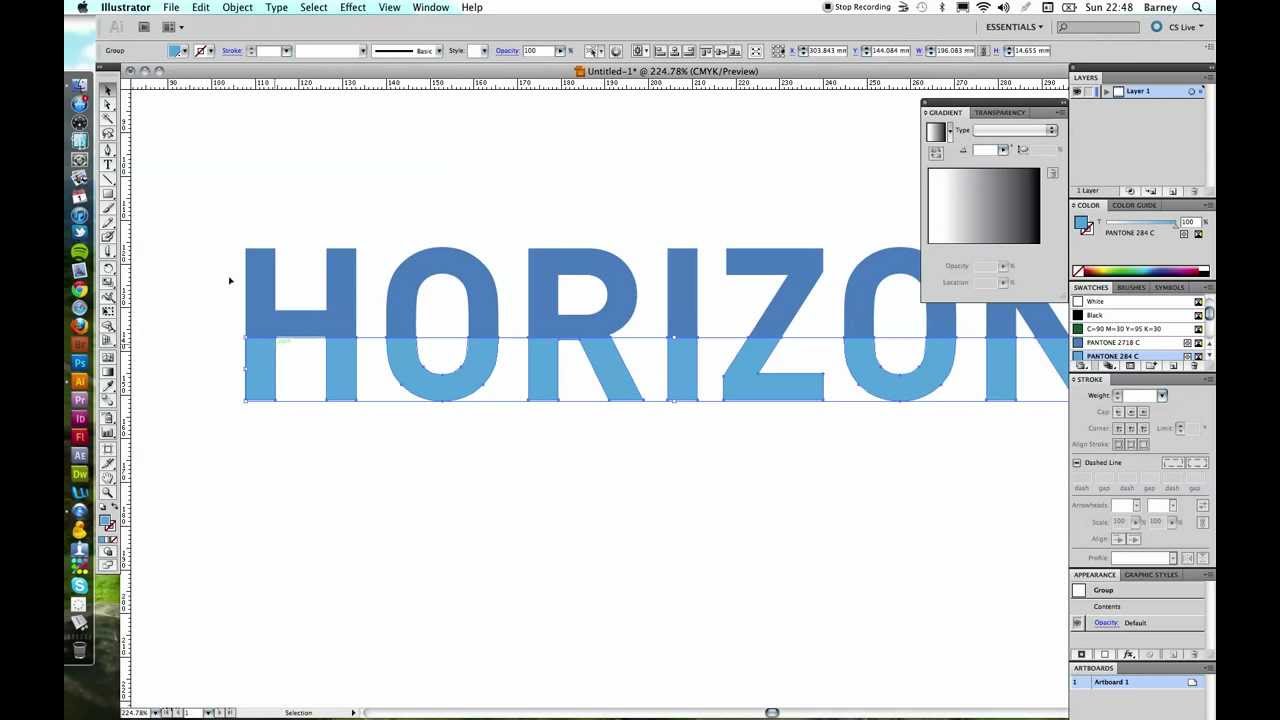

01 Set a word in your chosen font and create outlines (select the text and press Cmd/ Ctrl+Shift+O). Next, split the word in two by drawing a rectangle over half and use the Intersect tool in the Pathfinder panel.

02 Now, change the colour of the bottom half of the word. We’re going to apply an opacity mask to this section to emphasise the split within the word. In this example, I’ve offset the bottom half of the word to the right as it helps give more impact to the effect.

03 Drag out a rectangle over the bottom half of the word and apply a black to white gradient to it. This gradient will control the area of the masked items that are visible, or transparent. Anything underneath a white area will be visible, whereas anything underneath a black area will be transparent.

04 Select both the bottom of the word and the itself to alter the area affected. gradient you’ve just created, making sure that the gradient is above the word. With both selected, go to Window> Transparency, click on the drop-down menu in the top-right of the panel and select Create Opacity Mask.

05 You can now edit the effect that the gradient opacity mask creates by clicking on the right-hand-side square on the Transparency panel. You can edit the gradient as you would normally with the Gradient panel, or you can use the Gradient tool and tweak the gradient shape

