How to sculpt and paint a character in ZBrush
Character artist Titouan Olive reveals how to create a cartoon clown from scratch in just three hours.
Sign up to Creative Bloq's daily newsletter, which brings you the latest news and inspiration from the worlds of art, design and technology.
You are now subscribed
Your newsletter sign-up was successful
Want to add more newsletters?
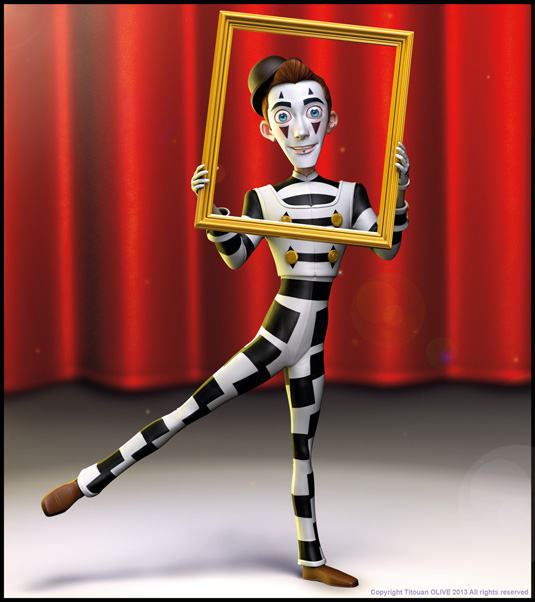
The key to building an aesthetically appealing character in ZBrush is to start with solid foundations. Start by sculpting the body and the head, trying to create nice-looking proportions and a good overall silhouette. Create the basic shapes first, and consider how they relate to each other in a compelling way, keeping in mind the fact that you’re aiming for a sense of balance and harmony.
Once you’ve nailed the basic form, you can go on to add details such as folds and seams, then add colours directly inside ZBrush using Polypaint to give a more attractive look to the character.
Entire process
This tutorial will guide you through the entire process. All you need is a rudimentary understanding of how ZBrush works. If you can at least navigate the interface, you'll breeze through my tutorial with no problems at all. If you're completely new to ZBrush, you may prefer to start with the basic starting model I've provided.
Article continues belowIf you're more skilled and you want to make the process a little more rewarding, it's a good idea to start from scratch. Begin the work with my concept sketch as a guideline and try to model to the same proportions. Translating a sketch into volumes is a challenging exercise, and good training.
01. Create the eyes
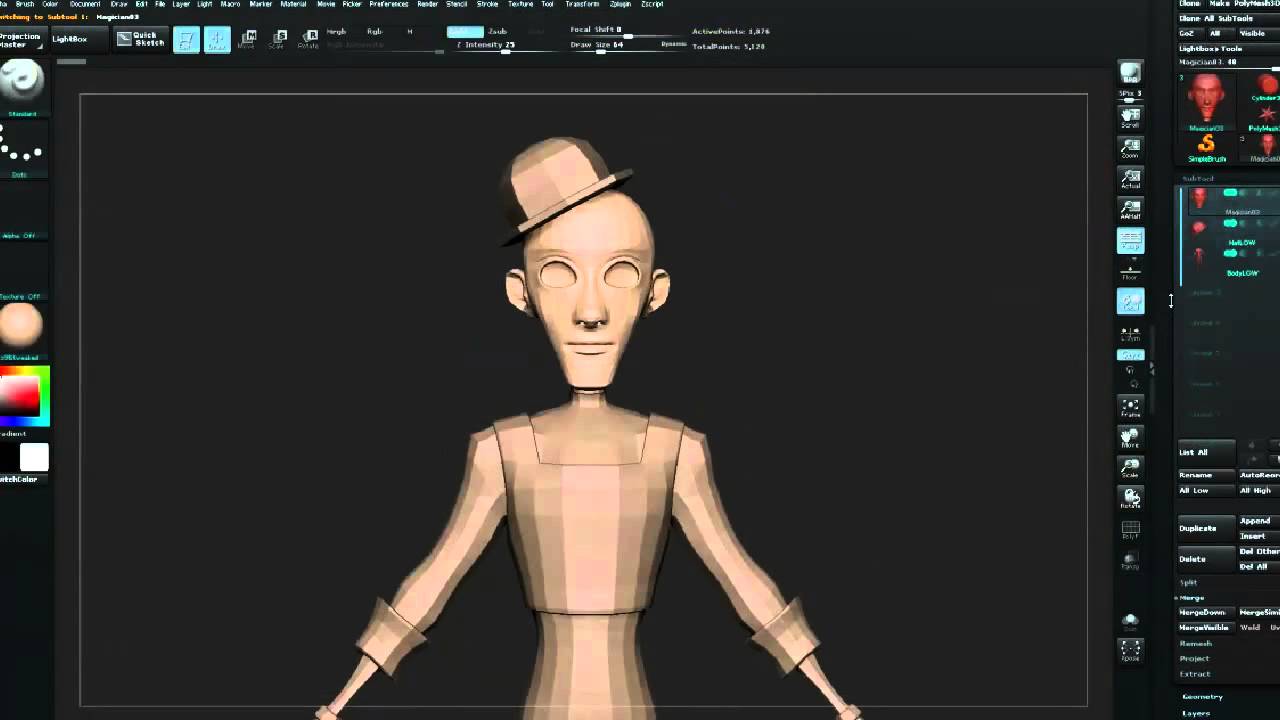
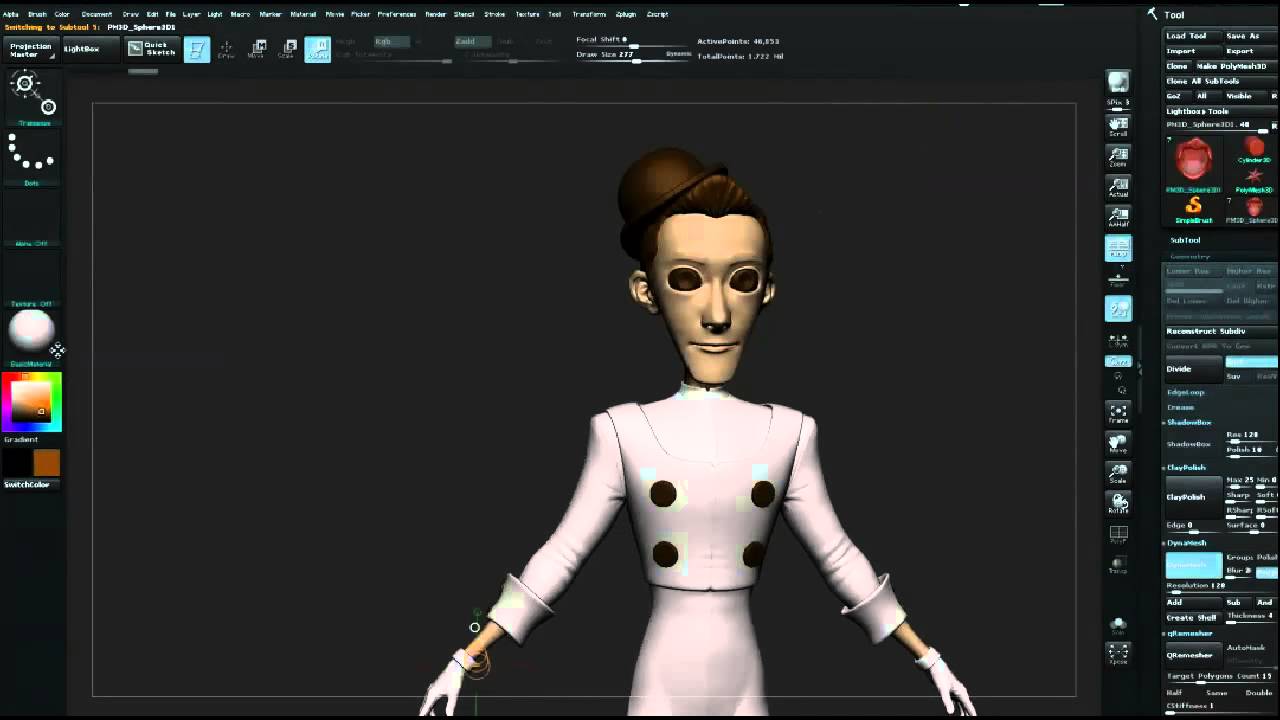
Download the pre-made base mesh from the files accompanying this tutorial and load it into ZBrush. Select the head in the SubTool menu by clicking the first SubTool at the top of the list. As you can see, I've already blocked out the first global shape, but there's still a lot of work to do on it.
Let's start with the eyes by importing a new SubTool. Click the Append button in the SubTool menu and choose the sphere in the pop-up window. A sphere is now added to your SubTool list and is also visible in your scene.
Select your new sphere as you previously selected the head, or do it more quickly by Alt-clicking the sphere directly in the scene. This shortcut is a great way of speeding up your workflow.
Sign up to Creative Bloq's daily newsletter, which brings you the latest news and inspiration from the worlds of art, design and technology.
02. Position the eyes
With your sphere selected, press E, then drag from your sphere. You'll draw a line called a transpose line, which enables you to scale the sphere. Click and drag a circle at one extremity of the transpose line (it doesn’t matter which one). Press W and click the circle at the middle of the transpose line to move the sphere inside the head.
Select the head by holding down Alt and clicking it. Press X to activate symmetry, and use the Move brush (press B to see all the default brushes) to adjust the eyelids to match the form of the sphere.
There are many keyboard shortcuts in ZBrush, and remembering them might seem complicated at the beginning, but once your fingers remember the patterns it's really fast and simple.
To create the second eye, the simplest way is to just duplicate the first: click ZPlugin on the top menu, choose SubTool Master and select Mirror. Tick Merge Into One SubTool and select Across X Axis, then click OK.
03. Refine the mesh
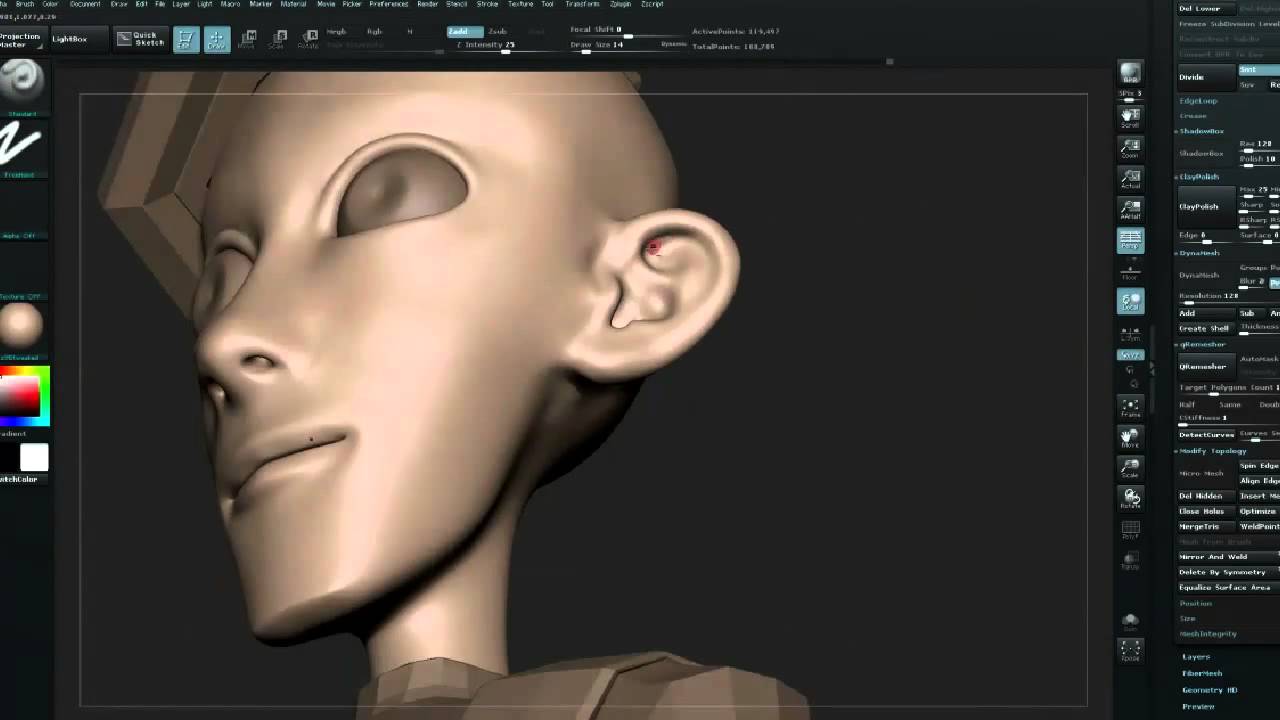
Select the head and click the Divide button under Geometry twice. Use the Move brush to refine the shape of the face as desired, then switch to the Standard or Inflate brush and start to sculpt the head. If you need to smooth out any areas or if you think you've overexaggerated or sharpened any areas, simply hold down Shift and drag the area you want to smooth. If you want to sculpt the eyes, don't forget to press X to active symmetry to sculpt both eyes at the same time.
Roughly sculpt the remaining elements of the face - the ears, nose, eyes and so on. I used the Standard and Trim Dynamic brushes to create the eyebrows, because it's really useful to have them in place while you sculpt the rest of the face. I also used the Trim Dynamic brush to sharpen the borders of the eyelids. When you work on the face, it's useful to isolate it. Click the Solo icon to hide the rest of the SubTools.
04. Make the hair
It's sometimes hard to sculpt a head without hair - the same head can look very different with and without hair, even if the facial features don’t change. You're going to create very basic hair, then you'll come back to the face later.
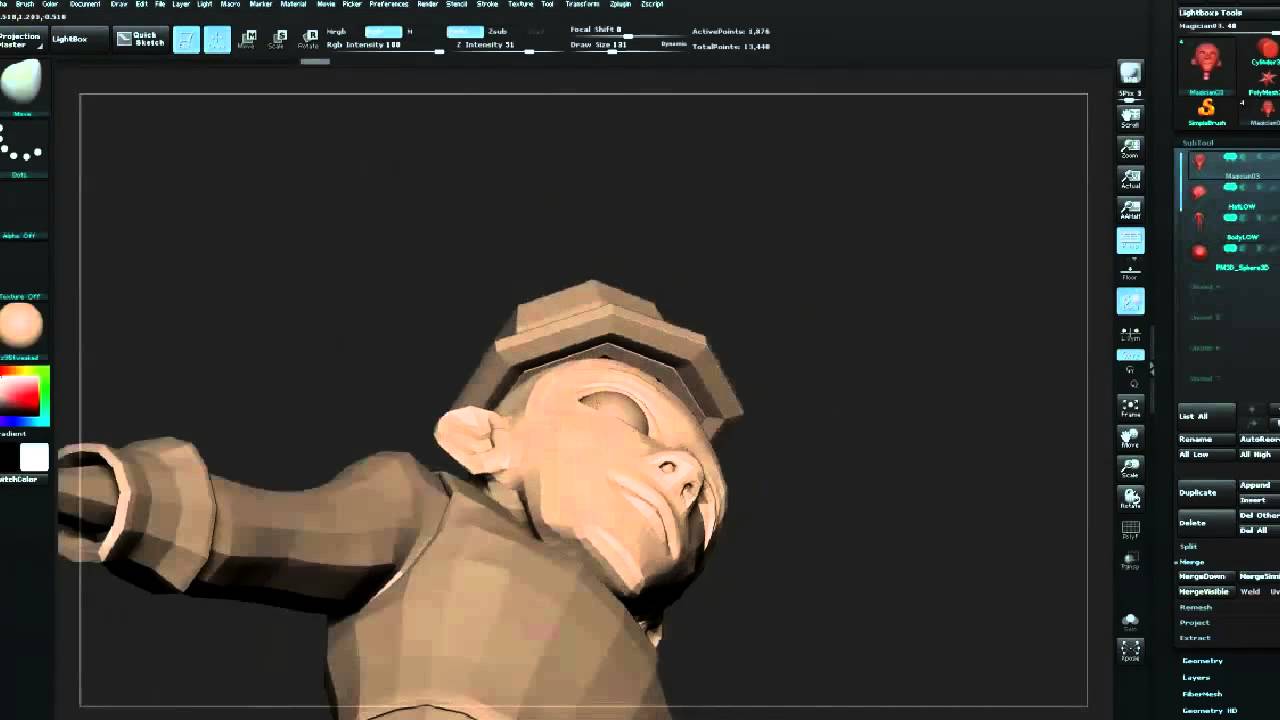
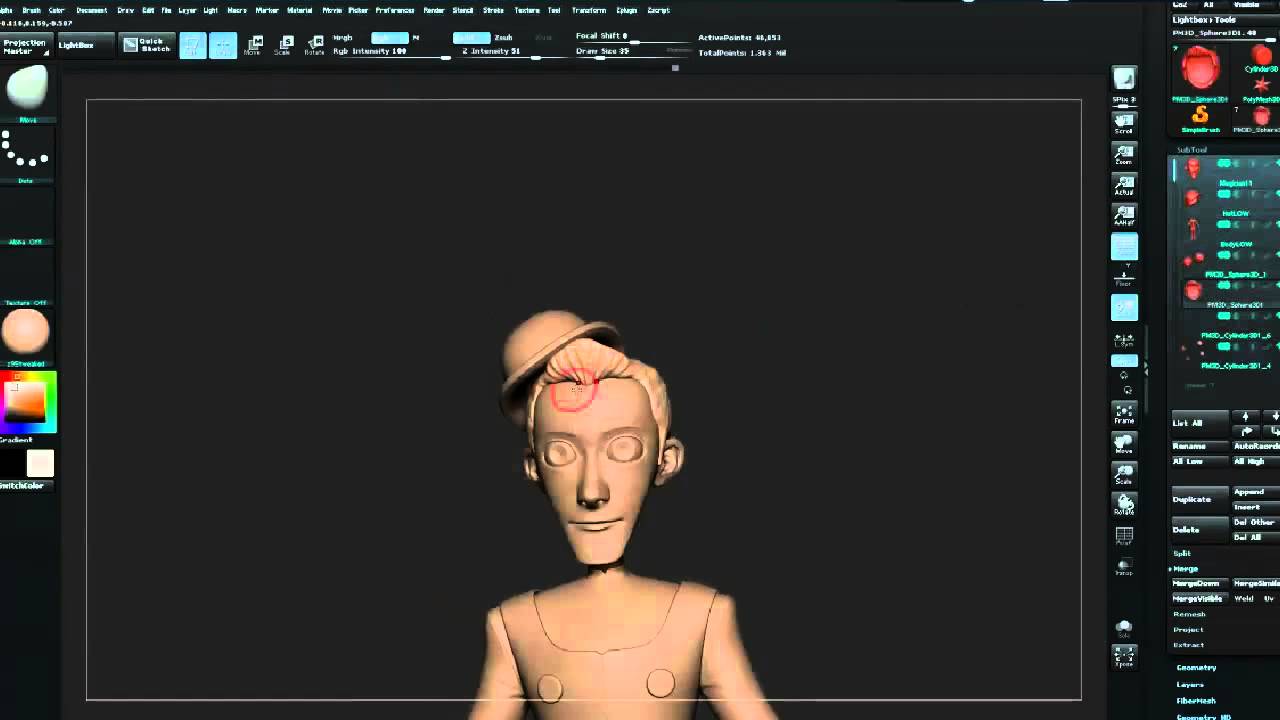
Import a sphere as you did earlier, activate symmetry and sculpt the hair with the Move brush. This process will stretch the polygons quite a bit (press Shift+F to see the wireframe), but it doesn't matter. Under Geometry, click the DynaMesh button to create a dynamic mesh and to update your stretched mesh. Leave this very basic haircut as it is for now.
Select the hat and divide it. I used the Polish slider under the Deformation menu to smooth the edges a little. Tweak the hat with the Move brush and select the head. Choose the Pinch brush and draw a line on the face. Use the same brush on the nostrils, and try to sharpen it to give some more definition to the face.
05. Start work on the body
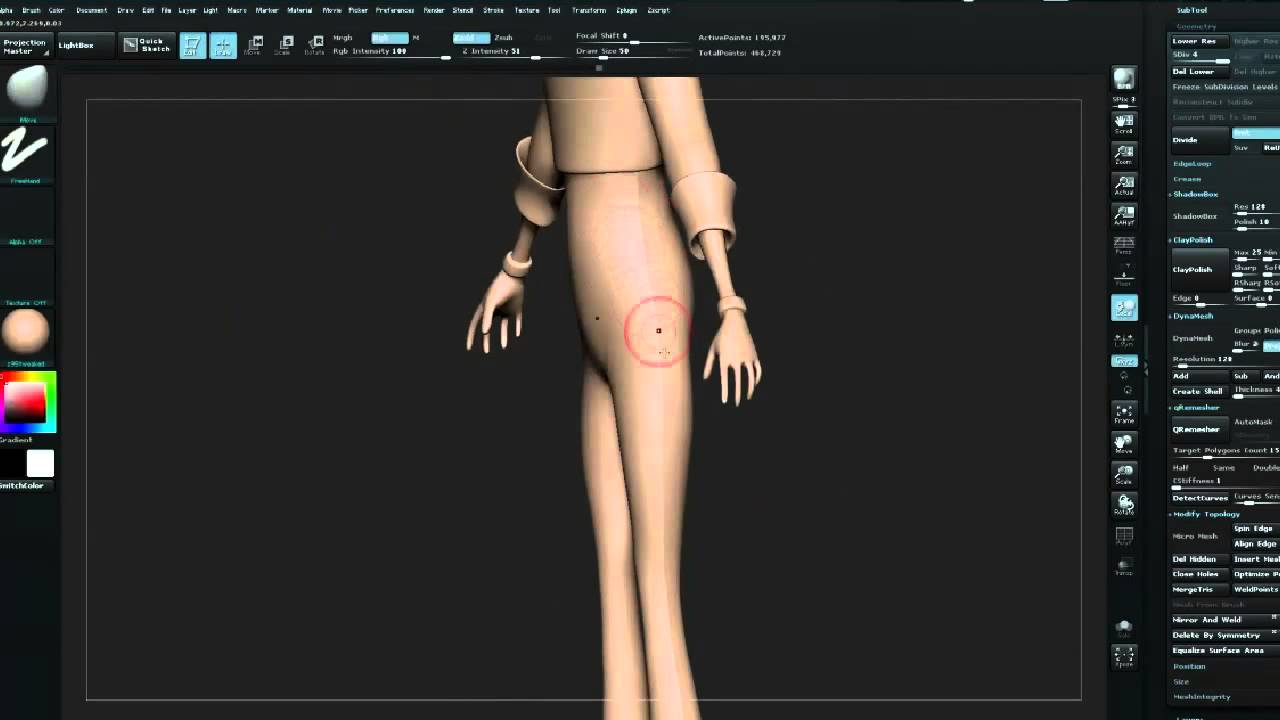
Select the body, activate symmetry and divide it. As you can see, I've already blocked out the first shapes and proportions here, but there's still a lot of work to do. You'll mainly add folds and improve the shapes. Start by creating seams on the shoulders and on the trousers with the Standard brush and the Pinch brush.
If you don't want to affect some areas in particular, you can mask them by holding down Ctrl and painting directly onto the mesh. You won't be able to sculpt on the masked areas from now on, though. To unmask the mesh, simply hold down Ctrl and click and drag directly on the canvas.
Draw the folds, which are usually where the articulations are located, using the Standard, Inflate, Dam Standard, and Pinch brushes to sculpt them. Folds are very easy to sculpt as long as you place them correctly and you don’t add too many - keep them simple and stylised.
06. Make the buttons
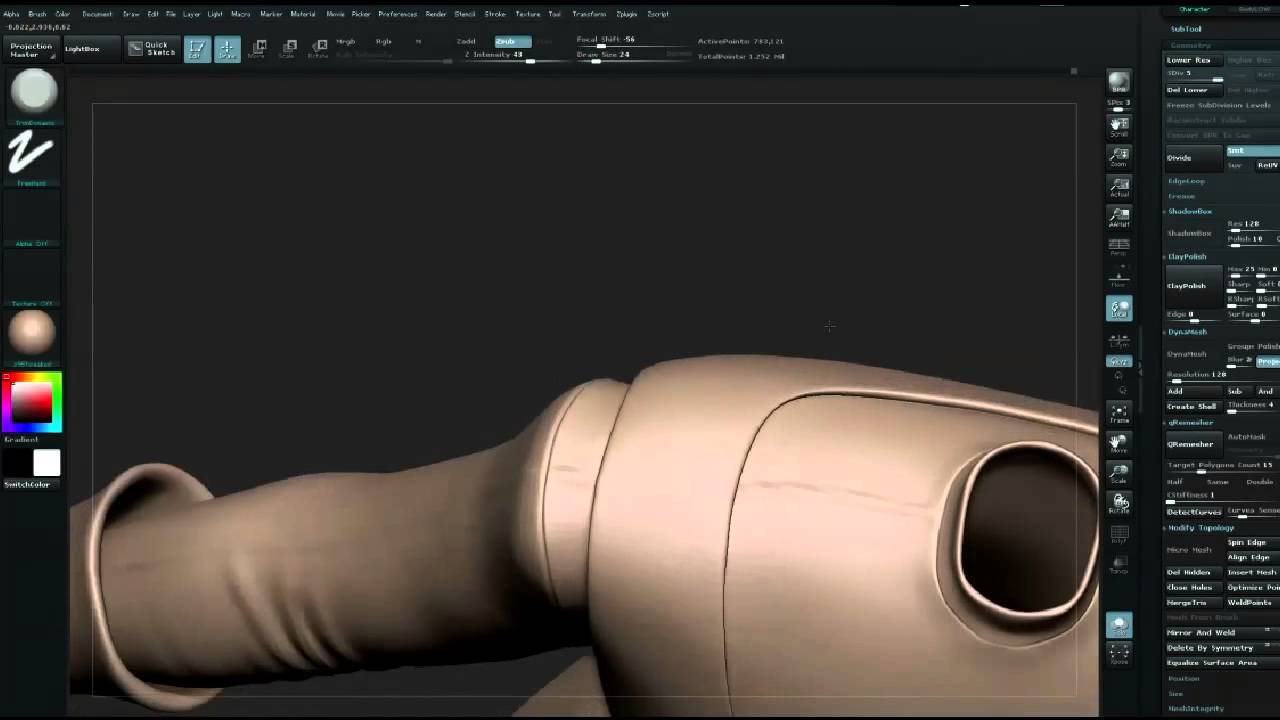
Select the body and add seams on the torso using the Standard brush first, followed by the Pinch brush. Add two seams on the arms. Import a cylinder by clicking the Append button. Use the Scale and Move tool to place it correctly on the torso to create the first of the four buttons.
Duplicate it (click Duplicate, which is next to the Append button) to create the second button and then place it under the first one. Click Duplicate again and move this new SubTool to the left – you’ll use this later. Merge the first two buttons by clicking the MergeDown button, then select ZPlugin>SubTool Master>Mirror to get the two other buttons.
Now, select the SubTool previously put on the left and place it on the sleeve, then duplicate it to create another button. Merge the two SubTools and use the Mirror function as you did before.
07. Refine the details
Draw another seam at the middle of the bust and click the Solo icon to isolate the body. Hold down Ctrl+Shift and drag on the hands. A rectangle area will appear in green. When you release the mouse button, anything outside this area is hidden unless you also hold down Alt, which makes the selection red and hides whatever is inside the selection area.
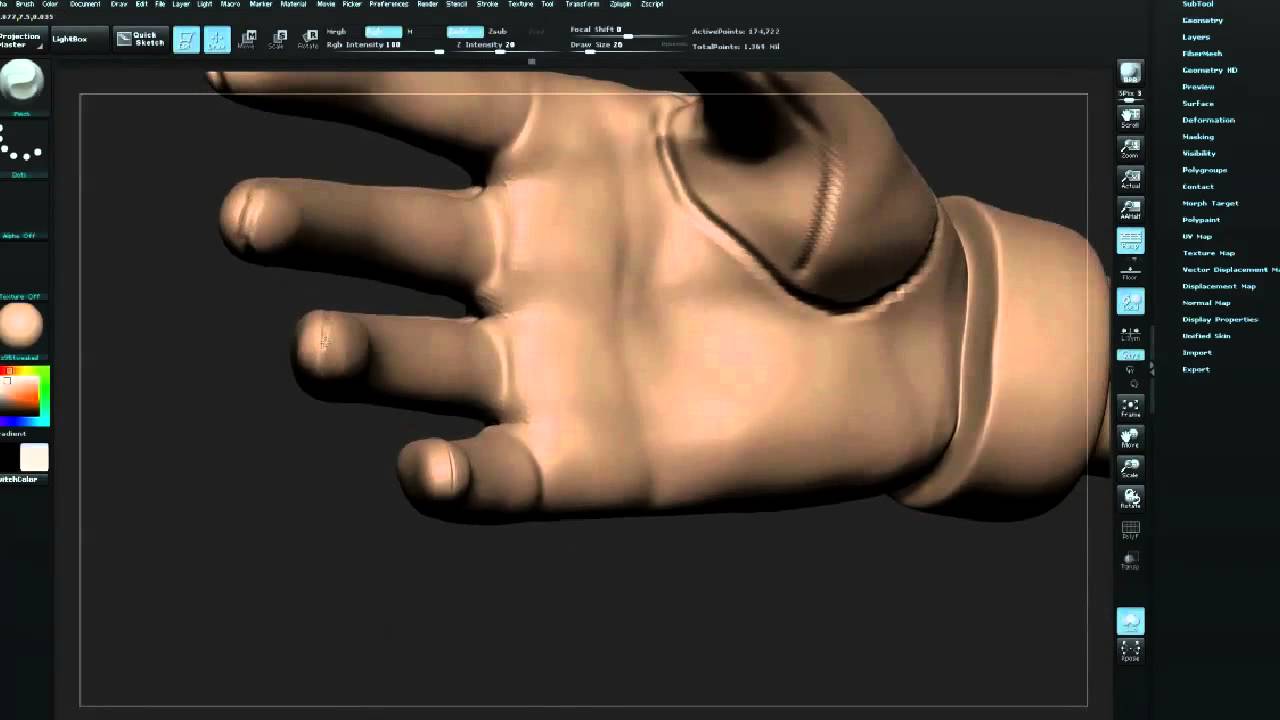
Draw a seam all around the hands with the Standard and Pinch brushes to simulate the gloves. Add some folds on the articulations and create three big buttons with the Standard brush, coupled with DragRect and Alpha 06. Move the bottoms of the trouser legs down to the shoes.
08. Finish the hair and shoes
Select the hair and sculpt it with the Move and Standard brushes, trying to give a better shape, but without adding too many details.
The hair uses DynaMesh, so you can update your mesh at any time. If you think you need it, hold down Ctrl and drag the canvas - ZBrush will calculate a new mesh adapted to all the modifications you make on it. You can repeat this action as often as you want. Each time you do it, you'll have entirely new geometry evenly distributed across the mesh. This is perfect for sculpting, and removes the need to focus on topological constraints.
When you've finished, replace the hat on the new haircut to fit the new shape. Select the body and focus your attention on the shoes. Draw some small folds and use the Pinch brush on the top to get a sharper aspect. Work on the sole of the show to accentuate the borders, and tweak the global shape with the Move brush.
09. Start painting
Colour will bring a lot of personality to your character and give it a much more appealing aspect. This holds true for any character, but it's particularly relevant to cartoons and stylised models. Painting colour in ZBrush is polygon-dependent: you paint colours in 3D directly onto the polygons of your mesh without any texture.
The more polygons you have, the finer the details you can add. But even with a very high polygon count, you won't be able to add as many details as you could with a texture. To get around these limitations, you can convert your colour information into a texture and use that as the basis for more detailed and accurate work.
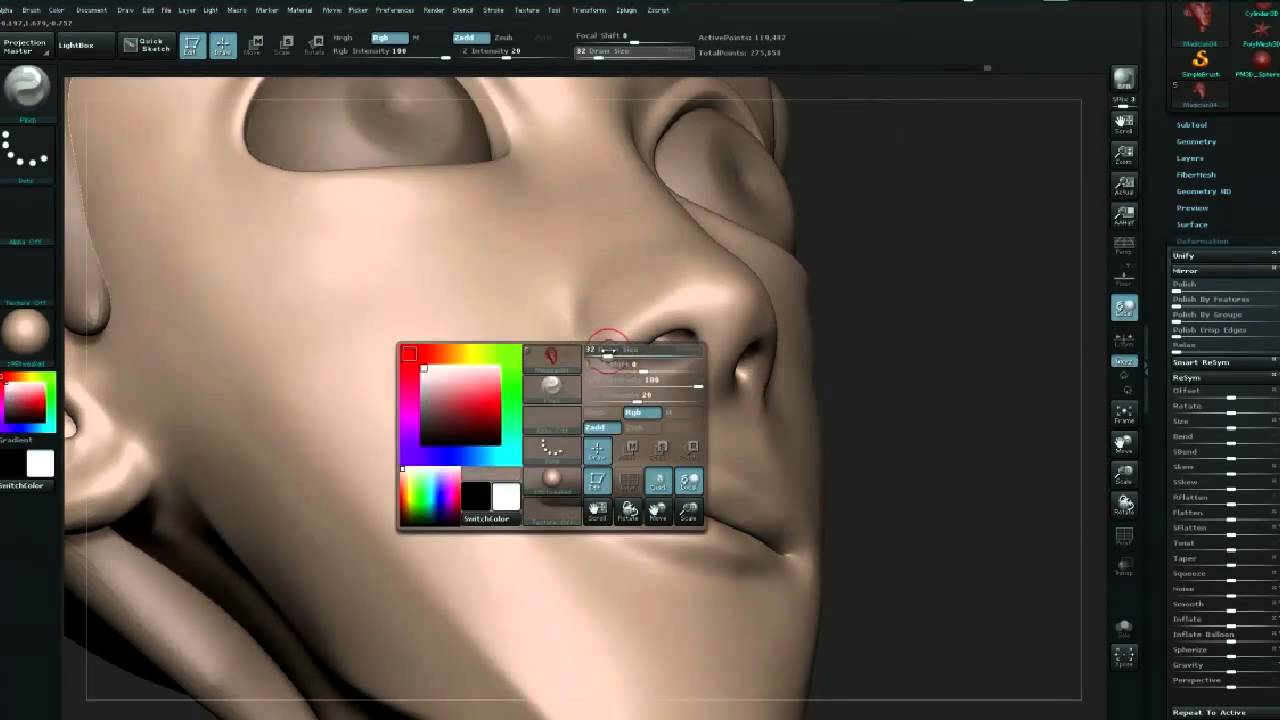
But I’m getting ahead of myself - let's focus on what you're doing right now. Fill the body with a white colour (Color>FillObject). Fill each element with a basic colour, then choose the Standard brush coupled with DragRect and alpha 28 (the square), turn off ZAdd, turn on RGB, and start to paint.
10. Add the details
Draw squares on the legs in front view in black and paint several lines on the bust and the arms with the same brush, but coupled with FreeHand and alpha 12 this time. Divide the model once again if you need more control.
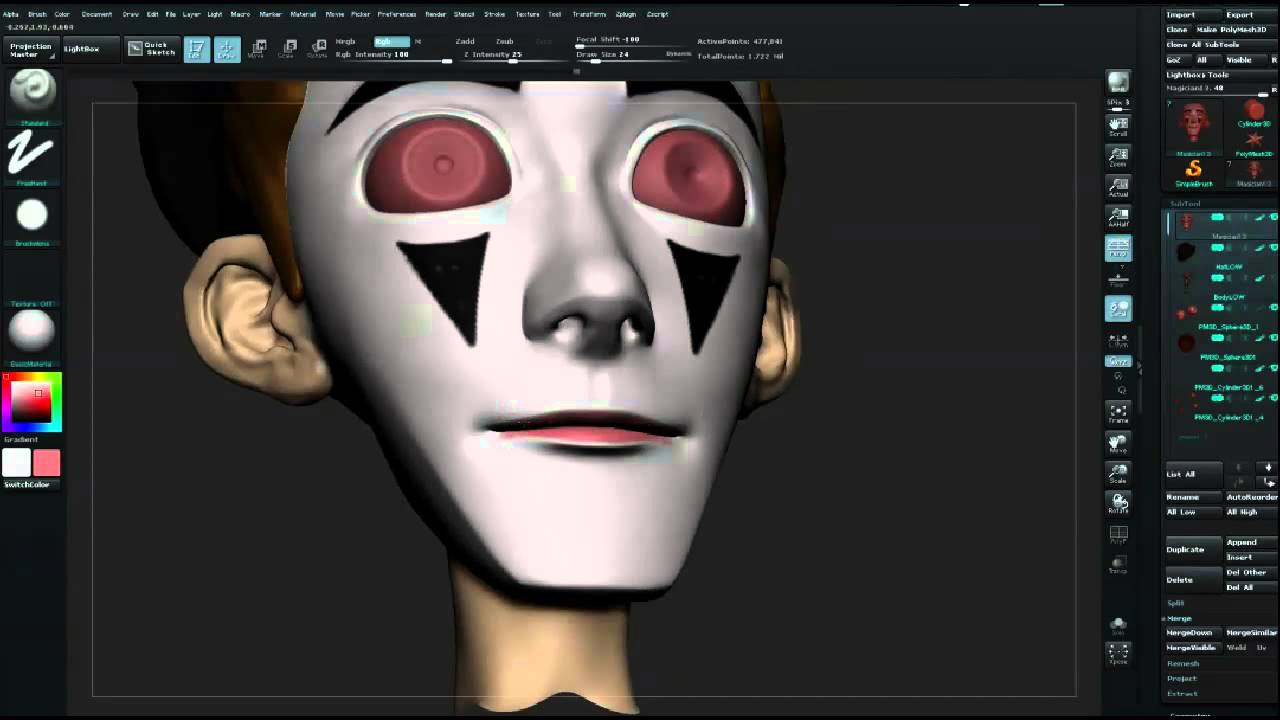
Select the head and paint the white make-up. Paint the eyebrows with black, and paint two triangles under and above the eyes. Choose a pink tone for the lips and draw another black triangle on the bottom lip. Paint the border of the eyes with pink and use a black tone for the make-up.
Select the eyes and paint the iris with the colour of your choice (I would avoid red if I were you!), then paint the pupil black. I used the Standard brush with DragRect and a circle as alpha. If you want to smooth the colours around the iris without changing the geometry, hold down Shift and turn off RGB. You can now smooth your colours without worrying about the geometry.
11. Finish off the seams
Paint the rest of the body using the same techniques, trying to match the patterns and lines in back and front views. Add a reddish tone to the cheekbones and on the ears, and clean up your painting job if you need to. Now, mask the top border of the jacket and invert the mask (hold down Ctrl and click the canvas). Open Deformation in the Tool menu and play with the Inflate slider to create a kind of bevel. Repeat this operation on the side of the jacket and on the lower parts of the trousers.
Your character is now finished and ready to play his part in the circus! But, of course, there are still many things you can do with it if you want to - posing, rendering, creating a new topology, and animating are some of many possibilities - it's up to you to decide where you want to take the character from here
Titouan Olive is a freelance 3D artist working as a lead character artist on videogames and animated films. He has also worked on various freelance projects for rapid prototyping, product design and architecture.
This article originally appeared in 3D World issue 169.
Liked this? Read these!
- ZBrush tutorials: ways to paint and sculpt in 3D
- Top free 3D models
- Best 3D movies of 2013

The Creative Bloq team is made up of a group of art and design enthusiasts, and has changed and evolved since Creative Bloq began back in 2012. The current website team consists of eight full-time members of staff: Editor Georgia Coggan, Deputy Editor Rosie Hilder, Ecommerce Editor Beren Neale, Senior News Editor Daniel Piper, Editor, Digital Art and 3D Ian Dean, Tech Reviews Editor Erlingur Einarsson, Ecommerce Writer Beth Nicholls and Staff Writer Natalie Fear, as well as a roster of freelancers from around the world. The ImagineFX magazine team also pitch in, ensuring that content from leading digital art publication ImagineFX is represented on Creative Bloq.
